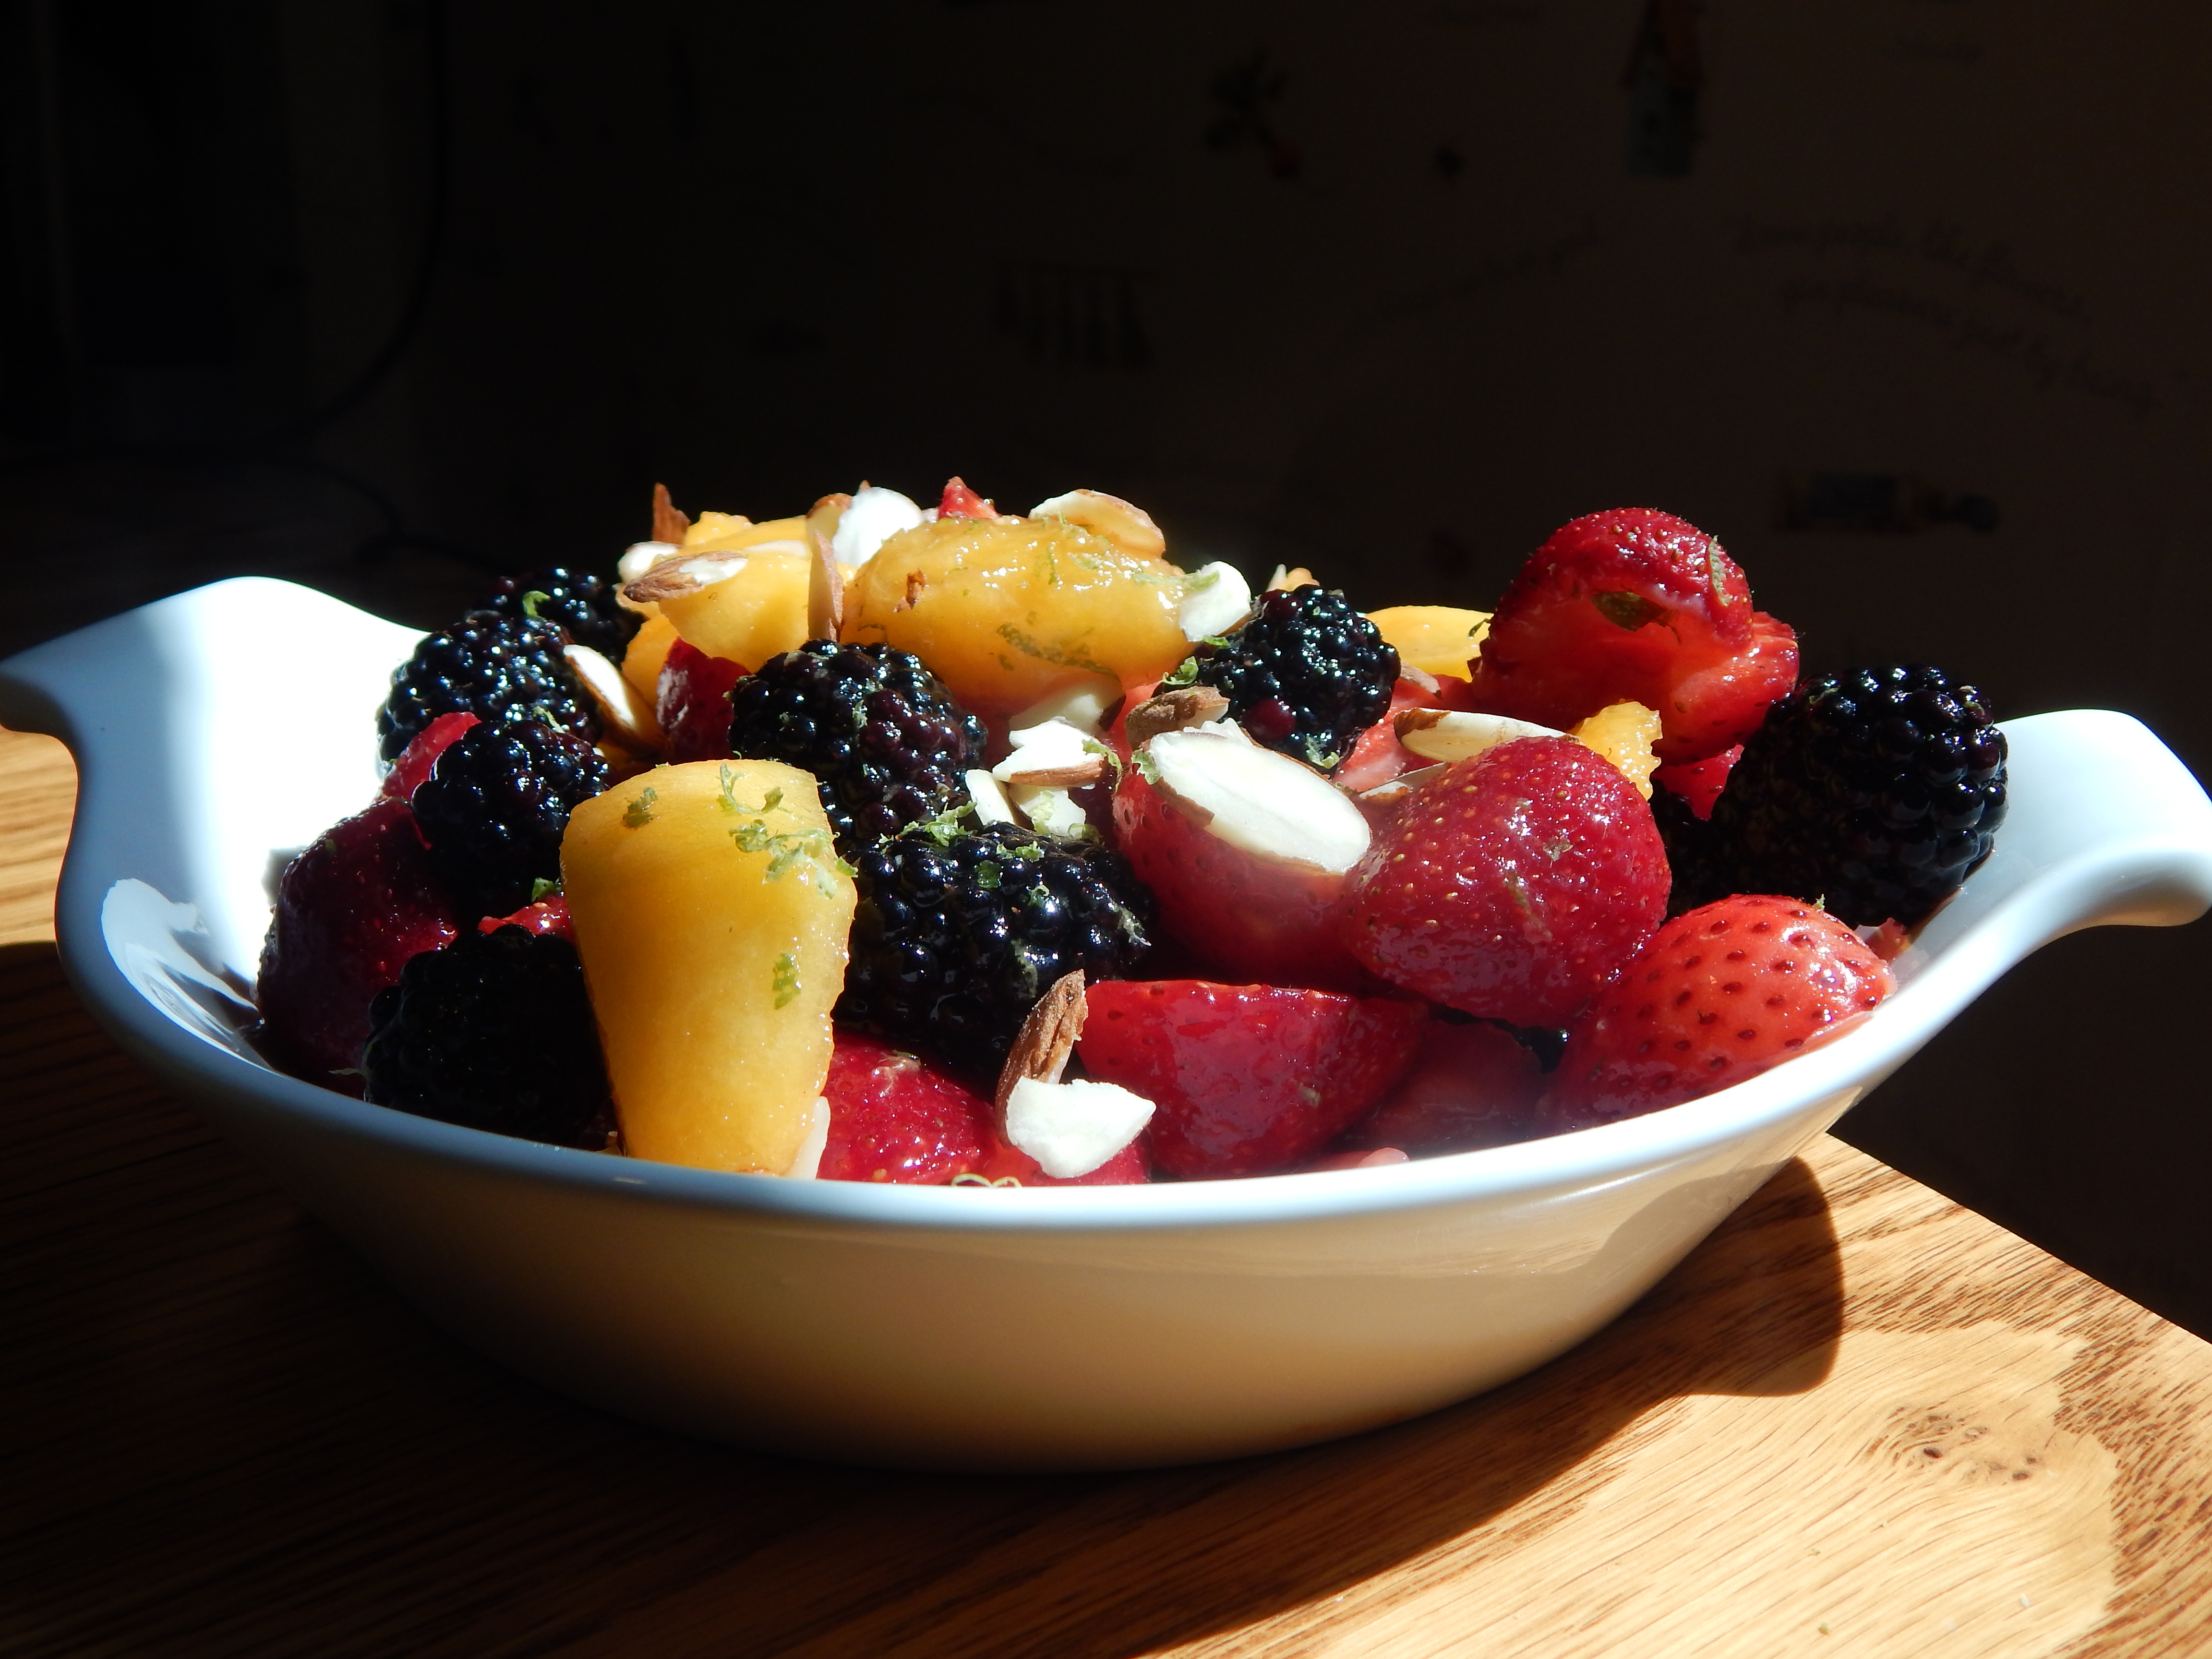
Peach and Berry Summer Fruit Salad
Hello Lovely People!!! One of the things so fantastic about this Summer Peach and Berry Fruit Salad is, it is just naturally gorgeous! You don’t have to spend a lot of time in the kitchen, it is no cook, and it is nutrient rich. The nutrients, polyphenols and variety of natural from nature color pigments in the fruit feeds your skin, which is out in the sun more in the Summertime.
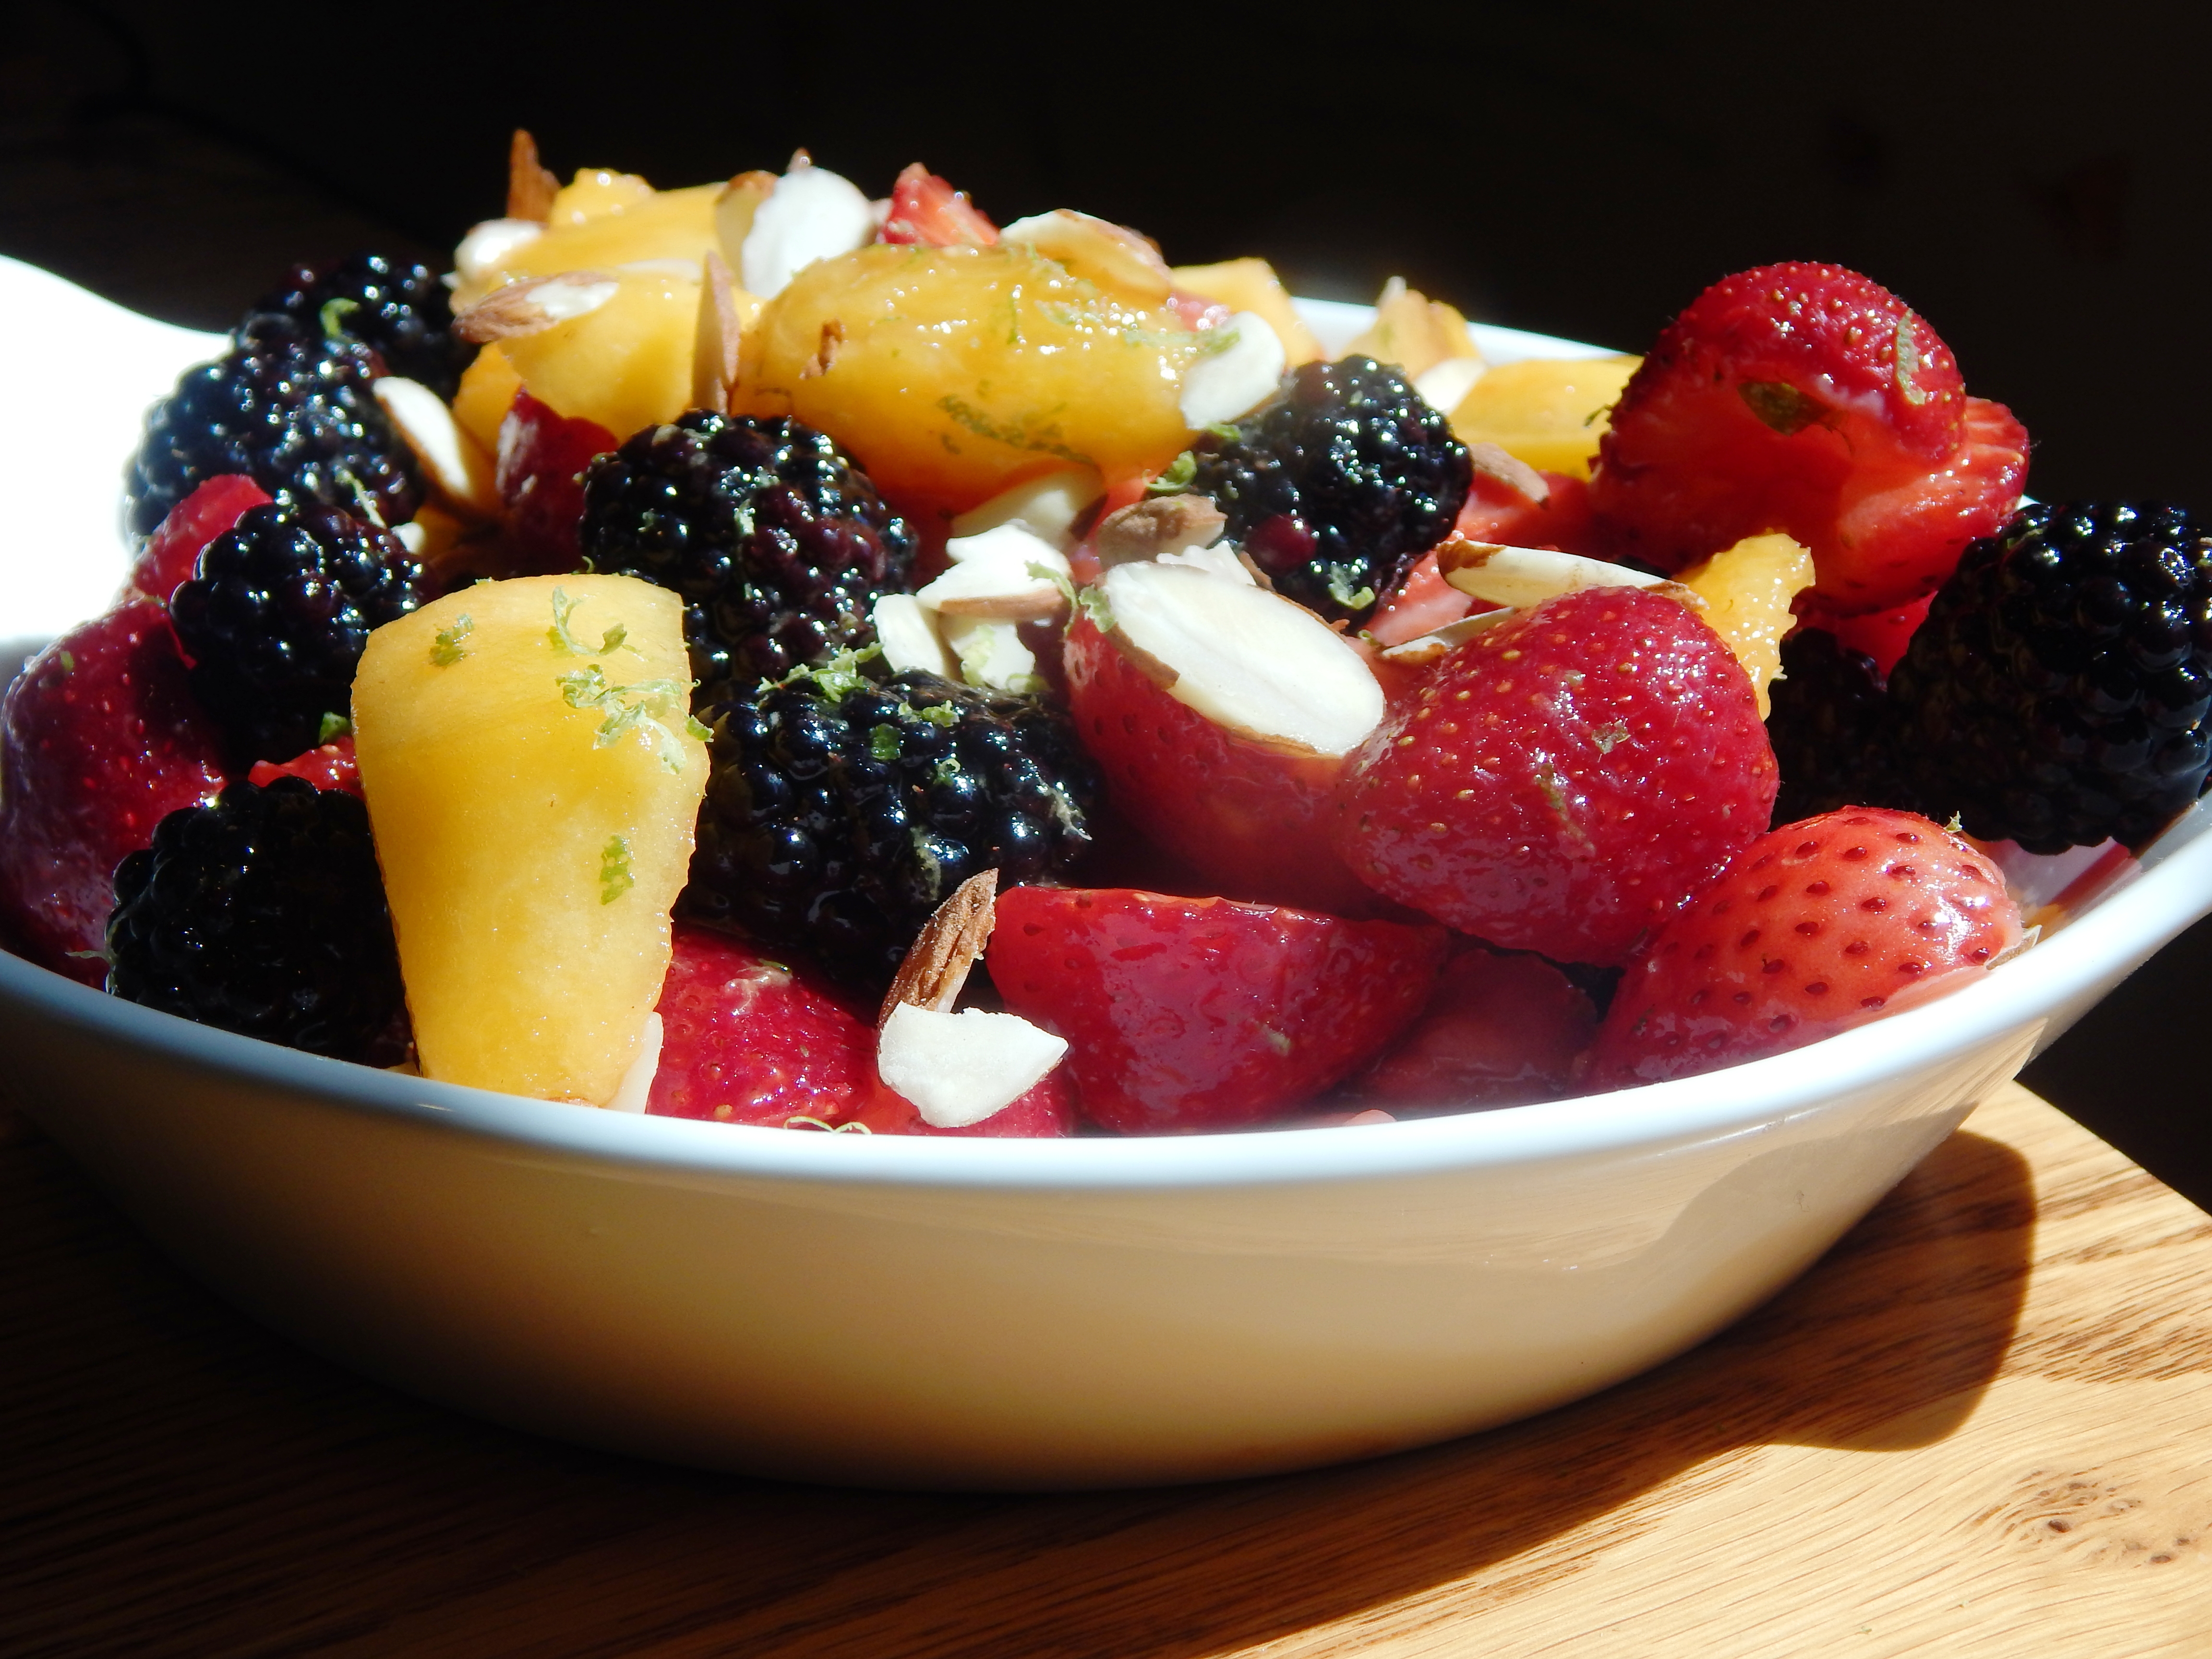
Summer Peach and Berry Fruit Salad
I know you all want your skin to glow! Am I right? Glowing skin just screams “healthy”. It is far lovelier than any makeup, although I like and use makeup.
Peach and Berry Summer Fruit Salad
I’ll admit I am really careful about balancing my nutrition. I have worked hard on my gut health over the last three years so I can really absorb the nutrients I eat. I have learned to listen to my body and be intuitive about what it may need. The needs of our bodies changes based on many factors including the time of year, our age, exposure to toxins, activity levels, stress, sleep, illness, and our environment.
Food is your most basic form of self care. One thing I rarely compromise on with myself is, I don’t eat junk. If I am having a treat, the food is real food ingredients. If you adopt this way of eating, if you aren’t already, you will get feedback as your body changes. We really are what we eat. People will comment on how obvious it is that you take care of yourself, and ask you your secret.
Next week I will share a new chocolate chip cookie recipe with you made from real food. All the recipes you will find on my blog are real food recipes. So check out the recipe index.
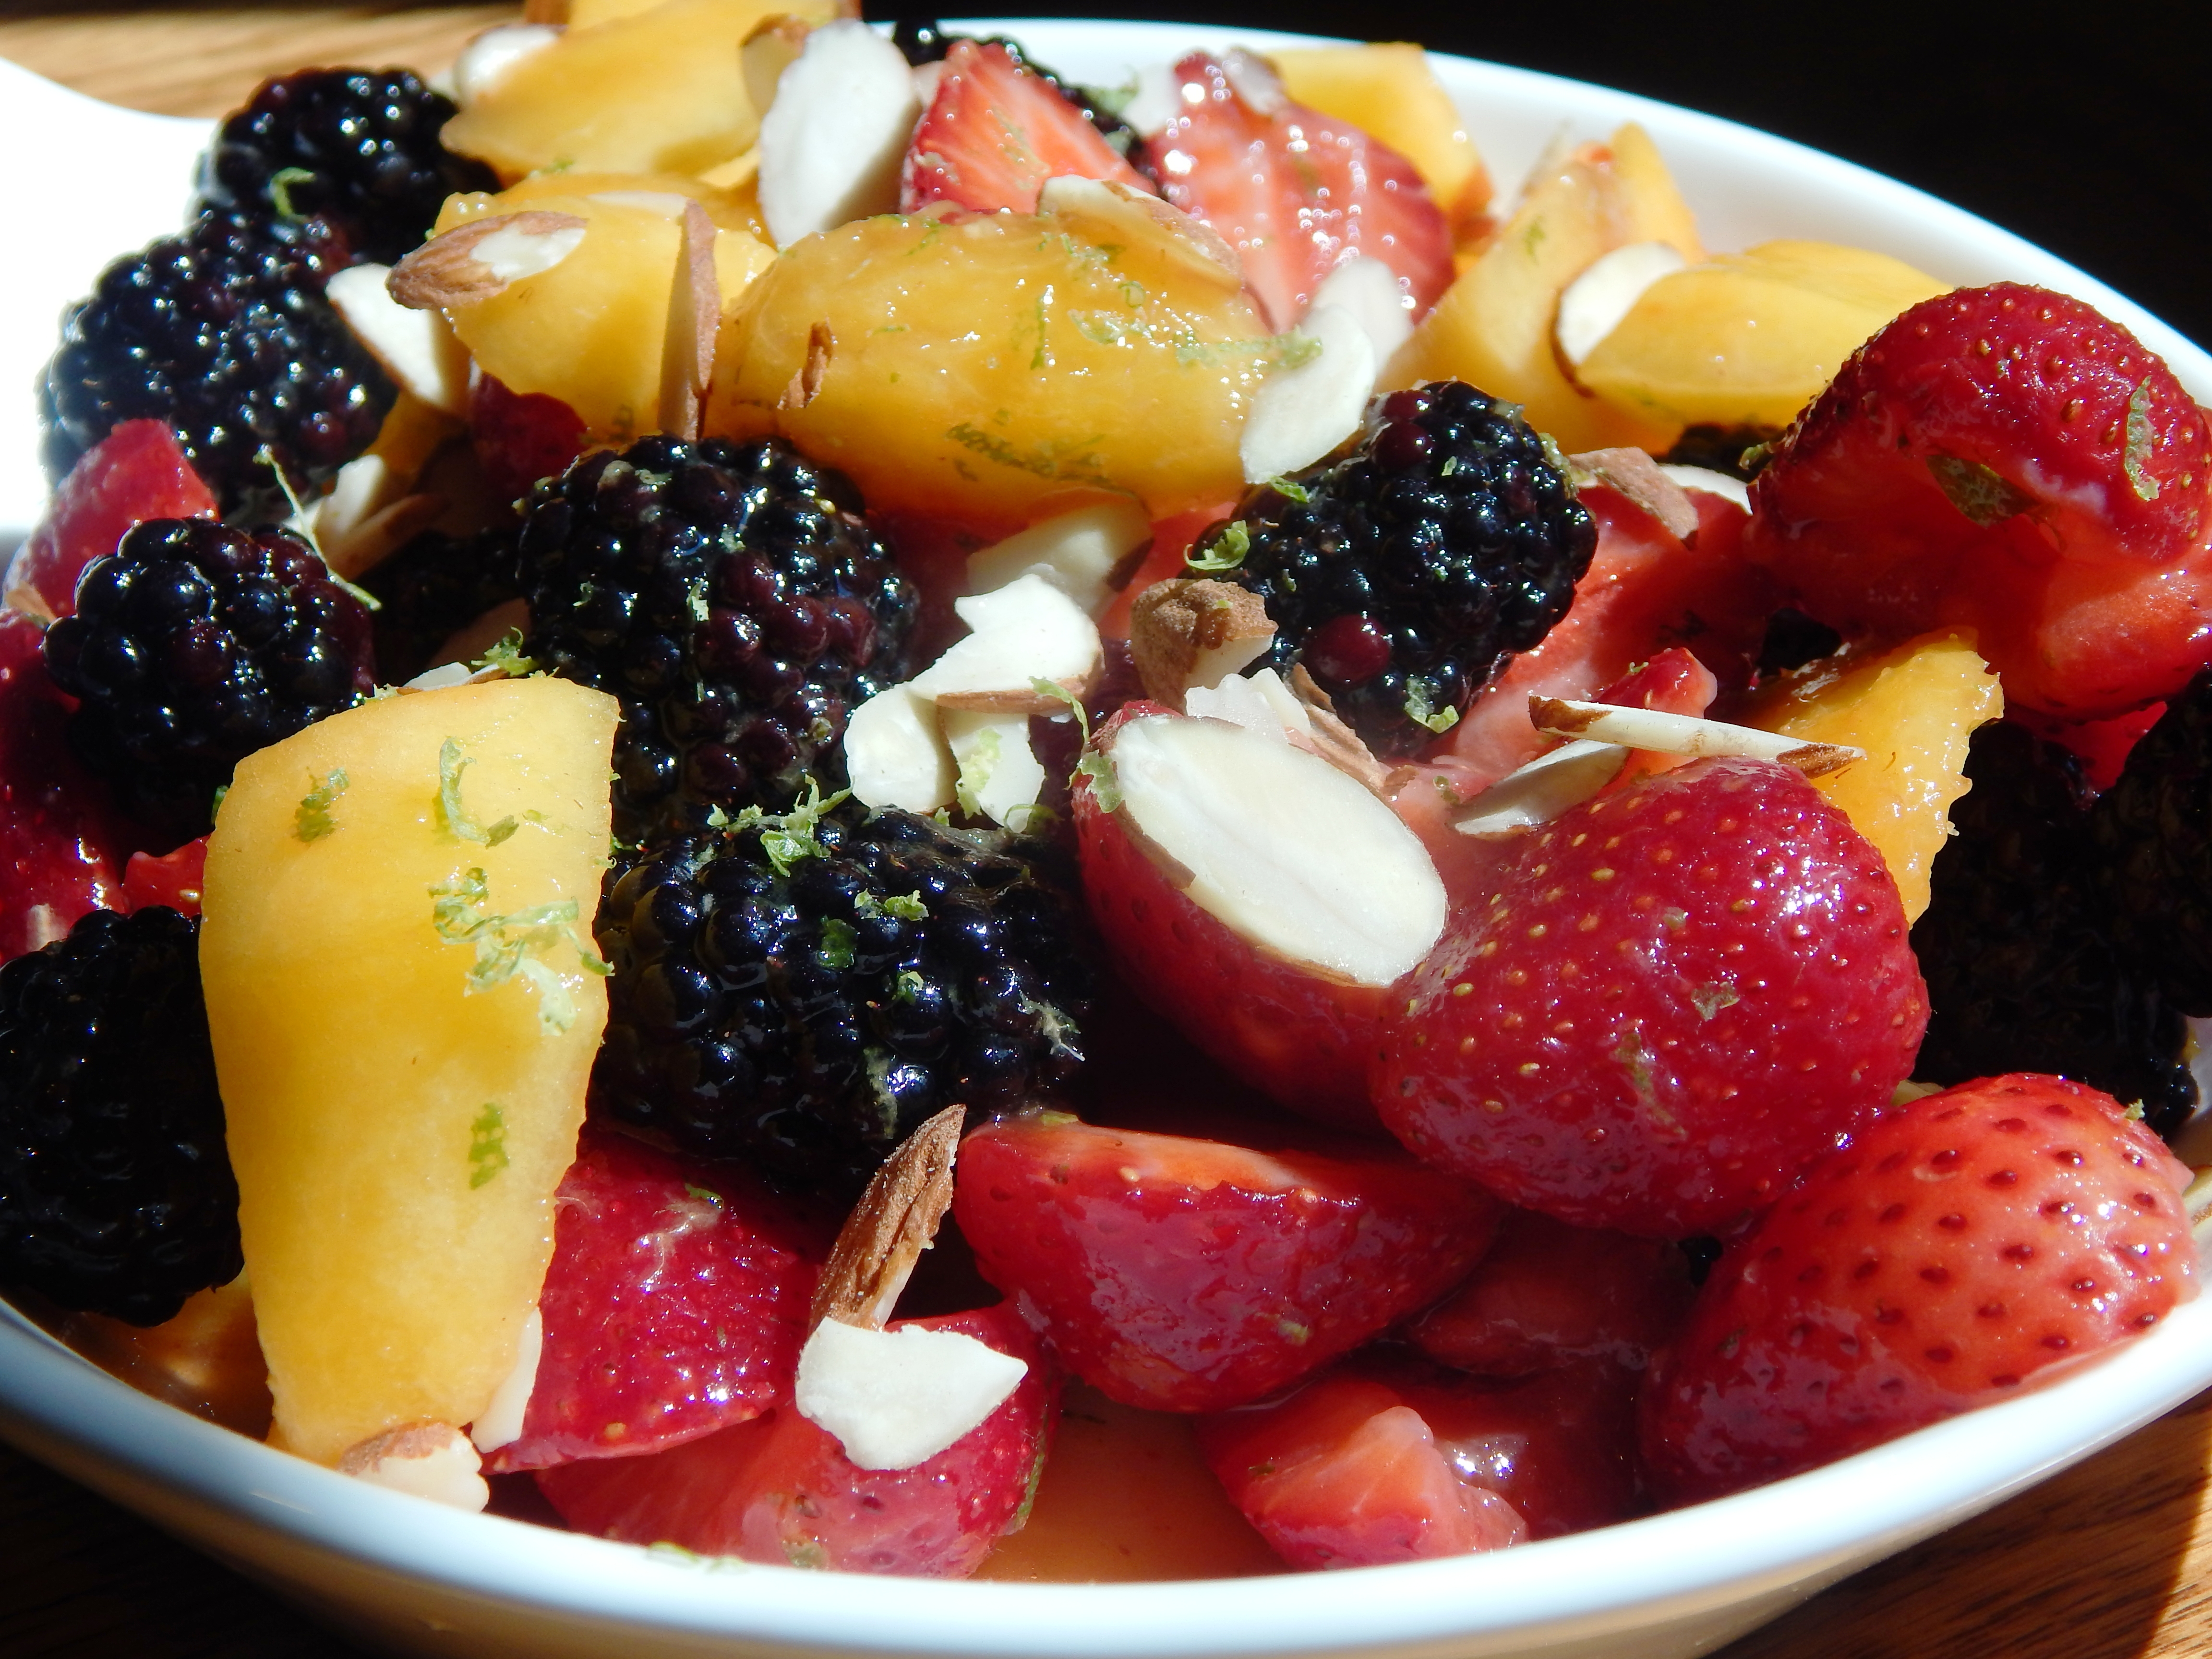
Summer Peach and Berry Fruit Salad
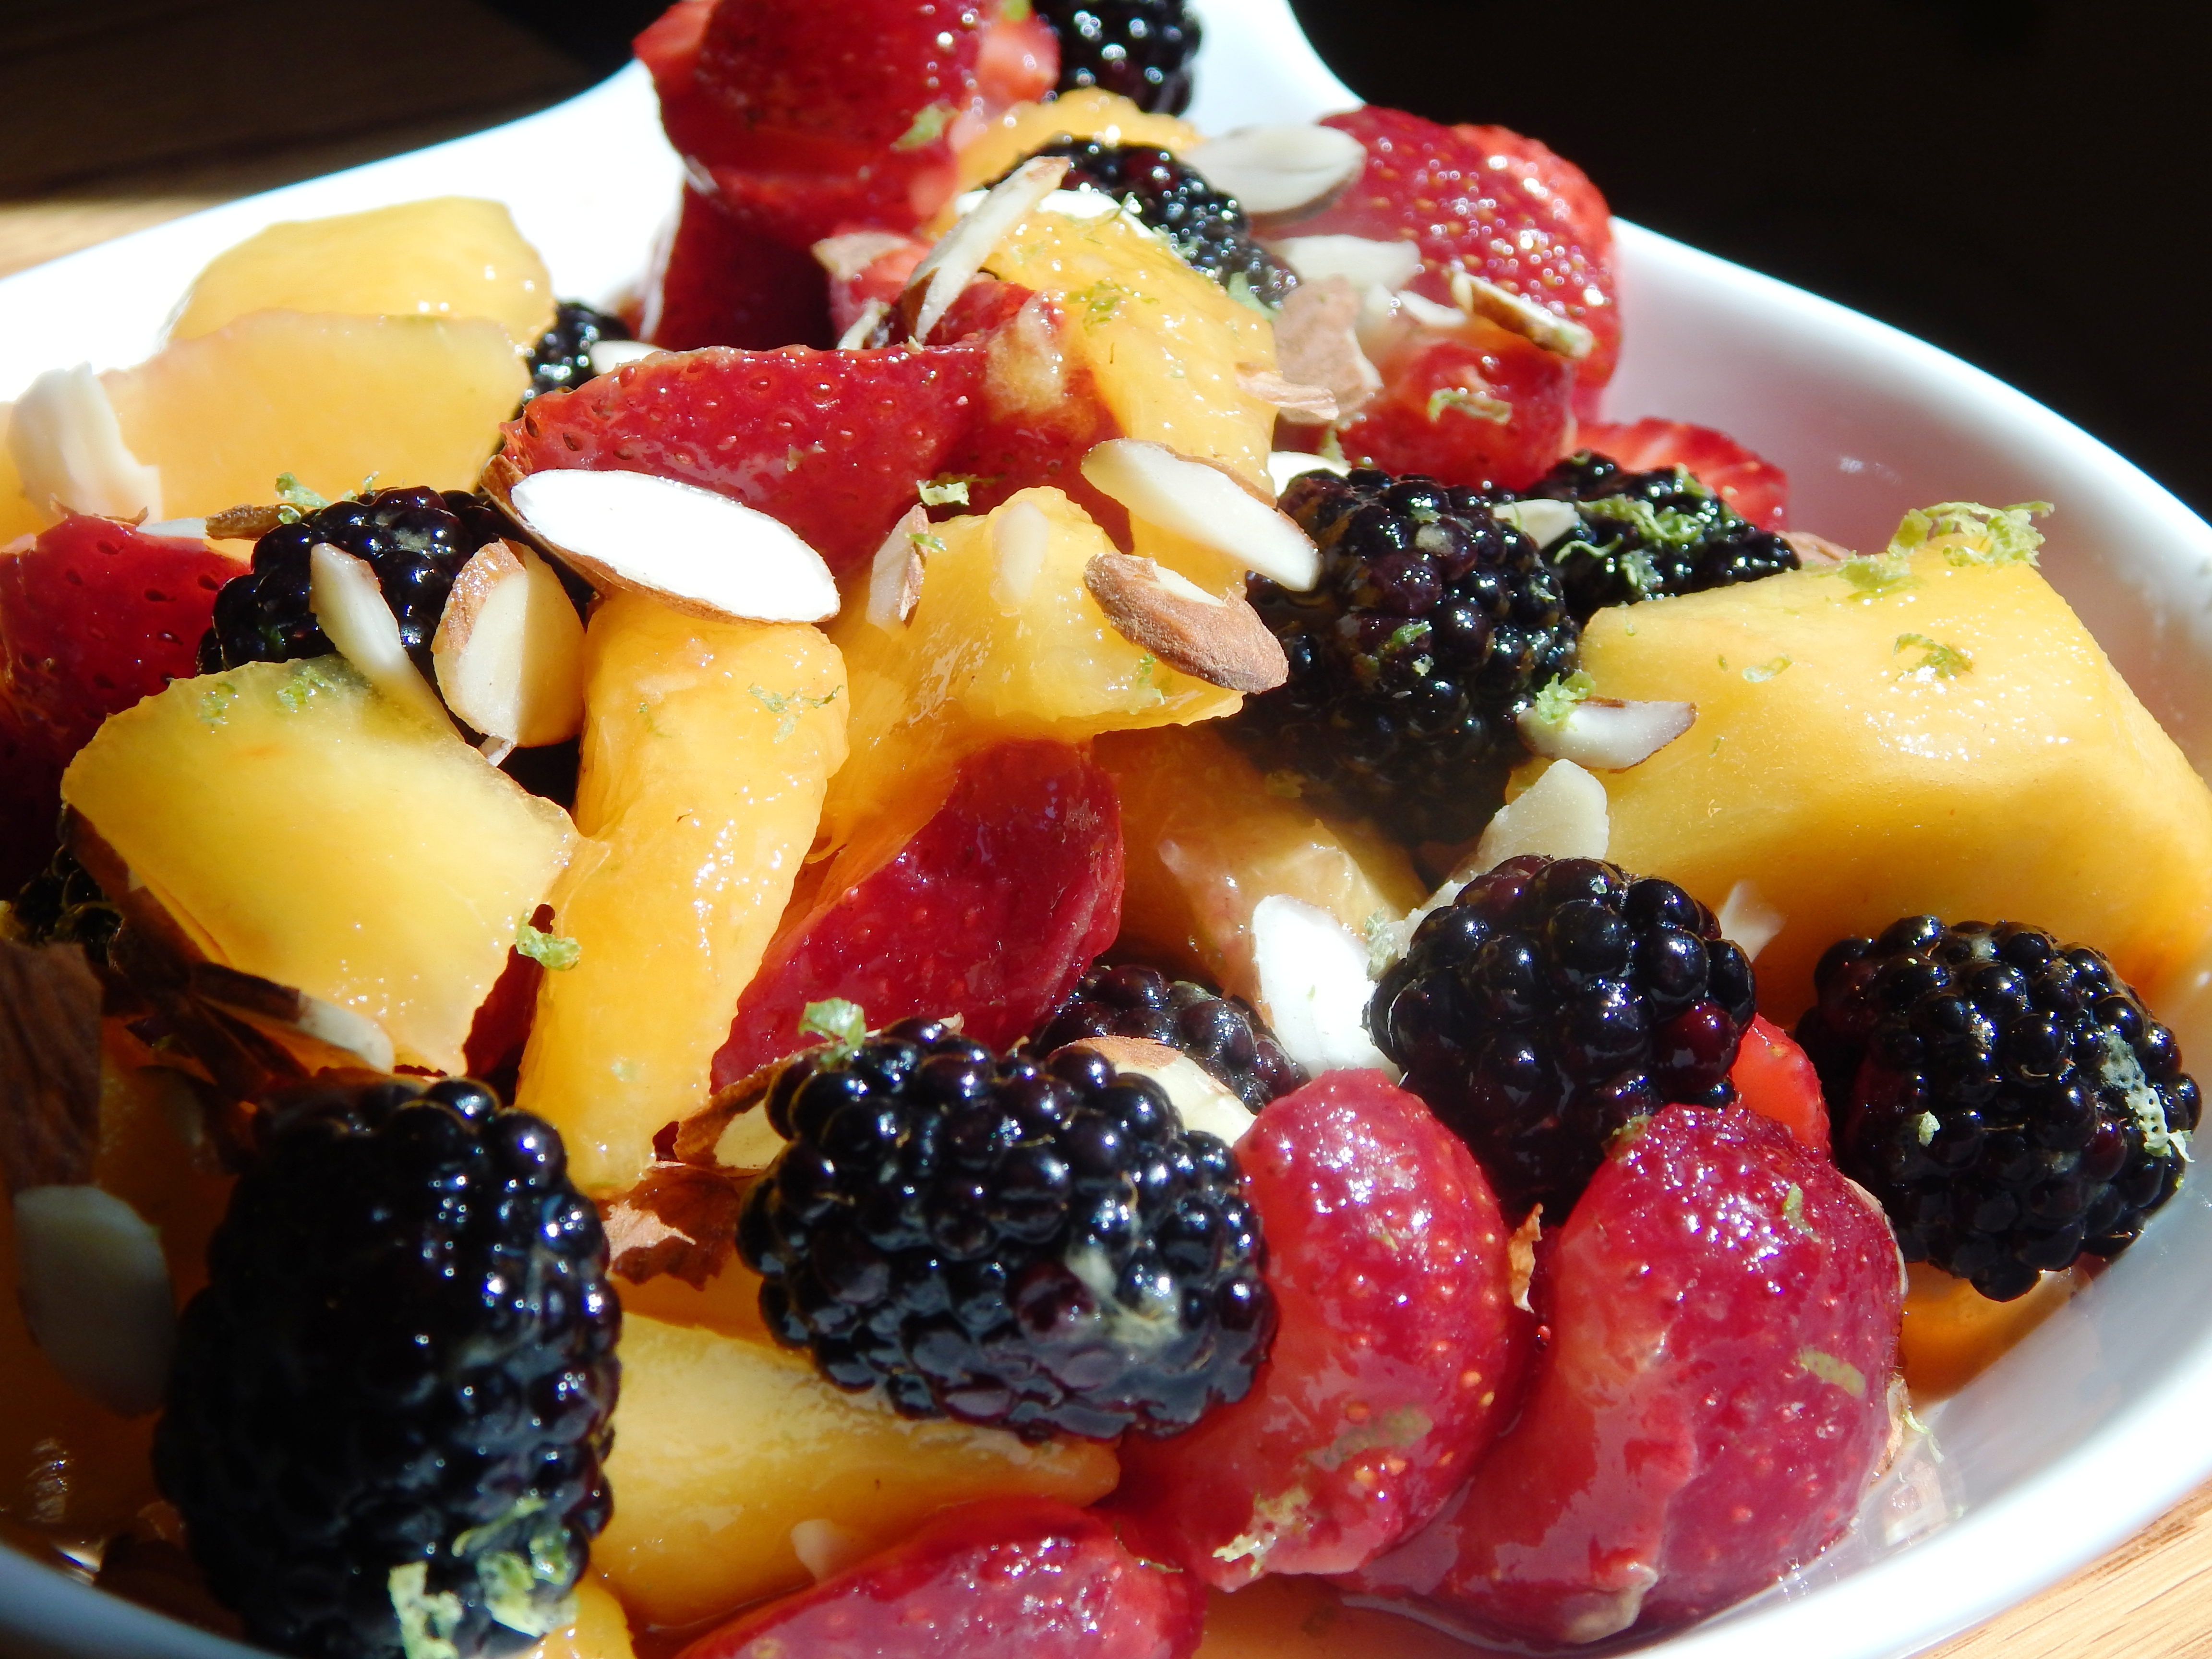
Summer Peach and Berry Fruit Salad
Ingredients:
5 Organic Juicy Ripe Peaches (pitted, peeled and sliced)
6 oz. of Organic Blackberries
2 Cups Organic Strawberries (halved)
1/4 Cup Sliced Almonds
1 Organic Lime (Zest and Juice)
2 Tablespoons Dry White Wine (Optional, I used Sauvignon Blanc)
2 Teaspoons of Good Quality Honey
1/2 Teaspoon Pure Vanilla Extract
Directions: Whisk together the Lime Juice, Honey, Lime Zest, Vanilla and White Wine if using. Pour over the bowl of prepared fruit and gently fold. Refrigerate 2 hours and up to 24 hours. Right before serving, sprinkle with sliced almonds.
Serve chilled and enjoy! Have a fabulous weekend!

Eat Your Nutrients!


Recent Comments