Hello June! What have you been up to so far since the warm weather is here – in the Northern Hemisphere at least? I have been outside enjoying working in my flower gardens, and my husband upgraded the garden areas for me with some great stone work. Earlier this spring we amended our soil, and then let the planting begin! One of my favorite around the house outdoor activities is beautifying my little neck of the woods. All that physical labor makes me extra hungry, and I have a new potato salad recipe for you that is the best in my opinion. There’s a little secret ingredient that adds a little extra tang that elevates it.
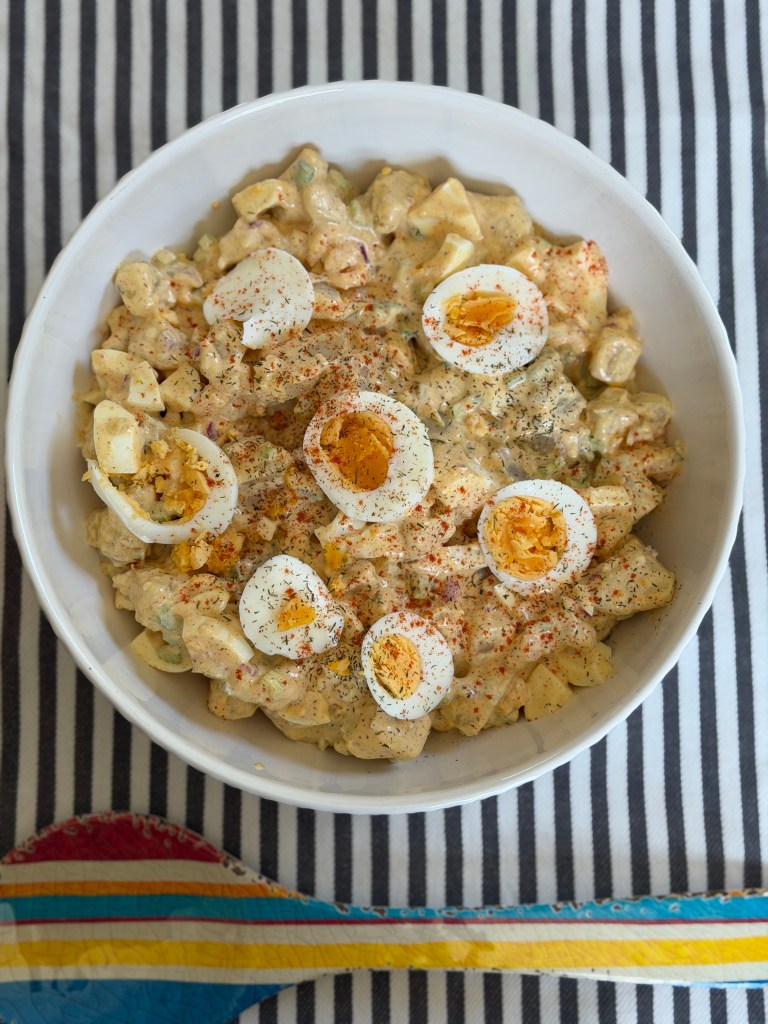
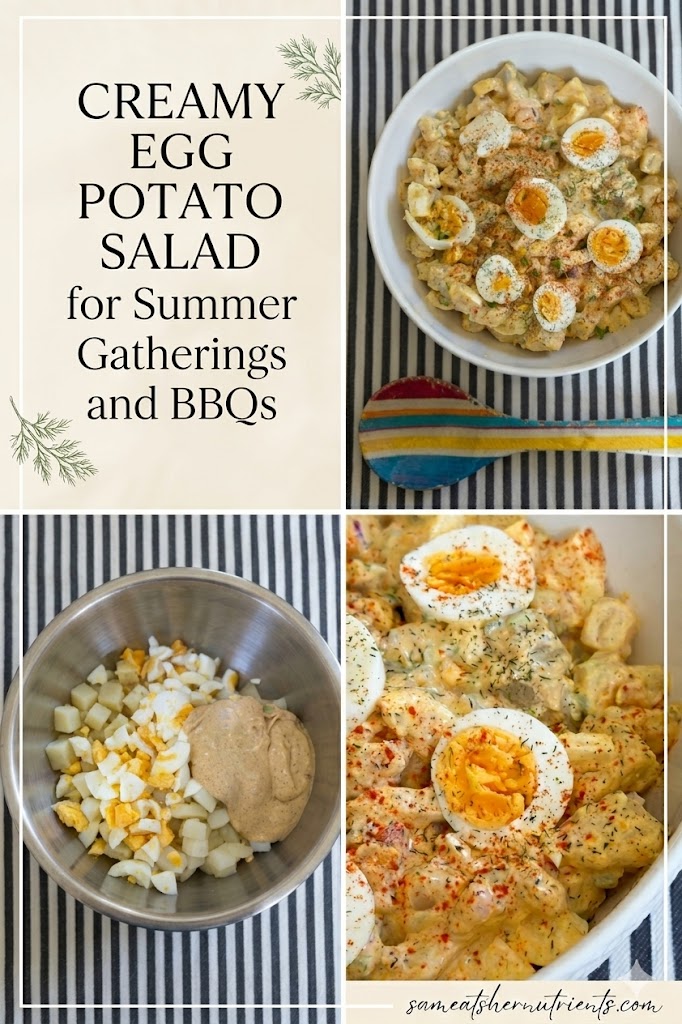
Summer gatherings just seem to call for a good potato salad, and it seems when the warmer weather rolls around, I start craving a classic like my grandmother used to make. Whether it’s a backyard barbecue, a family picnic, or a holiday cookout, this creamy egg potato salad is always a welcome addition to the table. It is a great recipe to include for Father’s Day grilling and 4th of July. Made with tender russet potatoes, hard-boiled eggs, mayonnaise, and mustard, it’s a simple recipe that delivers classic flavor every time. I used yellow mustard in this recipe to keep it kid friendly and traditional.
There are some recipes that never go out of style, and potato salad is one of them. A bowl of creamy potato salad always seems to disappear quickly.
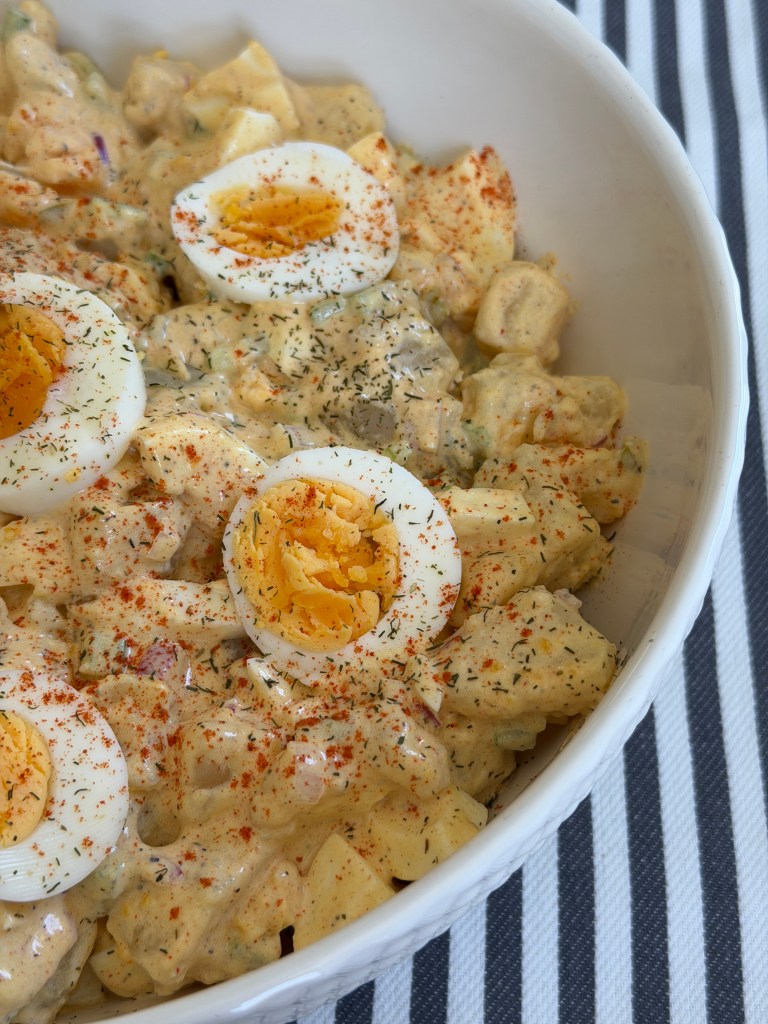
This Creamy Egg and Russet Potato Salad is my version of the classic like my mom and grandmother used to make. Tender russet potatoes and hard-boiled eggs are tossed in a creamy dressing made with mayonnaise and mustard for that familiar flavor we all know and love. It’s simple, satisfying, and made with ingredients that are easy to keep on hand.
I especially enjoy making this recipe during the warmer months when we’re spending more time outdoors. It pairs beautifully with grilled chicken, steak, burgers, hot dogs, or sandwiches, and it can be made ahead of time, which is always a bonus when entertaining.
Russet potatoes create a soft, creamy texture that works perfectly in this salad. Combined with protein-rich eggs and a flavorful dressing, this dish is both comforting and filling.
If you’re looking for a classic potato salad recipe that’s easy to prepare and naturally gluten-free, give this one a try. I think you’ll find yourself coming back to it all summer long.
Creamy Egg & Russet Potato Salad
Ingredients
- 2½ pounds russet potatoes, peeled and cut into bite-sized chunks
- 6 hard-boiled eggs, chopped reserving one for slicing on the top
- ¾ cup mayonnaise (I use a good avocado oil mayo by Primal Kitchen)
- 1½ tablespoons yellow mustard (or Dijon for a more sophisticated flavor)
- 2 large celery stalks, finely diced
- ¼ cup red onion, finely diced
- 2 tablespoons dill pickle relish (or finely chopped dill pickles)
- 1 tablespoon pickle juice (this is what makes it tangier)
- 1 teaspoon sea salt or Himalayan pink salt (or to taste)
- ½ teaspoon black pepper
- ½ teaspoon paprika, plus more for garnish
- 1 teaspoon dried dill for the top
Instructions
- Boil potatoes in generously salted water until fork-tender, about 10-12 minutes. Drain and cool.
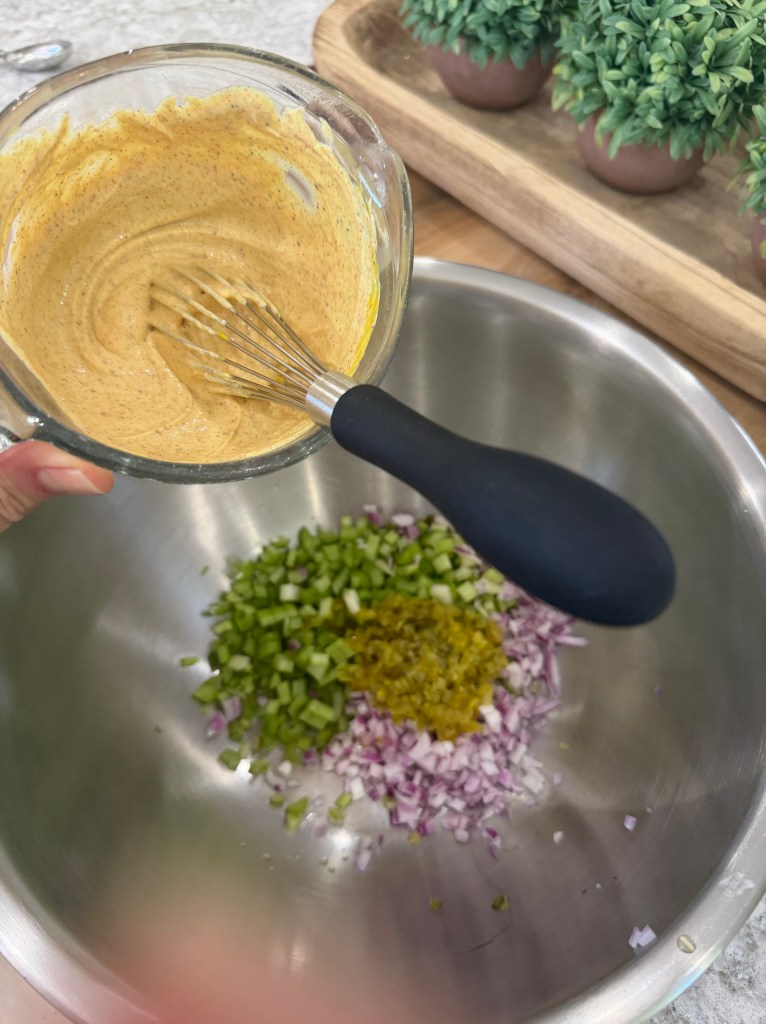
- In a large bowl, whisk together mayonnaise, mustard, pickle juice, salt, pepper, and paprika.
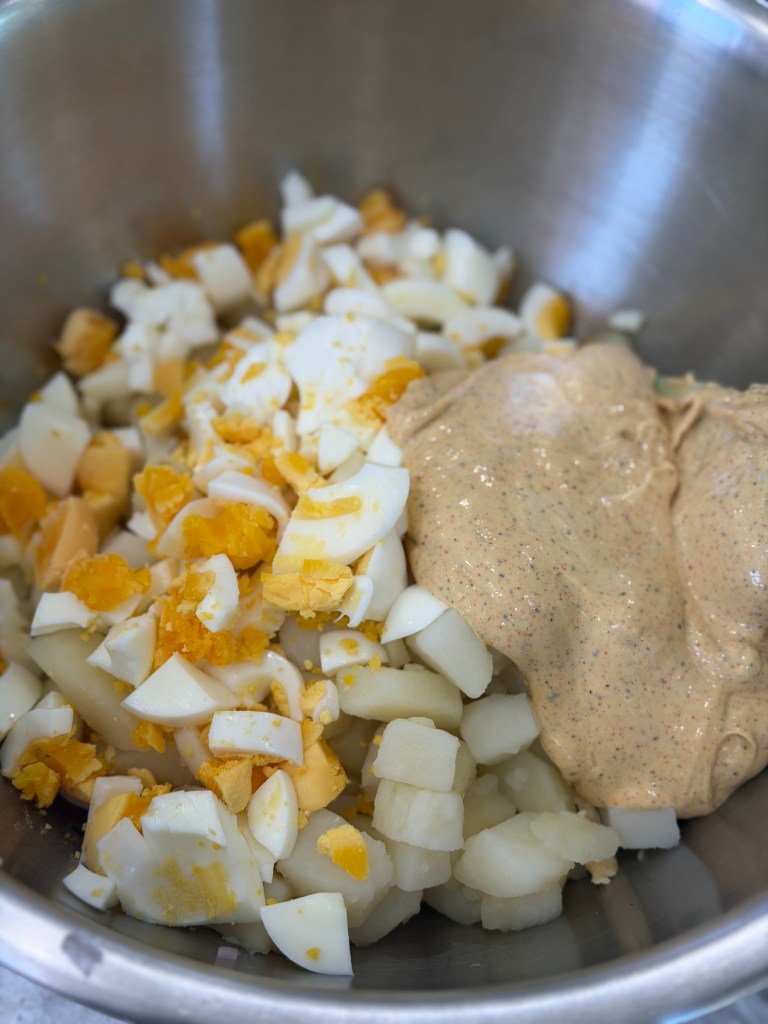
- Fold in the potatoes, celery, onion, relish, and chopped eggs.
- Gently stir until everything is coated.
- Refrigerate for at least 1 hour before serving.
- Garnish with additional paprika, sliced egg, dill and a little sprinkle of extra paprika.
The six eggs make it extra rich and hearty, almost like a meal on its own. Russet potatoes are perfect here because they really soak up all that creamy dressing and give you that classic, comforting texture. A splash of pickle juice adds just the right tang and a little “what’s in this?” moment that people always seem to love. And the dill—whether fresh or dried—brings in that simple, homemade summer picnic flavor that makes it feel familiar and nostalgic.
I hope you make and love this recipe and share it with family and friends. As always, I love to hear from you! Keep on cooking, and remember that food made with love always tastes better!


Recent Comments