Monthly Archives: January 2019

Hidden Fruit and Veggie Chocolate Muffins Your Toddler Will Love!

While so many are obsessed with Keto lately, some of us are still just trying to get a toddler to eat their veggies!

fruitandveggiemuffinsinabasket

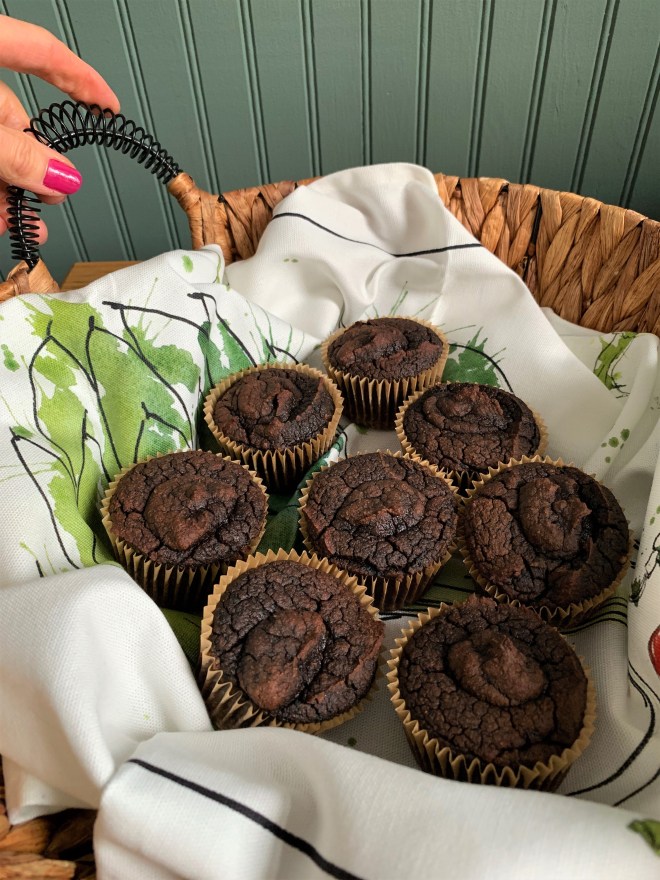
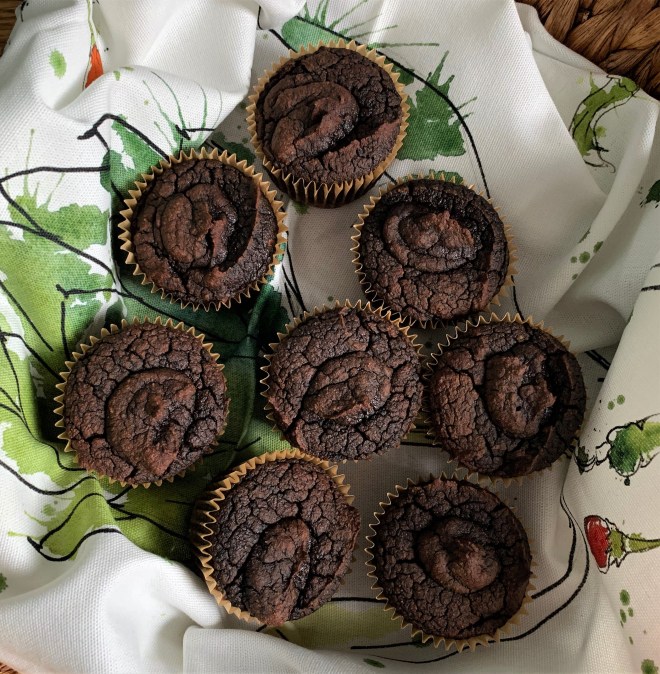
These Hidden Fruit and Veggie Muffins appeal to all ages, but if you are trying to get a toddler to eat more veggies, and his palate is just not there yet, these taste like regular ole chocolate muffins! They are quite nutritious and low in added sugar.

chocolatefruitandveggiemuffinscenter

My 2 year old Grandson, Theodore, gobbles these up happily! Sometimes he even eats two at a time!

theoeatingchocolatemuffin

Such a happy face!!! toddlerapproved

Hidden Fruit and Veggie Chocolate Muffins

Preheat your oven to 350° F.  Line a muffin pan with muffin liners.

Ingredients:

3 Eggs

1 15 oz. Can of Butternut Squash (I use Farmer’s Market Organic which is readily available in most grocery stores)

1/2 Cup of Diced Zucchini

1/2 Cup of Fresh or Frozen Blueberries (thawed)

1/2 Cup of Coconut Flour

1/4 Cup of Cacao Powder (I used this kind)

1/4 Cup of Avocado Oil or Olive Oil

1/4 Cup of Pure Maple Syrup

1 Teaspoon of Vanilla Extract

1 Teaspoon of Baking Powder (Here’s my DIY Corn Free Baking Powder Recipe)

1 Teaspoon of Cinnamon

1/2 Teaspoon of Sea Salt

1/2 Teaspoon of Baking Soda

Directions: It is so simple because we are using a food processor with a blade attachment. Add your eggs, diced zucchini, butternut squash and blueberries to the food processor and process until smooth. Add all the remaining ingredients and process for one minute. Scrape down the sides of the bowl, and process another 30 seconds.

Fill your muffin cups evenly. I like to use a muffin scoop. Bake in your preheated oven for 35 minutes, or until a toothpick inserted into the center of a muffin comes out clean.

Makes 12 Muffins

chocolatefruitandveggiemuffins4

thesemuffinsarechocolatelyandyourtoddlerwouldneverguessheiseatingfruitandveggies21glutenfree2cdairyfree2cgrainfree

*This post has affiliate links in it. I receive a very small commission if you purchase through my links. The small commission helps cover the cost of maintaining this blog. Thanks! 🙂


Immune Boosting Smoothie!

cold busting smoothie

You’ve washed your hands like crazy and practiced prevention to avoid a cold. but here it is! You got one anyway!

What now? I know you want it to go away, like yesterday!!!

Here’s an immune boosting smoothie you can make every day while you have a virus, or for prevention, to boost your immune system and assist in making your cold as short as possible! Each ingredient serves a purpose.

Immune Boosting Smoothie

Ingredients:

1 Large Orange (Vitamin C)

1 Cup of Frozen Mango (Vitamin C)

1 Cup of Brewed and Cooled Chamomile Tea (Soothes Sore Throats)

1 Tablespoon of Fresh Lemon Juice (Vitamin C)

2 Tablespoon of Unsweetened Coconut Flakes (Fiber)

1 Teaspoon of Chia Seeds (Fiber and Omega 3)

1/8 Teaspoon of Cinnamon (anti-bacterial & anti-inflammatory)

1 Teaspoon of Black Elderberry Syrup (I use this) (immune boosting, antioxidants)

1 Teaspoon of Raw Honey (antibacterial, helps relieve sore throats and coughs)

Directions:

Blend all the ingredients together, except the elderberry syrup, in a blender on high. Pour into a glass. Drizzle the elderberry syrup on top. You can add some additional mango on top if you want to.

In addition, while you have a cold, make sure you get enough rest, stay hydrated, sip warm liquids (chamomile tea helps soothe a sore throat), add moisture to the air, and use an over the counter saline nasal spray.

light and yummy, every ingredient in this smoothie serves a purpose! dairy free and gluten free.

*This post has affiliate links in it. I receive a very small commission if you purchase through my links. The small commission helps cover the cost of maintaining this blog. Thanks! 🙂

Chocolate Cherry Valentine Hearts

chocolate cherry hearts gluten free dairy free
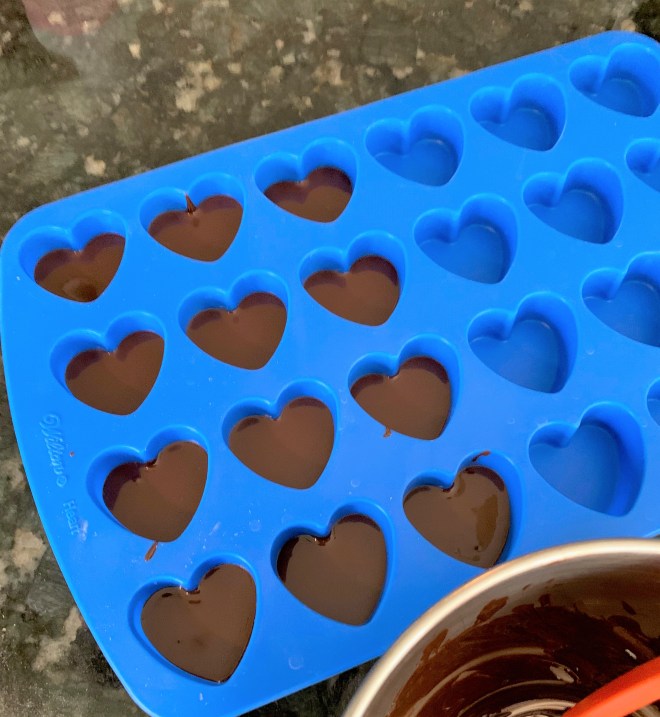
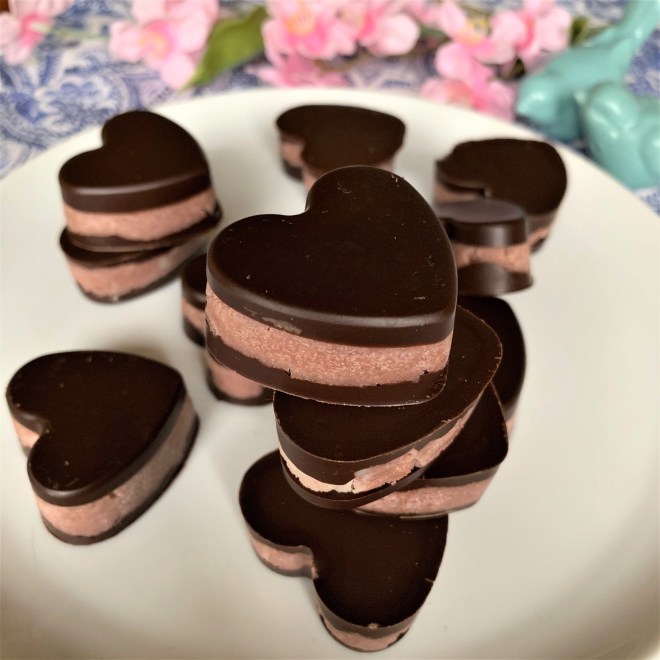
These gorgeous chocolate candies are pretty easy, and use just three delicious ingredients. Plus, they are gluten and dairy free! They package well for gifts too!

I think coconut butter is divine in candy, because it gives you that melt in your mouth feel. Who am I kidding, I can eat it straight off the spoon! In this recipe I combined it with cherry concentrate for the candy centers and layered it between dark chocolate.

chocolate cherry valentine hearts

I used a silicon candy mold to make the heart shapes (here). Mini muffin cups will work also, but the mold was inexpensive and can be used for baking too!

chocolate cherry valentine hearts to make yourself

These are perfect for Valentines Day, but I wouldn’t say no to them any time. You can even use different shaped molds depending on the season or occasion!!!

packaged chocolate cherry valentine hearts

Here’s a photo of the mold as I was making the candy. This is the first layer.

wilton mold

Chocolate Cherry Valentine Hearts

Ingredients:

1 Cup of Dark Chocolate Chips, divided (I used Enjoy Life)

1/2 Cup of Coconut Butter

2 Tablespoons of Cherry Concentrate (I used this organic brand)

Directions:

In a double boiler, place 1/2 cup of dark chocolate chips, and melt them stirring slowly.

Put a teaspoon of melted chocolate in the bottom of twelve heart molds, and put the mold on a cookie sheet. Tap the cookie sheet vigorously on the counter, so the melted chocolate spreads over the bottom of the hearts evenly. Put the mold in the refrigerator for ten minutes to set the chocolate.

Measure your coconut butter into a small microwave safe bowl that is big enough to use a hand held mixer in later. Melt the coconut butter in ten second increments, stirring in between until soft. Using a hand held mixer, and beat in the cherry concentrate.

Remove the candy mold from the refrigerator, and form the cherry filling into teaspoon sized balls. I use a teaspoon scoop to make this easy, and I scoop and roll them between my hands. Place a ball in each heart mold on top of the chocolate and press down to evenly cover the heart.

Melt the remaining 1/2 cup of dark chocolate chips, and spoon it evenly over the tops of the cherry filling. Vigorously tap the pan on the counter to flatten the melted chocolate and help it spread evenly. Refrigerate for ten minutes to set.

Makes 12 Heart Candies

diy chocolate cherry valentine hearts. these easy candies are great for gift giving and are dairy and gluten free!

*This post has affiliate links in it. I receive a very small commission if you purchase through my links. The small commission helps cover the cost of maintaining this blog. Thanks! 🙂