
I love creating nourishing snacks that are both delicious and supportive of your health. These Vanilla Cranberry Energy Balls are the perfect no-bake treat—packed with wholesome ingredients, protein, and optional nutrient-rich boosters. They’re naturally gluten-free, portable, and a wonderful pick-me-up during the day.
Why You’ll Love These Energy Balls
- Naturally sweetened with Medjool dates—no refined sugar needed.
- Protein-powered with a boost of vanilla protein powder.
- Nutrient-dense when you add flax, chia, or hemp seeds.
- Kid-approved thanks to the mini chocolate chips and chewy cranberries.
- Quick & Easy—no baking required and ready in under 15 minutes.

Ingredients
- 1 cup pitted Medjool dates (about 10–12, soaked in warm water if dry)
- 2 tablespoons ghee, room temperature
- ½ cup vanilla protein powder (Use a clean brand like Shaklee’s Vanilla Life Shake Protein Powder or Paleo Valley Vanilla Bone Broth Protein Powder)
- ¼ teaspoon sea salt
- 1 teaspoon vanilla extract
- 2 tablespoons fruit juice–sweetened dried cranberries, chopped
- 2 tablespoons mini chocolate chips (dairy-free if needed)
- ½ teaspoon cinnamon
Optional Boosters:
- 1 tablespoon ground flaxseed
- 1 tablespoon chia seeds or hemp seeds
Instructions
- In a food processor, pulse the dates until they form a sticky paste.
- Add ghee, protein powder, sea salt, vanilla extract, and cinnamon. Process until well combined.
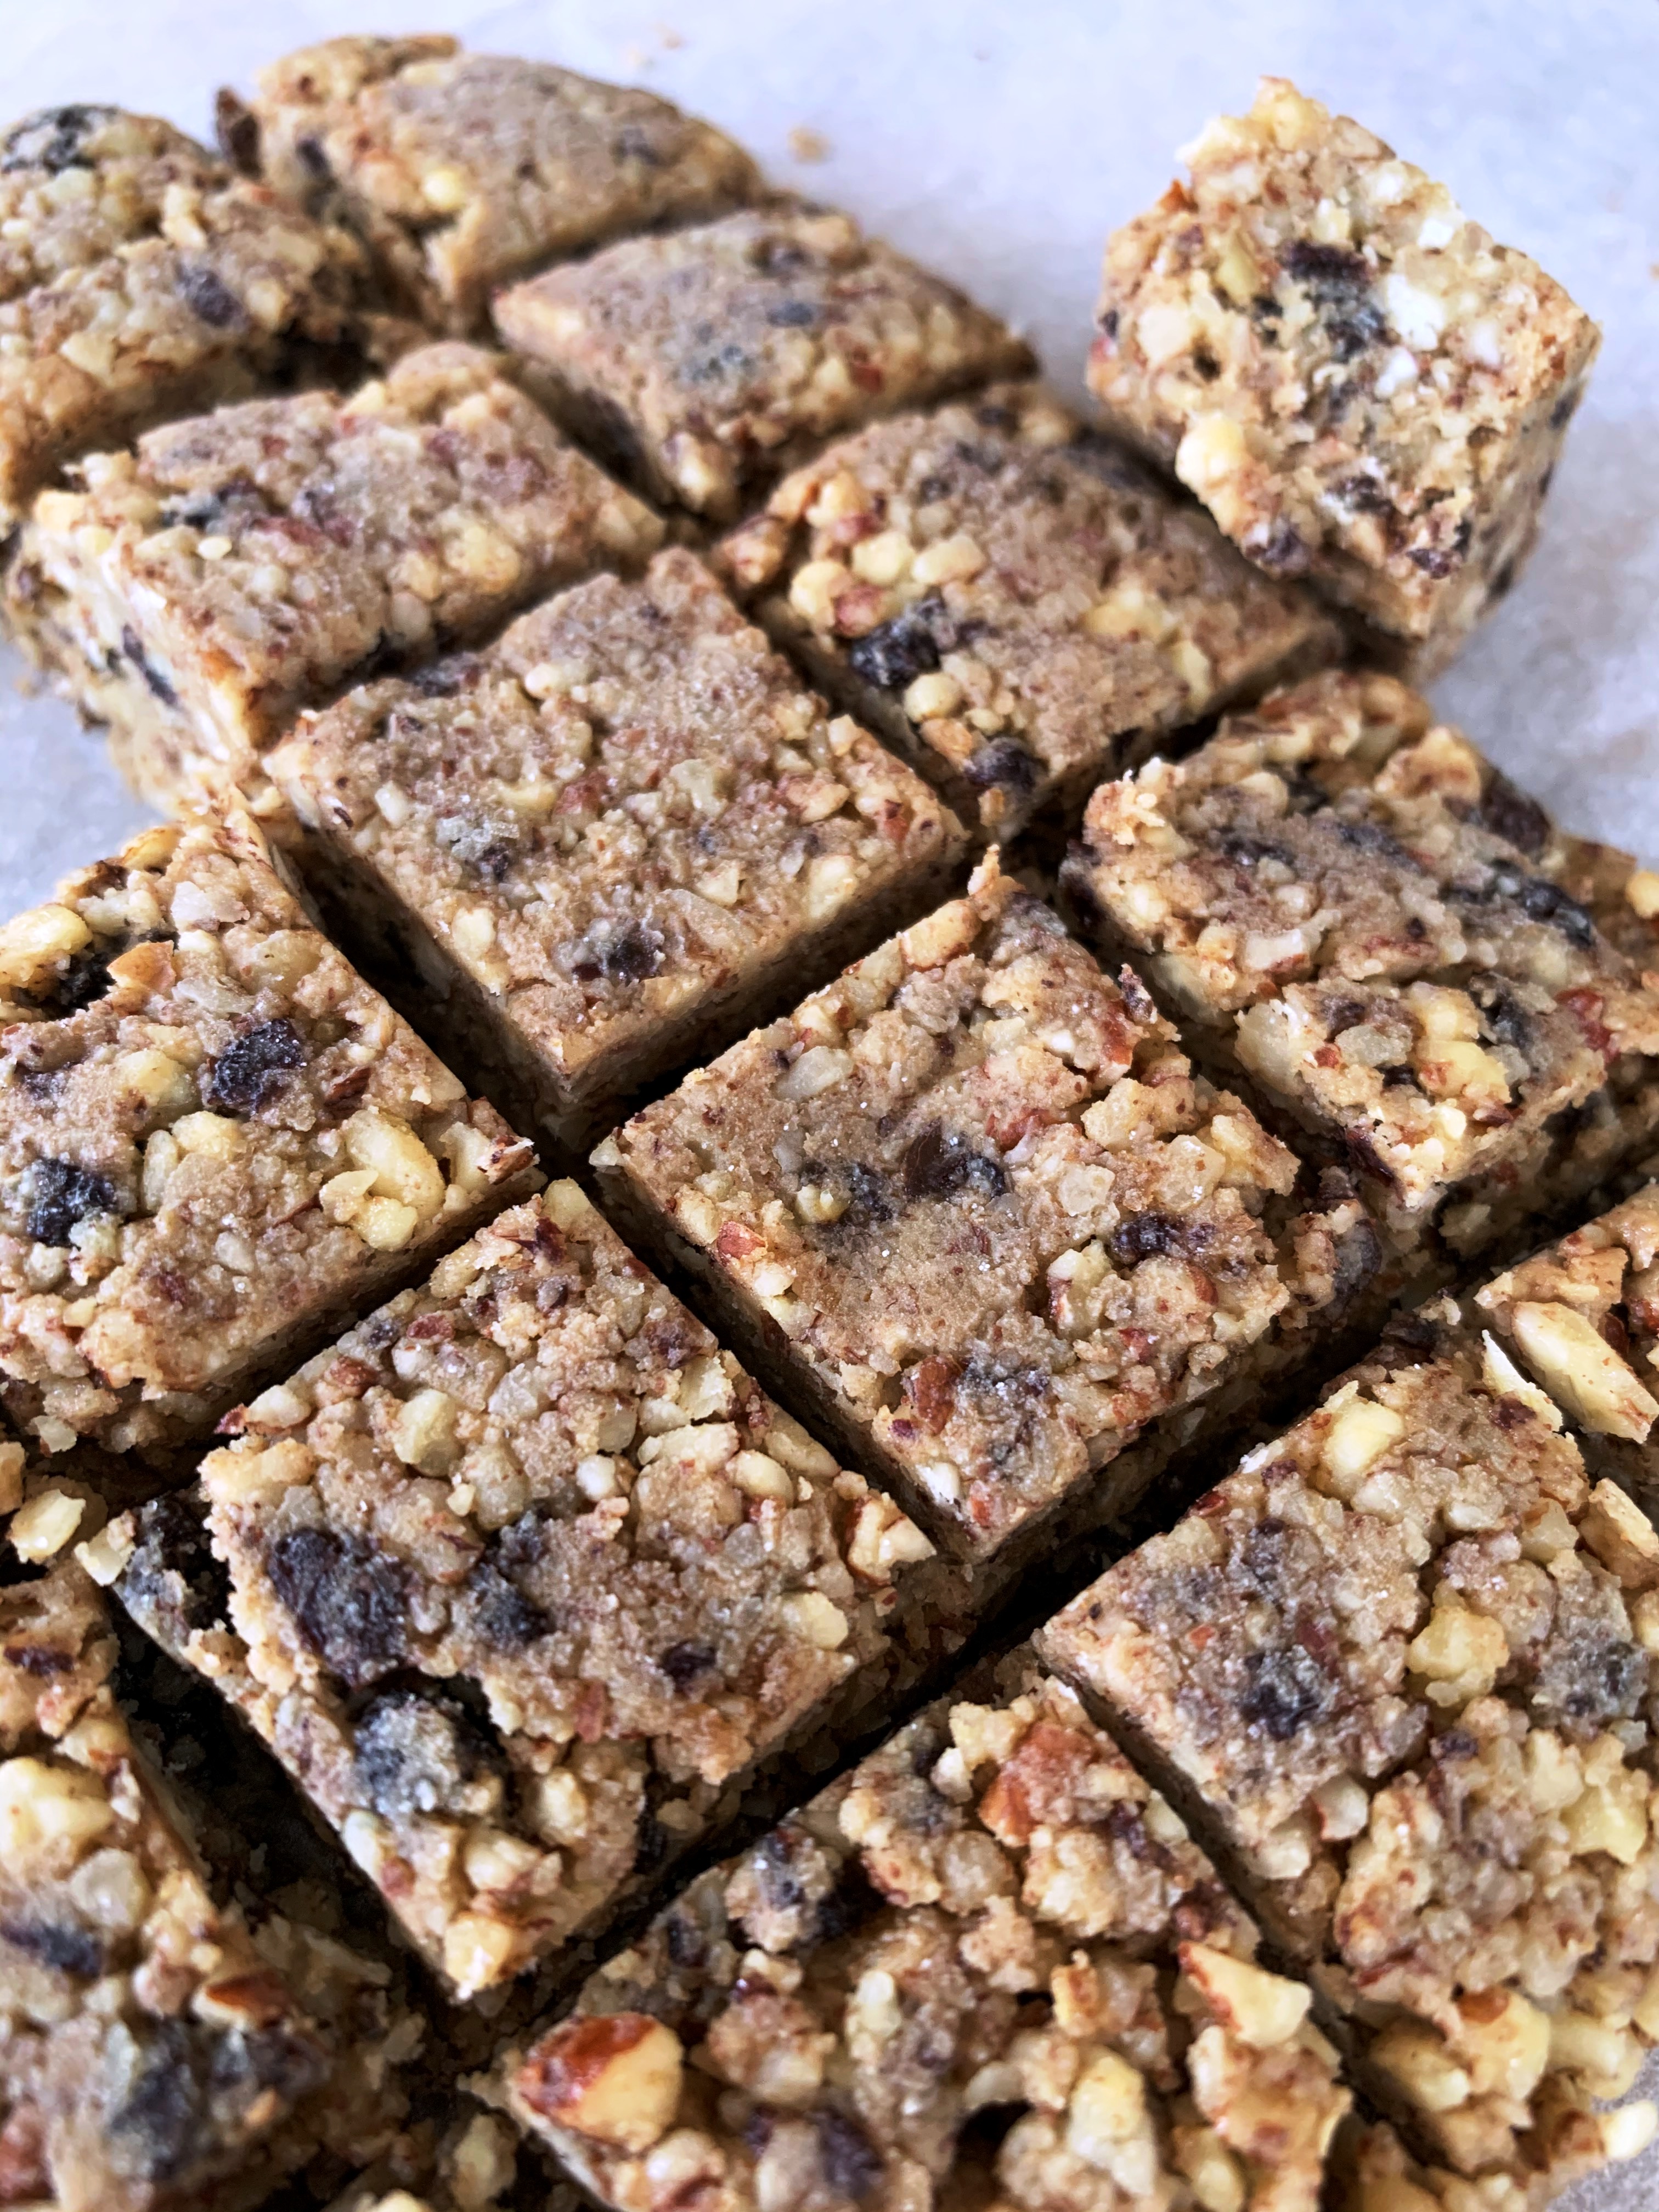
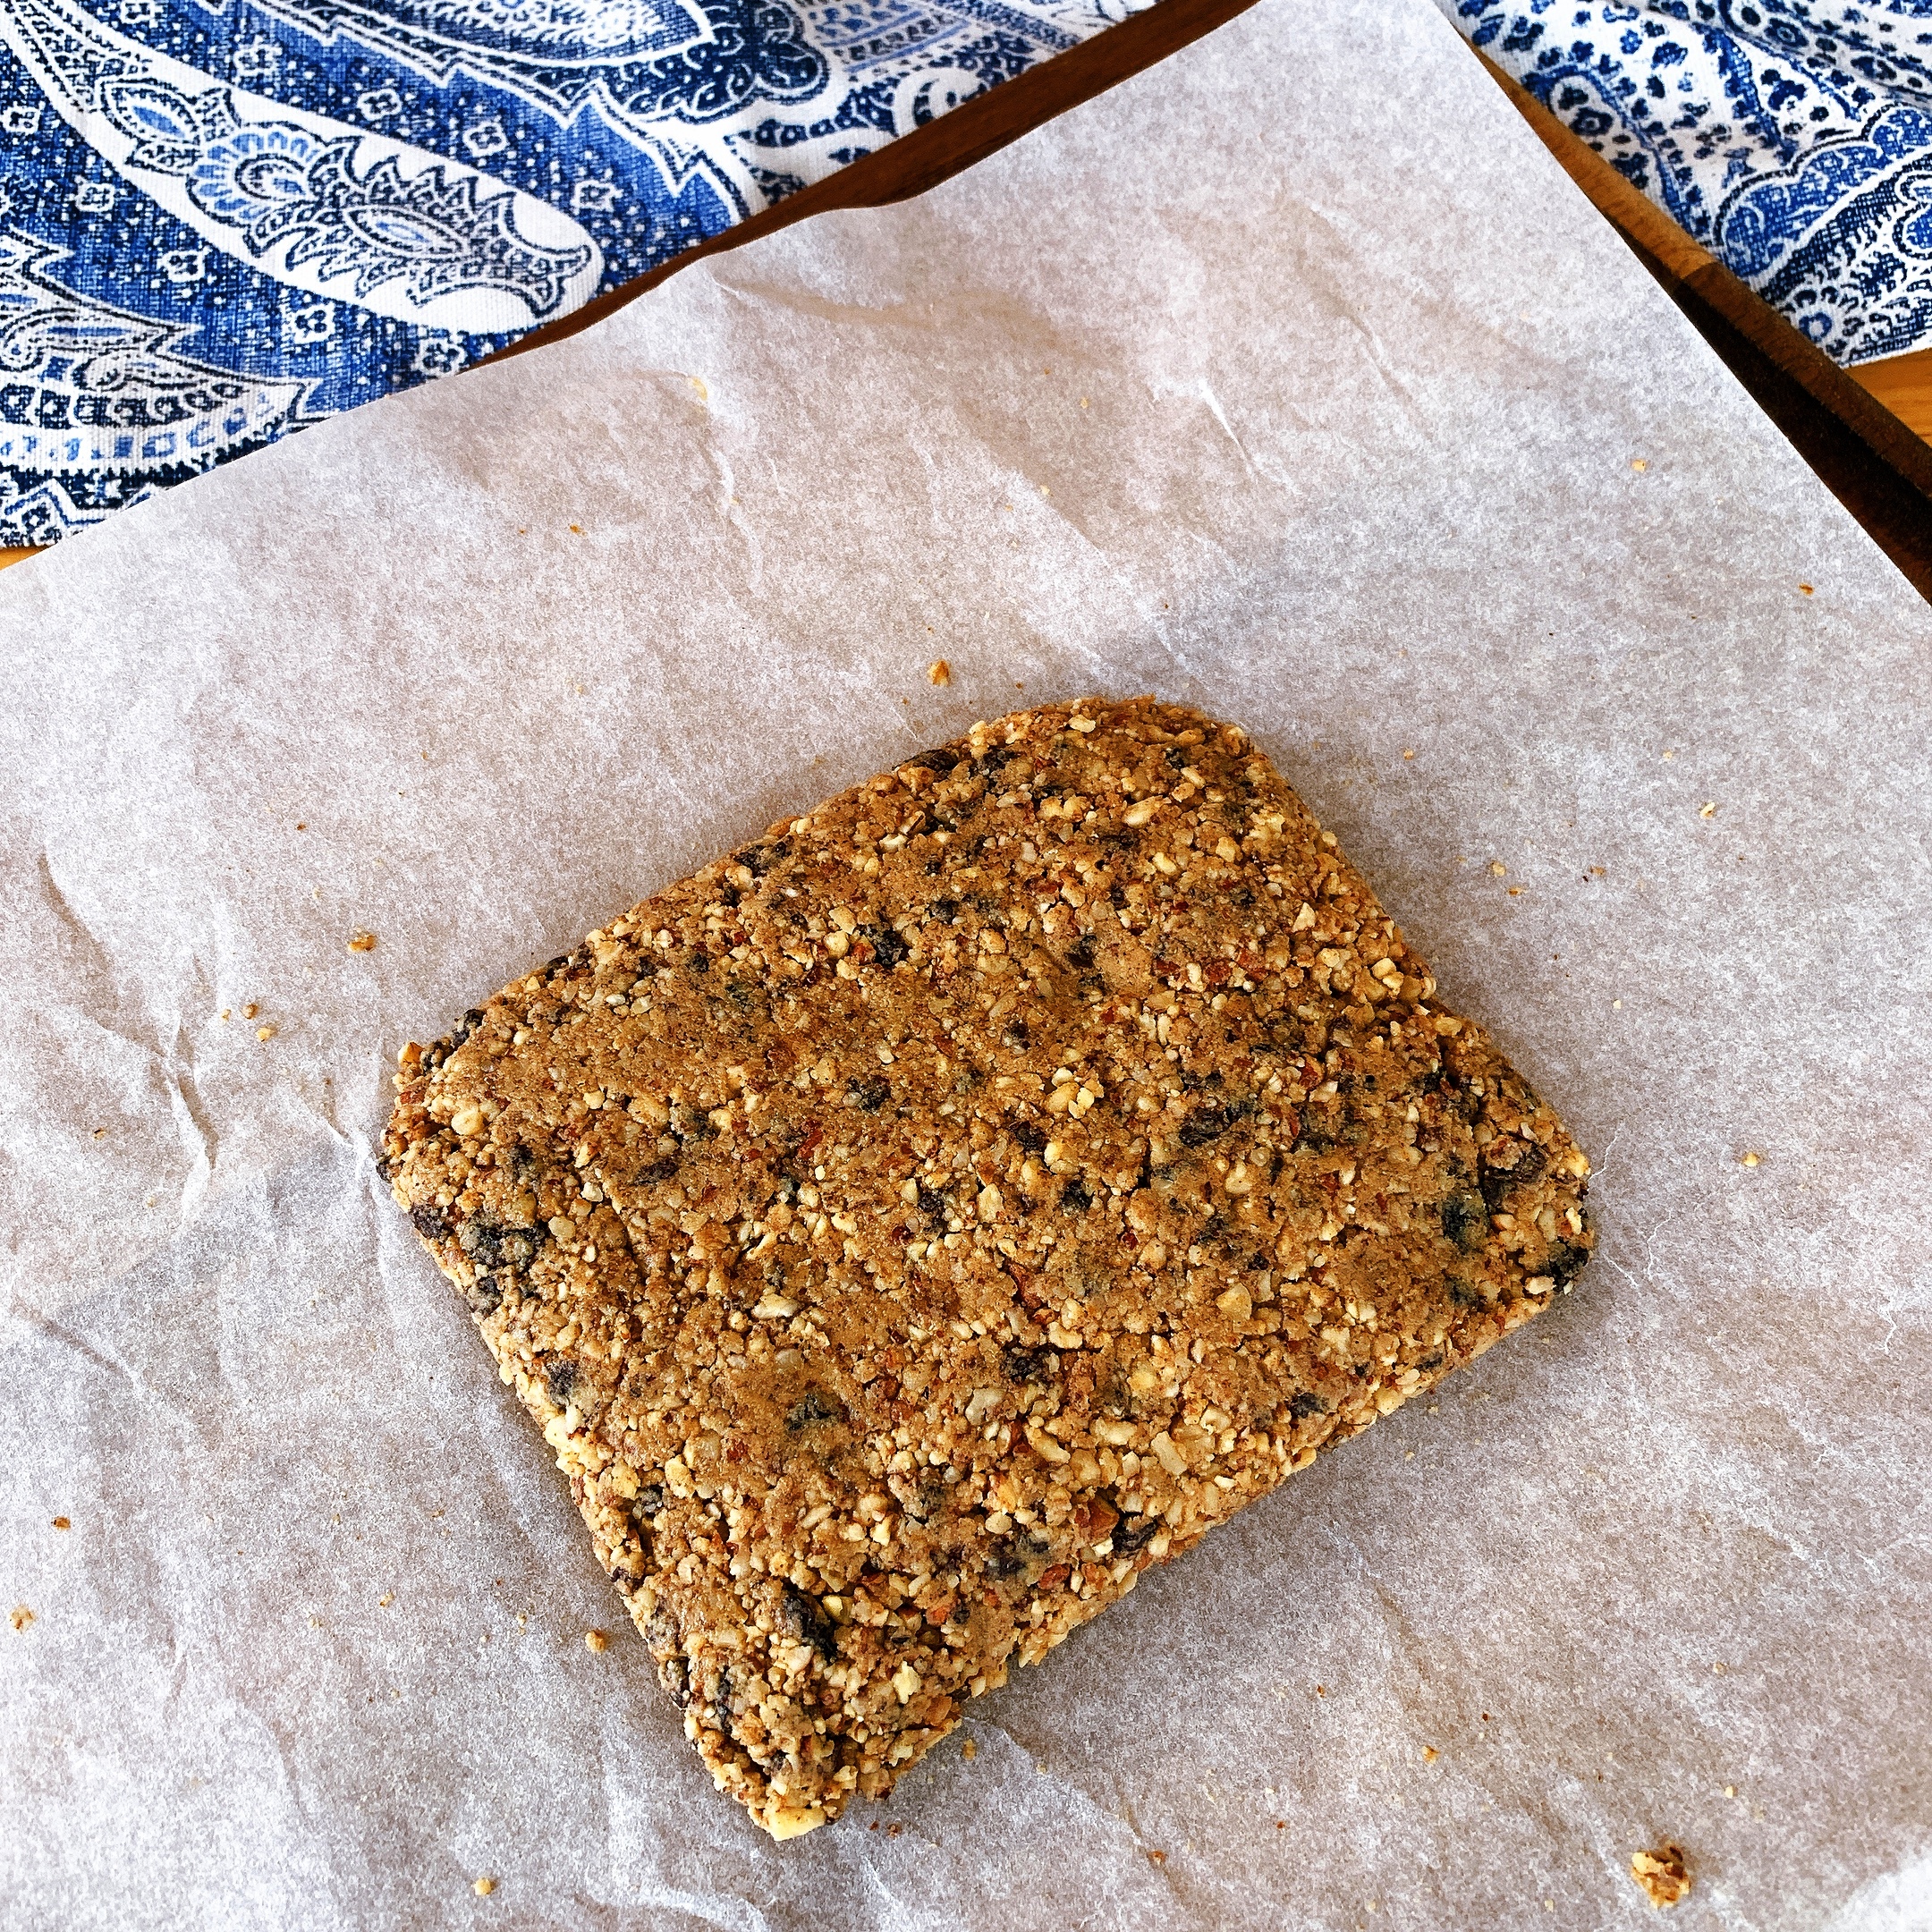
- Transfer the mixture to a bowl and stir in chopped cranberries and mini chocolate chips. Add any optional boosters at this stage.
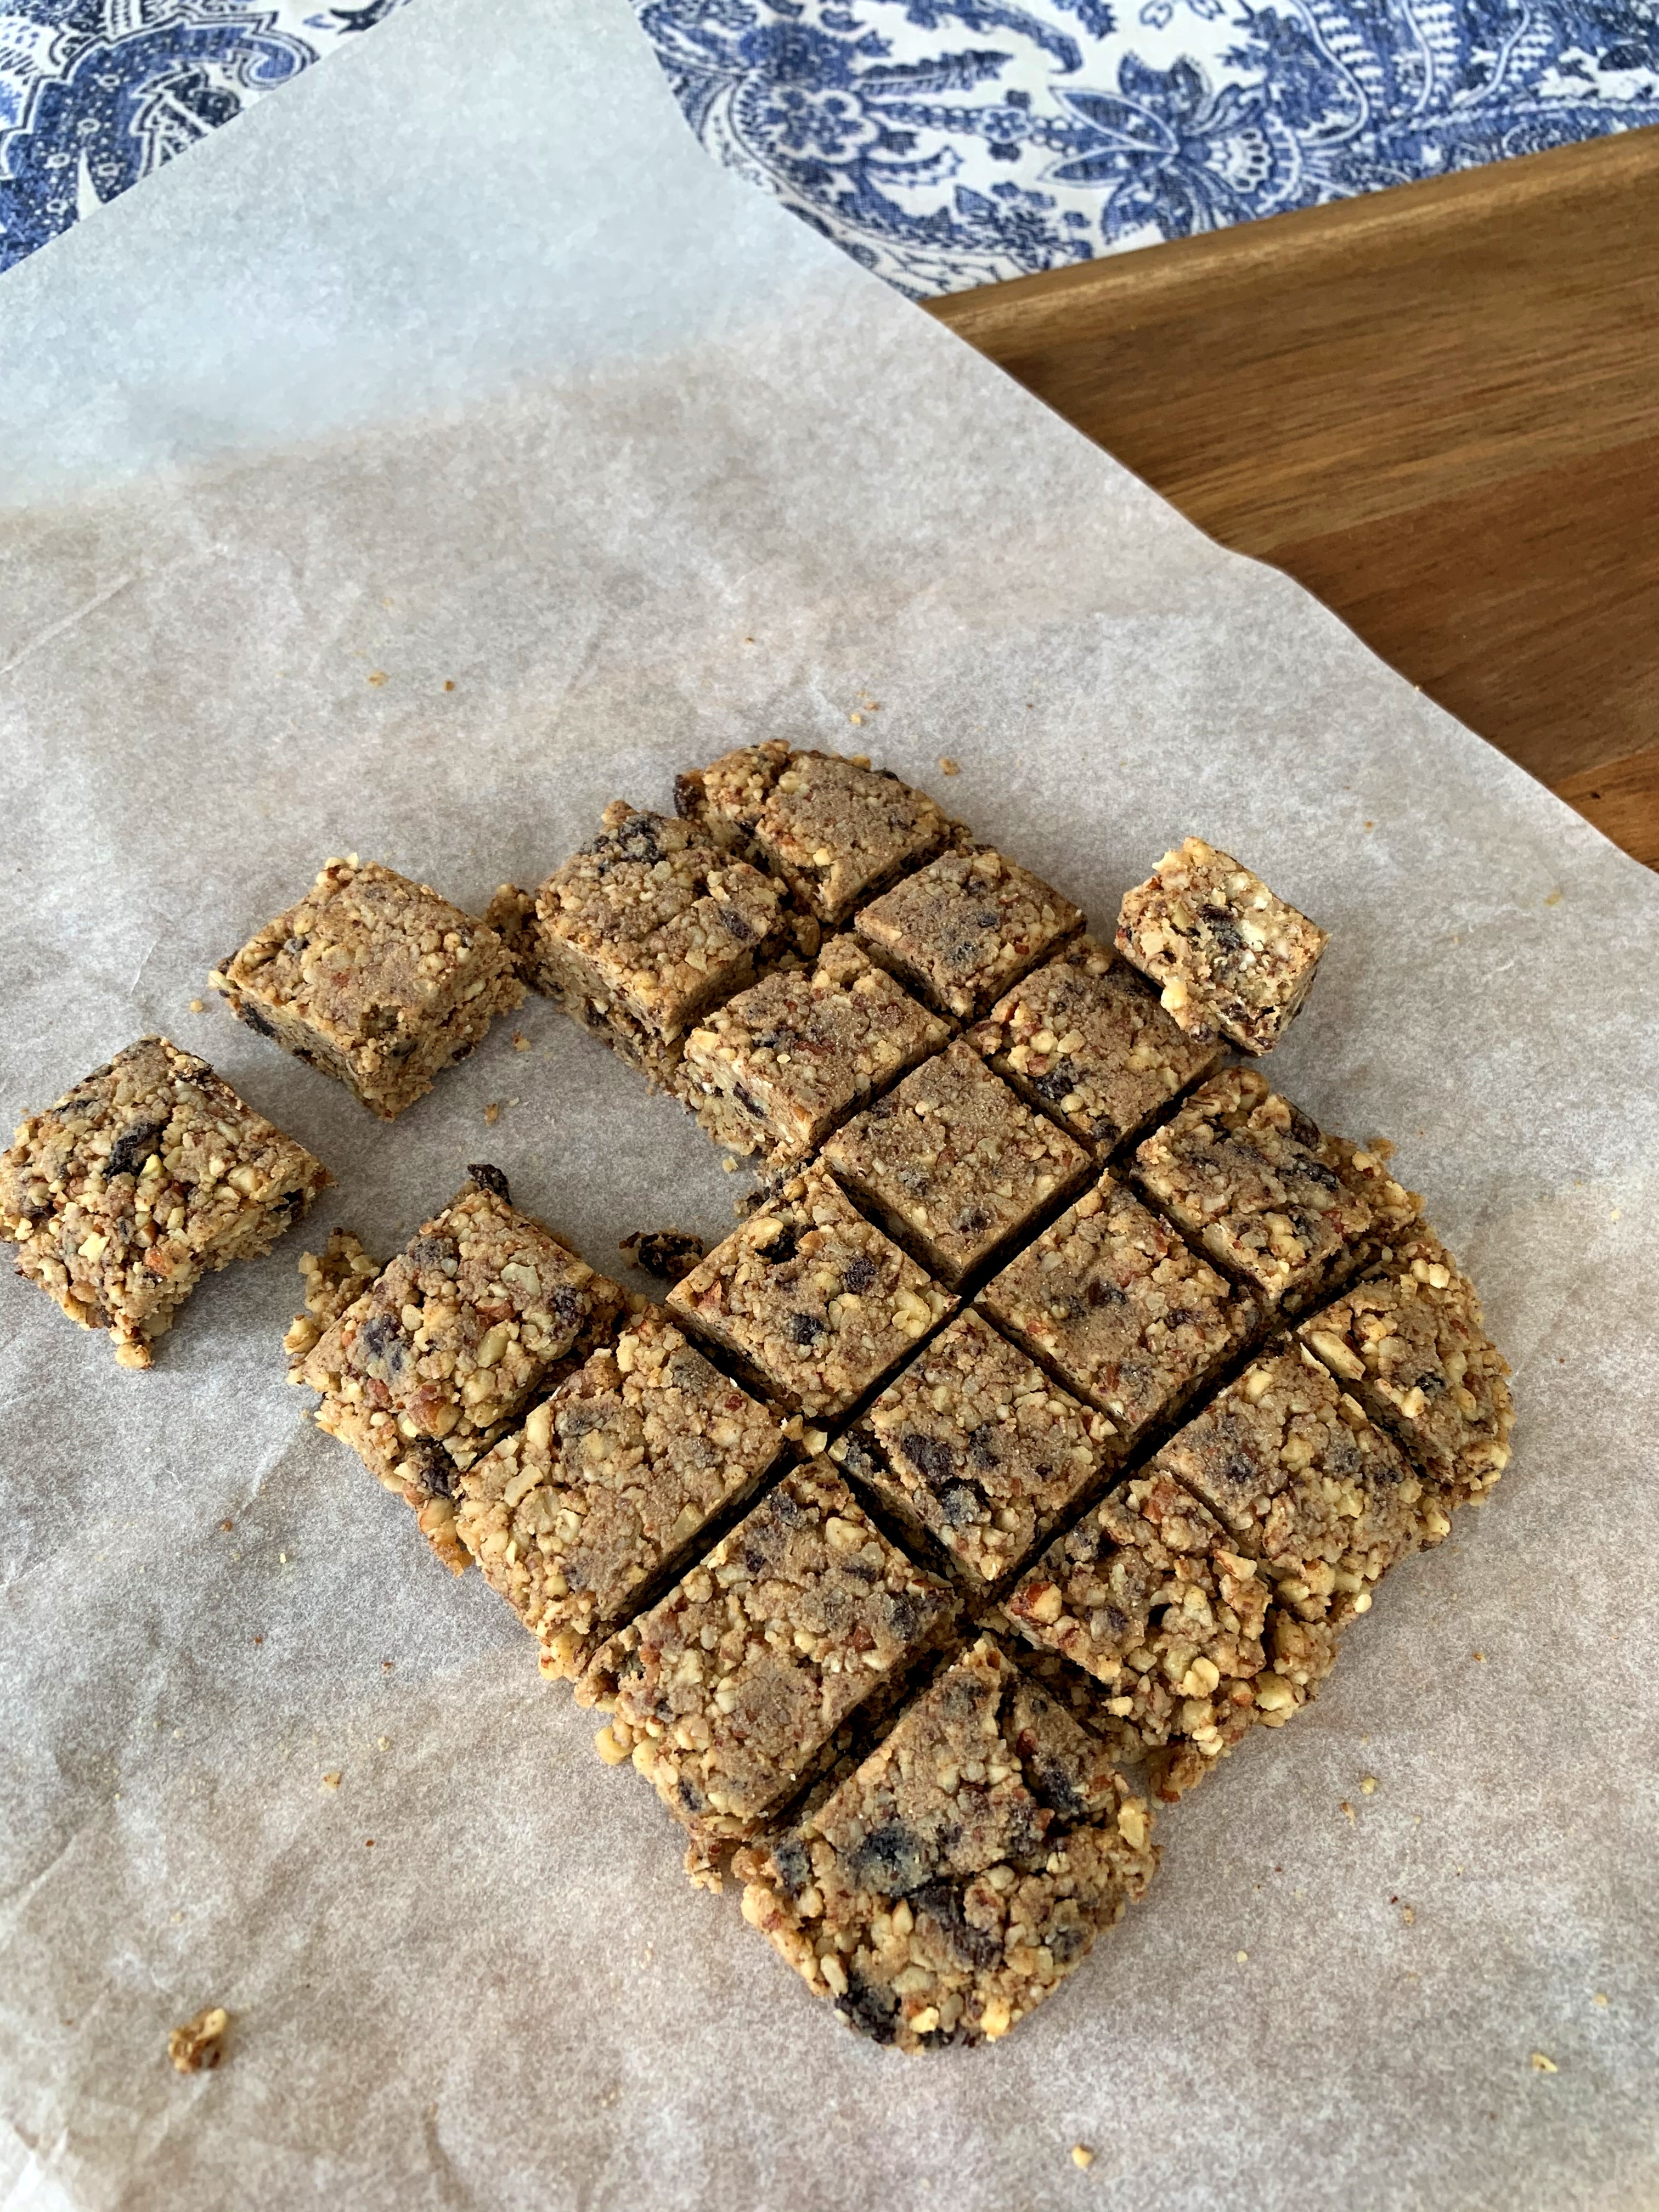
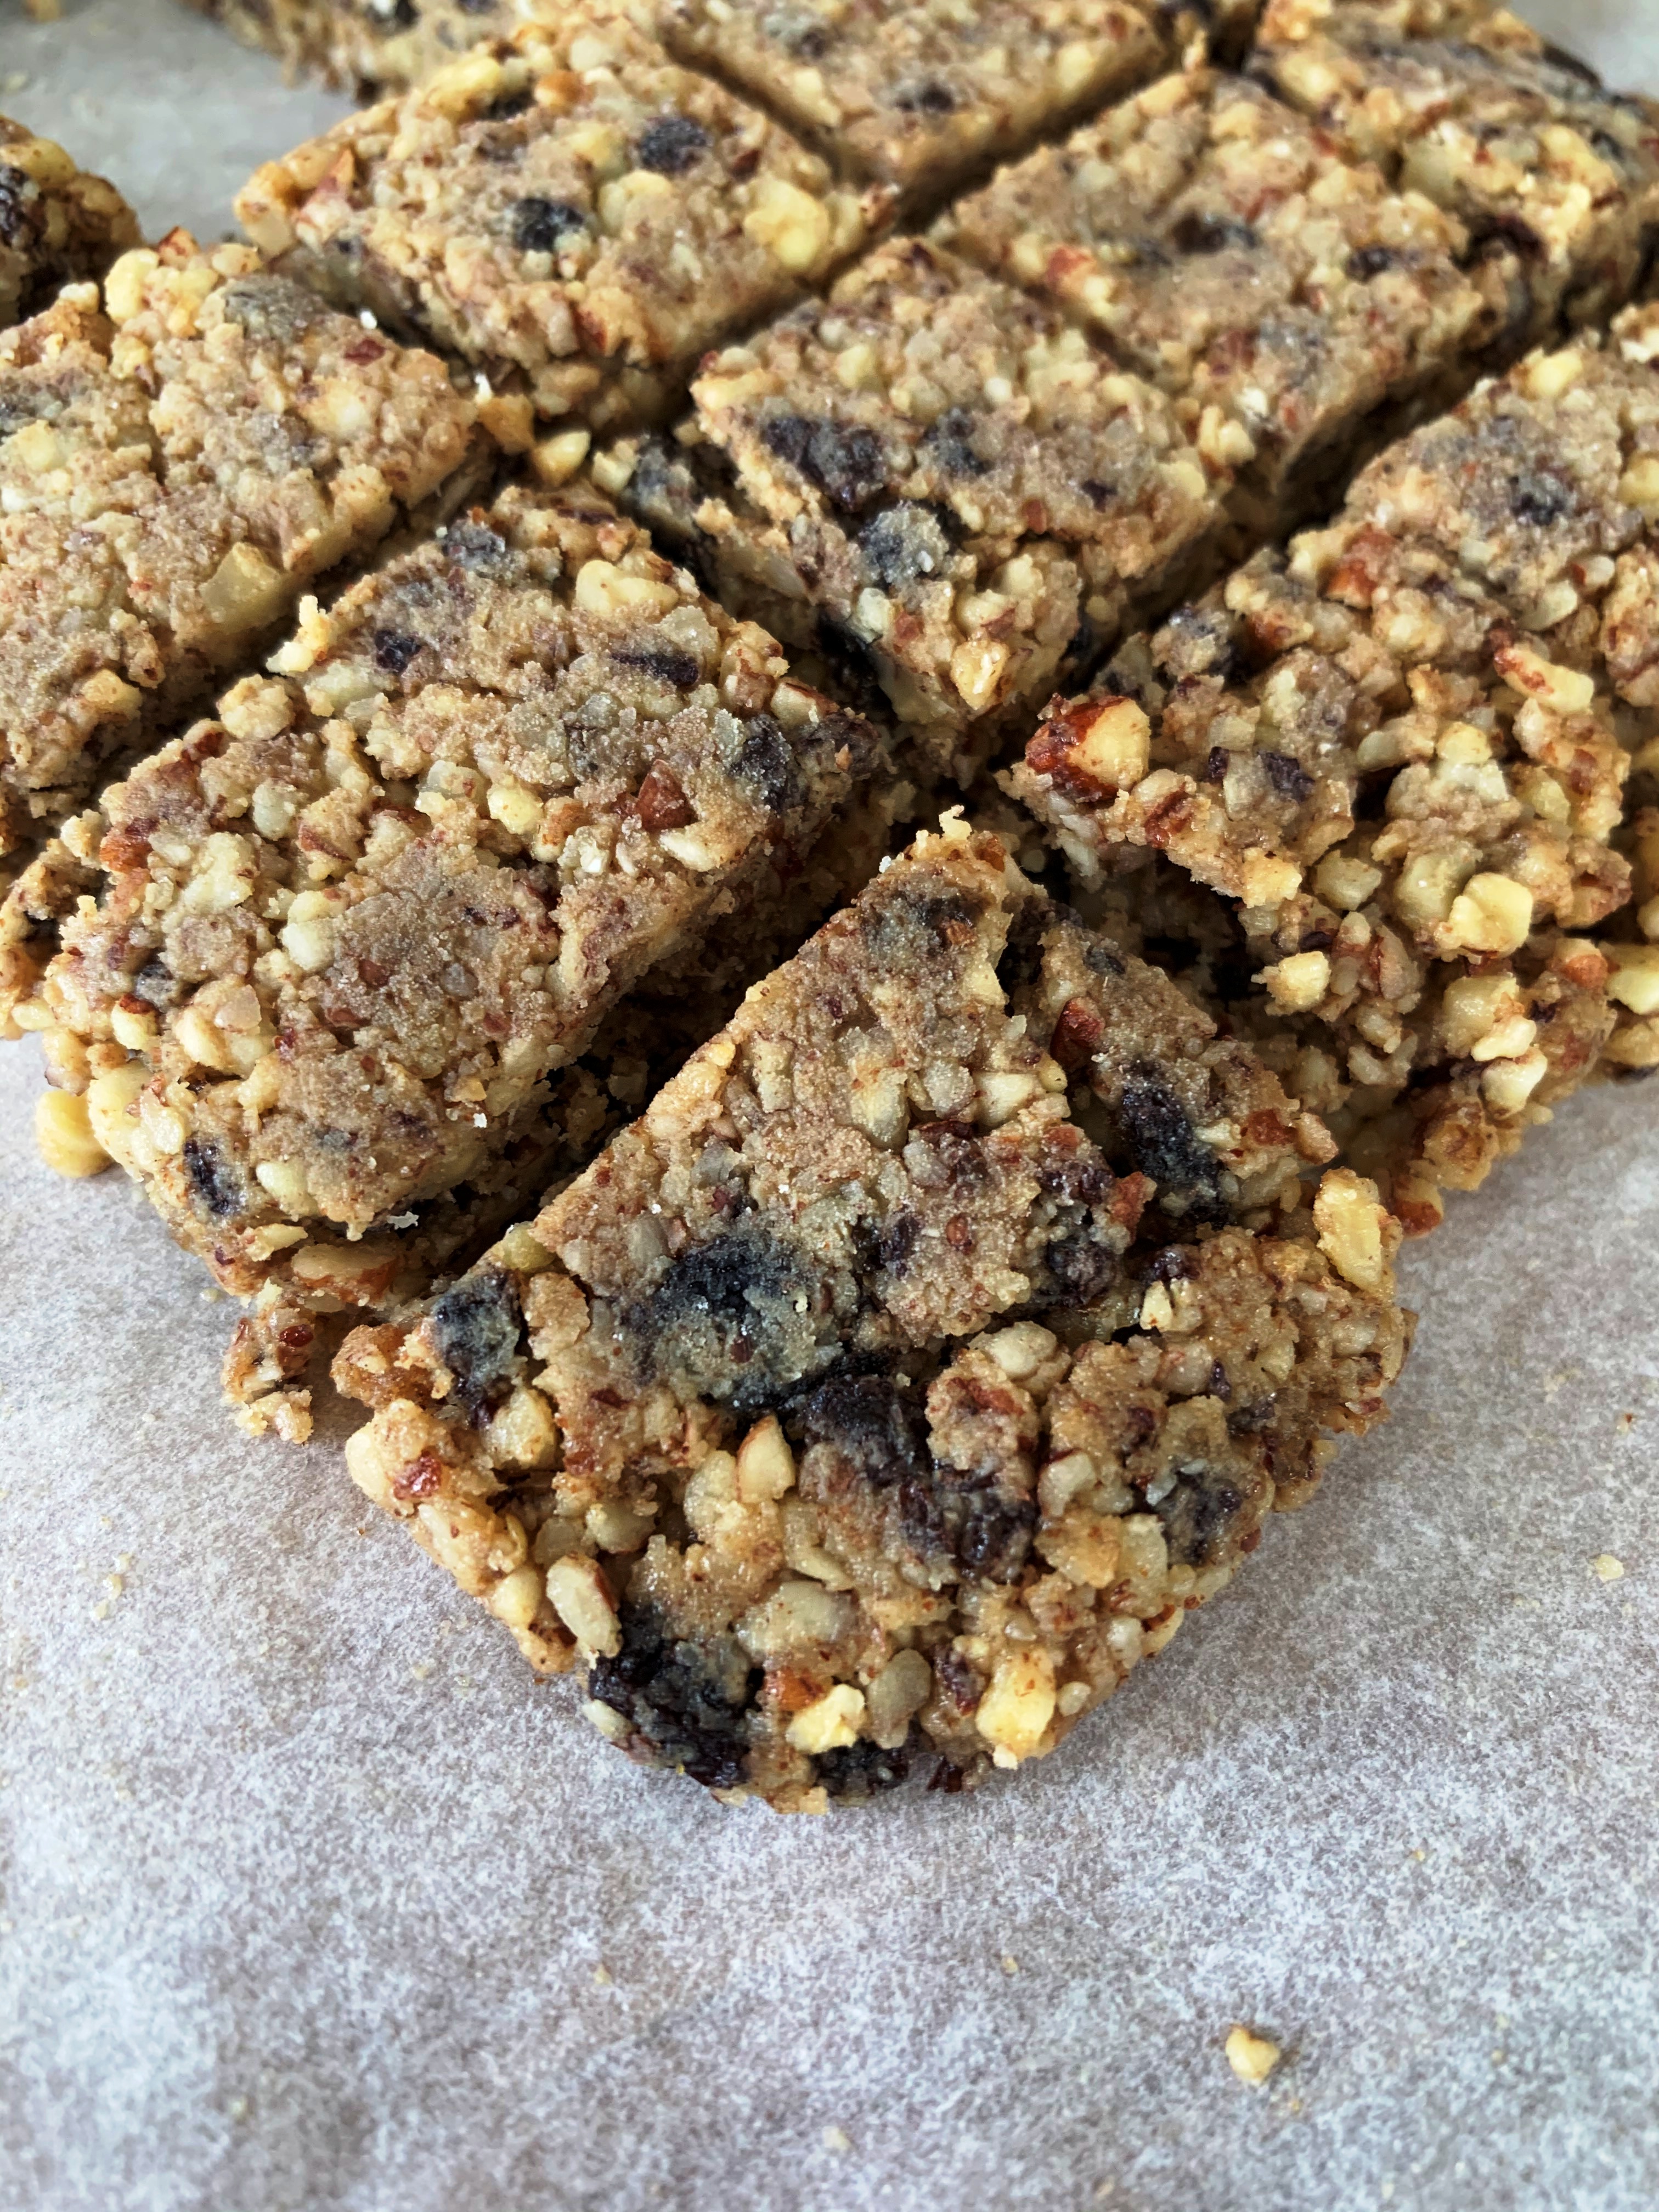
- Roll into 12–14 balls (about 1 tablespoon each).
- Place in the refrigerator for at least 20 minutes to firm up.
Storage
Store in an airtight container in the refrigerator for up to one week, or freeze for up to three months.

These energy balls are a fun way to satisfy your sweet tooth while giving your body nutrients it needs to thrive. They’re perfect for an afternoon snack, a pre-workout bite, or even dessert. I’ve been keeping a batch in my fridge lately, and they never last long!
Have you made your own energy balls before? What flavor combinations are your favorite?


Recent Comments