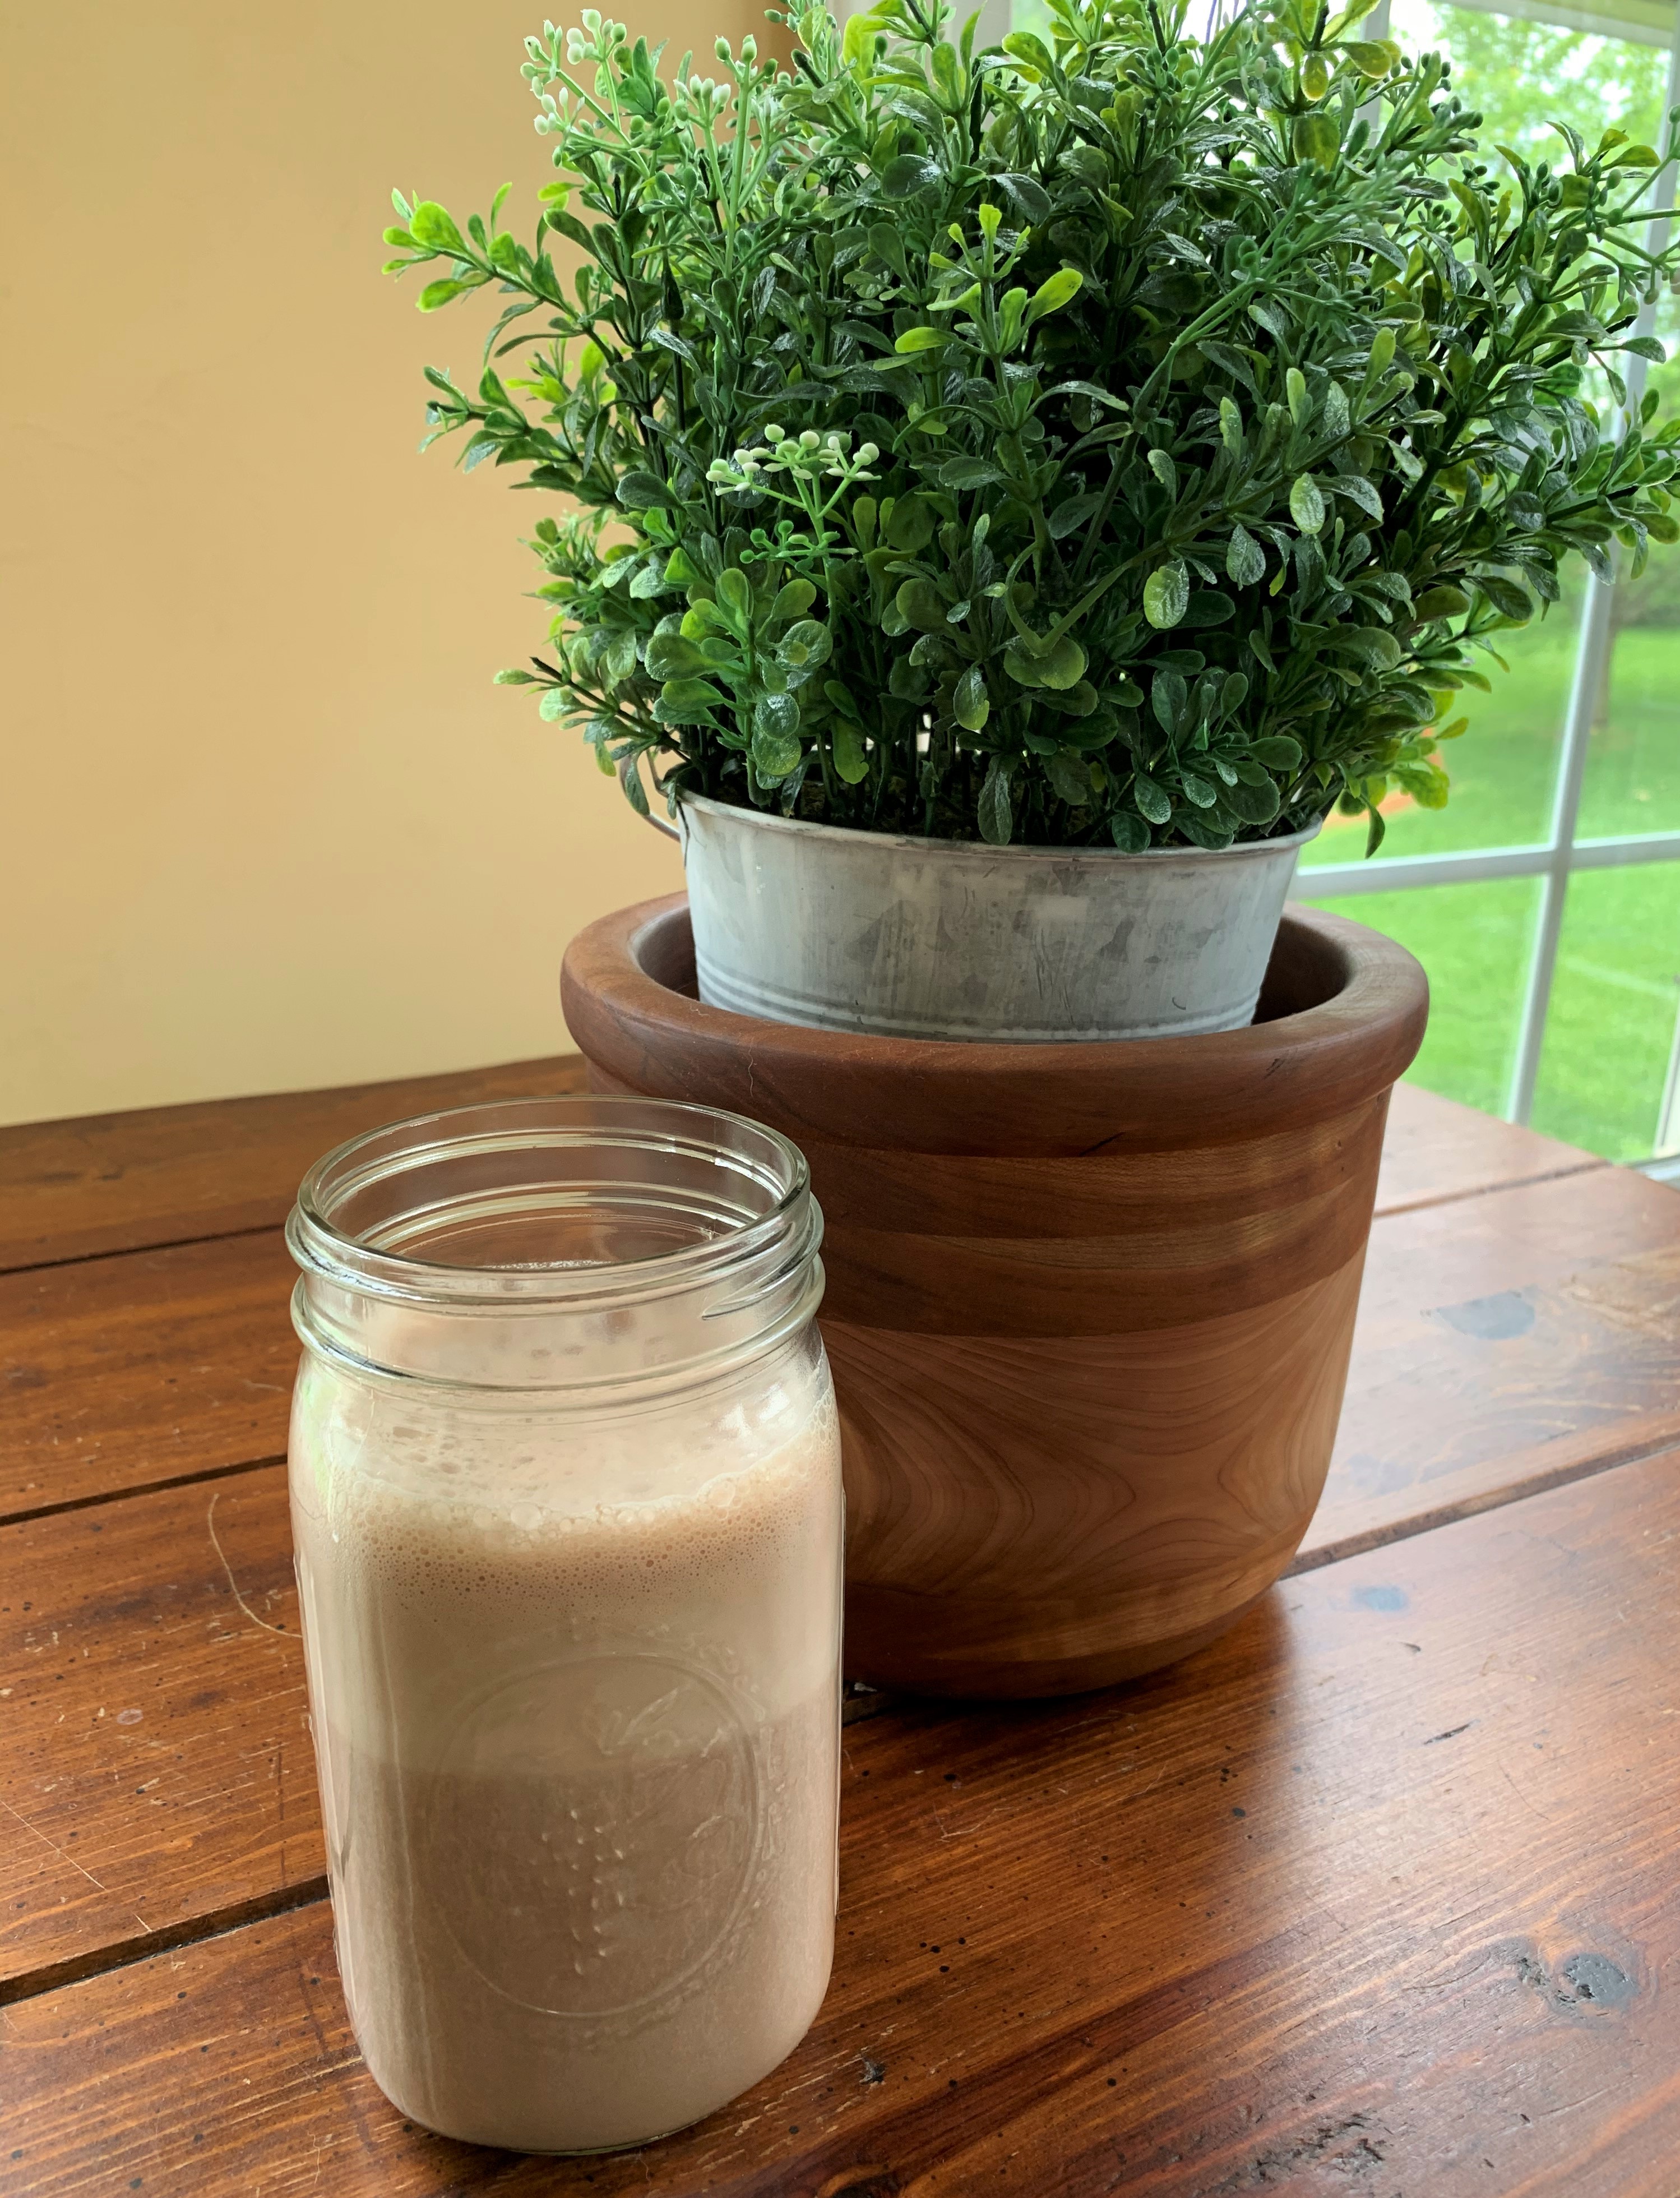
If you don’t have an ice cream maker, no worries, this is churn free!
I love a good tahini. I can eat it right from the spoon. My current favorite is Soom roasted tahini which I get at Thrive Market and has no sugar added.
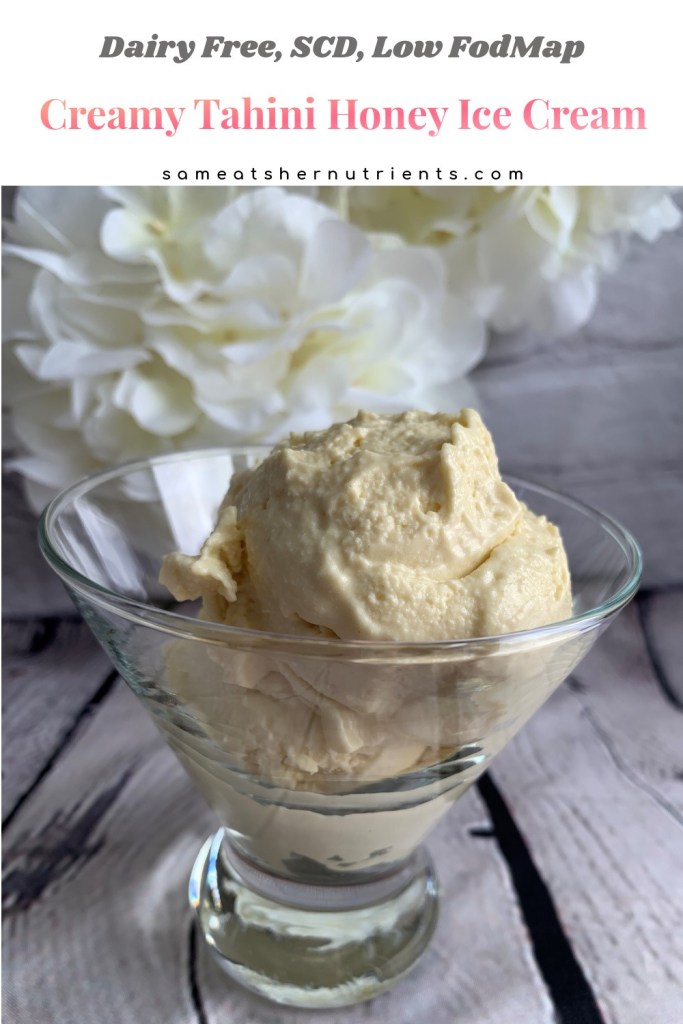
Tahini Honey Ice Cream
Ingredients:
1 Can of Full Fat Coconut Milk with no additives 1 1/2 Cups
1/4 Cup of Good Tasting Tahini with no sugar added
1/4 Cup of Clover Honey (clover honey is low fodmap up to a 2 tablespoon serving. See Dr. Siebecker’s SCD, Low FodMap SIBO Specific Food Guide on my homepage. It’s downloadable!)
2 Egg Yolks
1 Teaspoon of Vanilla Extract
a pinch of salt
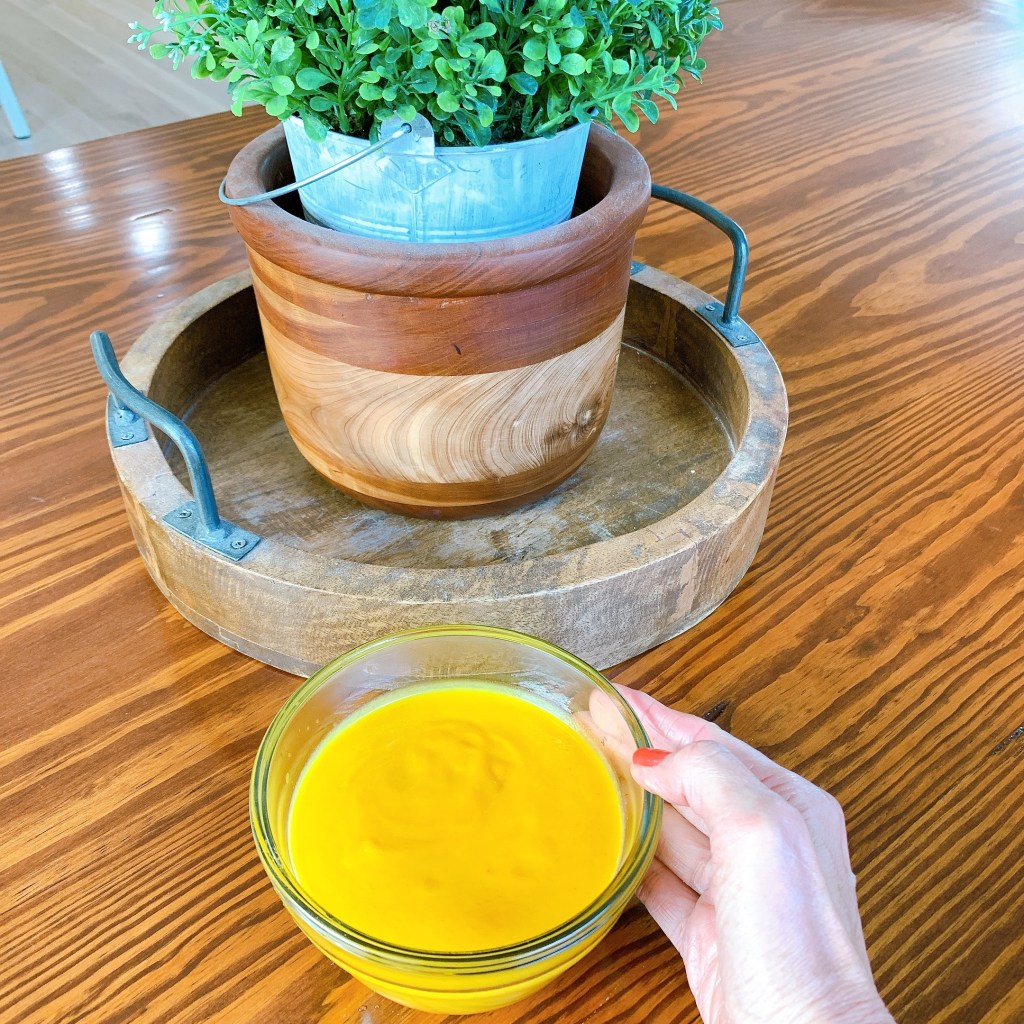
Directions: Whisk all the ingredients together with a wire whisk in a medium saucepan.
Cook over medium high heat whisking constantly until the mixture reaches 160 degrees F. Do not boil. It should coat the back of a spoon. This takes about 5 minutes or so.
Pour the ice cream mixture into a loaf pan, and place it in the freezer. Stir the ice cream every hour for 4 hours, or until its a nice ice cream consistency. At this point you can eat it, or put it into a freezer safe container for later. When serving from the freezer, let it set on the counter for about ten minutes to soften.
It is a delicious and healthy treat. I hope this helps you enjoy ice cream again in a healthful way. Delicious whether you are following a SCD Low FodMap diet or just looking to eat healthier treats!
*The low fodmap serving size is 1/2 cup.
*Tahini is SCD legal after 3 months of no symptoms. This is also delicious with Almond Butter.


Recent Comments