Fudge with health benefits? What’s that you say? Well hey, I have a fudge recipe that tastes decadent and fudgy, and it has benefits other than expanding your waistline over the holidays. I tested it on my kids, and they gave me the thumbs up as well. Bet you want to have a piece don’t you? Read on for the benefits.
For the fudge I used raw cacao powder, a whole cup of it! Raw Cacao is rich in magnesium, calcium, sulfur, zinc, iron, copper, potassium and manganese. It also contains polyphenols, B vitamins, protein, fiber, and essential heart healthy fat. Keep reading if you care about the benefits of Coconut Butter. 🙂
I used creamy coconut butter, which is rich in immune boosting lauric acid and is said to destroy harmful bacteria, viruses and funguses, but very importantly, it is yummy enough to eat by the spoonful right out of the jar! It also is thought to boost metabolism because of it’s short chain fatty acids. Coconut butter is made from the meat of the coconut.
The recipe also includes raw, local honey which wards off infections (they use honey on bandages in wound clinics to kill infections. That’s how powerful it is.) The pollen in raw honey also helps with seasonal allergies, if it is local to where you live. It is an unrefined, natural sweetener as well.
I used freeze dried cherries for the fudge. Freeze drying concentrates the antioxidants. Just two tablespoons of freeze dried cherries contains the antioxidants of a whole cup of fresh ones, plus they work really well in the fudge. Yah!
Are you ready for the recipe?
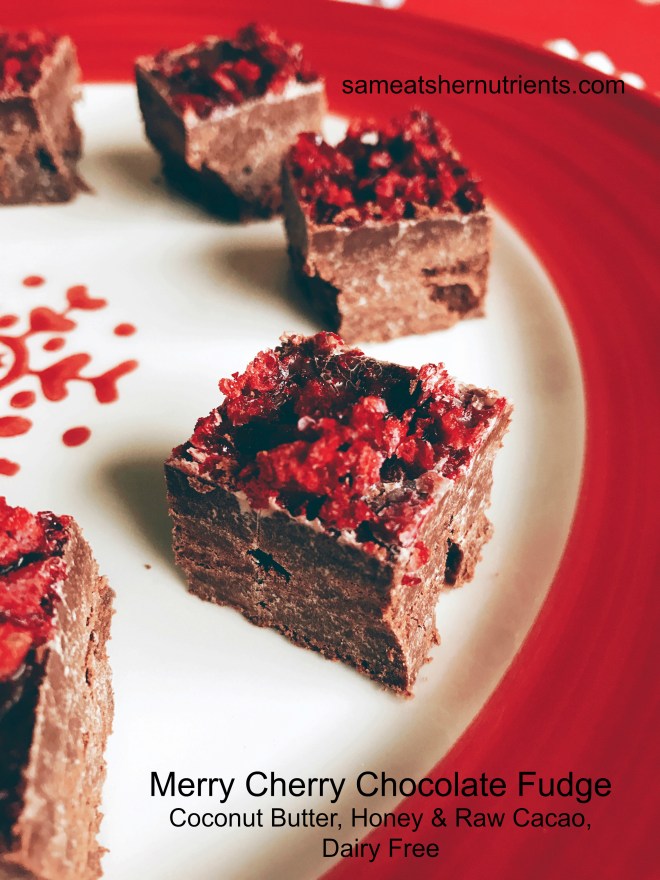
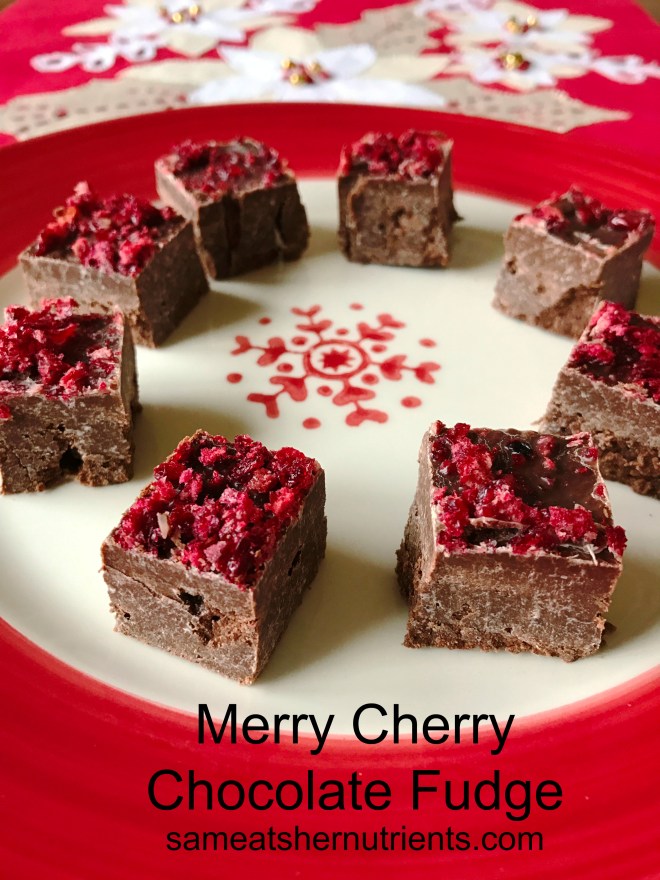
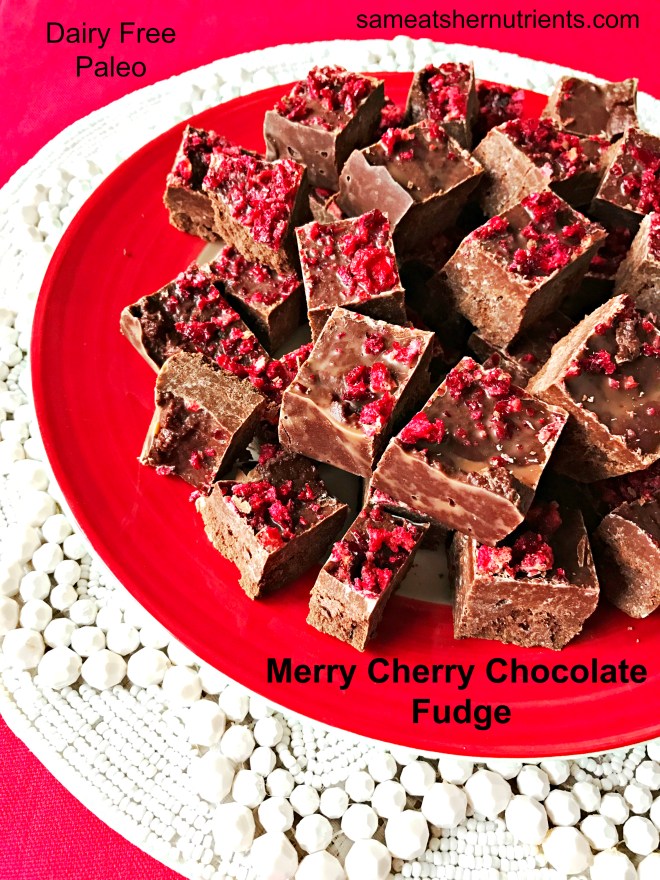
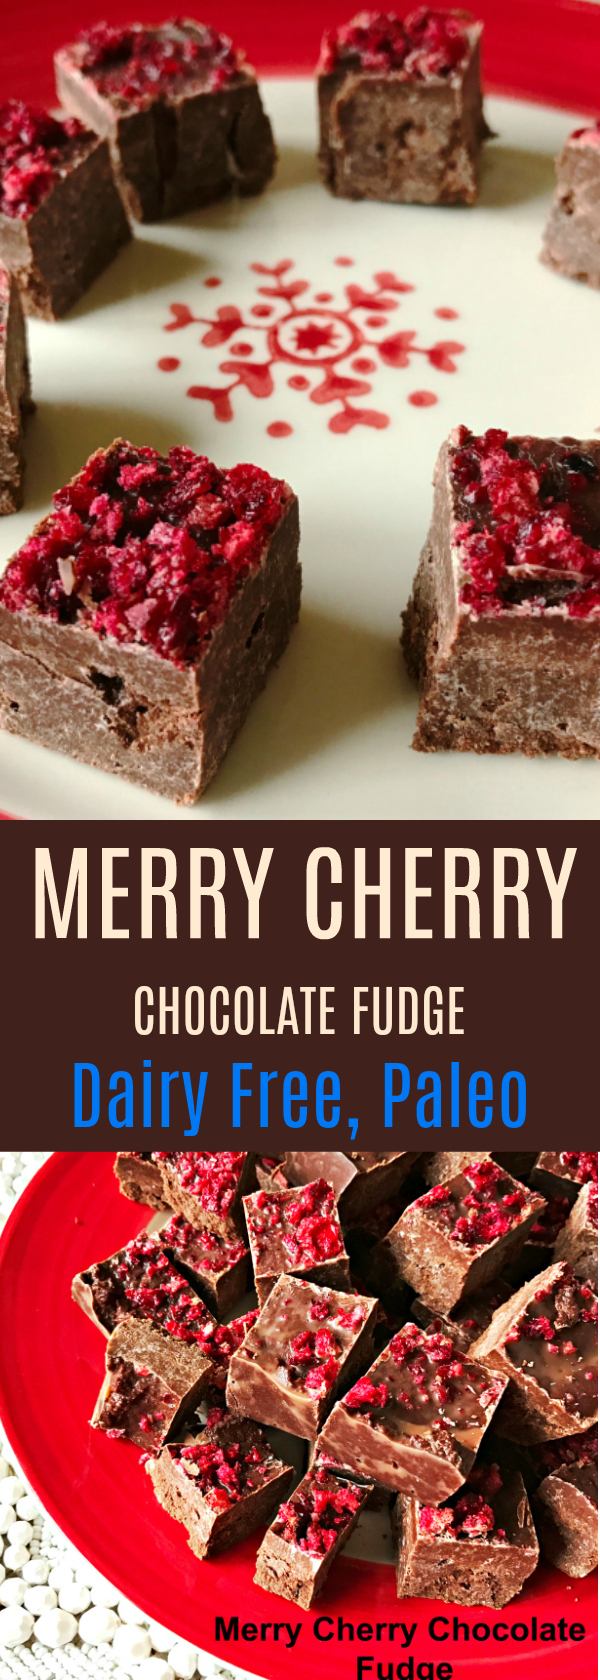
Merry Cherry Chocolate Fudge
Ingredients:
2 Cups of Coconut Butter (here is my favorite)
1 Cup of Raw Cacao Powder (like this gluten free brand)
3/4 Cup of Raw Local Honey
1/2 Cup of Coconut Milk (full fat, no additives)
1/4 Cup of Freeze Dried Cherries (this kind is what I use)
1 1/2 Teaspoons of Pure Vanilla Extract
1/8 Teaspoon of Sea Salt
Directions: Line an 8″ square pan with parchment paper. Set aside.
Place the freeze dried cherries in a sealed quart zip lock bag, and roll over with a rolling pin until the cherries are finely crushed. Set aside.
In a large bowl with a hand held mixer, mix together the softened coconut butter (Place the glass jar with the lid off for about 30 seconds in the microwave, and it will soften nicely so it is easily spooned.) Raw Cacao Powder, Honey, Coconut Milk, Vanilla and Sea Salt. Mix until smooth starting out slowly so you don’t fling cocoa powder all over the place.
Scoop the fudge into the parchment lined pan and smooth with a rubber spatula, reaching the sides of the pan and spreading it evenly.
Sprinkle with the crushed cherries and lightly pan down into the top of the fudge.
Put the pan in the freezer for one hour. Remove the pan from the freezer, and remove the parchment. On a cutting board with a large, sharp knife. Cut the fudge into 1 1/2″ inch squares. Store in the refrigerator or freezer for a firmer fudge. You can also store the fudge at room temperature if you like a softer fudge.
Happy Holidays!

Eat Your Nutrients!
*Affiliate Link – I receive a small commission when you purchase products I recommend through my Amazon links. I use these products myself and never recommend anything I haven’t tried and use regularly. The small commission helps me keep my blog up, so if you have enjoyed my posts and recipes, I appreciate your support. You don’t pay any extra for your products. Thank you.🙂


Recent Comments