
The official days of Fall are almost here, and it is September, even though it has been pretty darn hot and humid, even up here in Northern Michigan! But that hasn’t stopped me from decorating my home for fall and dreaming up some new recipes for the crisp days coming when the football games start, kids are back to school, it gets more hectic, and we start craving hearty foods and always lots of flavor!

I don’t know about you, but I love a good hashbrown. But, they take so long to make and can be tricky on the stovetop, and by tricky, I mean, you can’t walk away from them. Buffalo chicken, potatoes and ranch all are crave worthy ingredients, and I thought, why not make a recipe using all these delicious foods that I can make quickly. Let’s face it, we are almost all juggling so much nowadays. Some days I feel like my whole day is a race, yet I am responsible for feeding an equally busy, hungry family, and I still want them to tell me how yummy it is. I have never been a “Grab it and Growl person”. My husband had that a lot growing up, and no disrespect to any loving mom. We all want good things for our children. I’m just an overachiever in that department and always have been having been trained by a mom who did mostly scratch cooking.

This recipe uses real food ingredients, and I added a shortcut! You can use a store bought quality rotisserie chicken as an option. (Make sure it’s gluten free if you are eating g/f.) They are very easy to find anymore, and it makes this recipe super quick. Also, if you have an Instant Pot, you can cook a whole seasoned yourself chicken in there during the day and have it ready and warm at dinner and just need to take it off the bone. Or…… cook the chicken the day before, debone and shred it for making this recipe the next day. Didn’t I tell you I have options for ya? I get it! Some days are crazy. I’m right there with you. But, there is nothing better on a crazy day than to make this feel good recipe! I even had leftovers for lunch the next day.
Let’s make Buffalo Chicken and Ranch Oven Hashbrowns!!
Buffalo Chicken and Ranch Oven Hashbrowns
Ingredients:
1 Whole Roasted Chicken, deboned and shredded (however you like to make it. Mine was in the Instant Pot seasoned with salt and pepper)
2 Pounds of Frozen Hashbrowns (I use Cascadian Farms 1 lb bags. I order from Thrive Market here.)
1 Medium Chopped Yellow Onion (omit if Low FodMap and substitute 1 Tablespoon of Garlic Olive Oil for 1 Tablespoon of Ghee)
4 ounces of Romano Cheese, shredded finely
4 Ounces of Asiago Cheese, shredded finely
3 Tablespoons of Butter or Ghee
1/2 Teaspoon of Onion Powder (omit if Low FodMap)
1/2 Teaspoon of Sea Salt
1/2 Teaspoon of Black Pepper
For the Sauce:
1/4 Cup of Frank’s Hot Sauce
4 Tablespoons of Butter or Ghee
1 Tablespoon of Apple Cider Vinegar
4 Tablespoons of Honey
I use my recipe for Won’t Miss a Think Ranch here. Make this or use your favorite clean ranch dressing.
Fresh minced parsley and basil for the top (optional) plus more hot sauce to drizzle on top if you like extra heat.
Directions:
Shred your chicken. Melt the buffalo sauce ingredients in a saucepan, and pour over the chicken and toss to coat it evenly. Set aside.
Preheat your oven to 400 degrees F. Let’s make the easy, crispy and absolutely delicious sheet pan hashbrowns in the oven. I’m getting excited now! 😉 In a large bowl, break up the frozen hash browns with your hands. If they are really frozen, you can use a meat pounder. Isn’t it convenient these are made from frozen and you don’t have to thaw them first? I love that for convenience. Add 3 Tablespoons of melted butter to the hashbrowns along with a medium chopped onion, the onion powder, Romano and Asiago cheeses, salt and pepper. Toss to coat thoroughly. Lay out a large rimmed baking sheet, grease it lightly and then lay a piece of parchment paper on top. Pour your hashbrowns onto the sheet pan and press them firmly down in one even layer. Bake the hashbrowns on the top shelf of your oven for 40 minutes until golden brown with crispy edges. Make sure to check them after 35 minutes as every oven is slightly different. You can make just the hashbrowns too!

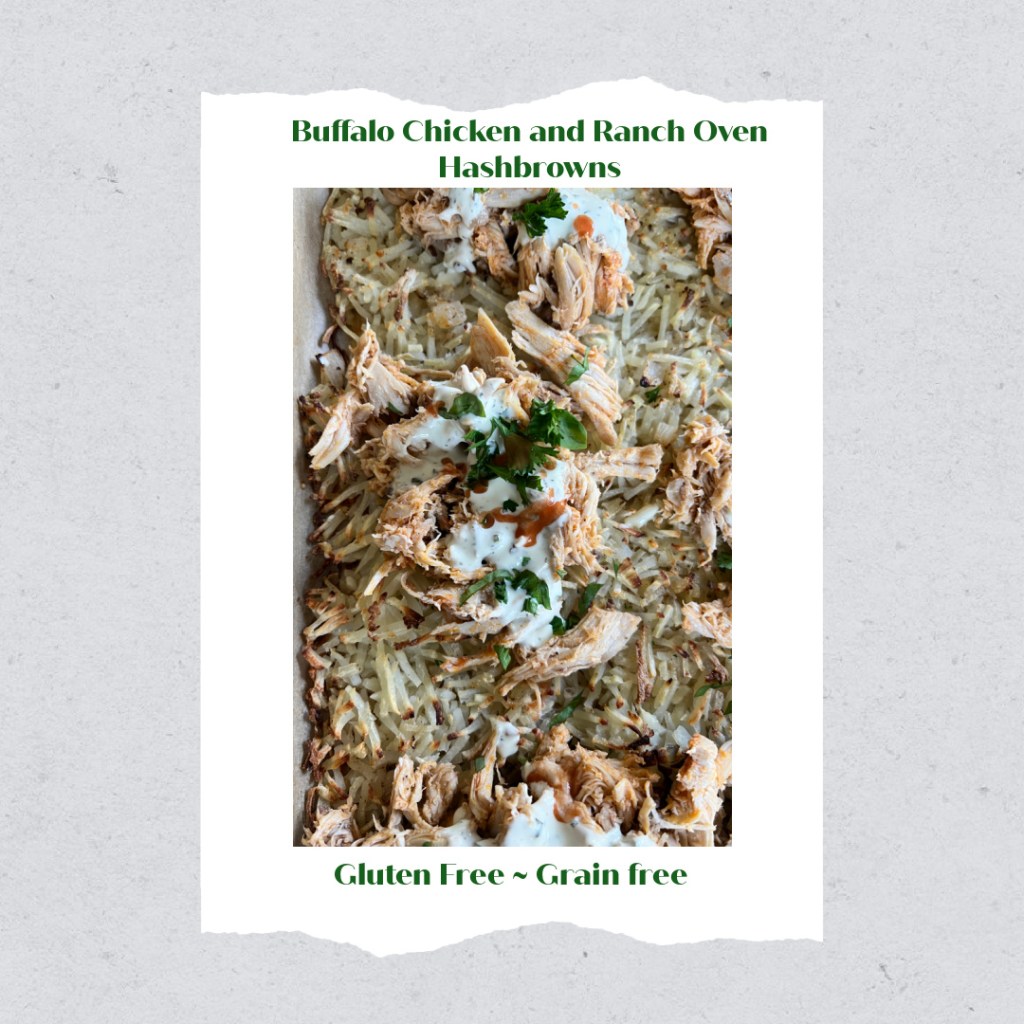
When the hashbrowns are golden brown and crispy, pull them out of the oven. Make sure your buffalo chicken is still warm. If not, reheat it in the microwave. Now, dollop the shredded buffalo chicken on top the the hashbrowns as shown, drizzle with ranch and sprinkle with fresh minced parsley and basil and extra hot sauce if desired.
Take it to the table and serve it cut into squares with a large spatula! Can I say yum? It’s so good. I like to serve it with more veggies on the side and a leafy green salad.


Recent Comments