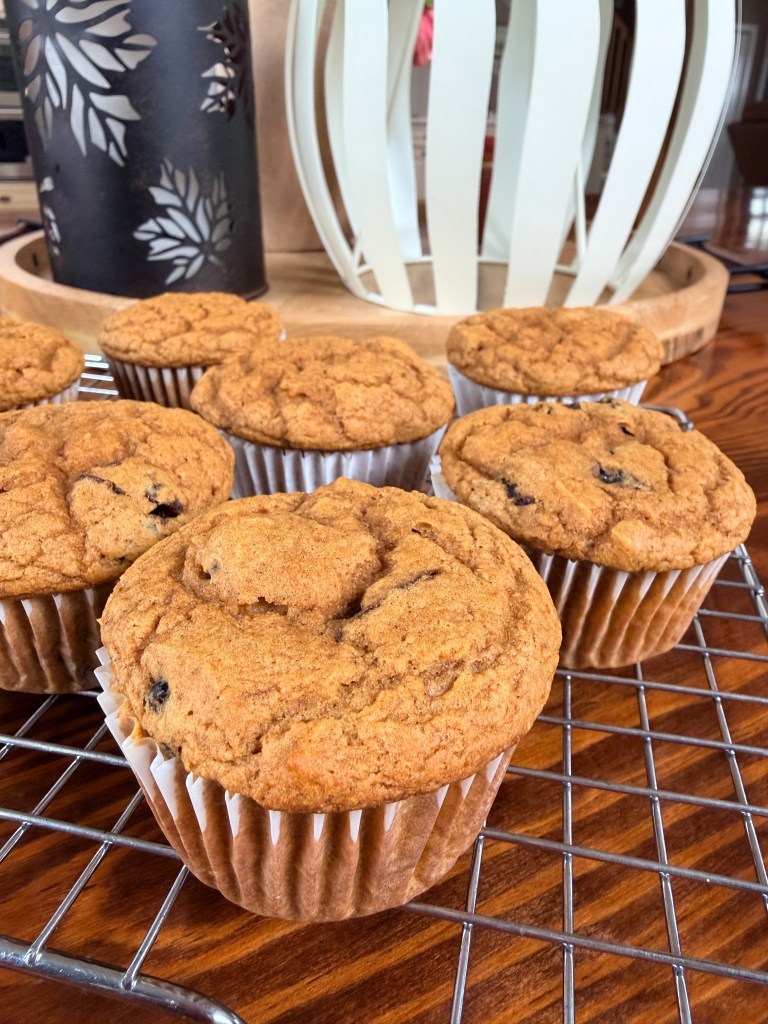
Freshly baked gluten-free and dairy-free pumpkin protein muffins cooling on a wire rack.
A warm muffin is classic comfort food and evokes the feeling of curling up with a steaming cup of tea, a good book or magazine, some pretty instrumental music and a cozy throw. When fall and winter are upon us, I like my muffins with warm spices, and pumpkin or gingerbread comes to mind. I also like my muffins to have nutritional benefits, and lately I have been paying more attention to the amount of protein I eat each day to maintain muscle and stay strong. I like to sneak in extra protein and don’t like how empty calories make me feel. There is room for celebratory food, and our diets are a big piece of the puzzle but definitely not a complete picture.
You can eat a squeaky clean diet and have gaps in your health goals if your life is too full of stress, not enough movement, lack of community or relational discord. I also don’t want to forget sleep.
These muffins use bone broth protein powder and are a cozy way to enjoy a homemade treat with a little added protein. I added fruit juice sweetened dried cranberries for chewy and sweet tartness.
For this recipe you will need two bowls and you will fold the ingredients in by hand. So, grab a whisk and spatula, and let’s make some cozy muffins that you can feel good about eating every day. I love pumpkin also because it provides fiber and beta-carotene, while the eggs provide protein as well. These muffins are a lovely gluten free and dairy free snack.
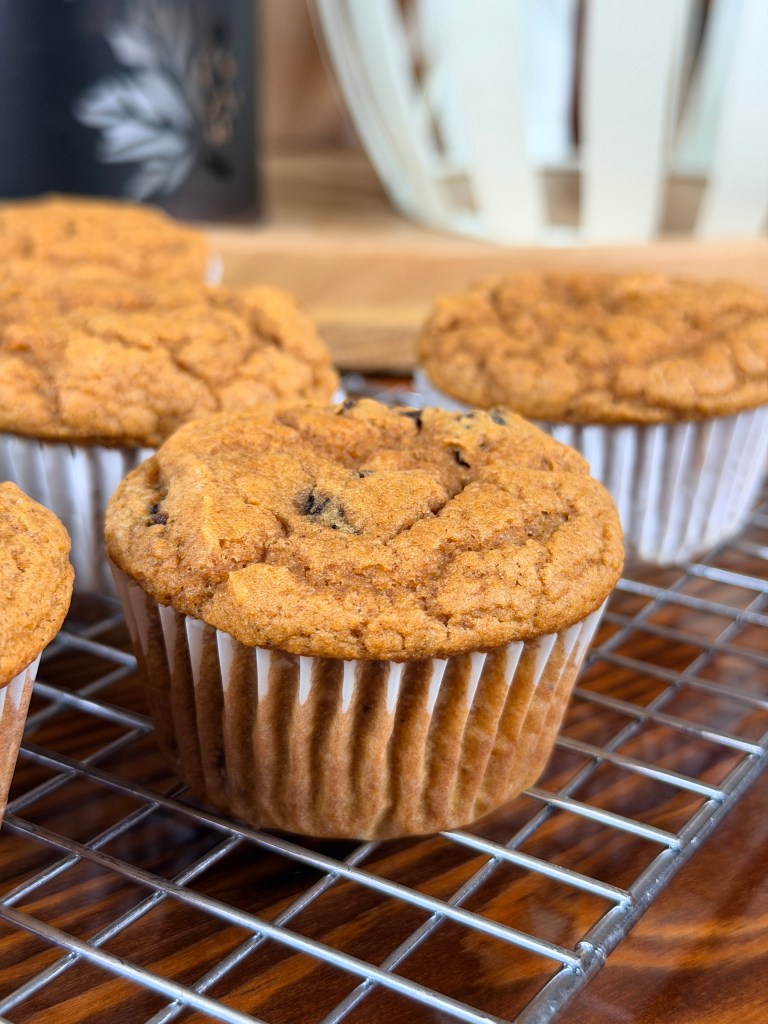
Close-up shot of a high-protein pumpkin cranberry muffin made with bone broth protein powder.
Simple ingredients, comforting flavors, and a little extra nutrition. That’s easy everyday baking!
Gluten Free Pumpkin Cranberry Protein Muffins
Makes 12 Muffins
Ingredients:
1 Cup of King Arthur Measure for Measure Gluten Free Flour
1/2 Cup Vanilla Bone Broth Protein Powder (I used Designs for Health Paleo Protein)
1 Cup Pumpkin Puree (not pumpkin pie filling)
2 Large Eggs
1/3 Cup Maple Syrup
1/4 Cup Avocado Oil
1/4 Cup Unsweetened Rice Milk
1 tsp Vanilla Extract
1 tsp. Pumpkin Pie Spice
1 tsp. Cinnamon
1 1/2 teaspoons Baking Powder
1/2 teaspoon of Baking Soda
1/4 teaspoon of salt
1/2 Cup Dried Apple Juice Sweetened Dried Cranberries (you can also substitute raisins)
Instructions:
Preheat oven to 350°F. Line or lightly grease a 12-cup muffin pan.
In a large bowl, whisk together pumpkin, eggs, maple syrup, avocado oil, rice milk, and vanilla.
In a separate bowl, combine gluten-free flour, protein powder, pumpkin pie spice, cinnamon, baking powder, baking soda, and salt.
Gently fold the dry ingredients into the wet ingredients until just combined.
Stir in the dried cranberries.
Allow the batter to rest for 5 minutes.
Divide evenly among 12 muffin cups.
Bake for 18–23 minutes, until the centers are set and a toothpick comes out without wet batter.
Cool for 5 minutes before transferring to a cooling rack.
These muffins are a lovely snack or addition to breakfast. Pair one with Greek yogurt, eggs, or your favorite protein-rich food for a balanced meal.
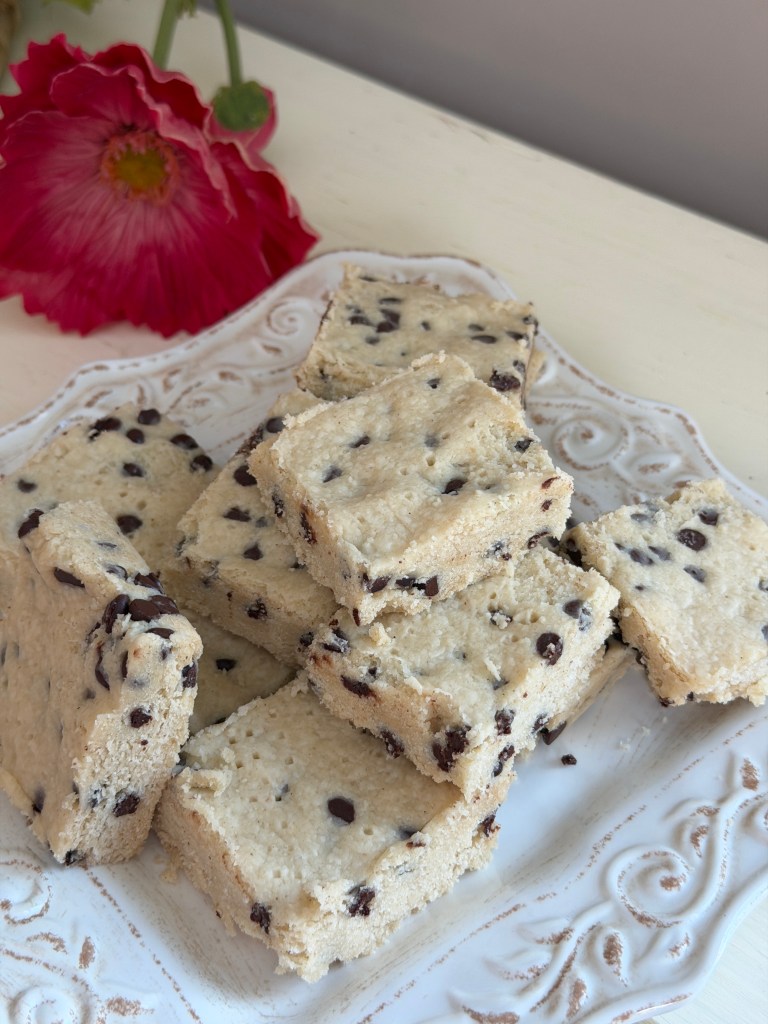
This shortbread is indulgent, intensely buttery, flaky and the mini chocolate chips elevate it to an irresistible cookie you will crave. Yup, I said craving. If you are going for the treat, it better be extra good in my opinion. That being said, I am more careful with how much sugar I eat, and this cookie uses less than the average shortbread, which is already lower in sugar than many other cookies. But, don’t worry, it’s the ghee that gives it the intense buttery flavor without the lactose or casein, and many that don’t tolerate dairy do very well with ghee. The sugar level is perfection. Also, I love that ghee has a high smoke point and is nutritionally dense in Vitamin A, and also D, E and K and Conjugated Linoleic Acid (CLA). Uh Oh, did I just go off on a health coach tangent? Oh, yes I did. That’s just how my mind works when writing recipes. If you would like, you can also substitute butter. They won’t be quite as buttery, but it works in this recipe.
So, how have you been? We are into February, and Valentines Day is coming up fast. This cookie recipe would be perfect to make for friends, partners, and kids and to give as homemade gifts.
I have been busy working in my sewing shop Porcupine Craft Studio where I sew handmade items. It’s a cozy way to spend the winter especially and send out the love of special, unique gifts and also get creative artistically. I love sewing and quilting all kinds of things.
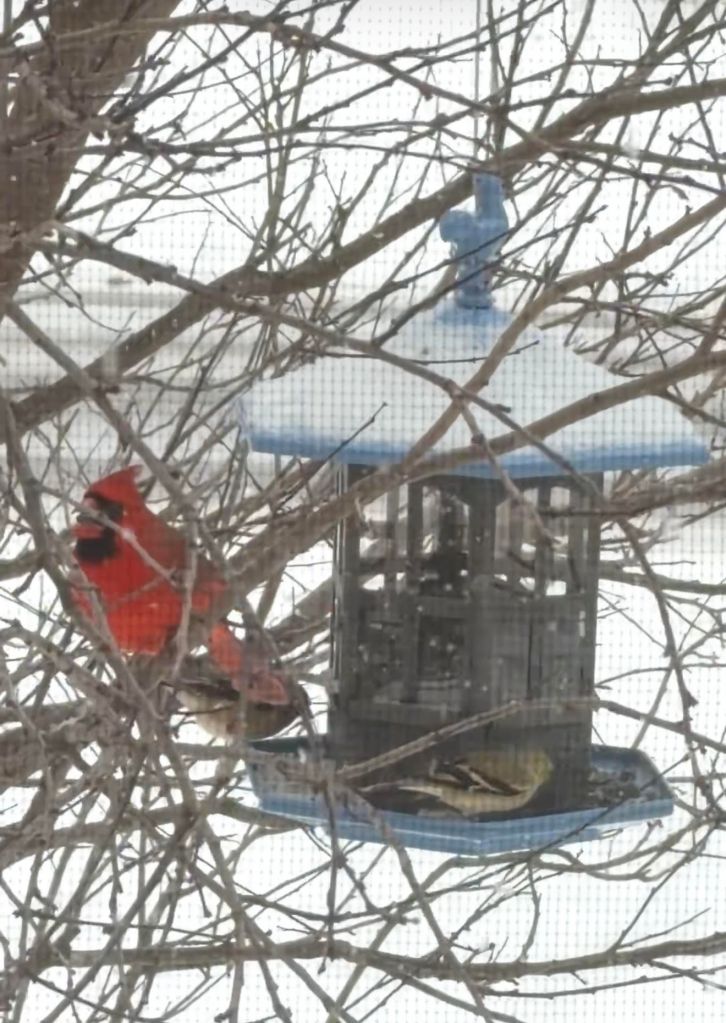
Winter can be long, so I am trying to embrace the cozier days and also get outside. One of the things I did this winter is place a bird feeder with black sunflower seeds right outside my kitchen window in my Thundercloud Plum tree. This has turned out to be an ideal place for the birds to come, and I have a close up view of a large variety including a lot of Cardinals, and Yellow Finches, Chickadees, Nuthatches, a Woodpecker or few and some Blue Jays. There are a few I need to take the time to identify. Here is a photo through my window screen. It doesn’t do it justice though. I have seen seven Cardinals in my tree at once, and a mixture of male and females.
Winter Bird Feeder Outside my Kitchen Window
Are you ready to make this recipe? Let’s make some crave worthy shortbread!
Chocolate Chip Shortbread, Gluten Free and Crave Worthy
1/2 Cup of Organic Confectioners Sugar (I use this)
1/2 Teaspoon of Vanilla Extract
1/4 Teaspoon of Salt
1/2 Cup of Mini Chocolate Chips (I use Enjoy Life)
Directions:
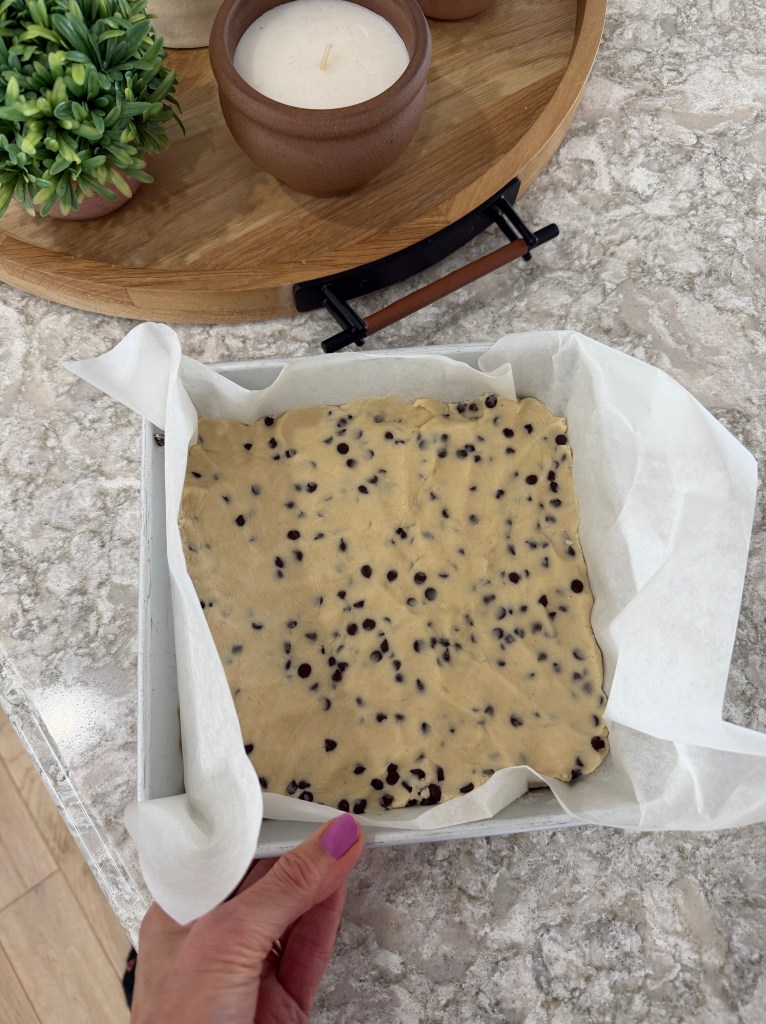
Grease a 9 inch square baking pan and line it with parchment paper.
In a medium sized mixing bowl, beat together your ghee and confectioners sugar until fluffy, about 1 to 3 minutes.
Add in your flour, sugar, salt and vanilla. Beat until it comes together nicely. It will at first be little balls. Keep beating with your hand or stand mixer. It will come together, and you want this so your cookie presses nicely into your pan. The final step is to stir in your mini chocolate chips until evenly incorporated. Dump the shortbread mixture into your prepared baking pan and using plastic wrap on your fingertips, press it until flat and even into your pan.
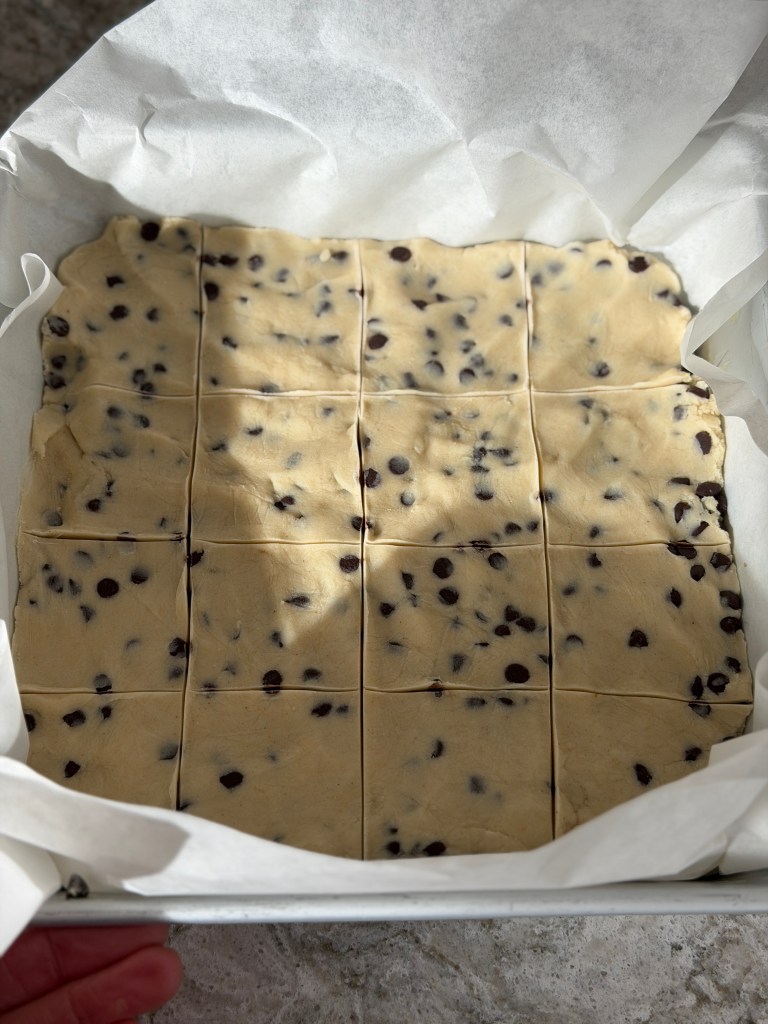
Now you need to score your cookies into 16 squares, and then prick the top all over with a fork.
Bake in your preheated oven for one hour.
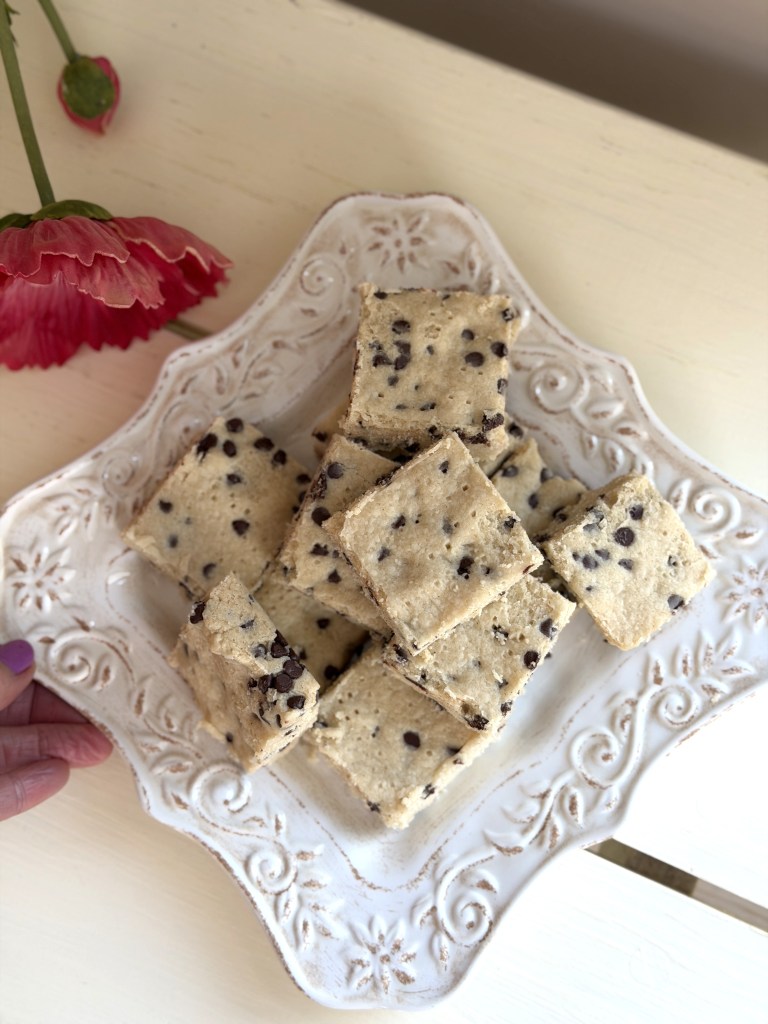
Remove the cookies from the oven and cool for 30 minutes in the pan. Then remove with the parchment, and let them cool on a wire rack for 30 more minutes before cutting them into squares using the marks you already scored before baking.
Store your shortbread at room temperature covered. These cookies freeze beautifully.
Bet you can’t resist one. They are so buttery and good!
Buttery Chocolate Chip Shortbread
Gift & Presentation Ideas for Your Chocolate Chip Shortbread Cookies
These buttery, chocolatey shortbread cookies aren’t just delicious—they make a thoughtful, homemade gift that anyone would love to receive. Here are some creative ways to present them:
1. Cookie Boxes: Place your shortbread in a small, decorative box lined with parchment or tissue paper. Add a ribbon around the box and a handwritten note with the cookie name or a little holiday or Valentine’s message. This makes them perfect for coworkers, friends, or teachers.
2. Mason Jar Treats: Layer the baked cookies or even the dry ingredients in a clear mason jar. Tie a ribbon or twine around the jar neck and attach a tag with instructions for baking (if using dry ingredients) or a sweet note for gifting. These look charming and rustic.
3. Cellophane Bags: For a simpler option, place a few cookies in a clear cellophane bag, tie it with a colorful ribbon, and add a small tag. This is ideal for party favors, neighbor gifts, or including in a lunchbox treat.
4. Holiday or Seasonal Touches: Decorate your cookies with a light dusting of powdered sugar or a drizzle of chocolate to match the season—pink or red drizzle for Valentine’s Day, or gold and silver sprinkles for winter holidays. Small touches make a big difference in presentation.
5. Cookie Gift Platter: Arrange the cookies on a small platter or wooden board, wrap lightly in cellophane, and tie with ribbon. Perfect for bringing to a friend’s gathering or family celebration.
6. Personalized Touch: Add a short note sharing why you love this cookie along with the recipe. It makes the gift feel thoughtful and personal.
7. Mixed Treat Boxes: Pair your shortbread with other homemade goodies—like a jar of hot chocolate mix, tea, or other baked treats—to create a themed gift box that feels extra special.
No matter how you present them, these shortbread cookies show you put love, care, and creativity into your gift. And the best part? They taste as good as they look—so your recipients are guaranteed to smile with every bite.
A Brief History of Shortbread
Shortbread has been a beloved treat for centuries, and its story is as rich as its buttery flavor. The cookie originated in Scotland, where it was considered a special treat for holidays and celebrations. Early versions of shortbread were made with just three simple ingredients: butter, sugar, and flour—the same basic ingredients we use today.
Historically, shortbread was linked to Christmas and Hogmanay (Scottish New Year). Nobility and wealthy families often made it for festive occasions, and it was considered a sign of hospitality to offer guests a piece. The famous “petticoat tails”—a traditional Scottish shortbread shape—were wedges scored into a circle before baking, creating a decorative and shareable presentation.
The word “shortbread” itself refers to the “short” texture of the cookie, which comes from the high butter content. In baking, “short” means tender and crumbly, achieved by coating flour proteins with fat so less gluten forms. This is why shortbread has that delicate, melt-in-your-mouth texture.
Over time, shortbread spread beyond Scotland and became a favorite in households around the world. Today, we experiment with variations—adding chocolate chips, nuts, citrus zest, or spices.
Fun fact: the Guinness Book of Records lists the largest shortbread biscuit ever baked at over 12,000 pounds! Wow! Clearly, the love for this simple cookie is timeless.
Pin Me for Later! Melt In Your Mouth Chocolate Chip Shortbread Cookies
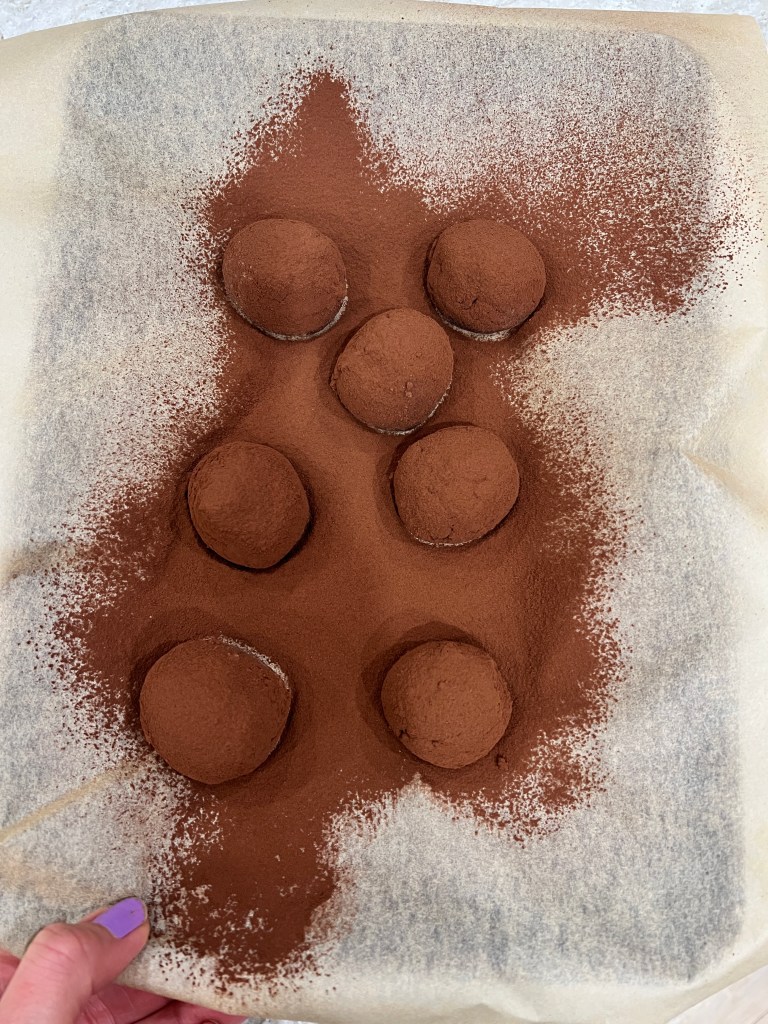
Chocolate Truffle Cookies Dusted with Cocoa Powder, Gluten Free and Decadent
The smell of a rich chocolate cookie baking in the oven is delightful. Pull them out, and let them cool, then sprinkle them with more high fat cocoa powder like my favorite Droste Cocoa Powder. After they cool, and you have dusted them with more heavenly cocoa powder, curl up on the sofa with a hot steamy cup of strong coffee, a couple of these cookies and a good book, and indulge in these buttery, cookie treats. Make sure you have a napkin, because you will be licking cocoa powder off your lips, and it may get on your book without one! 😉 You are sure to get a surge of joy, because chocolate is known for positively impacting mood, specifically dark chocolate with high cocoa content. This is due to the flavonoids and theobromine, which can stimulate the release of endorphins (feel-good chemicals) in the brain. I don’t know if being female makes me love it even more, but I don’t understand how you couldn’t like chocolate. Don’t forget the cozy throw or quilt! I have my own built in water bottle in the form of my delightfully fluffy pug, Ming.
Ming Ming the Pug
I have made these cookies on repeat, because they are so good and lower in sugar, without sacrificing flavor. The butter to flour ratio is perfection, and they are reminiscent of a decadent, rich chocolate dark chocolate truffle.
Winter is here in breathtaking Northern Michigan. I am delighted to say that the ski hills have opened in November this year, which hasn’t happened in a while because of warmer winters. There is plenty of powder and ski resorts to choose from. I expect the lake to freeze this year, due to the more seasonal weather we are having so far. Last year was a very mild winter and also very dry. This is a photo of my morning walk around the lake. I like to get outside and walk year round as long as the weather permits.
First Snow of the Winter, Up North Michigan
I think I may get a set of snow shoes to try out too. They have come a long way since I’ve last went snow shoeing. They are much smaller and easy to manage. Any advice on how to choose a pair? Coming in after a snowy adventure is a good time for cookies and a warm beverage!
Here is the recipe for my cookies:
Chocolate Truffle Cookies Dusted with Cocoa Powder, Gluten Free and Decadent
1/4 Cup of good quality cocoa powder with higher fat content (I use this.)
1/4 Teaspoon of Salt
1/2 Cup of Maple Sugar
1 Teaspoon of Quality Vanilla Extract
Directions: In a stand mixer or using a hand mixer with a large bowl, beat your butter, sugar and salt together for two minutes until light and fluffy. Add in your vanilla extract, and then in a separate bowl whisk your flour and 1/4 cup of cocoa powder together before adding it to the butter mixture. Mix on low speed until incorporated to prevent a flour mess, and then turn to high just until completely blended. Lay out a parchment lined cookie sheet, and using a tablespoon cookie scoop, scoop the cookies into balls on the cookie sheet. Now, pick up each scoop of dough, and roll it into a nicely shaped ball. Place the cookie sheet in the refrigerator for half of an hour. Meanwhile, preheat your oven to 325 degrees.
After the cookie dough has chilled, bake the cookies in your preheated oven two inches apart on two separate cookie sheets for 20 minutes. Remove the cookies from the oven, and cool completely. Then, dust them with more cocoa powder like shown below before eating.
Apple bread is obviously good all year round, but it is especially enticing during the fall when apples are available locally and the leaves are changing color and crunchy beneath our feet, and we start thinking about bringing out the buffalo plaid, flannel and light scarves and vests when we go outside
I am particularly fond of seasonal food. It gives us a reason to celebrate every season as it comes and goes. This apple cake uses grated apple, so there is apple throughout without the big chunks, and there is a scrumptious streusel topping. I’m telling you the wonderful aroma in the kitchen whilst it is baking will make your family happy with anticipation.
Here’s the recipe:
Gluten Free Apple Bread with Streusel Topping
Preheat your oven to 350 degrees F. Grease a 9 x 5 inch loaf pan well.
Ingredients:
1 3/4 Cup of Gluten Free Flour Blend with Xanthan Gum (I use King Arthur Measure for Measure)
1/2 Cup of Apple Butter
1/2 Cup of Plain Greek Yogurt
3 Large Eggs
1 Cup of Peeled and Grated Apple (about 1 large apple)
1/3 Cup of Cane Sugar
1/4 Cup of Olive Oil
1 1/2 Teaspoons of Baking Powder
1 Teaspoon of Vanilla Extract
1 Teaspoon of Cinnamon
1/8 Teaspoon of Nutmeg
1/2 Teaspoon of Salt
~~~~~~~~~~~~~~~~
For Streusel Topping:
2 Tablespoons of Butter, melted
3 Tablespoons of Gluten Free Flour Blend
1 Tablespoon of Light Brown Sugar
1/8 Teaspoon of Salt
1/2 Teaspoon of Cinnamon
a pinch of Nutmeg
Directions:
Grate your apple and set aside.
Mix together the crumb topping ingredients in a bowl with a fork, and set aside.
In a large mixing bowl beat the eggs, yogurt, apple butter, vanilla, sugar and olive oil.
In a medium bowl, sift together the dry ingredients. Add the dry ingredients to the wet ingredients you just blended. Fold in the grated apple, and then add the batter to your prepared loaf pan. Smooth the batter evenly with a spatula. Sprinkle the top with your streusel mixture. Bake in your preheated oven for 60 to 70 minutes, or until a toothpick inserted in the center comes out clean. Cool on a wire rack for 10 minutes. Then, run a knife around the pan before removing the loaf to cool completely on a cooling rack.
Changing leaves, cooler weather, cozy sweaters, and this time of year makes me start baking things like these maple pecan scones. They are the perfect bit of sweet with a biscuit texture and buttery maple pecan flavor. It’s just the bit of comfort and homey cheer that says relax and put up your feet for a bit and savor the moment. I personally can’t think of scones without also thinking of a cup of tea to go with it. But that’s entirely up to you and maybe your jam is coffee or just eating it over the kitchen sink. We have family members known to do that….never me. 😉 What is your favorite tea to drink with something like a scone?
In this recipe, I used maple sugar, real butter, some natural maple flavor extract instead of vanilla and toasted pecans. They are a delicious way to treat yourself. A wonderful thing about scones is you can prep them all the way up to the point they are ready to pop into the oven and freeze some for later so you have fresh scones at your fingertips. This has come in very handy for me over the years. This recipe makes 24 scones, so you can bake them all at once, or freeze some for later. Just increase your baking time by about ten minutes from frozen.
Let’s make scones together, shall we?
Maple Pecan Scones, Gluten Free
Preheat your oven to 400 degrees F. and lay out two parchment lined baking sheets.
Ingredients:
3 Cups of Gluten Free Flour Blend with Xanthun Gum (I use Measure for Measure) Scooped and Leveled
2 Sticks of Cold Butter
1 Cup of Coconut Milk or Heavy Cream
4 Large Eggs
1 Cup of Toasted Pecans (toast in the oven for approximately 7 minutes at 350 degrees. Cool and chop)
Egg wash (1 egg beaten with 1 Tablespoon of water for brushing the tops)
Directions:
Toast the pecans first at 350 degrees F. for seven minutes. Remove them from the oven and set aside to cool. Now, reset your oven to 400 degrees F. for the scones.
In a food processor with a blade, add your flour, maple sugar, baking powder, and salt. Pulse until combined. Cut the cold butter into chunks and add it to your food processor. Pulse the processor until you have fine pea size crumbs. Whisk together in a separate bowl the coconut milk or heavy cream, eggs, and maple extract. Add the beaten egg mixture to the flour mixture and pulse until combined evenly. You will need to remove the top a couple of times to scrape the sides. Dump the mixture into a mixing bowl and fold in the pecans evenly. Dump the scone dough onto a floured surface, and roll out until it is a 12 inch by 8 inch rectangle and the scones are 1 1/2 inches thick. Cut the dough into 12 squares with a sharp knife. Wipe the knife as you go if you get dough stuck to it for a cleaner cut. Now cut your twelve squares into triangles by cutting them in half on an angle. Place the scones on two baking trays spaced evenly about two inches apart. Brush the scones with egg wash and sprinkle with some additional maple sugar or cane sugar.
Bake in your preheated 400 degree F. oven for 16 minutes until golden brown on the edges. Cool.
These are delightful, and I hope you love the recipe! Happy baking!!
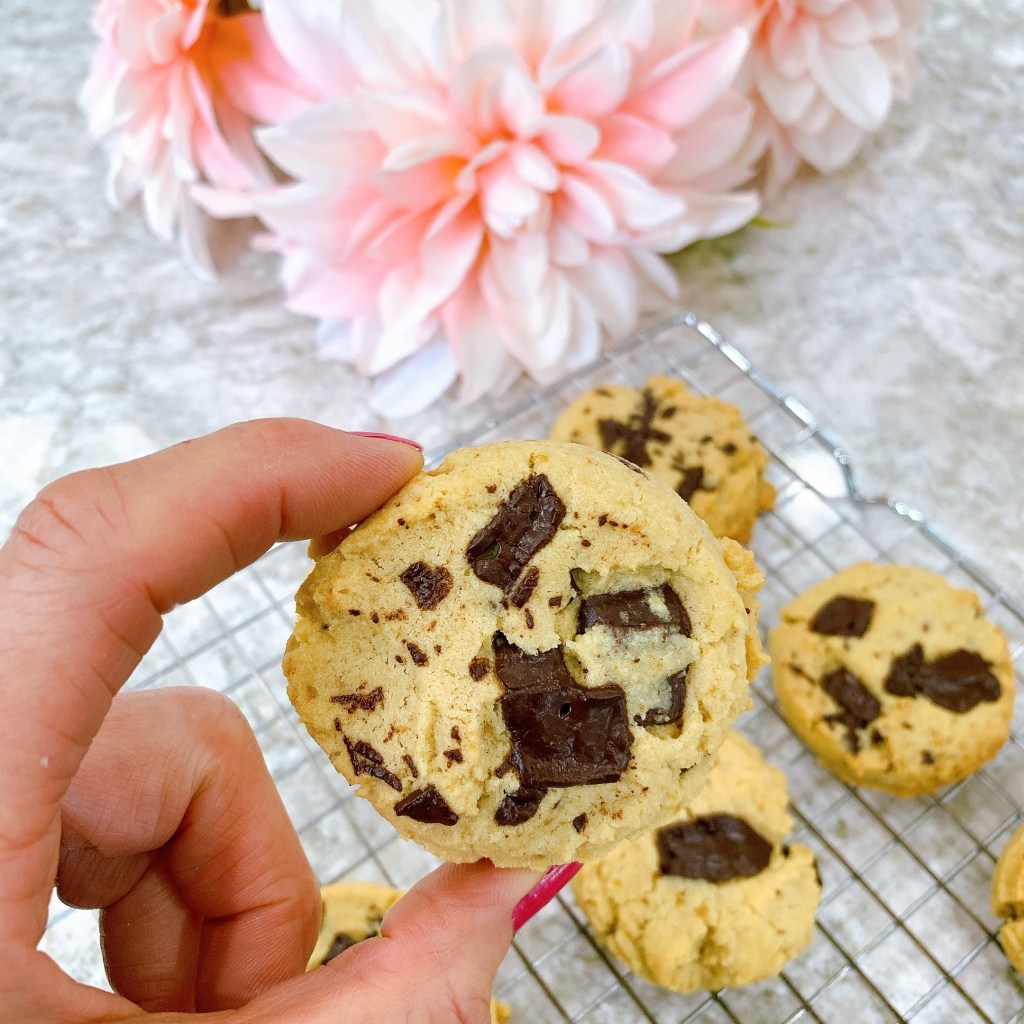
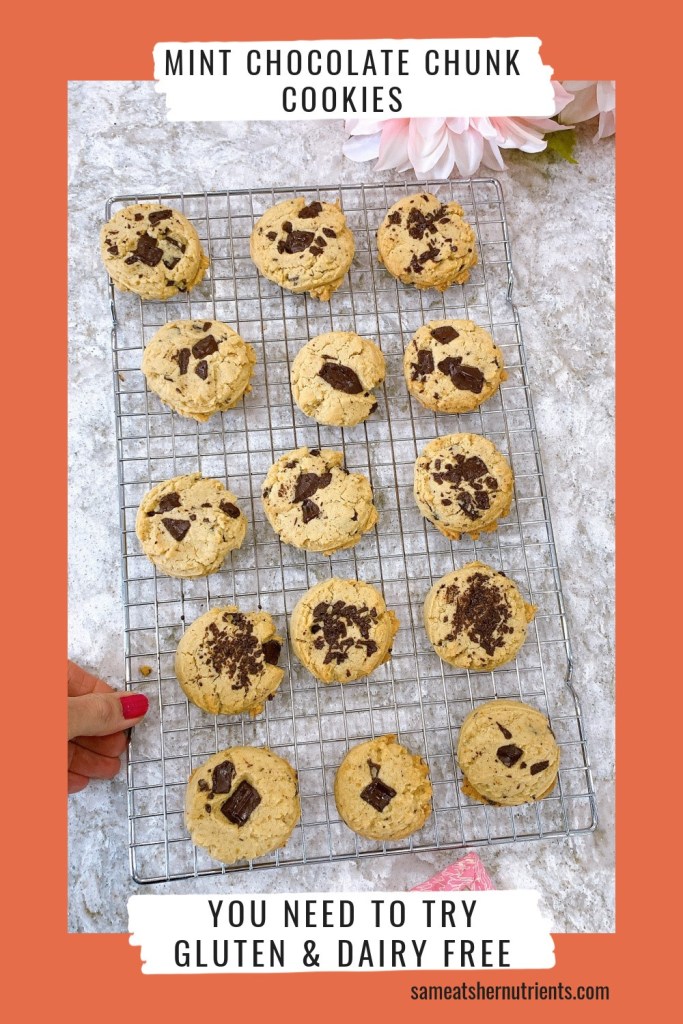
Mint Chocolate Chunk Cookies – Gluten and Dairy Free
Mint Chocolate Chip Cookies are so good! In this recipe I used brown rice flour and maple sugar, and the flavor is so delicious with a lovely crumbly cookie texture.
Spring is here, although in Northern Michigan it is a bit sketchy at times, we have had some beautiful warm days, and I do find that the spring flowers blooms like daffodils and hyacinths last a very long time in the cooler climate. This is my first spring in many years up north, and having moved from Maryland last May, in my adult experience the spring flowers faded fast in the heat. That’s a big plus here, but my favorite time in spring is when the lilacs start blooming the end of May! Can’t wait for that!
This month is the anniversary of my 7th year writing this blog, and I hope the recipes and healthy living tips have been an inspiration to you! Leave me comments. I love to hear from you!
If you are with me on your digestive healing journey, you will see that my recipes have evolved from being completely grain free to including some gluten free grains and flours in my baking and recipes. I have healed so much and am enjoying a much larger variety of healthy food, including some aged cheese and healthy grains. Don’t worry if you aren’t eating them, I still have plenty of recipes that don’t include them and will continue to blog those as well and more healthy living tips. Inspiring you with veggies is a passion of mine, and baking is my guilty pleasure, so I try to make versions of cookies and treats that are healthier and also delicious!
Here’s my newest cookie recipe that I think you will love! If you have never baked Mint Chocolate Chip Chunk Cookies, you are in for a lovely surprise!
Mint Chocolate Chunk Cookies – Gluten and Dairy Free
In a medium mixing bowl, beat together the shortening, olive oil and maple sugar until creamy, about 1 minute. Add the egg and vanilla and beat. In a separate small bowl, mix together the brown rice flour, baking soda and salt. Add it to your egg mixture and beat it in with an electric hand held mixer. Fold in the chopped mint chocolate bar until evenly distributed reserving a bit to press into the tops.
On two parchment lined cookie sheets, drop the cookies two inches apart with a tablespoon cookie scoop or equivalent. With damp fingertips, flatten each cookie.
Bake in your preheated oven for 12 minutes until lightly browned. Cool.
These gently sweetened matcha green tea cookies are a biscuit cookie delight!
They are melt in your mouth goodness with the delightful taste of matcha green tea and maple sugar and the chewy caramel flavor of chopped turkish apricots. A tiny bit of cardamom gives them an exotic twist that you will love. If you have never had cardamom in a cookie, you are in for a wonderful surprise. It’s so good in cookies! You will love these healthier cookies made with a gluten free flour blend that are not overly sweet and are dairy free! I used olive oil, the newest healthier baking trend that I have been making recipes with for a while.
My daughter tasted her first one of these cookies and said they were so buttery. They taste buttery, but in fact it is a generous amount of healthy olive oil that is the secret!
These cookies are easy to shape to into fun little rectangles by patting them out into a slab and cutting and separating them.
Let’s bake cookies!
Matcha Green Tea Cookies
Preheat your oven to 350 degrees F.
Ingredients:
1 1/2 Cup of Gluten Free Flour Blend. I used King Arthur Measure for Measure in this recipe. A different blend has not been tested and may give slightly different results.
1/3 Cup of Dried Turkish Apricots (finely diced) I get a lot of my dried fruit and nuts from nuts.com. I used organic and they are certified gluten free)
1 Teaspoon of Matcha Green Tea (I drink matcha every morning for energy, clarity and a metabolism boost!)
1 Teaspoon of Baking Soda
1/4 Teaspoon of Salt
1/4 Teaspoon of Ground Cardamom
Directions:
In a large mixing bowl, whisk together the flour, baking soda, salt, matcha and cardamom.
It another medium bowl beat your eggs, maple sugar, and olive oil with an electric mixer until it’s a creamy yellow – for about one minute.
Make a well in your flour mixture, and pour the beaten egg mixture into the flour bowl. Beat with your electric mixer until well incorporated. Fold in your chopped apricots. They dough will be stiff.
On a parchment lined baking sheet, dump out your cookie dough. Place another piece of parchment on top and pat and roll the dough out into a rectangle that is approximately 10 by 8 inches. You want the dough to be on the thick side so you get a nice puffy cookie, so make sure it’s about 1 inch thick. Remove the parchment and straighten the edges into a uniform shape with your hands.
With a large, sharp knife, cut the cookies into three rows long ways, six even cuts on the short side for 18 cookies total. You may need to add a little extra gluten free flour to the edge of your knife as you cut to prevent sticking.
With an offset spatula, separate the cookies about 2 inches apart onto the baking sheet.
Bake in your preheated oven for 15 minutes. The cookies will be slightly brown but still nice and green. Cool completely on the baking sheet.
These are a fun healthy cookie for St. Patrick’s Day!
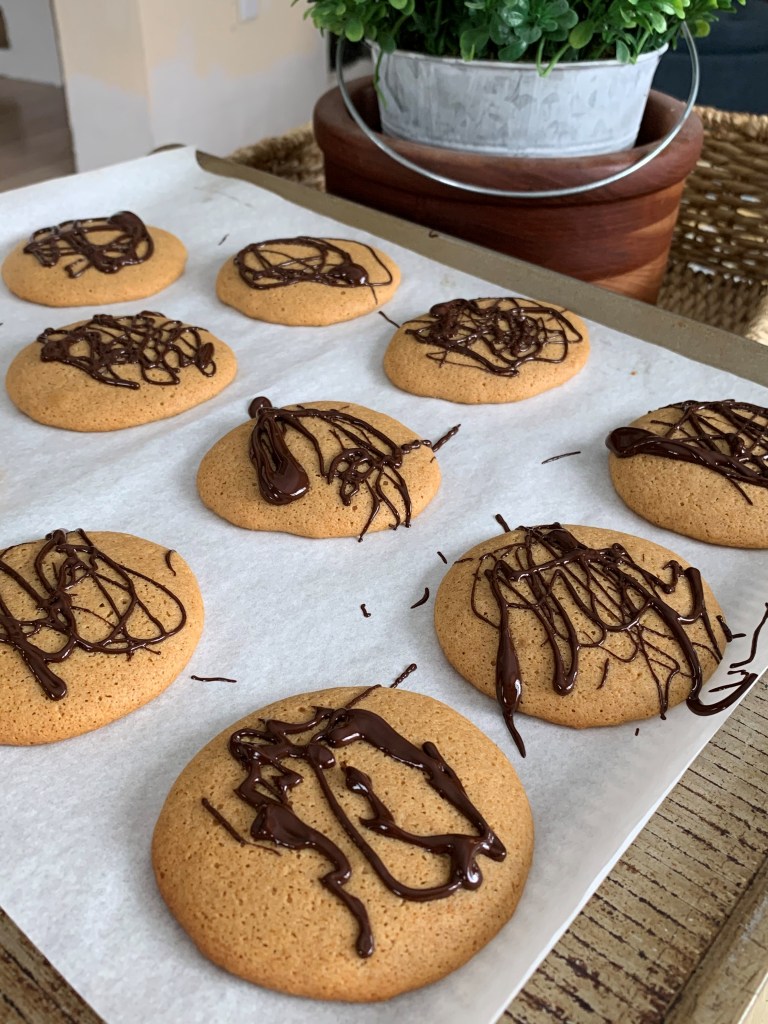
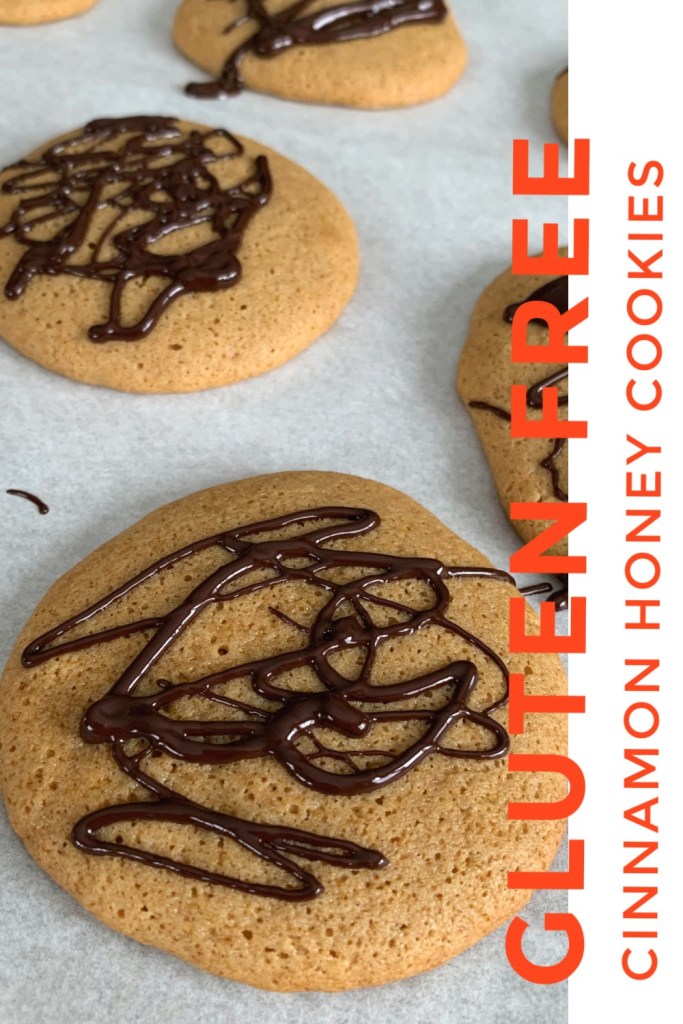
These cakey cookies have warming cinnamon and honey in them with a drizzle of dark chocolate on top! The cookies are just sweet enough and made healthier with less sugar in the form of honey. Half the fat used is olive oil.
1/4 Cup of Dark Chocolate Chips for drizzling on top
Directions:
In a medium bowl with an electric hand mixer, mix together the honey, ghee and olive oil until creamy. Add the egg and vanilla extract. Mix again until incorporated.
Sift together the brown rice flour, cinnamon, salt and baking soda, then add it to the honey mixture. Blend with the mixer on medium speed until thoroughly blended, about one minute.
With a tablespoon cookie scoop, scoop the cookies onto two parchment lined cookie sheets spaced two inches apart. Flatten the cookies slightly with the tips of your fingers.
Bake for ten minutes in your preheated oven. Remove the cookies from the oven and cool on the cookie sheet for a half an hour. In a double boiler, melt 1/4 cup of dark chocolate. Alternately, you can use a microwave by microwaving on high, stirring every ten seconds until just melted. If you take it too far, the chocolate will seize and not drizzle.
When the chocolate is melted, using a fork, scoop up some of the chocolate and drizzle it evenly over all the cookies. Let set until the chocolate dries. Store the cookies covered up to 3 days at room temperature. They also freeze very well.
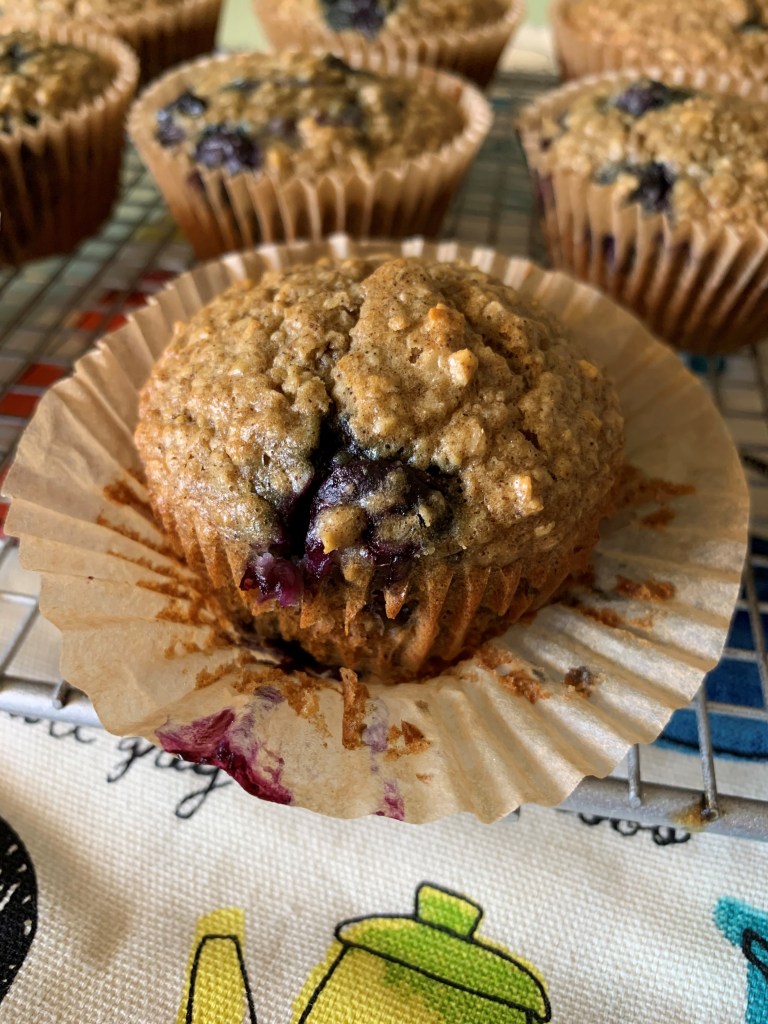
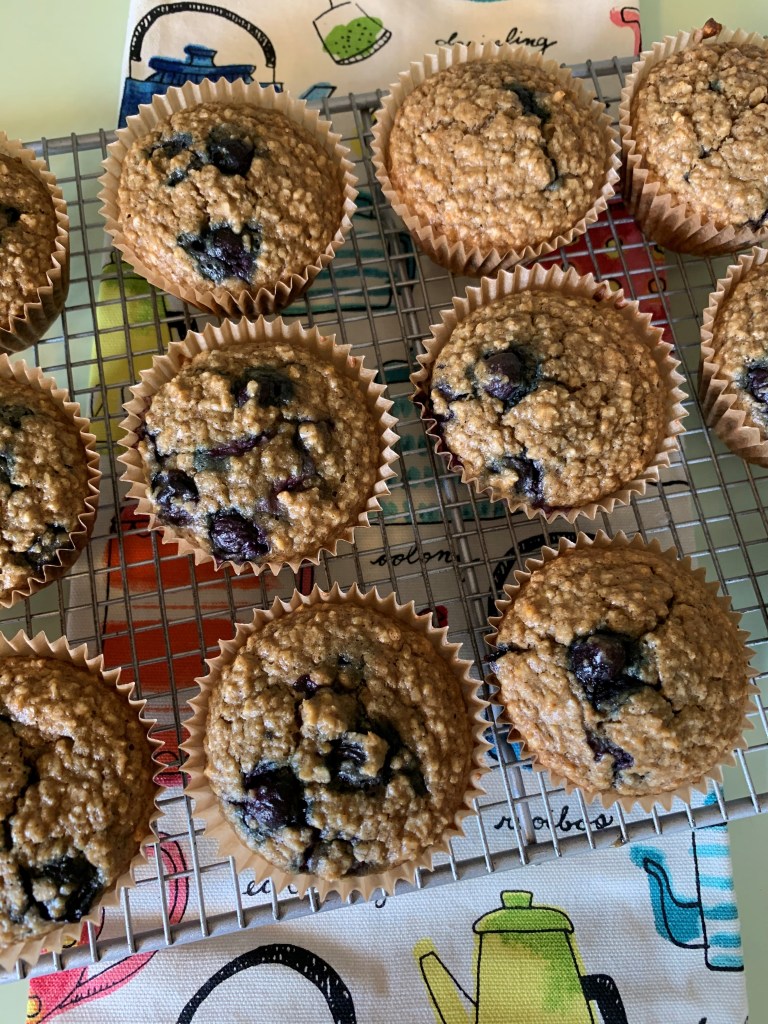
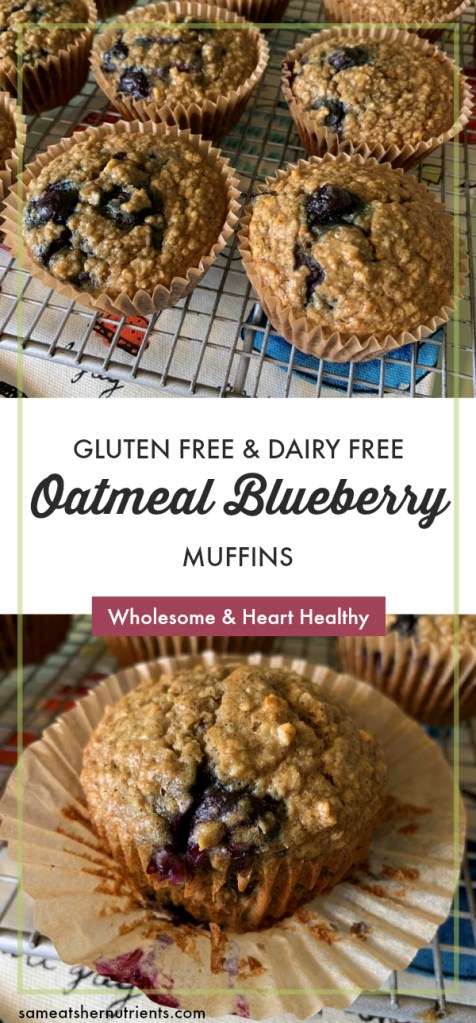
These heart healthy muffins are filled with antioxidant rich blueberries and sweetened lightly with honey. I used sprouted quick oats in the recipe and soaked them for a few minutes in a homemade buttermilk made from oat milk and lemon juice before mixing them into the muffin batter. They bake up in just 18 minutes!
The fat used in this muffin recipe is one of my favorites for keeping cholesterol in check, heart health, and for it’s overall health benefits…..Olive Oil. It works wonderfully in baking. This recipe makes 16 muffins that have a beautiful blueberry cinnamon aroma as they bake, and these will make your kitchen smell very inviting! My teens love these muffins. I always take that as a very good sign I’m on track.
If you are eating for digestive health or to prevent a SIBO relapse, go here to get a free download of Dr. Jacobi’s new The Vegetarian SIBO Bi-Phasic diet. Although I am not a vegetarian, a lot of people are and have a need for a diet plan without meat that is balanced. I am interested in expanding food choices for people with less restriction and helping them maintain their digestive health in a way that coincides with their dietary preferences. Her new vegetarian plan includes sprouted or soaked oats as well as some other gluten free grains. You should always listen to your body, because we are all individuals, and we all respond differently to different foods.
I think you will love this healthy and delicious muffin recipe! It has a wonderful, homey character, is lightly sweet and has a great whole grain texture that is hearty and good!
Gluten and Dairy Free OatmealBlueberry Muffins
Ingredients:
2 Cups of Quick Oats (I like One Degree’s Organic Sprouted Oats)
Preheat your oven to 400 degrees F. Arrange 16 Muffin liners into two muffin pans and set aside.
Stir the lemon juice into the oat milk to create a dairy free buttermilk. In a medium mixing bowl, combine the 2 Cups of quick oats with the oat milk mixture. Let sit for ten minutes to let the oats absorb the liquid and soften.
While the oats are soaking, in a large mixing bowl with a hand held electric mixer, beat your eggs, olive oil, vanilla and honey together until creamy. Then, add in your quinoa flour, cinnamon, baking soda, and salt and beat until thoroughly blended. After the oats have soaked for ten minutes, spoon them into your batter and mix until thoroughly incorporated. The batter will be nice and thick. Finally, fold in your frozen blueberries just until combined so you don’t get blue streaks.
With a muffin scoop or 1/4 cup measure, scoop the muffin batter evenly into your prepared muffin cups. Bake in the preheated 400 degree F. oven for 18 minutes or until they spring back. 400 degrees is a higher heat, so make sure you don’t let them go too long.
Remove the muffins from the oven and cool five minutes before transferring them to a cooling rack. Dig in. They are great warm too!
I created this new cookie recipe to be nut free, gluten free, dairy free and gum free and it uses just two flours, Quinoa and Banana. These two combined I find make a nice cookie.
These cookies taste chocolately delicious, and are sweetened with natural maple sugar.
I usually freeze them after I make them because, 1. It keeps them fresh longer and 2. It helps resist temptation to eat too many at once. But, I have to say, they are good right out of the freezer, so that doesn’t always work well. 🙂
This recipe makes a dozen cookies. I don’t think there is ever a time of year when chocolate isn’t on the list of cookie flavor favorites. But, they are especially cozy when the weather gets cooler and you can grab a hot cup of something to go with them curled up with a blanket and a good book.
Here’s the recipe.
Chocolate Chocolate Cookies with Quinoa and Banana Flour
In a medium bowl, beat the olive oil and maple sugar together. Add the egg and beat for one minute. Add the quinoa flour, banana flour, cocoa powder, baking soda, salt and vanilla and beat until creamy. Fold in the chocolate chips.
Scoop onto a parchment lined cookie sheet using a tablespoon cookie measure. Flatten the cookies with damp fingers. Bake in your preheated oven for 10 – 11 minutes. Remove from the oven, and cool on the cookie sheet.
*This post has affiliate links in it. I receive a very small commission if you purchase through my links. The small commission helps cover the cost of maintaining this blog.
Hello! I am Sam. I am a foodie, baker and a Health Coach who likes being in the kitchen making food. My recipes are all gluten free and there are recipes for different food intolerances as well. If you are looking to incorporate healthier eating habits and live a more balanced life, I hope to inspire you. I have had an obsession with baking since I was ten! I started this blog to share recipes I was making for myself after finding out I had gluten sensitivity and other food intolerances which I have mostly healed, but will always be sensitive to gluten. I went to school for Health Coaching as a second career at Institute for Integrative Nutrition. Nutrient dense food gives the body the best fuel and building blocks to be vibrant, healthy, prevent disease, and maintain great energy as well as heal. I am excited to share delicious food recipes, tips, baking and treats too!

















Recent Comments