Sides

Mediterranean Lentils and Cannellini Beans with Sundried Tomatoes, Olives and Peppers, Benefits of Laughter and Lemongrass Gluten Free Lip Products!

Mediterranean Lentil and Cannellini Bean

Hi friends! I have so much to share with you today. Let’s start with this new delicious recipe that can be served as a side dish or a main. This combination of brown lentils, cannellini beans and savory sundried tomatoes, peppers and olives is super delicious and nutritious, packable the next day for lunches, and can be prepped in advance. It is great mounded onto a green salad, served alongside chicken and fish, and good hot or cold.

You will cook the lentils first and then pour a flavorful vinaigrette on them while still warm. They soak up all the flavor of the vinaigrette, and then you layer more flavor in with the tangy, savory and salty sundried tomatoes, olives, roasted red peppers and parmesan cheese!

Lentils are a nutritious and an inexpensive way to get in some wonderful nutrients, fiber, and improve gut flora. They are often overlooked, but so delicious! Did you know that a serving of lentils has 90 percent of your RDA of folate? They are also high in polyphenols and are a good source of zinc, B6 and other important vitamins.

I used Cannellini Beans in this recipe because they are a bigger bean and creamy. They are a good source of protein and fiber. You can use any bean in this recipe you like. My favorite brand of beans is Eden Organics because they soak them overnight and that makes them easier to digest.

Mediterranean Lentils and Cannellini Beans with Sundried Tomatoes, Olives and Peppers

Ingredients:

1 Cup of Brown Lentils cooked according to package directions

1 Can of Canned Cannellini Beans (I use this brand because they are soaked)

1/3 Cup of Kalamata Olives, sliced

1/3 Cup of Oil Packed Sundried Tomatoes, finely chopped

1/3 Cup of Roasted Red Peppers, chopped

1/3 Cup of Parmesan Cheese, Grated

Vinaigrette:

2 1/2 Tablespoons of Balsamic Vinegar

1 1/2 Tablespoon of Garlic Infused Olive Oil my favorite brand, or 1 fresh minced clove of garlic

1 Tablespoon of Dried Chives

1 Tablespoon of Dijon Mustard

1/8 Teaspoon of Salt

1/8 Teaspoon of Black Pepper

(Whisk the vinaigrette all together)

Directions: Cook the lentils according to the package directions. Pour over the whisked vinaigrette after they are fully cooked and all the water is absorbed. Set aside.

While the lentils are cooling, chop up your remaining ingredients and drain and rinse your cannellini beans under cold water.

Put the lentils with the vinaigrette into a medium bowl, and add the remaining ingredients except the cheese. After stirring in the vegetables, beans and olives, fold in most of the grated parmesan and keep a little to sprinkle on the top.

You can serve the dish right away while warm, or refrigerate it and serve it cold. It is good either way.

It feels so good to laugh, and there are reasons why. Laughter reduces stress, increases your intake of oxygen, helps deepen bonds with others, reduces anxiety, and helps lower blood pressure. Sounds good, right? Just make sure you aren’t laughing at the expense of others and it’s appropriate laughter. The average 4 year old laughs 300 times a day and the average adult over 40 laughs only 4 times a day. So, because laughter is so good for you here’s a bean joke, which seems appropriate for the theme of this blog post: What’s beans’ favorite hat? A beanie 🙂 Dad joke! So sorry.

The Benefits of Laughter for your Health

As my loyal readers know, this is a gluten free blog, because I have gluten intolerance, I write recipes that are gluten free. I also use ONLY gluten free lip and makeup products for the same reason. It is especially important for any lip products! I absolutely love all the Lemongrass Spa makeup and lip products, because they are #1 beautiful, and #2 ALL Gluten Free!!

Lemongrass Spa Gluten Free Lipstick and Lip Gloss

What’s really in your lipwear?

Since lipstick, gloss and balm are so readily ingested, it should be as safe as possible. I use Lemongrass Spa Lip products because ALL of their Lipwear is Gluten Free and Organic! They actually list all the allergens on all their products.

When navigating the cosmetic aisle, it’s hard enough to find the perfect shade. It gets harder still when you want to find a safe, non-toxic version of your favorite color! It’s especially important to look for safe lip wear because the lips are a very sensitive part of the body. Everything is gluten free, and the lip glosses, lip oils and lip tints are nut free also!

I trust Lemongrass Spa Organic lip wear in all the attractive, long-lasting shades, glosses and moisturizers!

What do you prefer ?

A) Lip Balm

B ) Lip Gloss

C) Lipstick

D) Lip Oil

E) Tinted Lip Balm

Gluten Free Organic Lipsticks and Glosses from Lemongrass Spa
Gluten Free Lip Oils and Lip Balms from Lemongrass Spa

Guest Post: Traditional Spanish Tortilla

I am so delighted to welcome Max from My Health Food Service as a guest today! Max lives in Spain and is sharing with us an authentic Spanish Tortilla Recipe:

Spanish Tortilla (Tortilla Española) is a traditional dish from Spain that is made with potatoes, onions, and eggs. It is a simple yet satisfying dish that can be enjoyed as a main course, a side dish, or even a quick snack. It does require some practice to get it right, so don’t worry if you don’t nail it first try.

Ingredients:

  • Around 1 Kg of potatoes (about 5 medium sized potatoes)
  •  1 medium-sized onion, thinly sliced
  •  7-8 eggs
  •  Salt and pepper, to taste
  •  Olive oil

Feel free to use more or less of these ingredients. The quantities are not necessarily exact. Try to use around 0.7-0.8 eggs per 100g of potatoes.

Instructions:

  • Peel the potatoes, clean them and chop them up into slices as seen in the image below. Add some salt to the potatoes and stir.
  • Add the sliced potatoes to a pan with olive oil and fry them until they are soft and lightly browned. If you have an air fryer, use that as it will be a healthier option.
  •  In a separate pan, fry the chopped-up onions on low heat until they are translucent. Once ready, add into a large bowl together with the potatoes
  • In a separate bowl, beat the eggs and pour them over the potatoes and onions. Gently stir everything together.
  • Heat a splash of olive oil in a pan on medium-high heat, and once ready pour the whole mix into the pan. leave for a few minutes, and then start separating the tortilla from the sides or walls with a wooden spoon.
  • Once you can reach down and move the whole tortilla with the spoon, and you can just see that the bottom is going golden brown but the top is still liquid, it’s ready to turn around. This is the most important part.
  • Get a large plate that can cover the whole pan easily and place it over the top. Place a hand on the top of the plate and hold it firmly whilst you lift quickly turn it over. The tortilla should be left on the plate. Most Spanish households have a special plate designated for flipping tortillas, like the image below, but any plate large enough to cover the whole pan fully will work fine.
  • Place the pan back on the fire and slide the tortilla back in, so that the golden brown side is now on the top, and flatten it out with a wooden spoon. Leave it for another few minutes until you can again see that the bottom is turning golden brown.
  • Once ready, place the plate over the pan again and perform the same flip as before, just to take out the tortilla.

Some people like to have a tortilla with a solid middle part and some people prefer the center a bit more liquid. Feel free to try both by leaving the mix a bit longer or shorter on the second side before taking it out.

The Spanish Tortilla can be served hot, warm, or at room temperature, and can be garnished with chopped parsley or chives if desired. It’s great as a main course, side dish, or even as a snack and it’s a great way to use up leftover potatoes. You can also add some diced vegetables such as peppers, zucchini, or spinach, or even some cooked bacon, chorizo, or other meats, to make it more hearty and filling.

If you liked this recipe and would like to see more content like this, please check out My Health Food Service. Feel free to ask any questions related, to the editor Max.

Delicious Spiralized Antipasto Zoodles Salad, Winter Health Tips, and Clean Skincare

Winter Health Tips, Spiralized Antipasto Health Zoodles Salad and Safer Skincare

Happy New Year friends!! The days are getting longer, and I am craving fresh, delicious, food that makes me feel good because of all the nutrients in it! This Spiralized Antipasto Zoodles Salad is full of all the flavor, is low in carbs and it’s fun to make…..because….zoodles are just so fun!

Spiralized Antipasto Zoodles Salad

First off if you don’t already have a spiralizer, it is affordable! and a great investment in your kitchen accessories. I use my spiralizer frequently and is as necessary to my kitchen as a food processor and blender. This is my favorite spiralizer of the three I have tried. This one suctions to the countertop and makes a wonderful variety of spiralized shapes, and I have had it 5 years and it is still going strong. Oh, and this is a no cook recipe!

Delicious Spiralized Antipasto Zoodles Salad

Ingredients:

5 medium to small zucchini, spiralized (I used the FS Blade on my spiralizer)

1 Teaspoon of Salt to draw moisture out of the zucchini (see directions)

3 oz. of Sopressata, diced (I used Culinary Tours gluten free brand.) You can also use thin sliced Salami

1/4 cup of Fresh Basil, torn

3 Green Onions (scallions), sliced

Sliced Black Olives (I used a 3.8 oz. can)

1/4 cup of Roasted Red Peppers, diced

1/4 cup of oil packed Sundried Tomatoes, finely diced I use Mediterranean Brand Organic Sundried Tomatoes In Olive Oil

Dressing:

3 Tablespoons of Garlic Infused Olive Oil

3 Tablespoons of Red Wine Vinegar

2 Tablespoons of Good Olive Oil

1 Tablespoon of Fresh Lemon Juice

1 Teaspoon of Nutritional Yeast (adds umami and a cheesy flavor)

1/4 Teaspoon of dried Oregano

1/4 Teaspoon of dried Parsley

1/4 Teaspoon of Salt

1/4 Teaspoon of Black Pepper

Whisk all the dressing ingredients together in a bowl until emulsified.

Directions: Spiralize your zucchini. Spiralizing really magnifies the amount of zucchini. Look!

Making Zoodles with a Spiralizer

Place the spiralized zucchini in a colander over a bowl, and toss the zucchini in the teaspoon of salt. Let sit over the bowl for 30 minutes. The zucchini will release some juices. This helps prevent the salad from being watery. Zucchini has a lot of water in it. After 30 minutes, take a large serving spoon or rubber spatula and press the zucchini in the colander firmly to release more of the liquid. Now, we are ready to make the rest of the salad! Let’s go!

It really is just assembly at this point and so easy! Put your zoodles in a large bowl. Add the rest of the chopped, sliced and diced ingredients. Whisk up your delicious dressing, and pour it over everything. Grab you salad tongues and toss thoroughly, but gently. It’s ready to eat, or you can store it in the refrigerator until you are ready to serve it. It will just increase in flavor.

This Spiralized Antipasto Zoodles Salad is a wonderful addition to any meal or a delicious lunch. It’s pretty, fun, and healthy and good for you!

Now, here’s some health tips to get your through the winter months! Since the days are colder and darker, it is important to implement mindful self care for yourself.

Winter Health Tips

Which of these have you already implemented and which ones are you going to add? Please reach out to me with any questions. I love to hear from you.

As far as the sunscreen in the winter goes, are you choosing a safe sunscreen? It defeats the purpose of protecting your skin if you are putting chemicals on that absorb into your bloodstream. I recommend Beautycounter safer sunscreen with non-nano zinc. It is the safest out there and also reef friendly. My family and I have been using it for 9 years now, almost as long as Beautycounter has been making safer skincare products. They celebrate their ten year anniversary in March, and I love their mission and the high quality and safety of their products. If you want to know more or go see all the safer skincare, makeup and family care they have, here is the link. I have been a consultant with them for almost four years now after using their products for several years before, and they are a highly reputable company that is changing laws for safer skincare and beauty for all, have a strong recycling and sustainability mission, and their skincare is high quality.

https://beautycounter.com/sandrashields

Getting through winter requires maintaining all areas of our health. This time of year we can get restless and tired of the constant darkness and cold. Many people suffer from seasonal affective disorder (SAD) which lasts through the winter months. Try these 12 health tips to help get your through the winter.

Enjoy the salad recipe! I plan on making this on a weekly rotation, wearing my sunscreen, and implementing winter health tips!

Brussels Sprouts with Dried Cranberries

Brussels Sprouts with Dried Cranberries

This is a delicious way to eat your Brussels sprouts! Roasted Brussels Sprouts with Dried Cranberries, Sea Salt and Olive Oil. The trick is parboiling them first! They are so tender and flavorful!
We recently had company and they commented it was their first time eating a Brussels sprout! Don’t let that happen! What?? They are really just mini cabbages and have so much nutrition!
For example, they are high in nutrients! Especially bone benefiting Vitamin K. They are RICH in antioxidants that reduce oxidative stress and lower your disease risk, and they are also a great source of fiber.
Try this recipe and let me know! 👇 They aren’t only so good for you, they taste great!

Prep Time

15 minutes

Cooking Time

30 minutes

Yields

2 servings

Ingredients

2 cups Brussels sprouts
¼ cup dried cranberries
2 tbsps olive oil
Sea salt, to taste

Directions

  1. Preheat oven to 350°F.
  2. Bring 3 cups water to a boil.
  3. Trim ends and wash Brussels sprouts well.
  4. Parboil for 7–9 minutes or until fork-tender.
  5. Transfer to large mixing bowl.
  6. Chop dried cranberries into small pieces.
  7. Toss Brussels sprouts with olive oil, dried cherries and salt.
  8. Transfer to baking sheet, ensuring the Brussels sprouts are in one layer, and roast for 15 minutes, or until golden-brown

Crostini with Sundried Tomatoes and Bacon, Gluten & Dairy Free

This Crostini is restaurant quality and a feast for the mouth and eyes!

There is a wonderful combination of savory flavors that go so well together, and the dairy free chive cream cheese is perfect and delicious, and holds all the toppings on.

I used a gluten free bread from my favorite gluten free bakery in Traverse City, Michigan. BTW, they do ship. But, you can use any bread of your choice. Pick one you really love.

Here’s my recipe for delicious, beautiful, and mouth watering Crostini. It makes a wonderful appetizer, or serve it with your meal, a salad, or as a snack. If you are having a party, this is a winner!

This recipe serves two, but you can easily double or triple the recipe.

Crostini with Sundried Tomatoes and Bacon

Ingredients:

2 Slices of your favorite bread (I used Third Coast Bakery G/F Heavenly Bread)

Kite Hill Chive Cream Cheese (it’s dairy free)

Ghee or Olive Oil for dairy free (the ghee adds wonderful flavor)

Oil Packed Sundried Tomatoes (2 chopped)

Fresh Basil (Chopped. Use the amount you want. I used a couple tablespoons)

Dried Dill (a pinch)

2 Slices of cooked bacon (crumbled)

1 or 2 Sliced Scallions

Directions:

Set your oven to broil.

Spread two bread slices with ghee or olive oil, then broil in your oven until golden brown.

Remove your bread from the oven and let sit while you chop your sundried tomatoes, bacon, basil and scallions. This will allow it to cool a bit.

Cut each piece of broiled bread in half on a diagonal. Spread the Kite Hill cream cheese onto your broiled bread generously. Place the four triangles of crostini onto a serving plate and top each with equal amounts of sundried tomato, dill, bacon, basil and scallions.

Serve immediately.

Serves 2

Zucchini Squash Casserole

Squash Casserole 1

This is such a great old fashioned squash casserole!

Squash Casserole 4

If you like zucchini, but it gets boring for you the same old way. Or, if you are a fan of comfort food in the form of casseroles, like your Mom or Grandma used to make, here’s one that is healthy, delicious and comforting.

Squash Casserole 2

Casserole is great leftover for lunch too! Love me some leftover casserole!  This casserole is meat free, so feel free to use it as a side dish. I like to make pork tenderloin, chicken or bun free burgers to go with it.

Squash Casserole 3

Squash Casserole

Ingredients:

1 1/2 lbs. of sliced zucchini (this is about 3 to 4 medium, depending on the size)

1/3 Cup of Good Olive Oil or Melted Ghee

2 Eggs

1/2 Cup of Mayo (I use Avocado Oil Mayo like this)

1/2 Cup of sliced green onions

1 Orange Bell Pepper, diced

1/2 Teaspoon of Sea Salt

1/4 Teaspoon of Black Pepper

Topping:

1/2 Cup of  Pecans

2 Tablespoons of Goat Cheese (optional) Omit for SCD or substitute with a SCD Legal Cheese. There is a free PDF guide at the top of my home page you can download and print for free.

1 Tablespoon of Garlic Infused Olive Oil

1 Teaspoon of Dried Chives

1 Teaspoon of Dried Parsley

1/4 Teaspoon of Black Pepper

1/8 Teaspoon of Sea Salt

Directions:

Preheat your oven to 350°F.

Grease a 12″ x 8 1/2″ Casserole dish.

To make the casserole filling:

Bring 2 inches of salted water to a boil in a large frying pan with a lid. When the water comes to a boil, add the sliced zucchini and cook for 8 to 10 minutes until tender. Drain the cooked zucchini into a colander. Allow it to sit and drain for ten minutes in the colander. You don’t want a soggy casserole. Meanwhile, whisk together in a large bowl, the olive oil, eggs, mayonnaise, salt and pepper until well combined. Whisk in the scallions and orange bell pepper. Pat the drained zucchini with paper towel to remove any excess water. Then, stir the zucchini into the egg mixture. Pour the zucchini mixture into your greased baking casserole.

Now, make the topping.

Finely chop the pecans, or alternatively pulse in a food processor. I like this handy mini Ninja Express one for this job. It has made my life so much easier, and I don’t have to clean the big food processor. This goes right in the dishwasher! Add in the salt, pepper, chives and parsley, and mix thoroughly. Sprinkle the crumb topping evenly over the casserole. Now, if you are using goat cheese, which is very delicious in this recipe if you tolerate it, sprinkle small pieces of goat cheese over the crumb topping.

Place the casserole into your preheated oven, and bake for 50 to 60 minutes, until the top is golden brown and the casserole is bubbly.

This casserole can be prepped up to a day ahead and baked from the refrigerator. You will need to increase your baking time by ten minutes.

Enjoy!

Squash Casserole 5

*This post has affiliate links in it. I receive a very small commission if you purchase through my links. The small commission helps cover the cost of maintaining this blog.

Squash Casserole, Gluten and Grain Free, SCD

Chopped Kale, Cranberry, and Pumpkin Seed Slaw!

Kale, Cranberry, Pumpkin Seed Slaw 2

This slaw is a twist on the traditional cole slaw with the Autumn flavors of cranberries and pumpkin seeds, and the added nutrition of Lacinato Kale!

Kale, Cranberry, Pumpkin Seed Slaw

Gosh I love Fall! It’s my favorite season! I love all the spices, warm drinks, cozy sweaters, autumn fruits and vegetables, crunchy leaves, pumpkin patches, pumpkins, Mums, Fall porch decorations, cozy corners with a good book and a quilt, jackets, boots…..Love- It – All! This slaw introduces some of the flavors of Fall without completely letting go of Summer yet IMO.

Autumn Picture Cozy Time

What’s your favorite part about Fall? Please share with me. 🙂

I think you will like the crunch of the pumpkin seeds and chewy cranberries in this slaw. Plus, it has a milder onion flavor with scallions (green onions). It can also be made ahead, which is always handy!

Ingredients

4 Cups of Shredded Green Cabbage

1 Cup of Finely Chopped Lacinato Kale

1/2 Cup of Shredded Carrot

1/2 Cup of Thinly Sliced Green Onion

1/2 Cup of Pumpkin Seeds (I like this sprouted kind)

1/2 Cup of Dried Cranberries, fruit sweetened

Mix all the slaw ingredients together, then make the dressing:

1/2 Cup of Primal Kitchen Garlic Aioli Mayonnaise (here)

1 Tablespoon of Apple Cider Vinegar

1 Tablespoon of Fresh Lemon Juice

1 Tablespoon of Honey

1/4 Teaspoon of Sea Salt

1/4 Teaspoon of Black Pepper

Whisk together the dressing ingredients, and fold into the slaw.

Refrigerate until ready to serve.

Chopped Kale, Cranberry and Pumpkin Seed Slaw, Gluten and Dairy Free


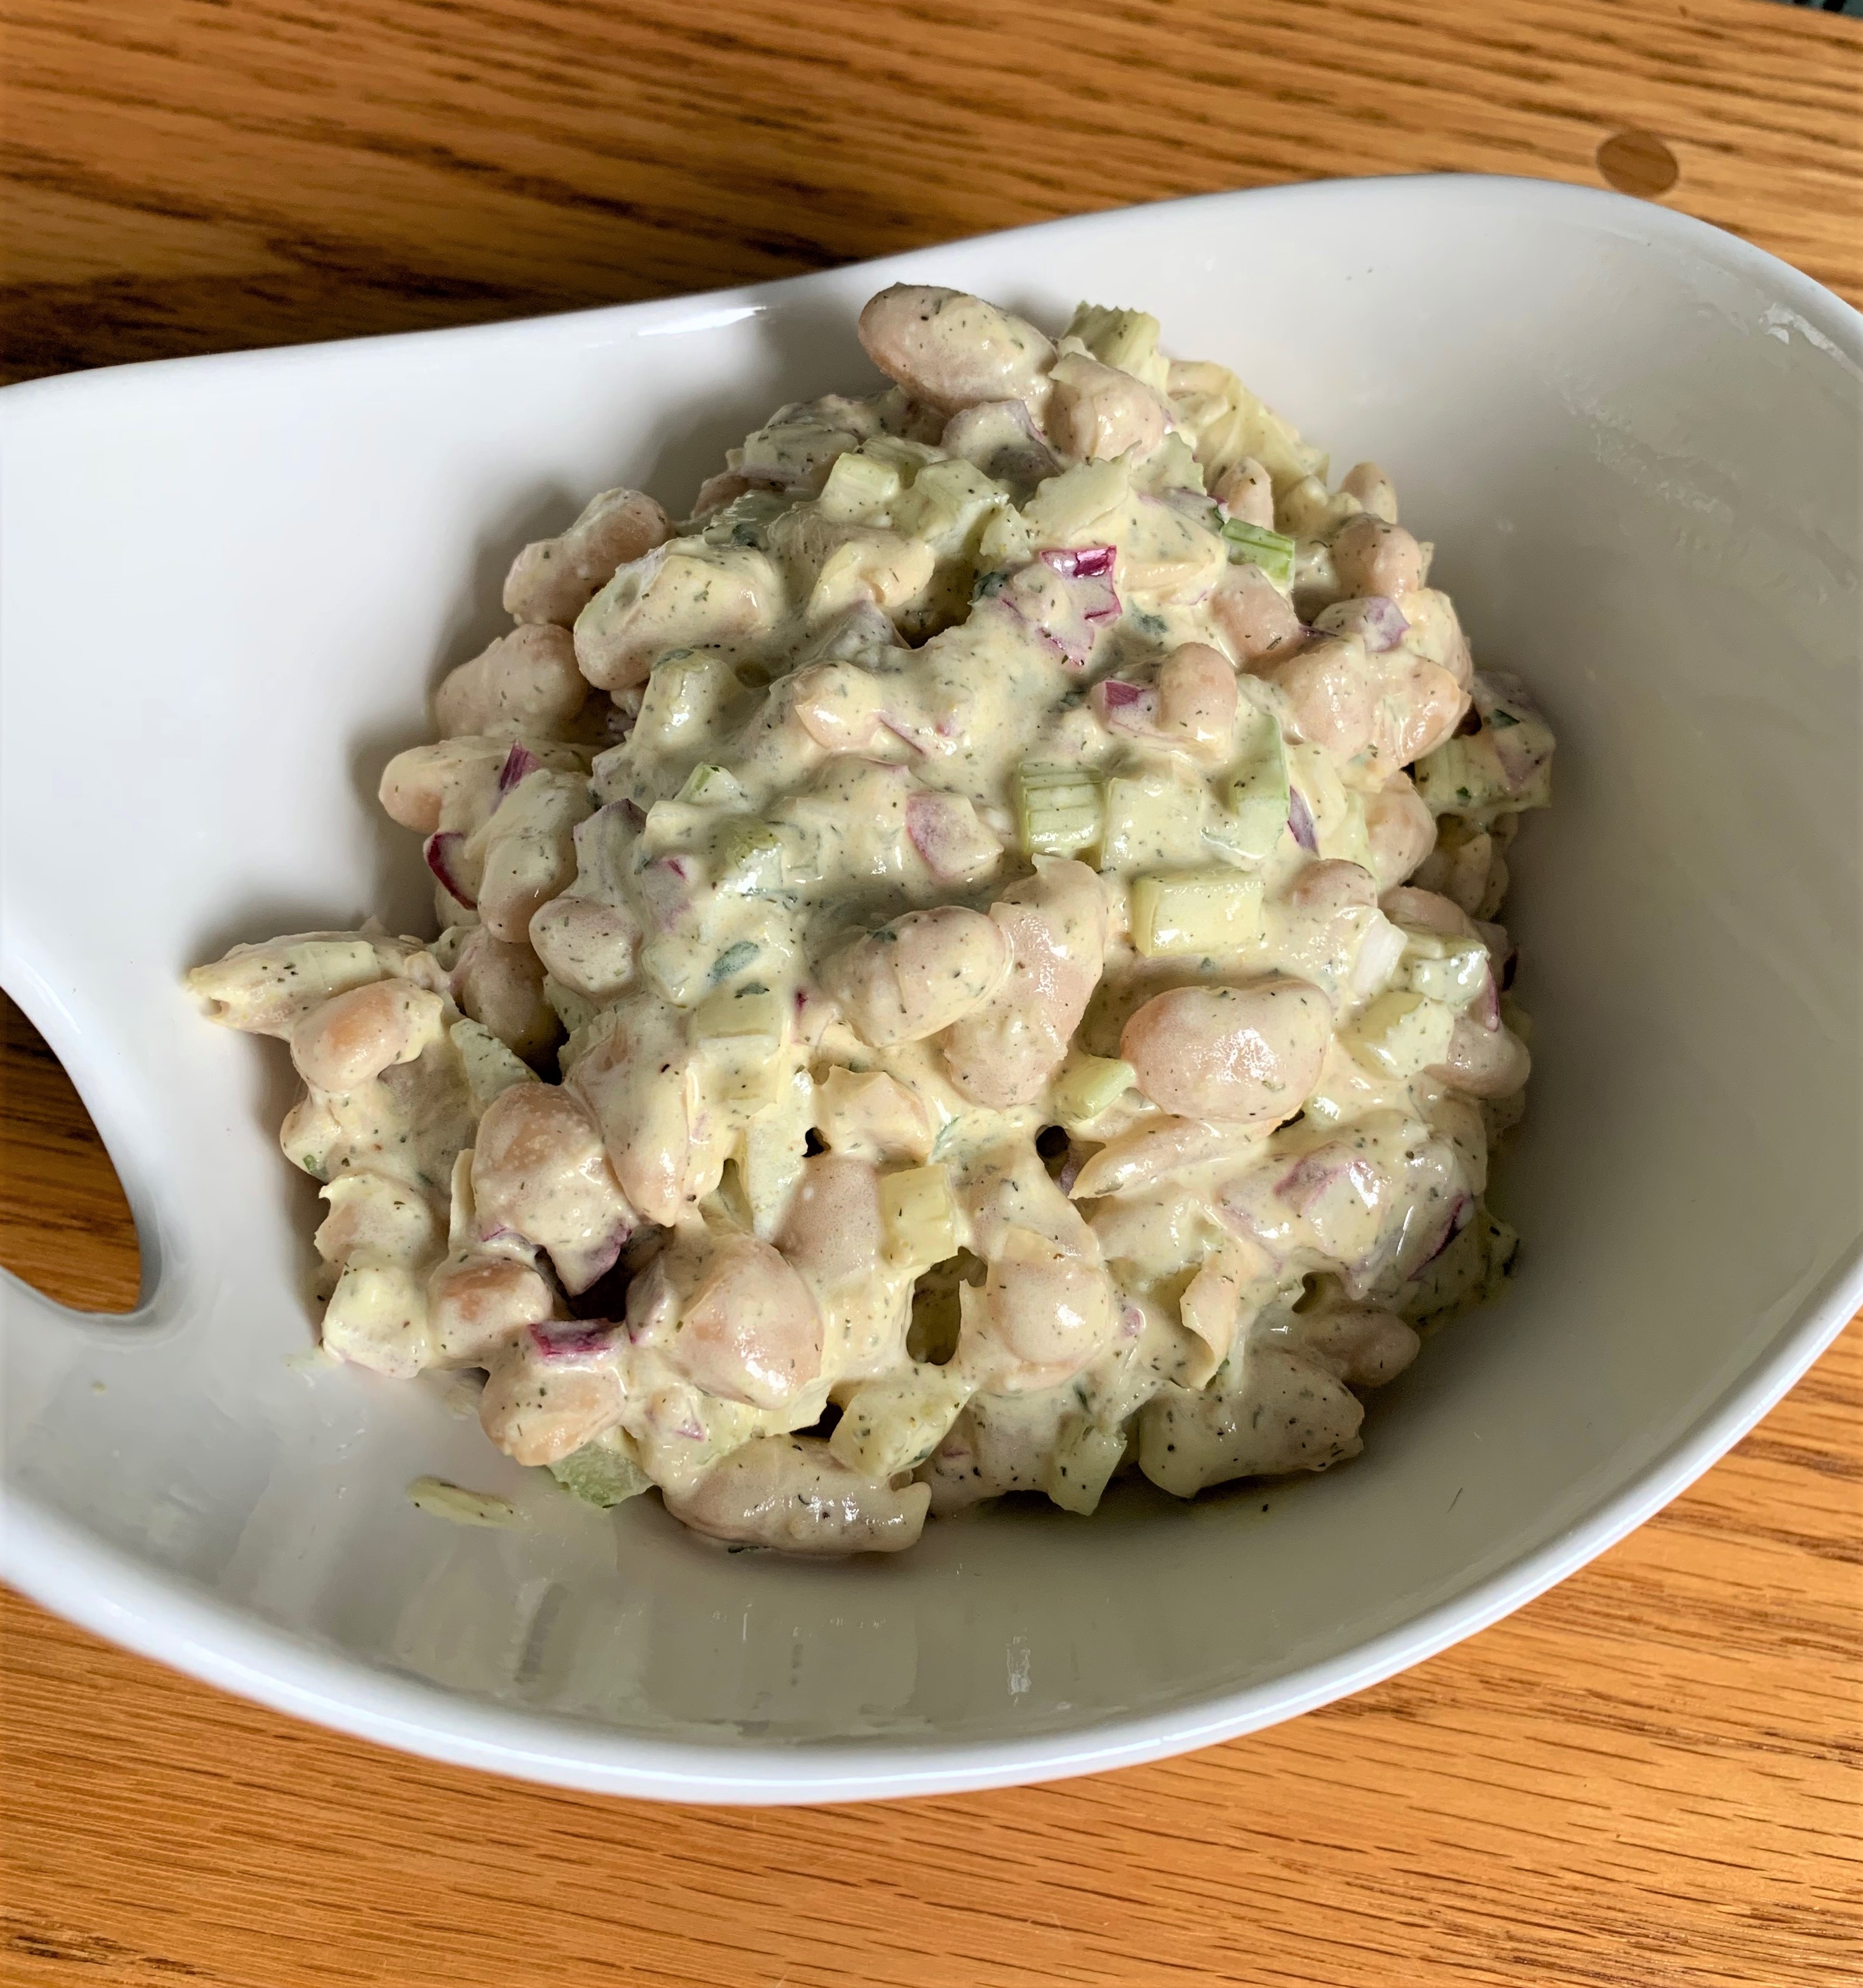
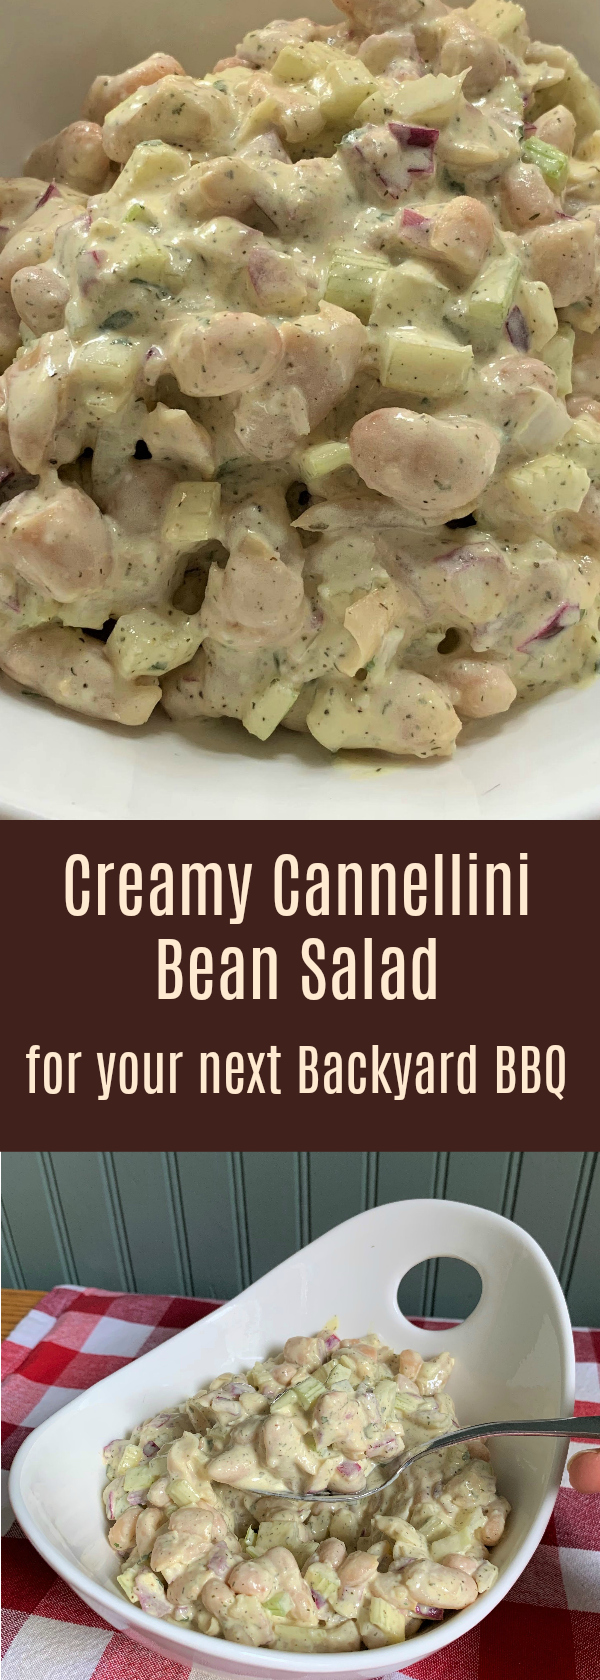
Creamy Cannellini Bean Salad for your next Backyard BBQ

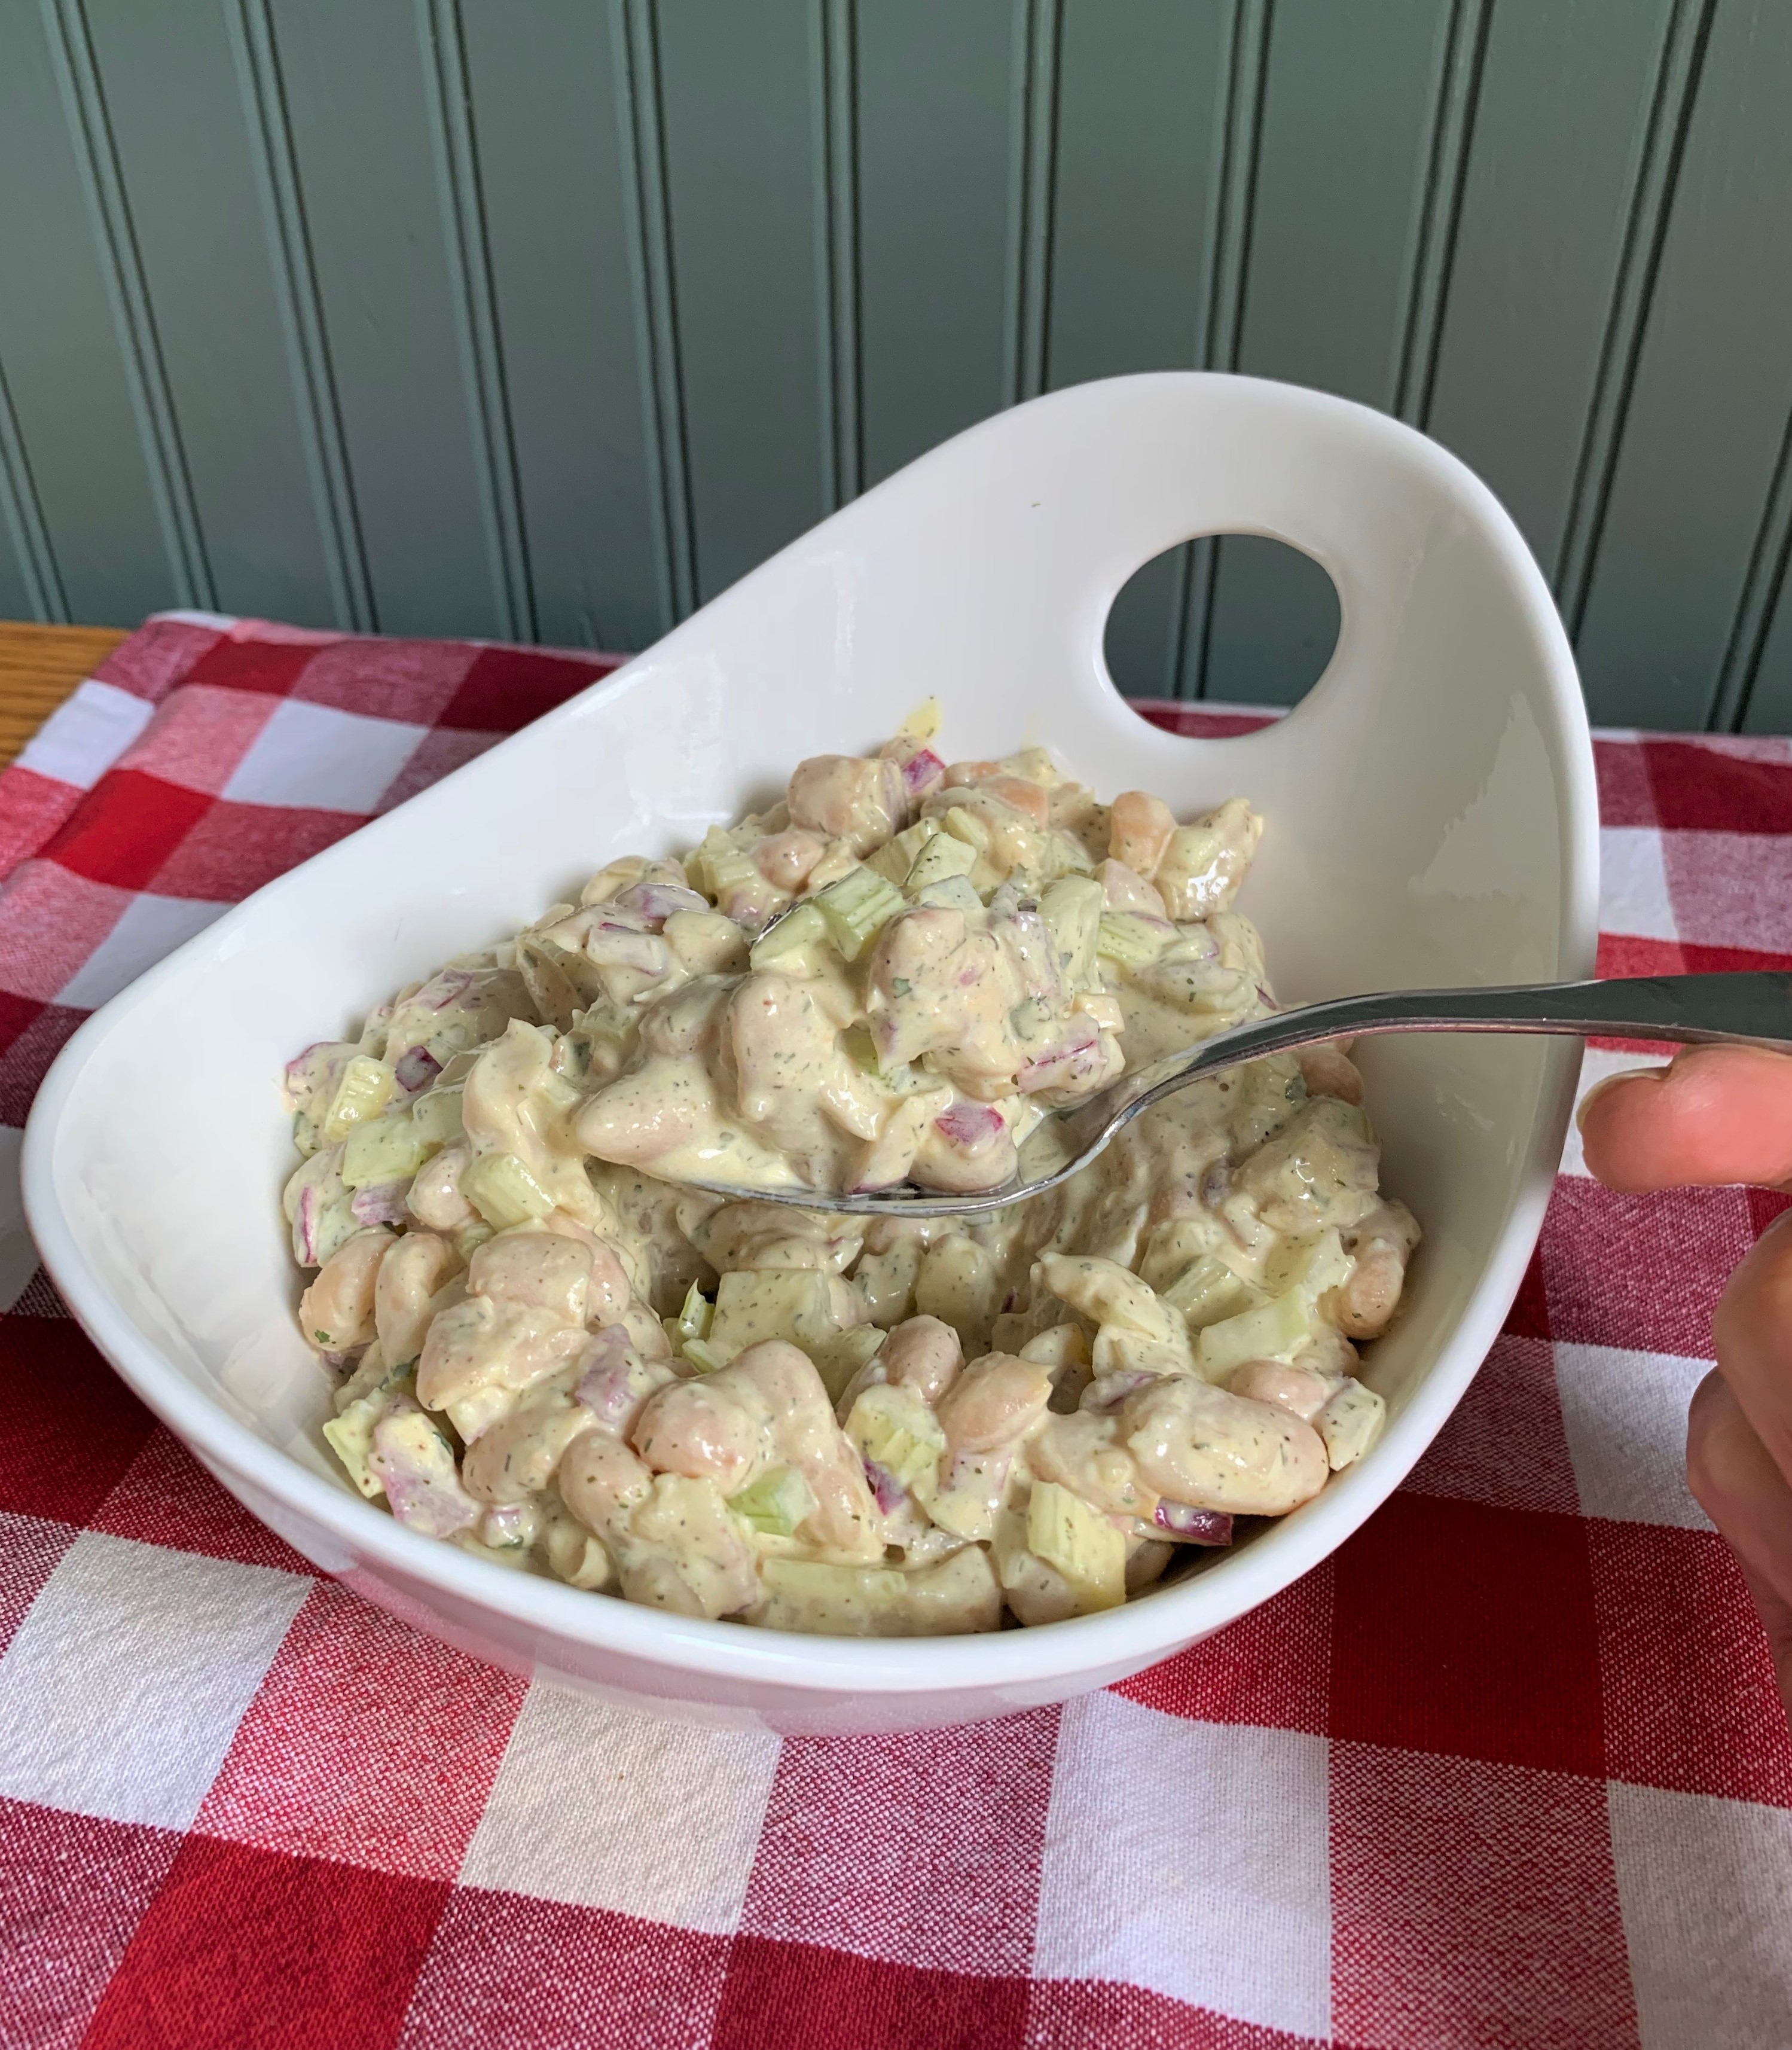
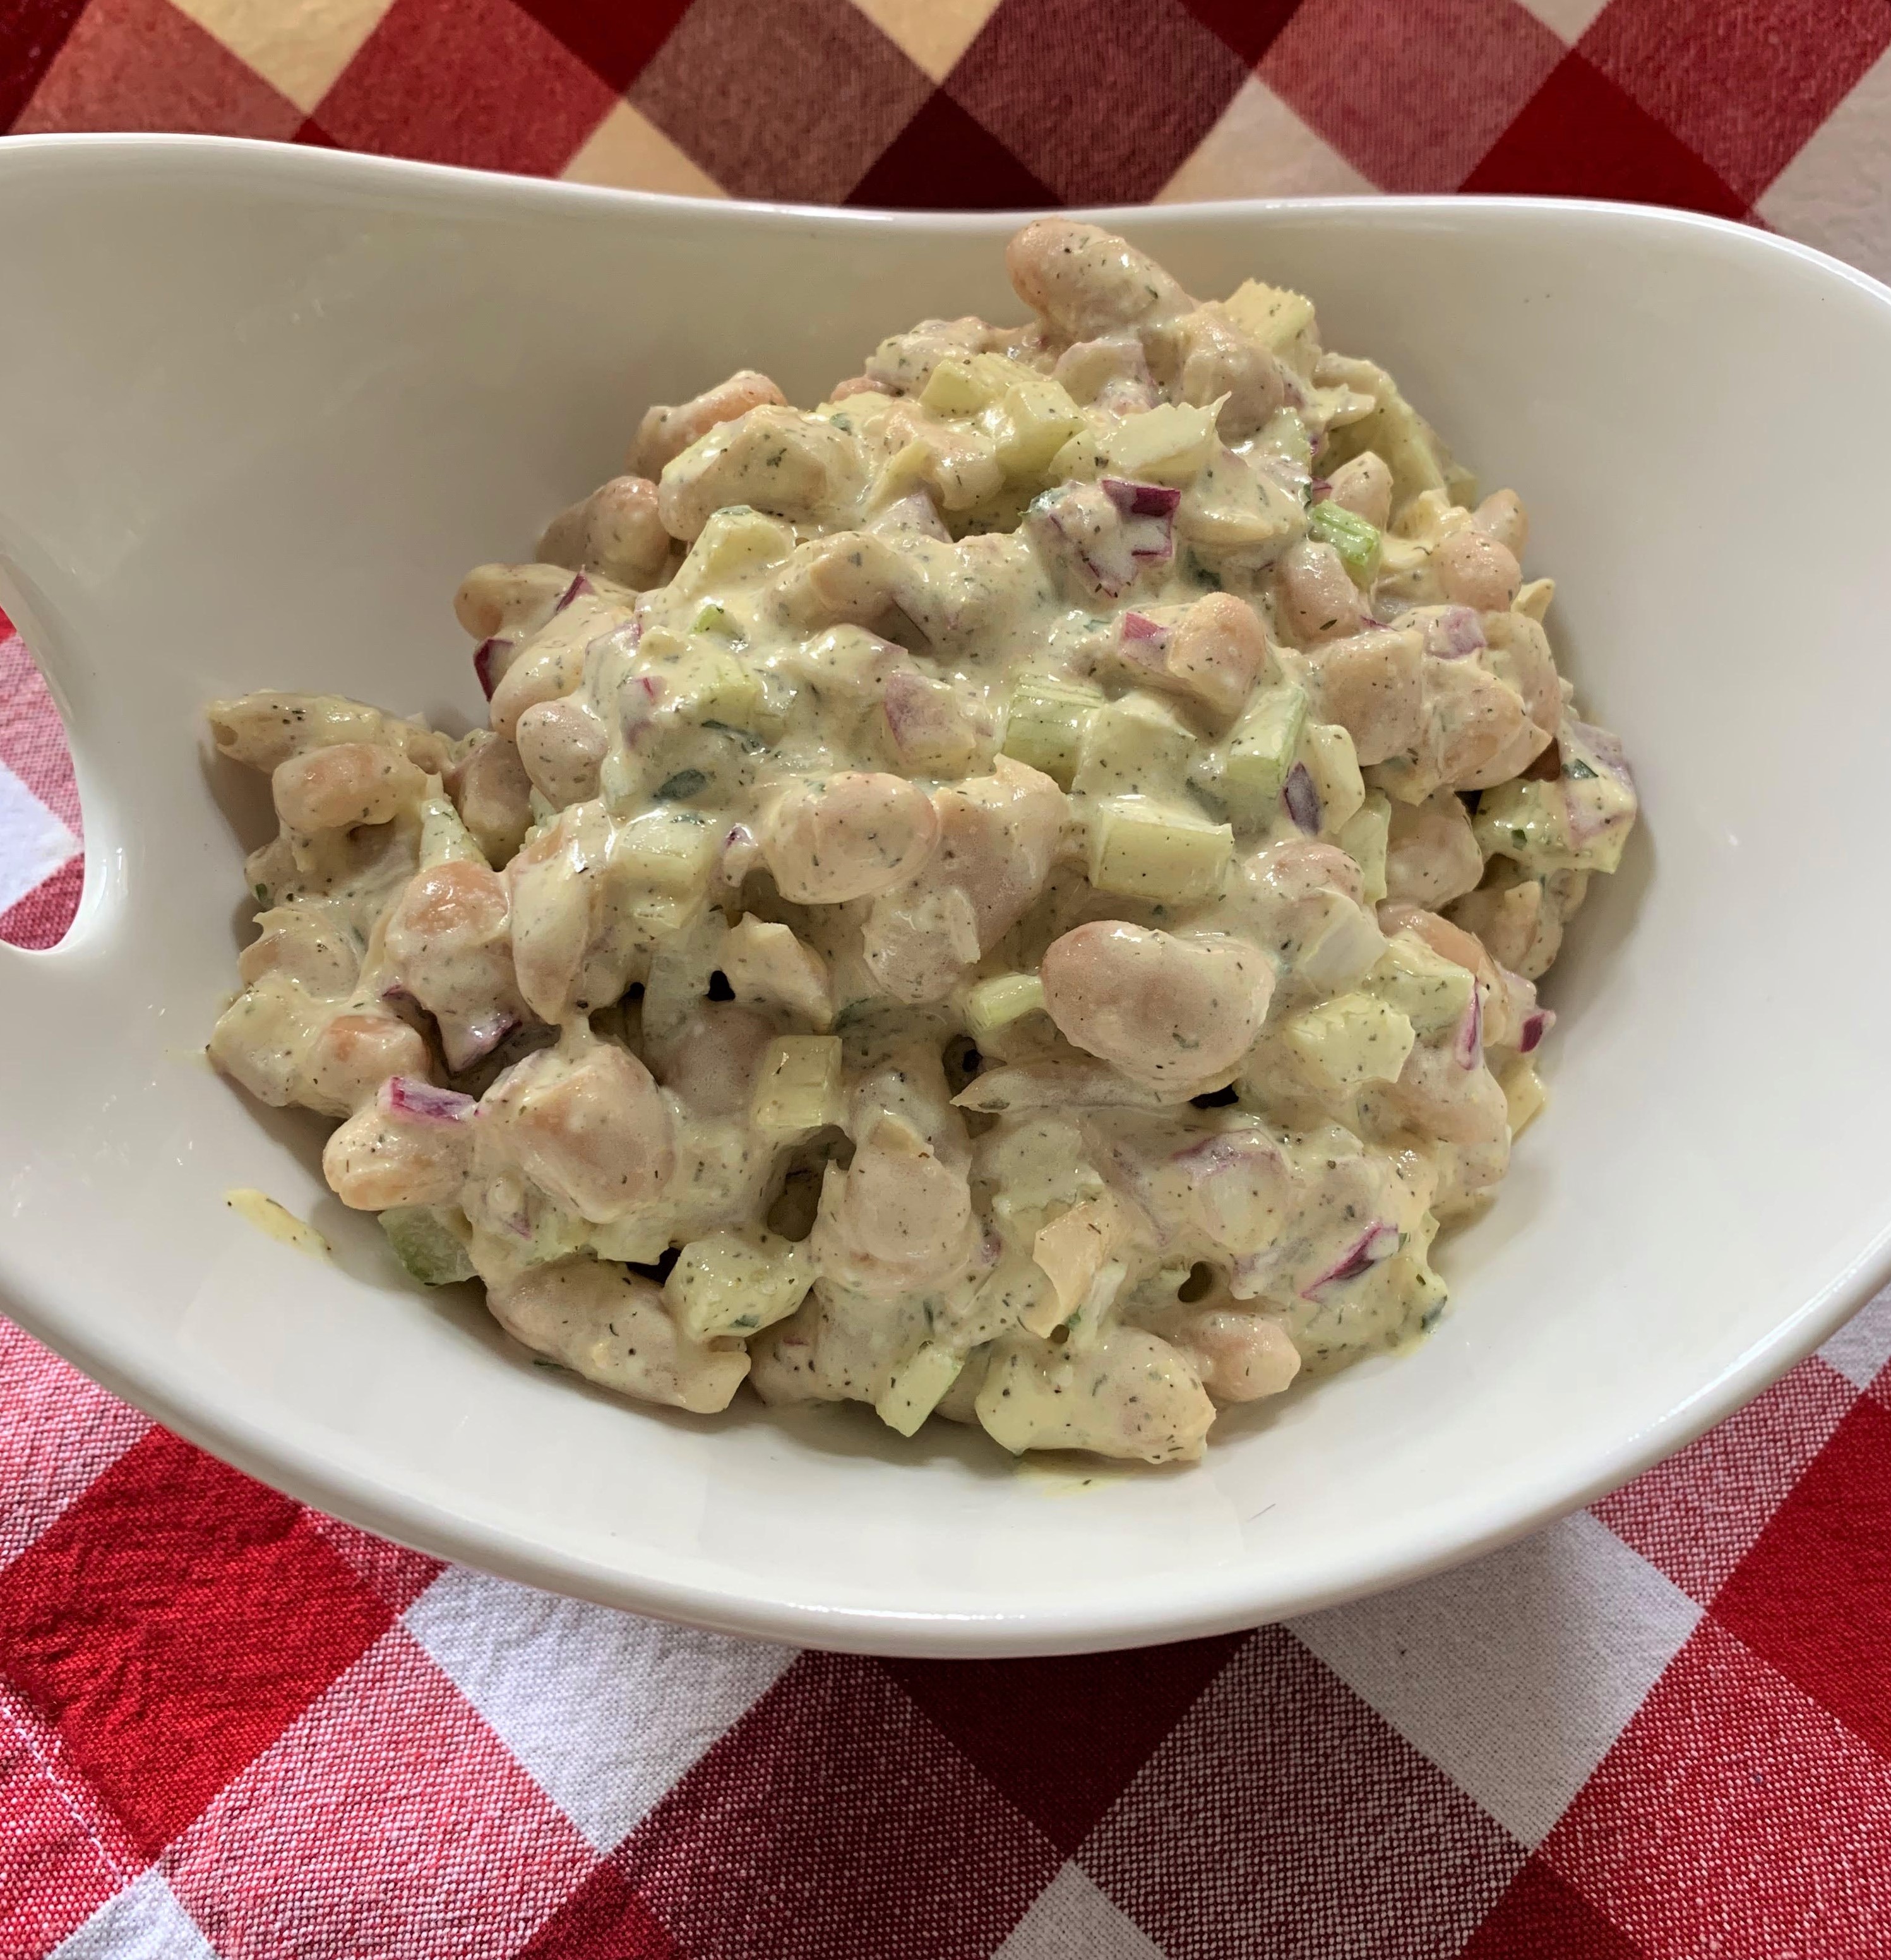
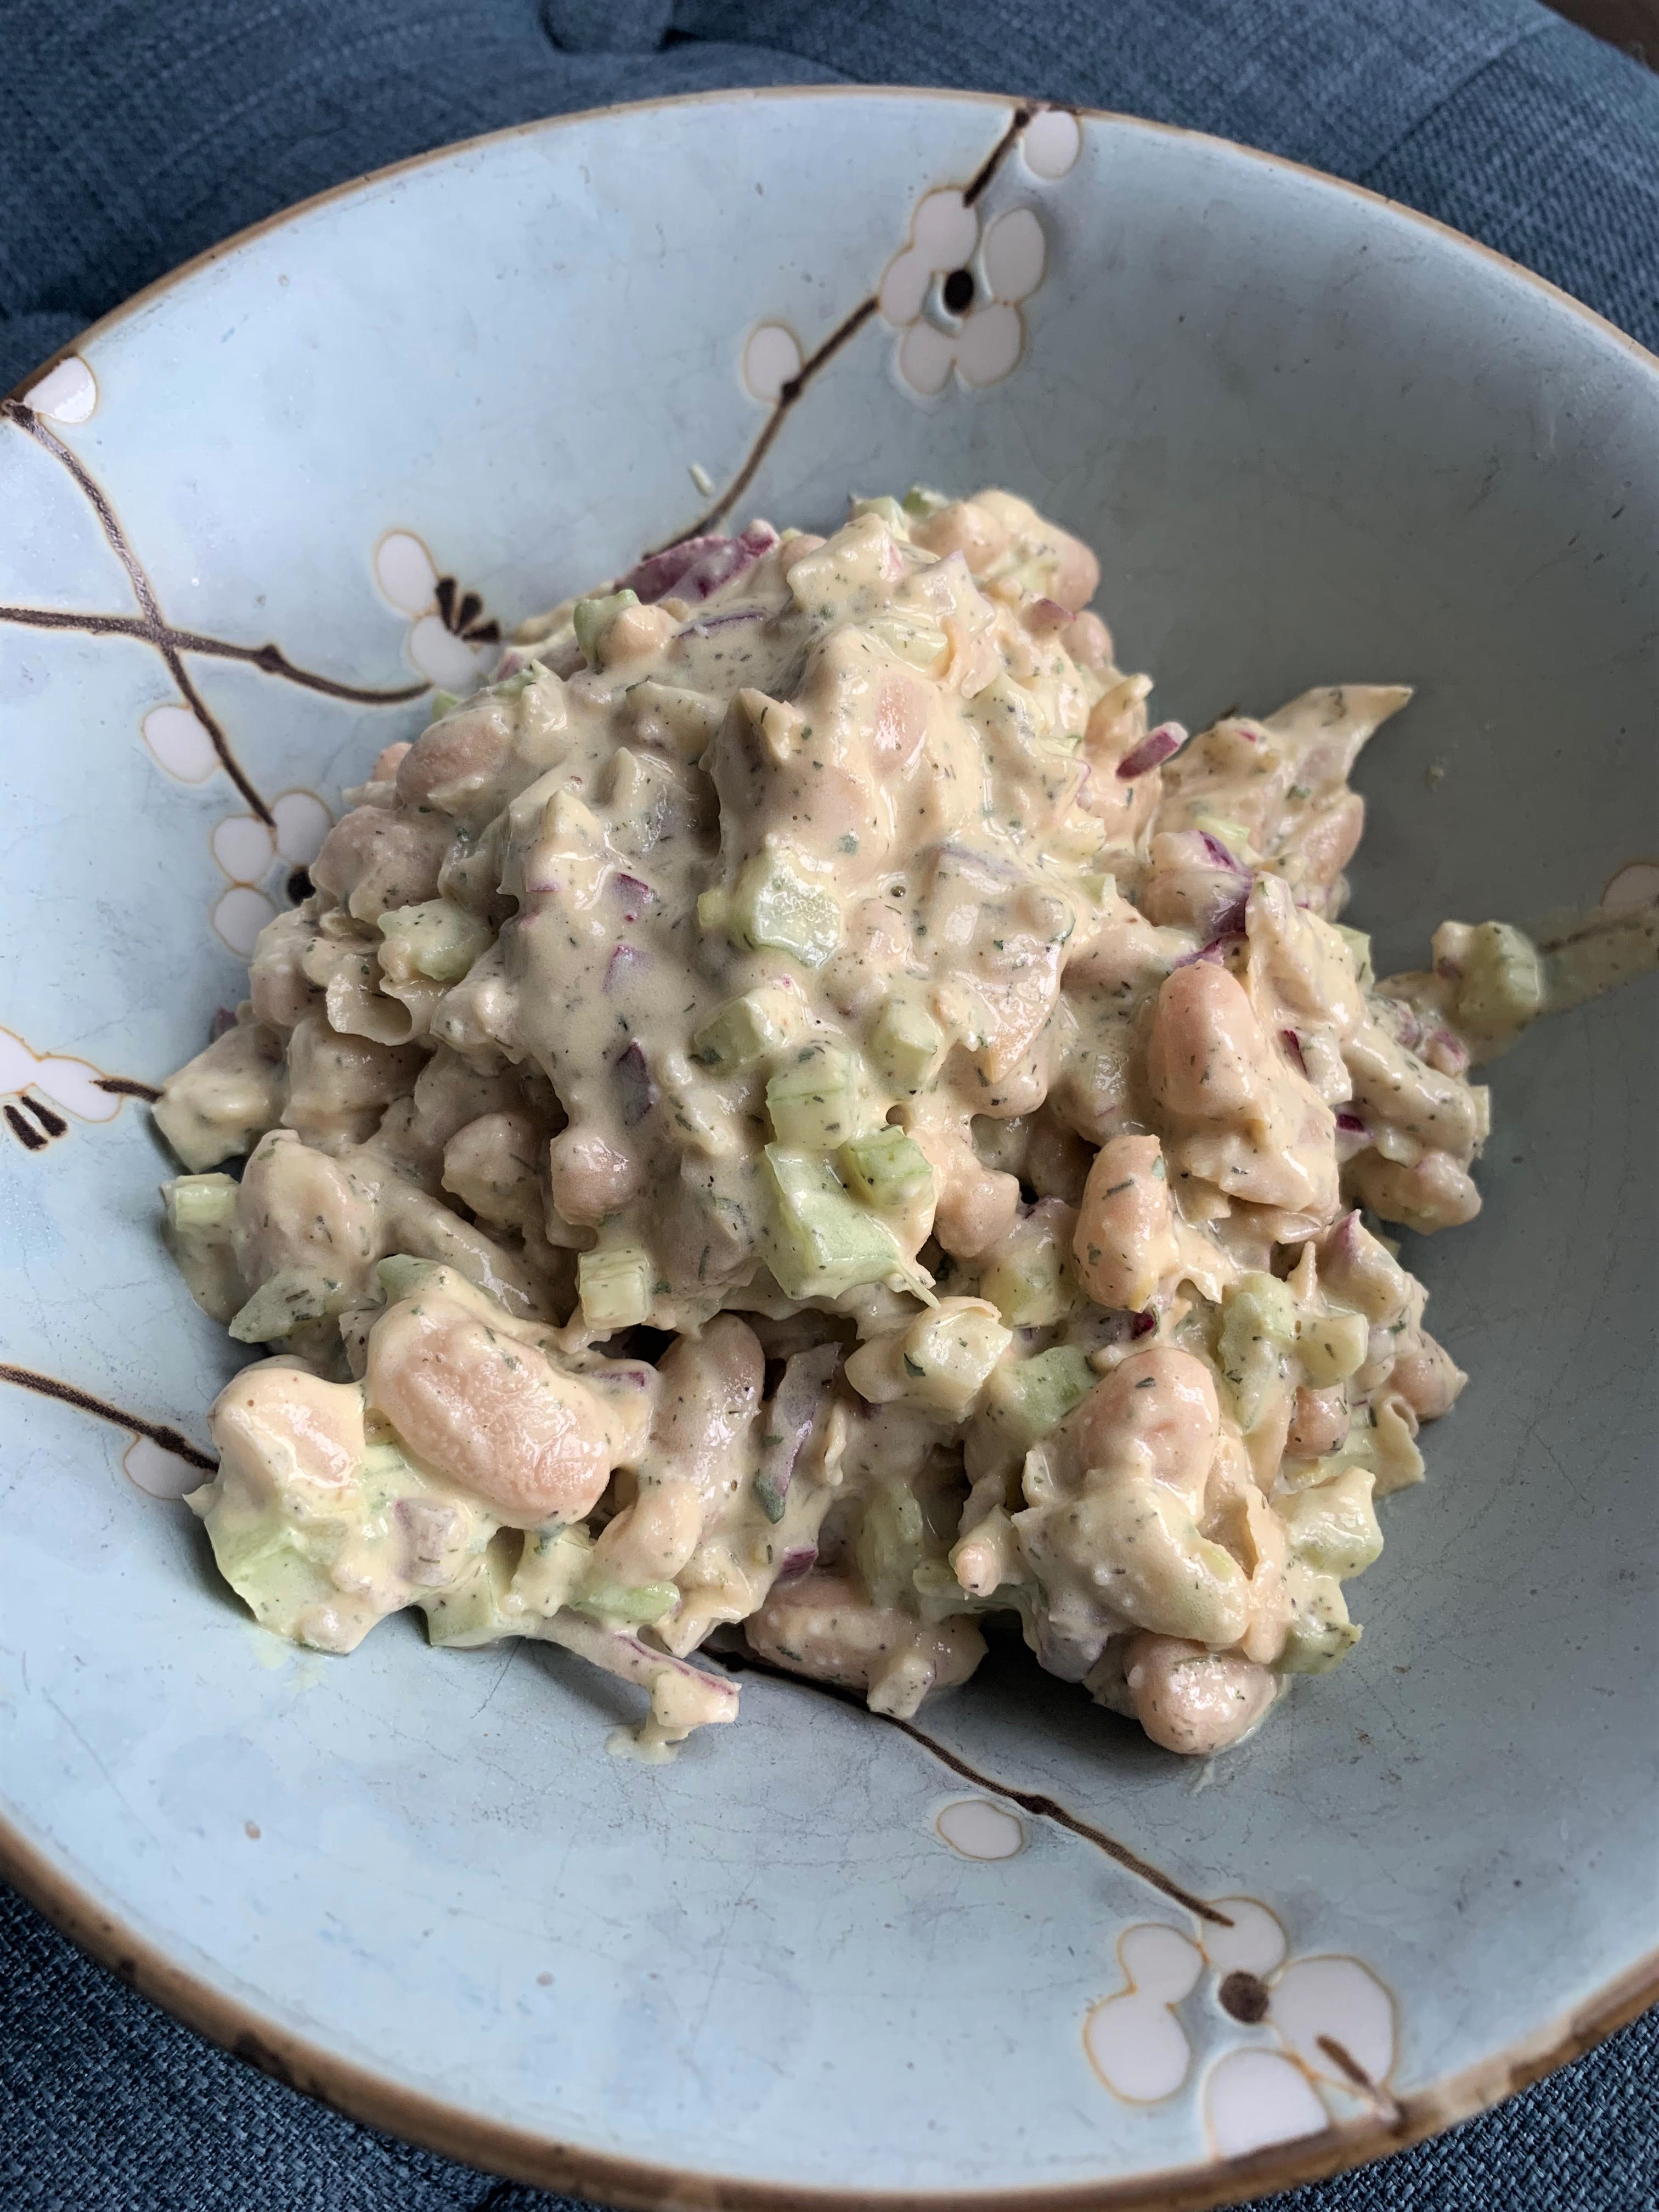
Cannellini Bean Salad for a Creamy Side or Burger and Sandwich Topper

Cannellini Beans, which are white kidney beans, have to be one of the creamiest beans I have ever had.

The fact that they are white makes them very eye appealing when cooking them with other bright colors like red onion and herbs.

Cannellini Bean Salad Keeping It Real

This Cannellini Bean Salad is reminiscent of a good potato salad. The texture and flavor reminds me of it.

I started making this recipe several months ago, and my kids have been requesting it, so I finally decided it was time to blog it.

Cannellini Bean Salad for your Backyard BBQ's

I always buy my canned beans from Eden Organics, because when beans are not properly prepared, they can be difficult to digest, and I like the way Eden prepares them. I personally don’t react to them. Eden Organics prepares all their beans by first washing and soaking them overnight before pressure cooking them, which thoroughly inactivates the lectins that can cause gas, bloating and difficulties with digestion. They also use BPA Free cans, and their beans contain no additives.

Creamy Cannellini Bean Salad

You can go crazy with this salad by adding it on top of burgers and in sandwiches or just eat it as it was originally intended, as a side. But if you’re like me, you push the boundaries.

I have a new dip I will share soon using Cannellini Beans that is super good too! You gotta love these creamy beans and their versatility!

Beans are healthy when prepared properly and contain plant based protein and fiber along with vitamins, minerals, folic acid, potassium, and zinc. Their complex carbs also provide crash free energy.

Creamy Cannellini Bean Salad

1 Can of Eden Organics Cannellini Beans, drained and rinsed

1/3 Cup of Diced Red Onion

1/3 Cup of Diced Celery

1/4 Cup of Good Mayo (I use this brand)

1 Tablespoon of Apple Cider Vinegar

1 Tablespoon of Yellow Mustard

1 Tablespoon of Fresh Lemon Juice

1/4 Teaspoon of Dried Dill

1/4 Teaspoon of Dried Parsley

1/4 Teaspoon of Sea Salt

1/4 Teaspoon of Black Pepper

Directions:

Place Cannellini Beans into a medium bowl and very roughly mash them with a fork. You only want them to be partially mashed. But you can play with this to make them to your liking. Add the diced onion and celery and toss.

In a separate bowl whisk together the remaining ingredients for the dressing. Fold the dressing into the beans, onion and celery. Refrigerate for one hour. This salad will last three days in the refrigerator.

Creamy Cannellini Bean Salad for your next Backyard BBQ - Keeping It Real. This recipe is Dairy Free and is Naturally Gluten Free and Vegetarian

*This post has affiliate links in it. I receive a very small commission if you purchase through my links. The small commission helps cover the cost of maintaining this blog. Thanks! 🙂

Griddle Burger and Sandwich Buns – Coconut Flour

These savory griddle buns are the perfect vessel for burgers and sandwiches! They have carrots and scallions in them and are nutritious, delicious and grain free! These are great for egg sandwiches, meatloaf sandwiches, and burgers of all kinds. Top it with my Tomato Basil Jam recipe and your eyes will roll to the back of your head. 🙂 Leave out the scallions and make a nut butter and blueberry jelly sandwich using my Blueberry Spoon Fruit recipe!

Griddle Burger and Sandwich Buns (Carrot Scallion)

I used steamed carrots in this recipe, and they would be equally delicious with pumpkin or butternut squash, so feel free to switch it up. The pumpkin would be very handy if you didn’t have time to steam the carrots.

Griddle Burger and Sandwich Buns

Griddle Burger and Sandwich Buns

Ingredients:

  • 3 Tablespoons Coconut Milk or Almond Milk
  • 1/2 Cup of  Coconut Flour
  • 2 Cups Steamed Carrots, Mashed (or substitute butternut or pumpkin)
  • 2 Scallions, green parts only for Low FodMap, thinly sliced
  • 4 Eggs
  • 1/4 Cup of Olive Oil, Coconut Oil or Ghee
  • 1/2 teaspoon Sea Salt or  Himalayan Pink Sea Salt
  • 1/4 teaspoon Baking Soda

Directions:

Preheat a large electric griddle to 350º F degrees.

These are easy and quick! Add all your ingredients to a food processor, and blend until smooth.  Let batter sit for 5 minutes.

Then, brush the griddle lightly with olive oil. With a muffin scoop or 1/4 cup measure, scoop the batter onto the griddle, and spread with the back of a spoon to rounds about the thickness of pancakes. Cook until golden brown, and then flip and cook the other side, just like you would a pancake. Cool on a wire rack.

Makes ten buns or five sets of sandwich buns.

You can make a double batch and freeze these for weeknight ease!

Have a fabulous day!

Sam 🙂

Grain Free Popovers Three Ways

Popovers go great with saucy winter meals, because they soak up juices! They are also great for breakfast, or stuffed with sandwich ingredients. I love their airy, fluffy texture. So today I came up with three more variations (Pecorino, Garlic and Onion, or Plain) you can make in addition to my original recipe for Italian Bacon Popovers which you can find here.

Grain Free Popovers Two Ways!

Grain Free Popovers Three Ways!


I was thrilled to discover recently that I am doing well with some kinds of dairy, so I added a dairy version of the popovers….Sheep milk cheese! Did you know that the delicious Italian Pecorino cheese is made from sheep’s milk? It is a well known delicious hard cheese that you grate, and I added it to one of my popover recipes with yum-yum results! If you aren’t partaking in dairy, no worries there are plain ones that are very versatile and classic, or try the garlic and onion and also the Italian Bacon ones on the blog which are dairy free as well!

Grain Free Popovers

Grain Free Popovers


Grain Free Popovers Two Ways!

Grain Free Popovers Three Ways!


Grain Free Popovers Three Ways

Ingredients for Popovers:

4 Eggs

1/2 Cup of Coconut Milk

2 Tablespoons of Coconut Flour

1 Teaspoon of Sea Salt

(1/4 Teaspoon each of Garlic Powder and Onion Powder for Garlic and Onion)

(1/2 Cup of Grated Pecorino Cheese for Pecorino Cheese Popovers)

Olive Oil for Cups

Directions: Preheat your oven 400º degrees. Using a muffin pan or popover pan here, pour 1/2 teaspoon of oil into the bottom of each cup. Each batch makes six popovers, so put oil in six cups. In a medium bowl, whisk together the eggs, coconut milk, coconut flour, and sea salt. Add in the variation you would like. Scoop with a muffin scoop into the cups you have added the olive oil to. Bake for 30 to 35 minutes or until golden brown. They will sink some naturally as you remove them from the oven. I carefully remove them from the pan by running a knife around the edges and gently scooping them out with a spoon. You will have some residue left in the pan.

*cheese and plain popovers are low fodmap

*Affiliate Link – I receive a small commission when you purchase products I recommend through my Amazon links. I use these products myself and never recommend anything I haven’t tried and use regularly. The small commission helps me keep my blog up, so if you have enjoyed my posts and recipes, I appreciate your support. You don’t pay any extra for your products. Thank you.🙂

Eat Your Nutrients!

Eat Your Nutrients!

1 2 4