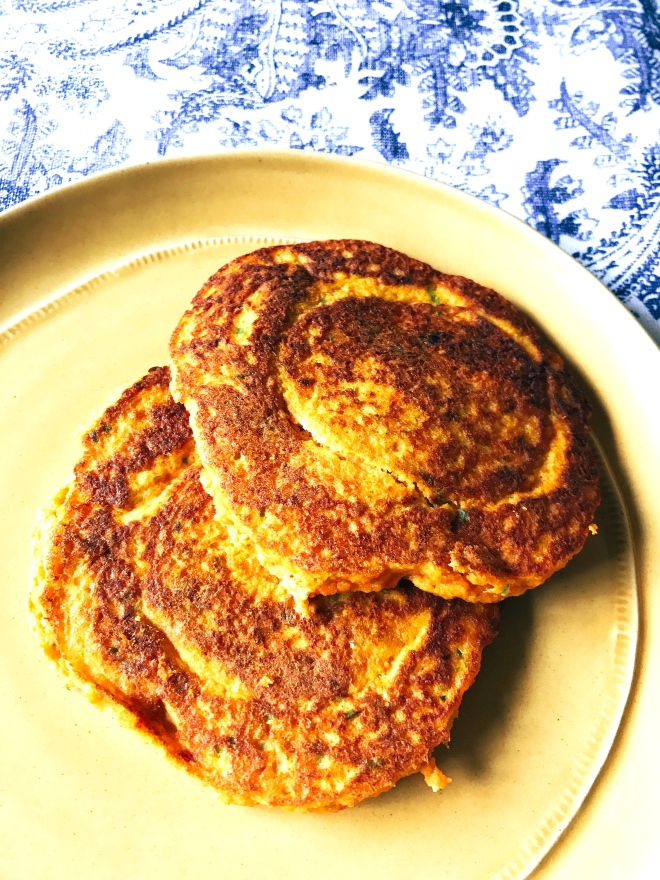
These savory griddle buns are the perfect vessel for burgers and sandwiches! They have carrots and scallions in them and are nutritious, delicious and grain free! These are great for egg sandwiches, meatloaf sandwiches, and burgers of all kinds. Top it with my Tomato Basil Jam recipe and your eyes will roll to the back of your head. 🙂 Leave out the scallions and make a nut butter and blueberry jelly sandwich using my Blueberry Spoon Fruit recipe!
I used steamed carrots in this recipe, and they would be equally delicious with pumpkin or butternut squash, so feel free to switch it up. The pumpkin would be very handy if you didn’t have time to steam the carrots.
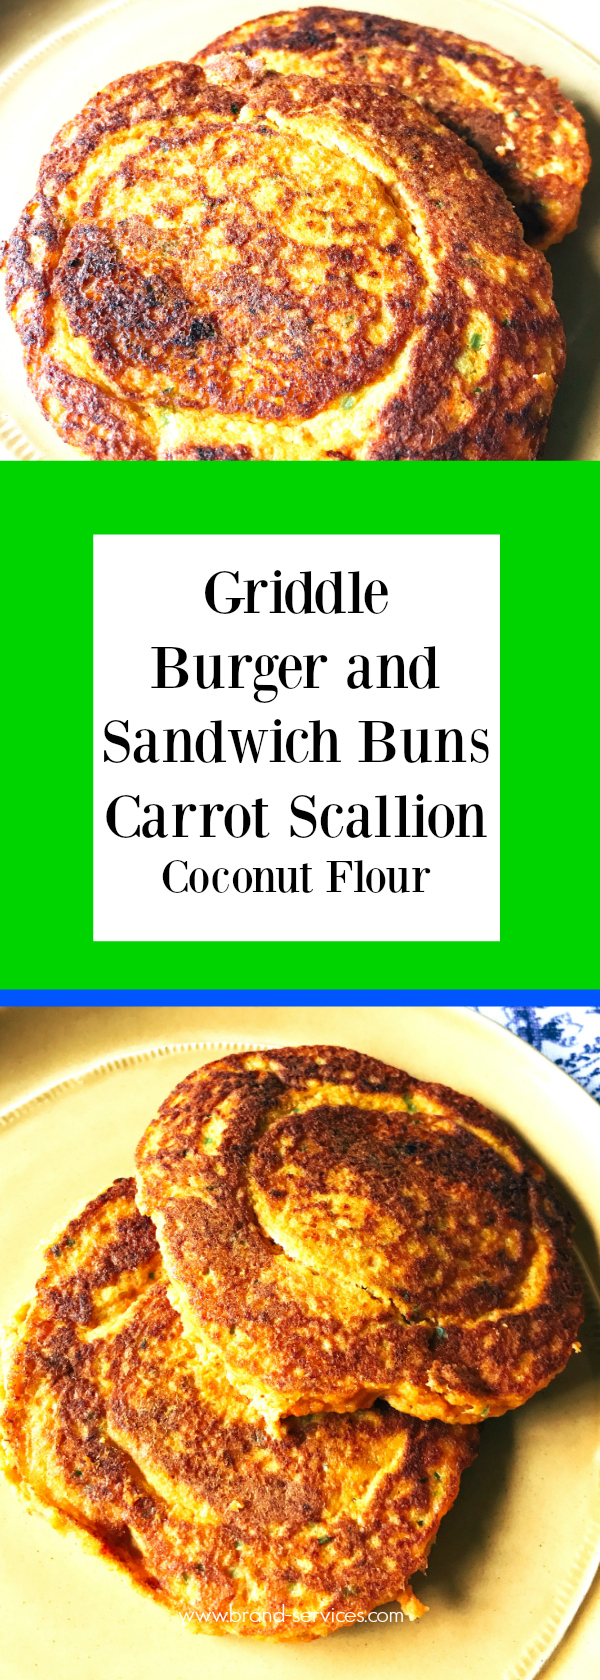
Griddle Burger and Sandwich Buns
Ingredients:
- 3 Tablespoons Coconut Milk or Almond Milk
- 1/2 Cup of Coconut Flour
- 2 Cups Steamed Carrots, Mashed (or substitute butternut or pumpkin)
- 2 Scallions, green parts only for Low FodMap, thinly sliced
- 4 Eggs
- 1/4 Cup of Olive Oil, Coconut Oil or Ghee
- 1/2 teaspoon Sea Salt or Himalayan Pink Sea Salt
- 1/4 teaspoon Baking Soda
Directions:
Preheat a large electric griddle to 350º F degrees.
These are easy and quick! Add all your ingredients to a food processor, and blend until smooth. Let batter sit for 5 minutes.
Then, brush the griddle lightly with olive oil. With a muffin scoop or 1/4 cup measure, scoop the batter onto the griddle, and spread with the back of a spoon to rounds about the thickness of pancakes. Cook until golden brown, and then flip and cook the other side, just like you would a pancake. Cool on a wire rack.
Makes ten buns or five sets of sandwich buns.
You can make a double batch and freeze these for weeknight ease!
Have a fabulous day!
Sam 🙂


Recent Comments