Monthly Archives: January 2020

Vanilla Sunflower Seed Milk Recipe

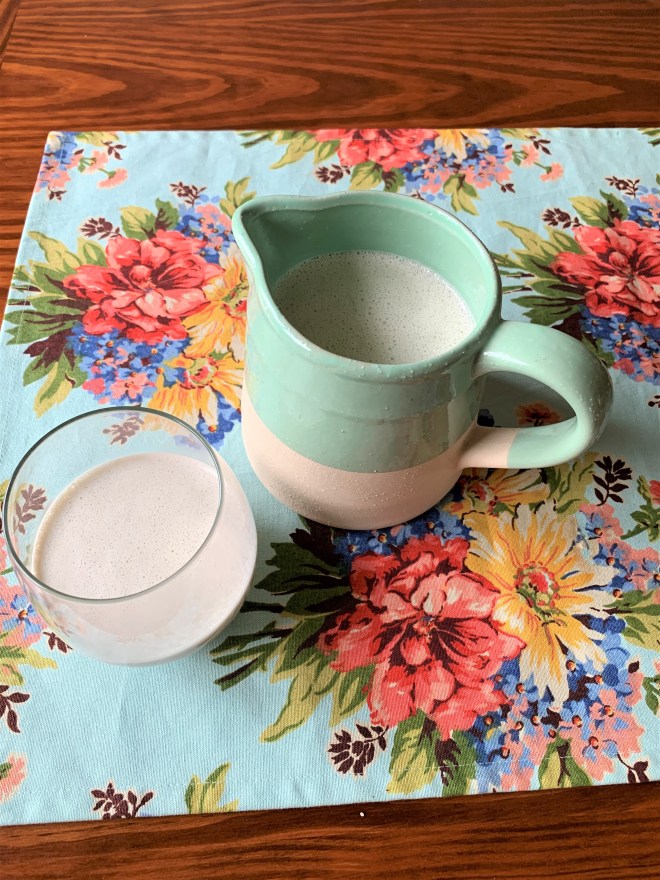
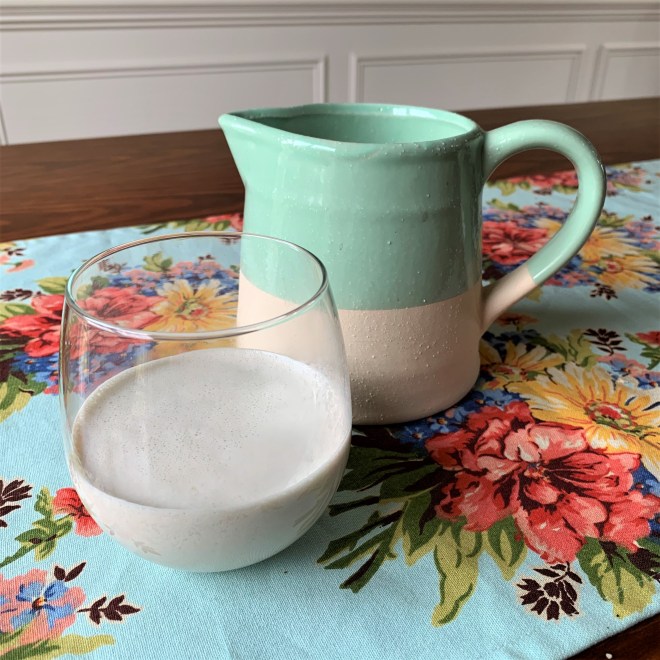
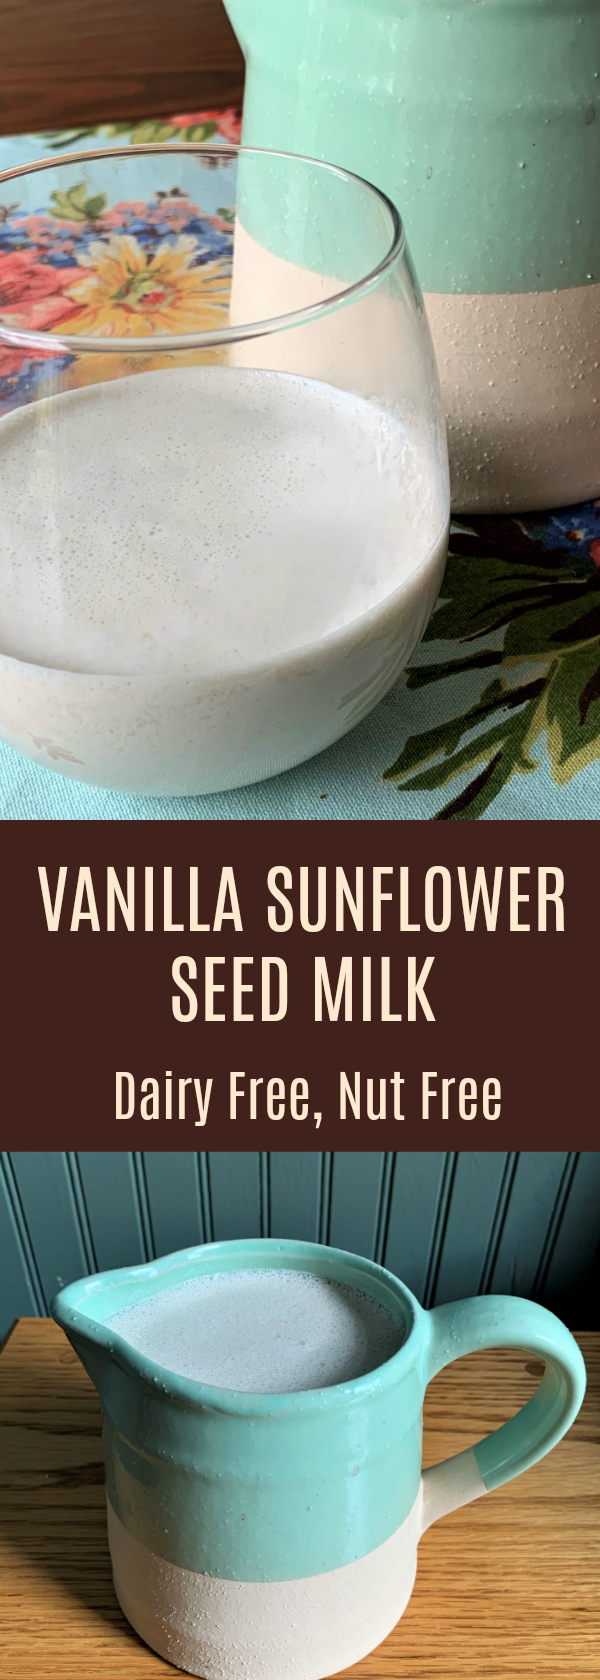
Homemade Sunflower Seed Milk is a good milk alternative made with seeds.

I like to mix up the types of non-dairy milks I use in my kitchen. I find it is helpful to rotate them if you are having new or developing food sensitivities. By rotating the types of nuts and seeds you eat, you are potentially preventing your body from detecting them as a foreign invader (measured as IgG Reactivity to types of food using a blood test) and therefore becoming sensitive to them.

Creamy Sunflower Seed Milk

There are many other good reasons to rotate the types of milk you consume, one of which is they all have different quantities and types of nutrients. It also makes it more interesting, because they all taste different, so you don’t get bored.

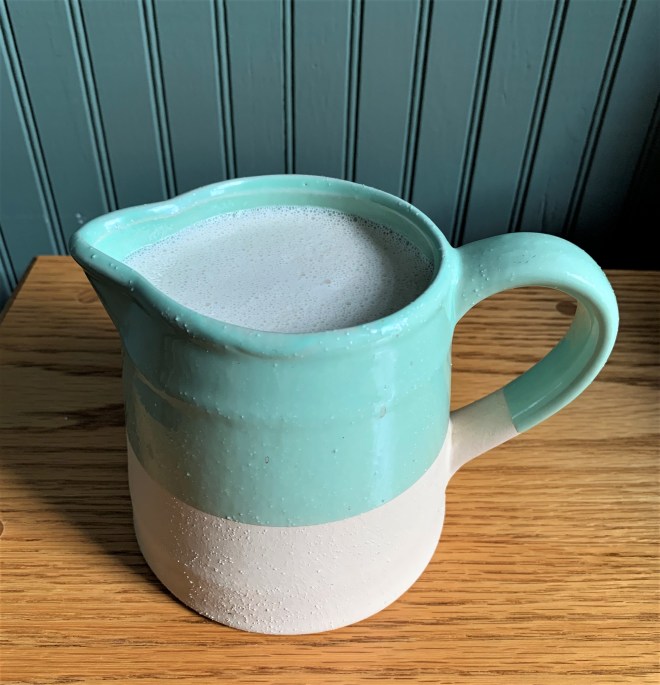
I have found this Vanilla Sunflower Seed Milk delightful, thick, and creamy. It is wonderful chilled in a glass, and makes a really frothy steamed milk to use in teas and coffee, and even baking.

Sunflower Seed Milk in a Pitcher

Here’s my recipe:

Vanilla Sunflower Seed Milk

Ingredients:

1 Cup of Raw Sunflower Seeds

4 Cups of Filtered Water

1/8 Tsp. of Monk Fruit (I use this clean label) or 1 to 2 Tablespoons of Honey or Maple Syrup to taste (optional)

1 Teaspoon of Vanilla Extract

1/8 Tsp. of Sea Salt

Directions:

Using a fine mesh strainer, rinse the sunflower seeds well. In a 4 cup measuring pitcher, cover the sunflower seeds with cold water up to the 4 cup line. Store covered in the refrigerator overnight to soak.

The next day, pour off the soaking water, and rinse the sunflower seeds again. Put the soaked seeds into a high speed blender. Add 4 cups of filtered water, the Monk Fruit or other sweetener of choice if using, the vanilla and sea salt. Blend on high for 2 minutes.

Pour the mixture from the blender into a super fine mesh strainer (like this) or a milk bag over a bowl. Use a rubber spatula to strain the milk through the sieve into the bowl, or if using a milk bag, gently squeeze out the milk and discard the pulp.

Chill. This will keep in the refrigerator up to 3 days. If you don’t want as much milk, this recipe is easily halved.

Enjoy!

Sunflower Seed Milk Gluten and Dairy Free

Here is more information about following a rotation diet that may be helpful.

Vanilla Sunflower Seed Milk, Dairy Free, Nut Free, Keto Friendly

*This post has affiliate links in it. I receive a small commission if you purchase through my links. The small commission helps cover the cost of maintaining this blog.

Zucchini Squash Casserole

Squash Casserole 1

This is such a great old fashioned squash casserole!

Squash Casserole 4

If you like zucchini, but it gets boring for you the same old way. Or, if you are a fan of comfort food in the form of casseroles, like your Mom or Grandma used to make, here’s one that is healthy, delicious and comforting.

Squash Casserole 2

Casserole is great leftover for lunch too! Love me some leftover casserole!  This casserole is meat free, so feel free to use it as a side dish. I like to make pork tenderloin, chicken or bun free burgers to go with it.

Squash Casserole 3

Squash Casserole

Ingredients:

1 1/2 lbs. of sliced zucchini (this is about 3 to 4 medium, depending on the size)

1/3 Cup of Good Olive Oil or Melted Ghee

2 Eggs

1/2 Cup of Mayo (I use Avocado Oil Mayo like this)

1/2 Cup of sliced green onions

1 Orange Bell Pepper, diced

1/2 Teaspoon of Sea Salt

1/4 Teaspoon of Black Pepper

Topping:

1/2 Cup of  Pecans

2 Tablespoons of Goat Cheese (optional) Omit for SCD or substitute with a SCD Legal Cheese. There is a free PDF guide at the top of my home page you can download and print for free.

1 Tablespoon of Garlic Infused Olive Oil

1 Teaspoon of Dried Chives

1 Teaspoon of Dried Parsley

1/4 Teaspoon of Black Pepper

1/8 Teaspoon of Sea Salt

Directions:

Preheat your oven to 350°F.

Grease a 12″ x 8 1/2″ Casserole dish.

To make the casserole filling:

Bring 2 inches of salted water to a boil in a large frying pan with a lid. When the water comes to a boil, add the sliced zucchini and cook for 8 to 10 minutes until tender. Drain the cooked zucchini into a colander. Allow it to sit and drain for ten minutes in the colander. You don’t want a soggy casserole. Meanwhile, whisk together in a large bowl, the olive oil, eggs, mayonnaise, salt and pepper until well combined. Whisk in the scallions and orange bell pepper. Pat the drained zucchini with paper towel to remove any excess water. Then, stir the zucchini into the egg mixture. Pour the zucchini mixture into your greased baking casserole.

Now, make the topping.

Finely chop the pecans, or alternatively pulse in a food processor. I like this handy mini Ninja Express one for this job. It has made my life so much easier, and I don’t have to clean the big food processor. This goes right in the dishwasher! Add in the salt, pepper, chives and parsley, and mix thoroughly. Sprinkle the crumb topping evenly over the casserole. Now, if you are using goat cheese, which is very delicious in this recipe if you tolerate it, sprinkle small pieces of goat cheese over the crumb topping.

Place the casserole into your preheated oven, and bake for 50 to 60 minutes, until the top is golden brown and the casserole is bubbly.

This casserole can be prepped up to a day ahead and baked from the refrigerator. You will need to increase your baking time by ten minutes.

Enjoy!

Squash Casserole 5

*This post has affiliate links in it. I receive a very small commission if you purchase through my links. The small commission helps cover the cost of maintaining this blog.

Squash Casserole, Gluten and Grain Free, SCD

Orange Ginger Marinated Chicken Thighs

I have a lovely recipe for marinated chicken thighs that I’ve been making the last few months that is definitely a keeper. It is SIBO friendly, Low FodMap and makes twelve chicken thighs. That may seem like a lot, but for a family of five, I can tell you that they do not last long enough.

Orange Ginger Marinated Chicken Thighs 2

The thighs are wonderful to use leftover and sliced on top of a salad for lunch the next day. Marinating them infuses them all the way through with a delicious orange ginger flavor. If you are looking for more leftover inspiration, cut the leftover chicken off the bone into bite size pieces, and make a fresh pot of hot Jasmine Rice (I use my mini rice cooker frequently for the purpose of having fresh hot rice in small quantities.) If you’ve never tried one, they are inexpensive and cook rice perfect every time without having to watch it or worry about it overcooking, and it keeps it hot until you are ready to eat it. I will never be without one again. To make the chicken fried rice, warm the chicken in garlic infused olive oil on the stove top in a skillet. Then, stir in the hot, fresh cooked rice, drizzle it with sesame oil and a pinch of white pepper, then stir in a few sliced scallions.  Push aside the chicken and rice mixture to one side of the pan. Add a little more garlic olive oil to the empty side, and add in two whisked and seasoned eggs, and scramble them over medium heat. Now, incorporate the egg into the chicken and rice mixture for an easy chicken fried rice. Yummmm!

Orange Ginger Marinated Chicken Thighs 3

The chicken should marinate at least 8 hours and preferably overnight for the most robust flavor infusion.

Orange Ginger Marinated Chicken Thighs 1

Orange Ginger Marinated Chicken Thighs

1/4 Cup of Fresh Squeezed Orange Juice

8 Sliced Scallions (green parts only for low fodmap)

2 Tablespoons of Fresh Minced Ginger

2 Tablespoons of Garlic Infused Olive Oil (my favorite brand)

2 Tablespoons of Coconut Aminos (this is not on the SCD Legal list, but many do well with it, so listen to your body. It is an excellent substitute for Soy Sauce. Here is a discussion about it on Danielle Walker’s Facebook page.)

2 Tablespoons of Sesame Oil

Zest of One Orange

1 Tablespoon of Ume Plum Vinegar (SCD Safe according to wellbees.com)

1 Tablespoon of Honey or Maple Syrup

1/2 Teaspoon of Sea Salt or more to taste

1/2 Teaspoon of Black Pepper

Directions: Whisk together the marinade ingredients in a medium bowl. Lay out 12 bone in chicken thighs in a large, deep baking pan. Pour the marinade over the thighs, then flip them to coat all the surfaces evenly. Cover with wrap, and refrigerate for 8 hours or up to 24 hours.

To bake the thighs, preheat the oven to 400° degrees F. Lay out a cookie sheet covered with parchment, if you want an easy to clean pan. 🙂 Remove the chicken thighs from the marinade allowing the scallions, ginger and orange zest to remain on the thighs, and lay them out in one layer onto the large sheet pan. Bake in the middle of the oven for 40 minutes. The skin will be crispy and brown. Enjoy!

Chicken Marinade


Orange Ginger Marinated Chicken Thighs, Paleo, Low FodMap