
Grilling season is here, and this marinated steak is a great way to kick off the season. A marinade tenderizes your steak and adds a ton of flavor and can be used for any cut. I have made this with flat irons and filet mignon. Both were delicious!

For meal prep, I like to grill double the steak we will need for dinner and use the leftover steak to thinly slice for a main dish salad and lunches the next day.
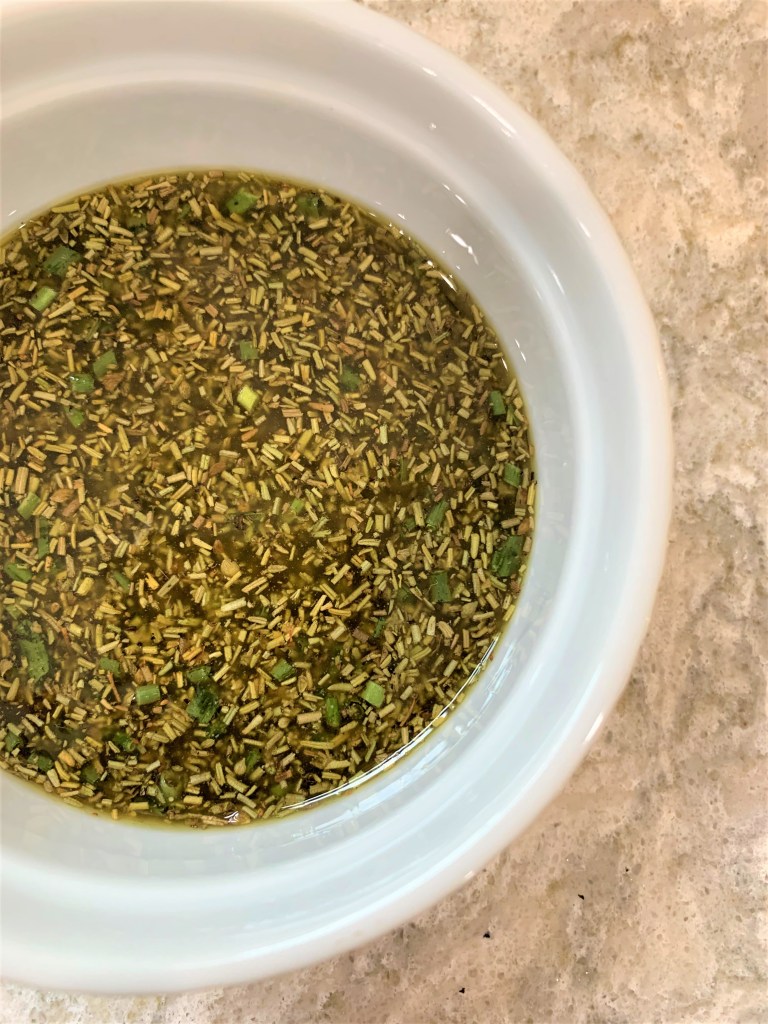
Italian Steak Marinade
As always, garlic infused olive oil is incredible and I always have it on hand. If you are eating low fodmap, this is crucial for getting that wonderful garlic flavor in all your recipes!
This marinade has a delicious blend of dried chives, rosemary and oregano in it. The black pepper is optional and should be omitted if you are on an AIP protocol currently. The acid used in the marinade is red wine vinegar for the zing! Rosemary is great to use when grilling, because it helps block HCA’s – carcinogens from grilling and cooking at high temperatures.
Make sure you give the steak time to marinade. I like at least four hours. You can do eight and even overnight.
Italian Marinated Steak
Ingredients:
1 1/2 pounds of steak. This is approximately 4 flat irons or 2 Filet Mignons. But use your favorite or budget friendly cut!
For the marinade:
2 Tablespoons of Garlic infused Olive Oil
2 Tablespoons of Olive Oil
2 Tablespoons of Red Wine Vinegar
1 Tablespoon of Dried Chives
2 Teaspoons of Crushed Rosemary
1 Teaspoon of Oregano
1 Teaspoon of Salt
1/2 Teaspoon of Black Pepper (Omit if following AIP)
Directions: Whisk together the marinade ingredients. Place the steak in a shallow glass dish, pour the marinade over the steak, and coat completely. Cover and place your marinating steak into the refrigerator for at least 4 hours and up to overnight, flipping once.
When you are ready to grill, remove the steak from the marinade and put them on a platter for 30 minutes before grilling.
Steak is a great source of B12 vitamins, and leftover steak is wonderful for topping a lunch salad with the next day.


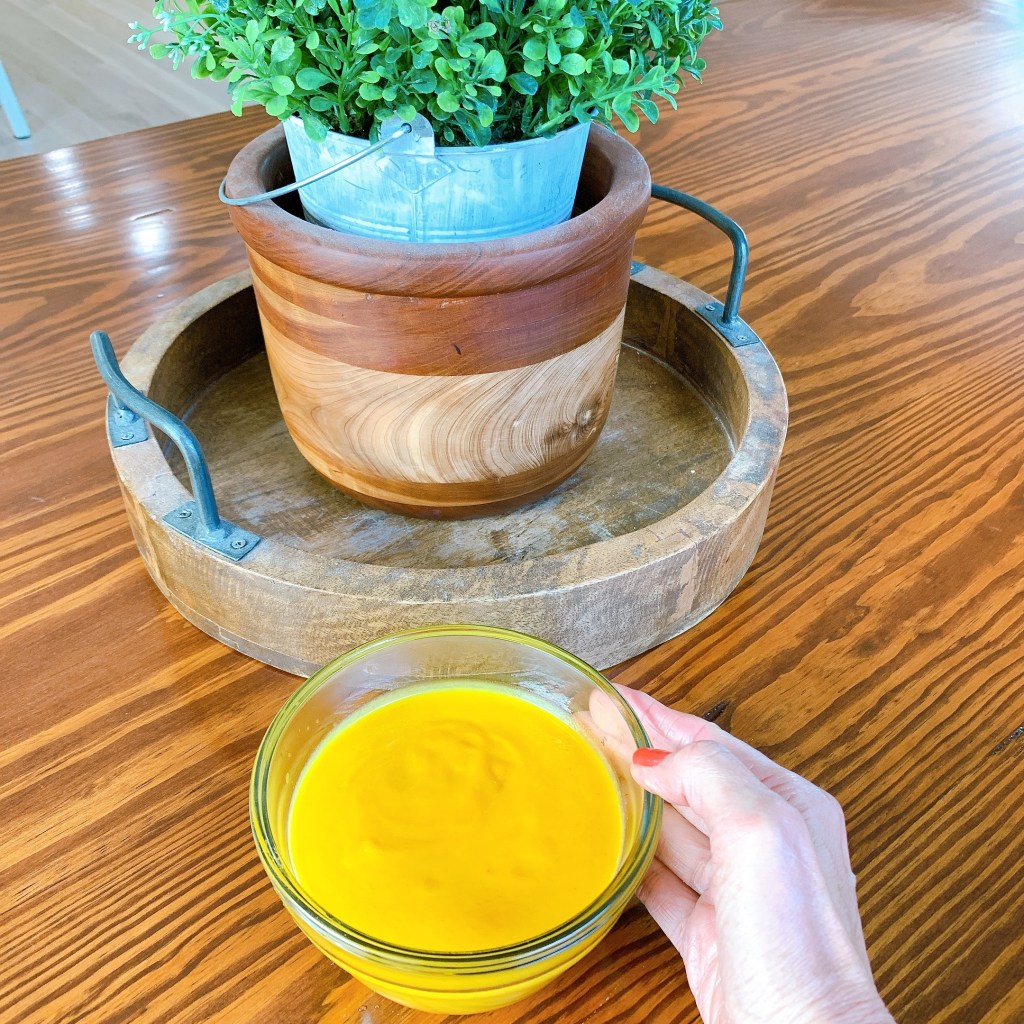


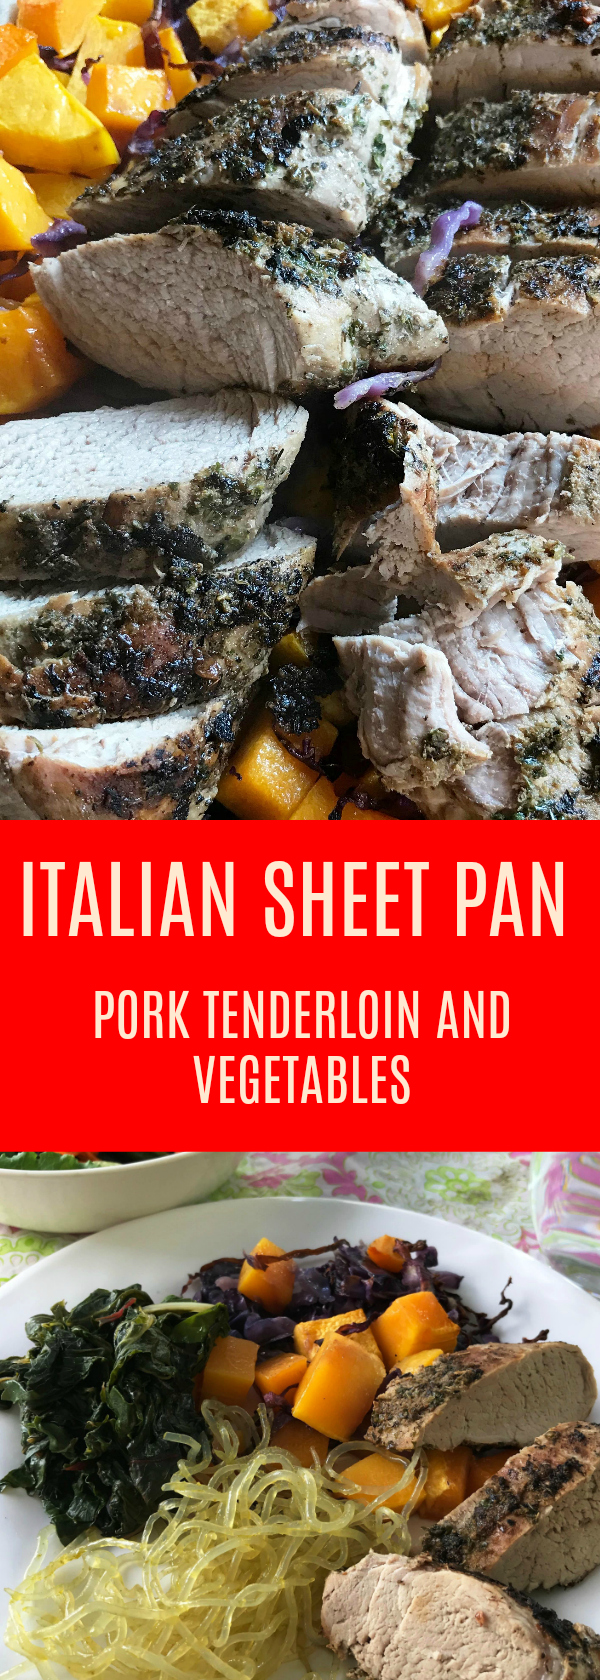
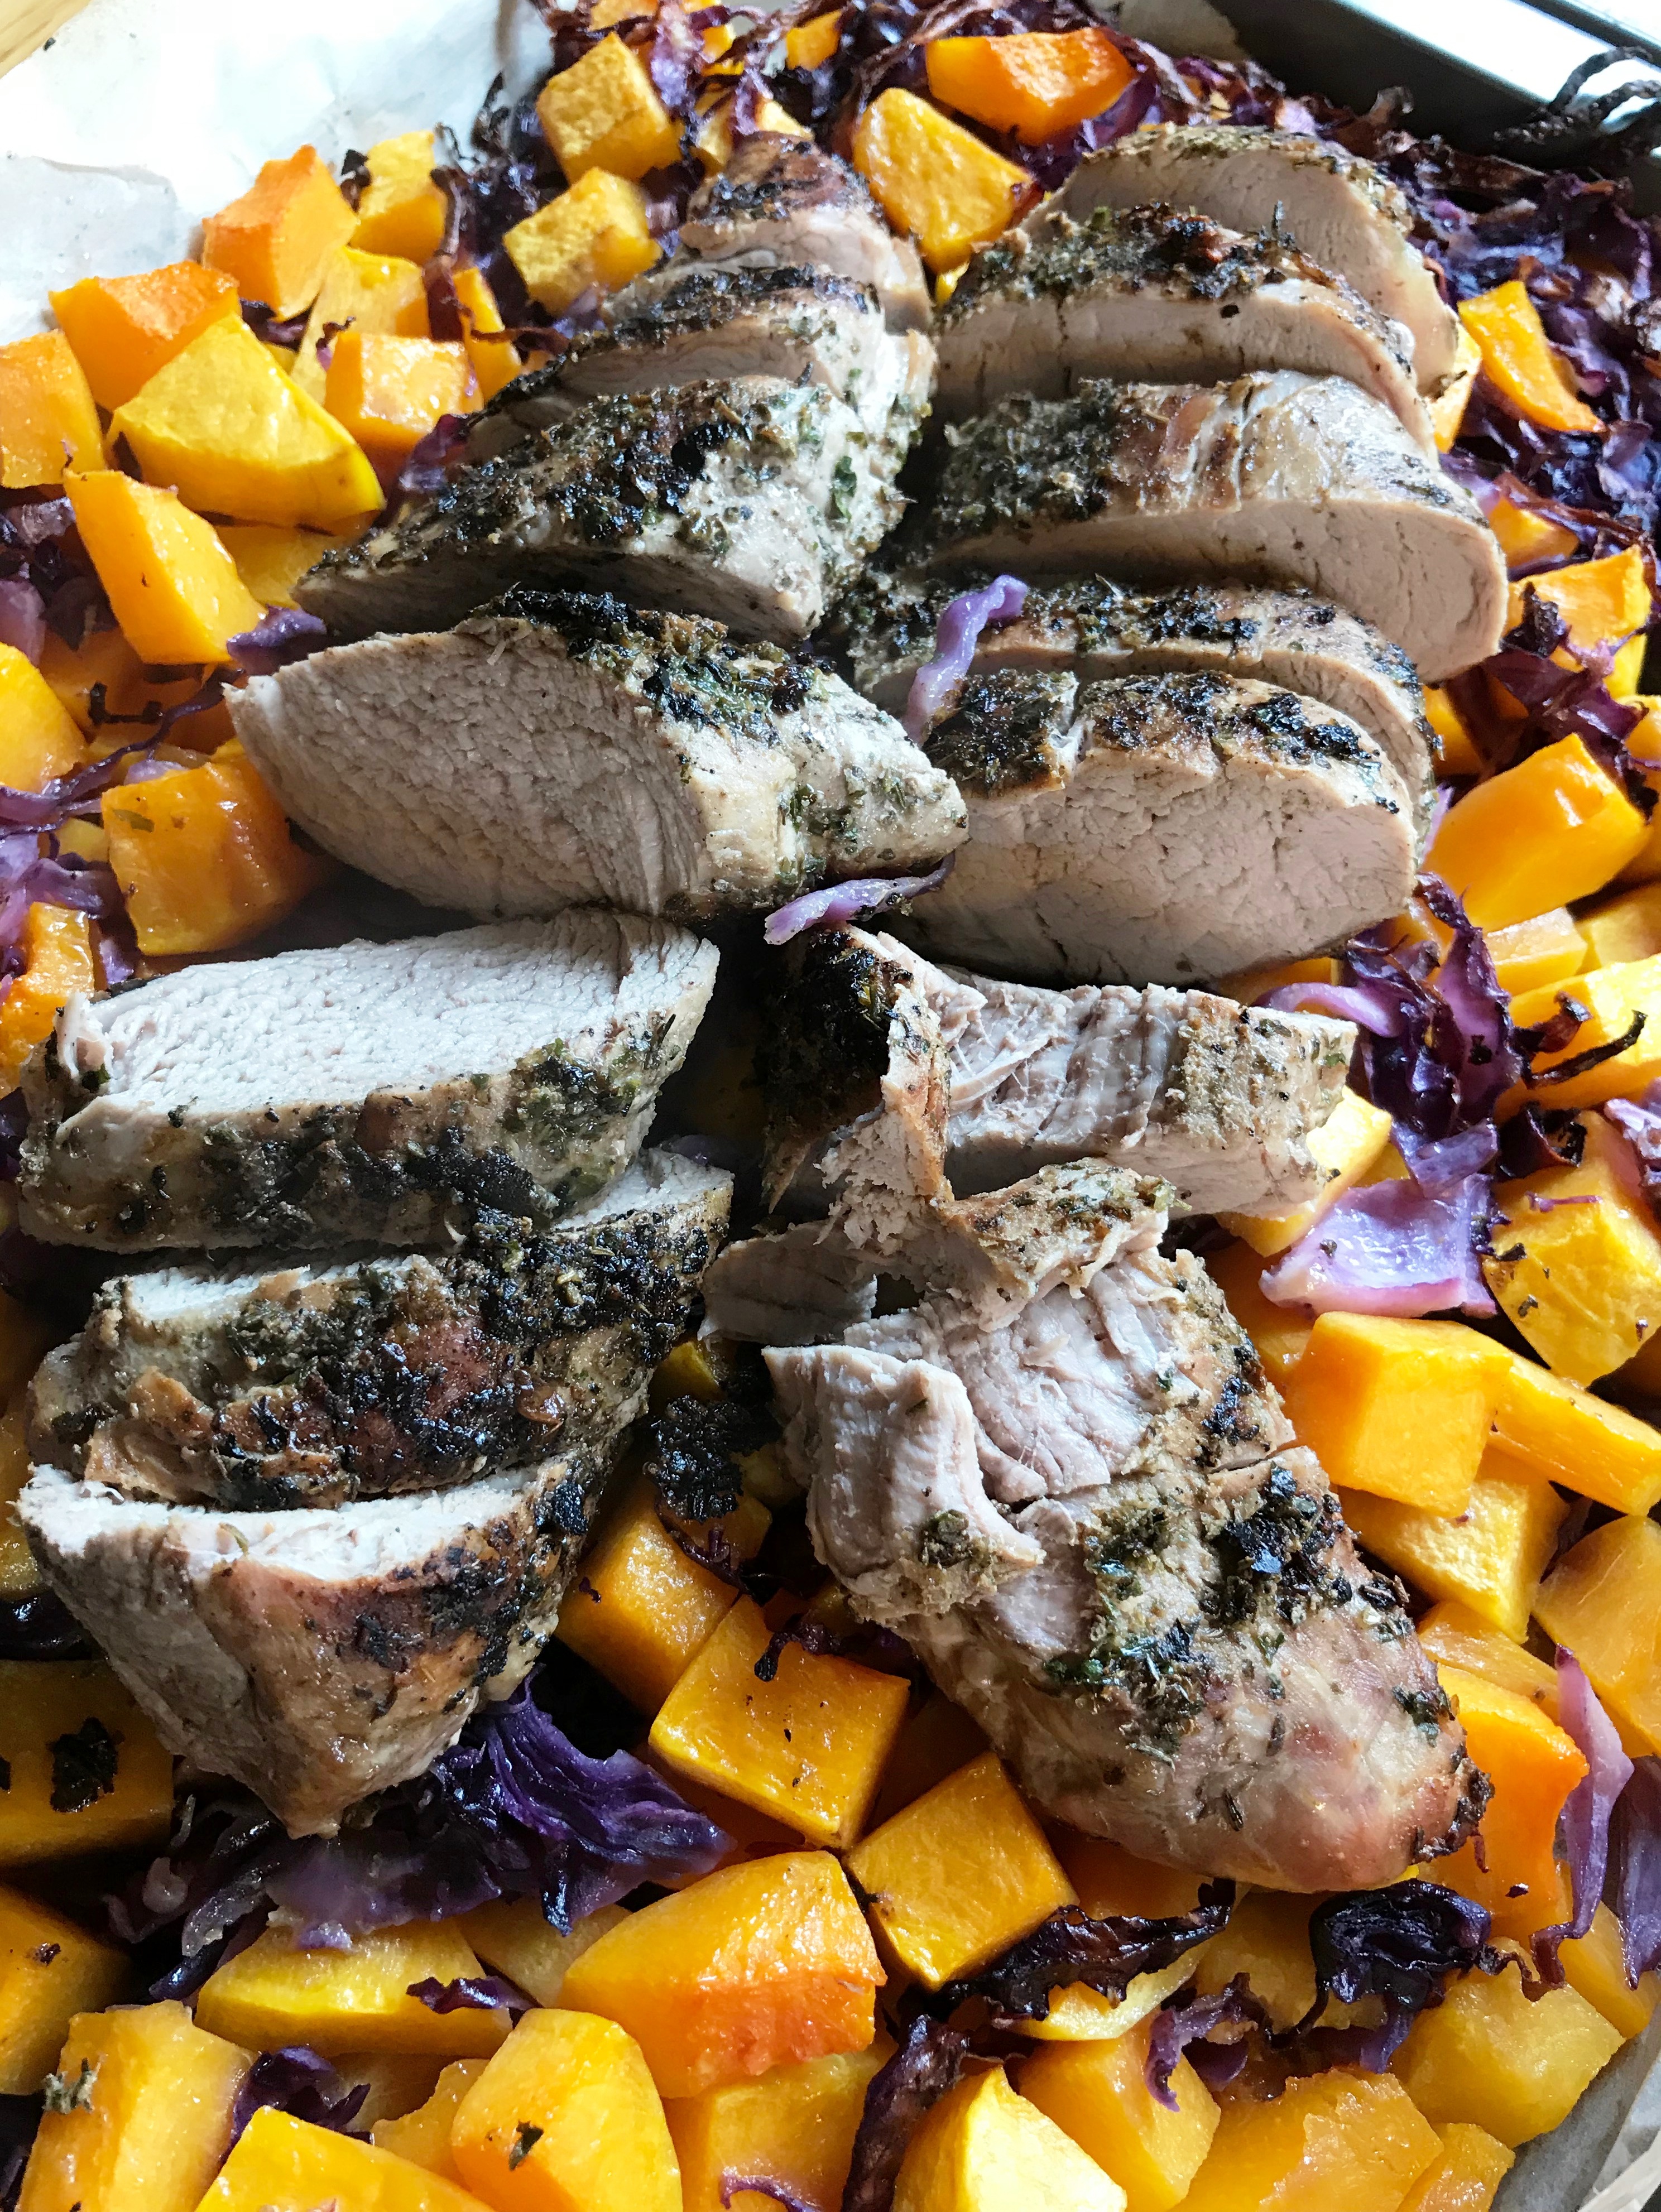 Sheet pan meals are a quick and easy way to get a full meal on the table. This Italian dish has lean pork tenderloins, butternut squash and red cabbage! The tenderloins are tender and juicy, and the secret ingredient that’s not so secret is truffle salt! If you have never used it before, it is a fantastic way to add umami. I am obsessed with it lately! Also, the combination of Three salts……a pink, a smoked, and a truffle salt, all used judiciously, makes this pork crusty and oh so good!
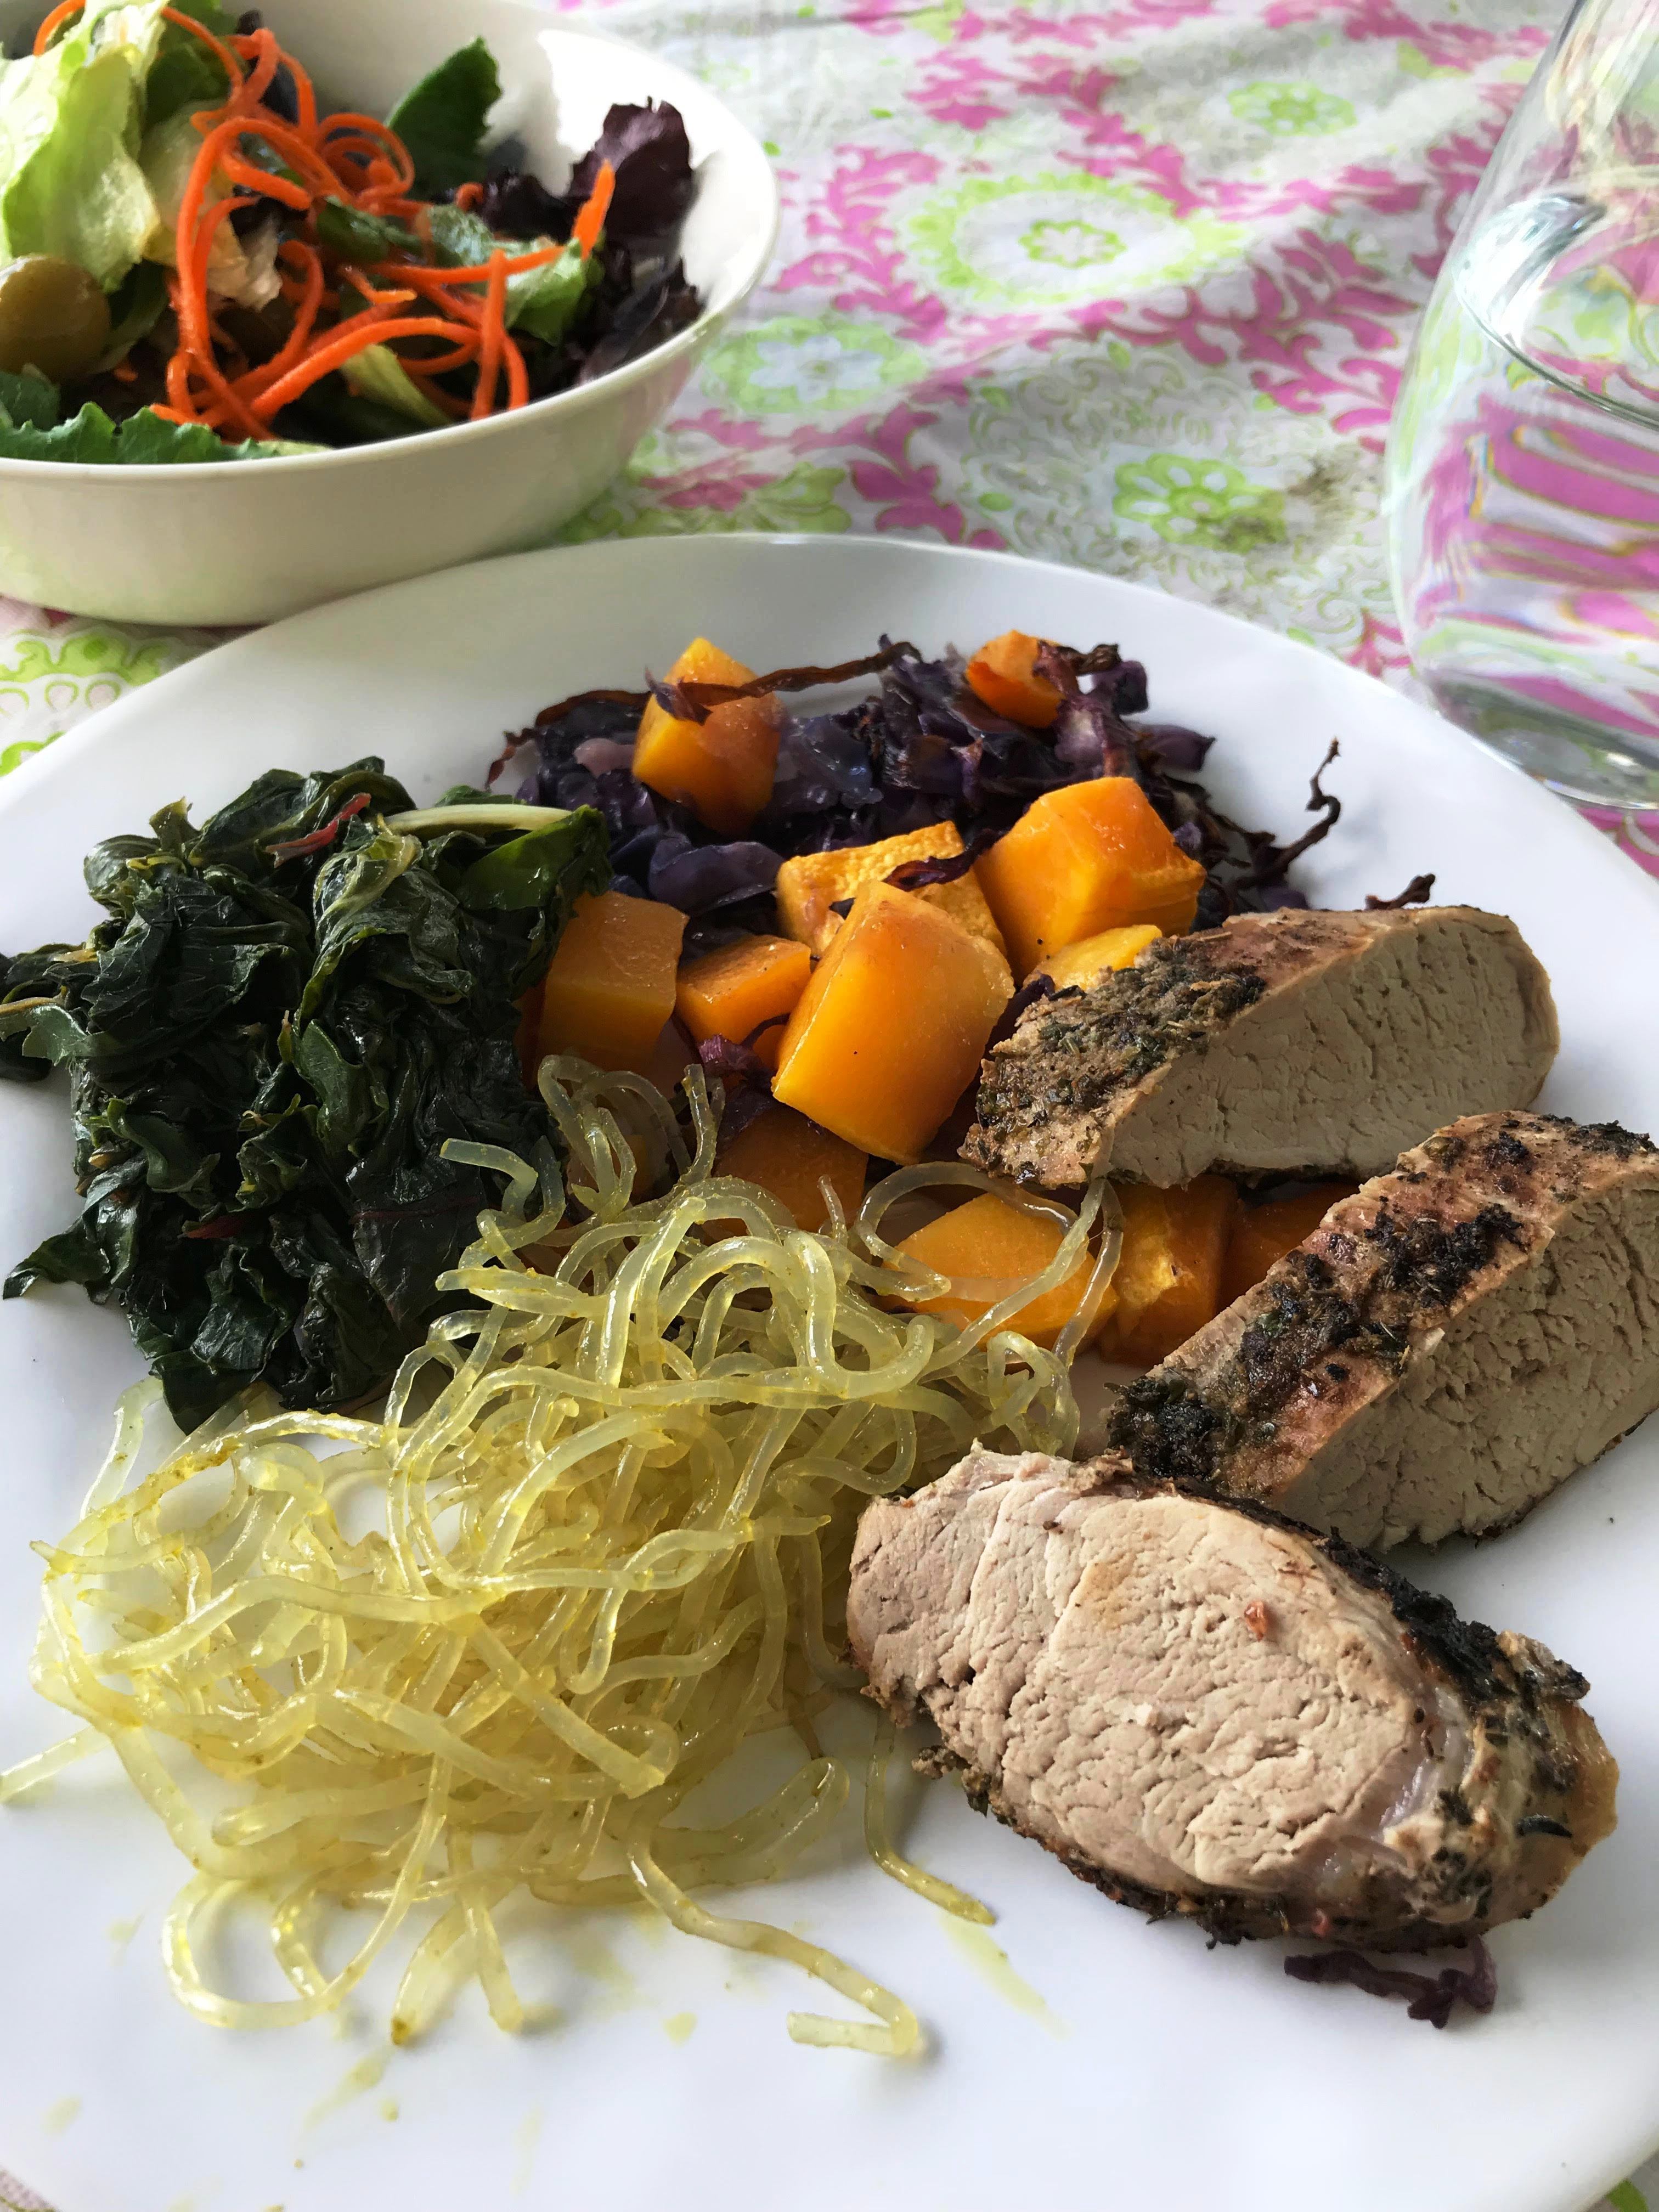


Recent Comments