This is a hearty dish utilizing my new teriyaki sauce recipe that is soy free and healthy. I have been experimenting with quinoa lately in my cooking, and find I tolerate it very well. This is a pleasant discovery since I admire the benefits of quinoa, such as it being a good source of protein, with all nine essential amino-acids in it and fiber. I buy sprouted quinoa here. If you are eating grain free or strict Paleo, substitute cauliflower rice (here is a video demonstration from Cooking Light on how to make delicious cauliflower rice) for the quinoa.

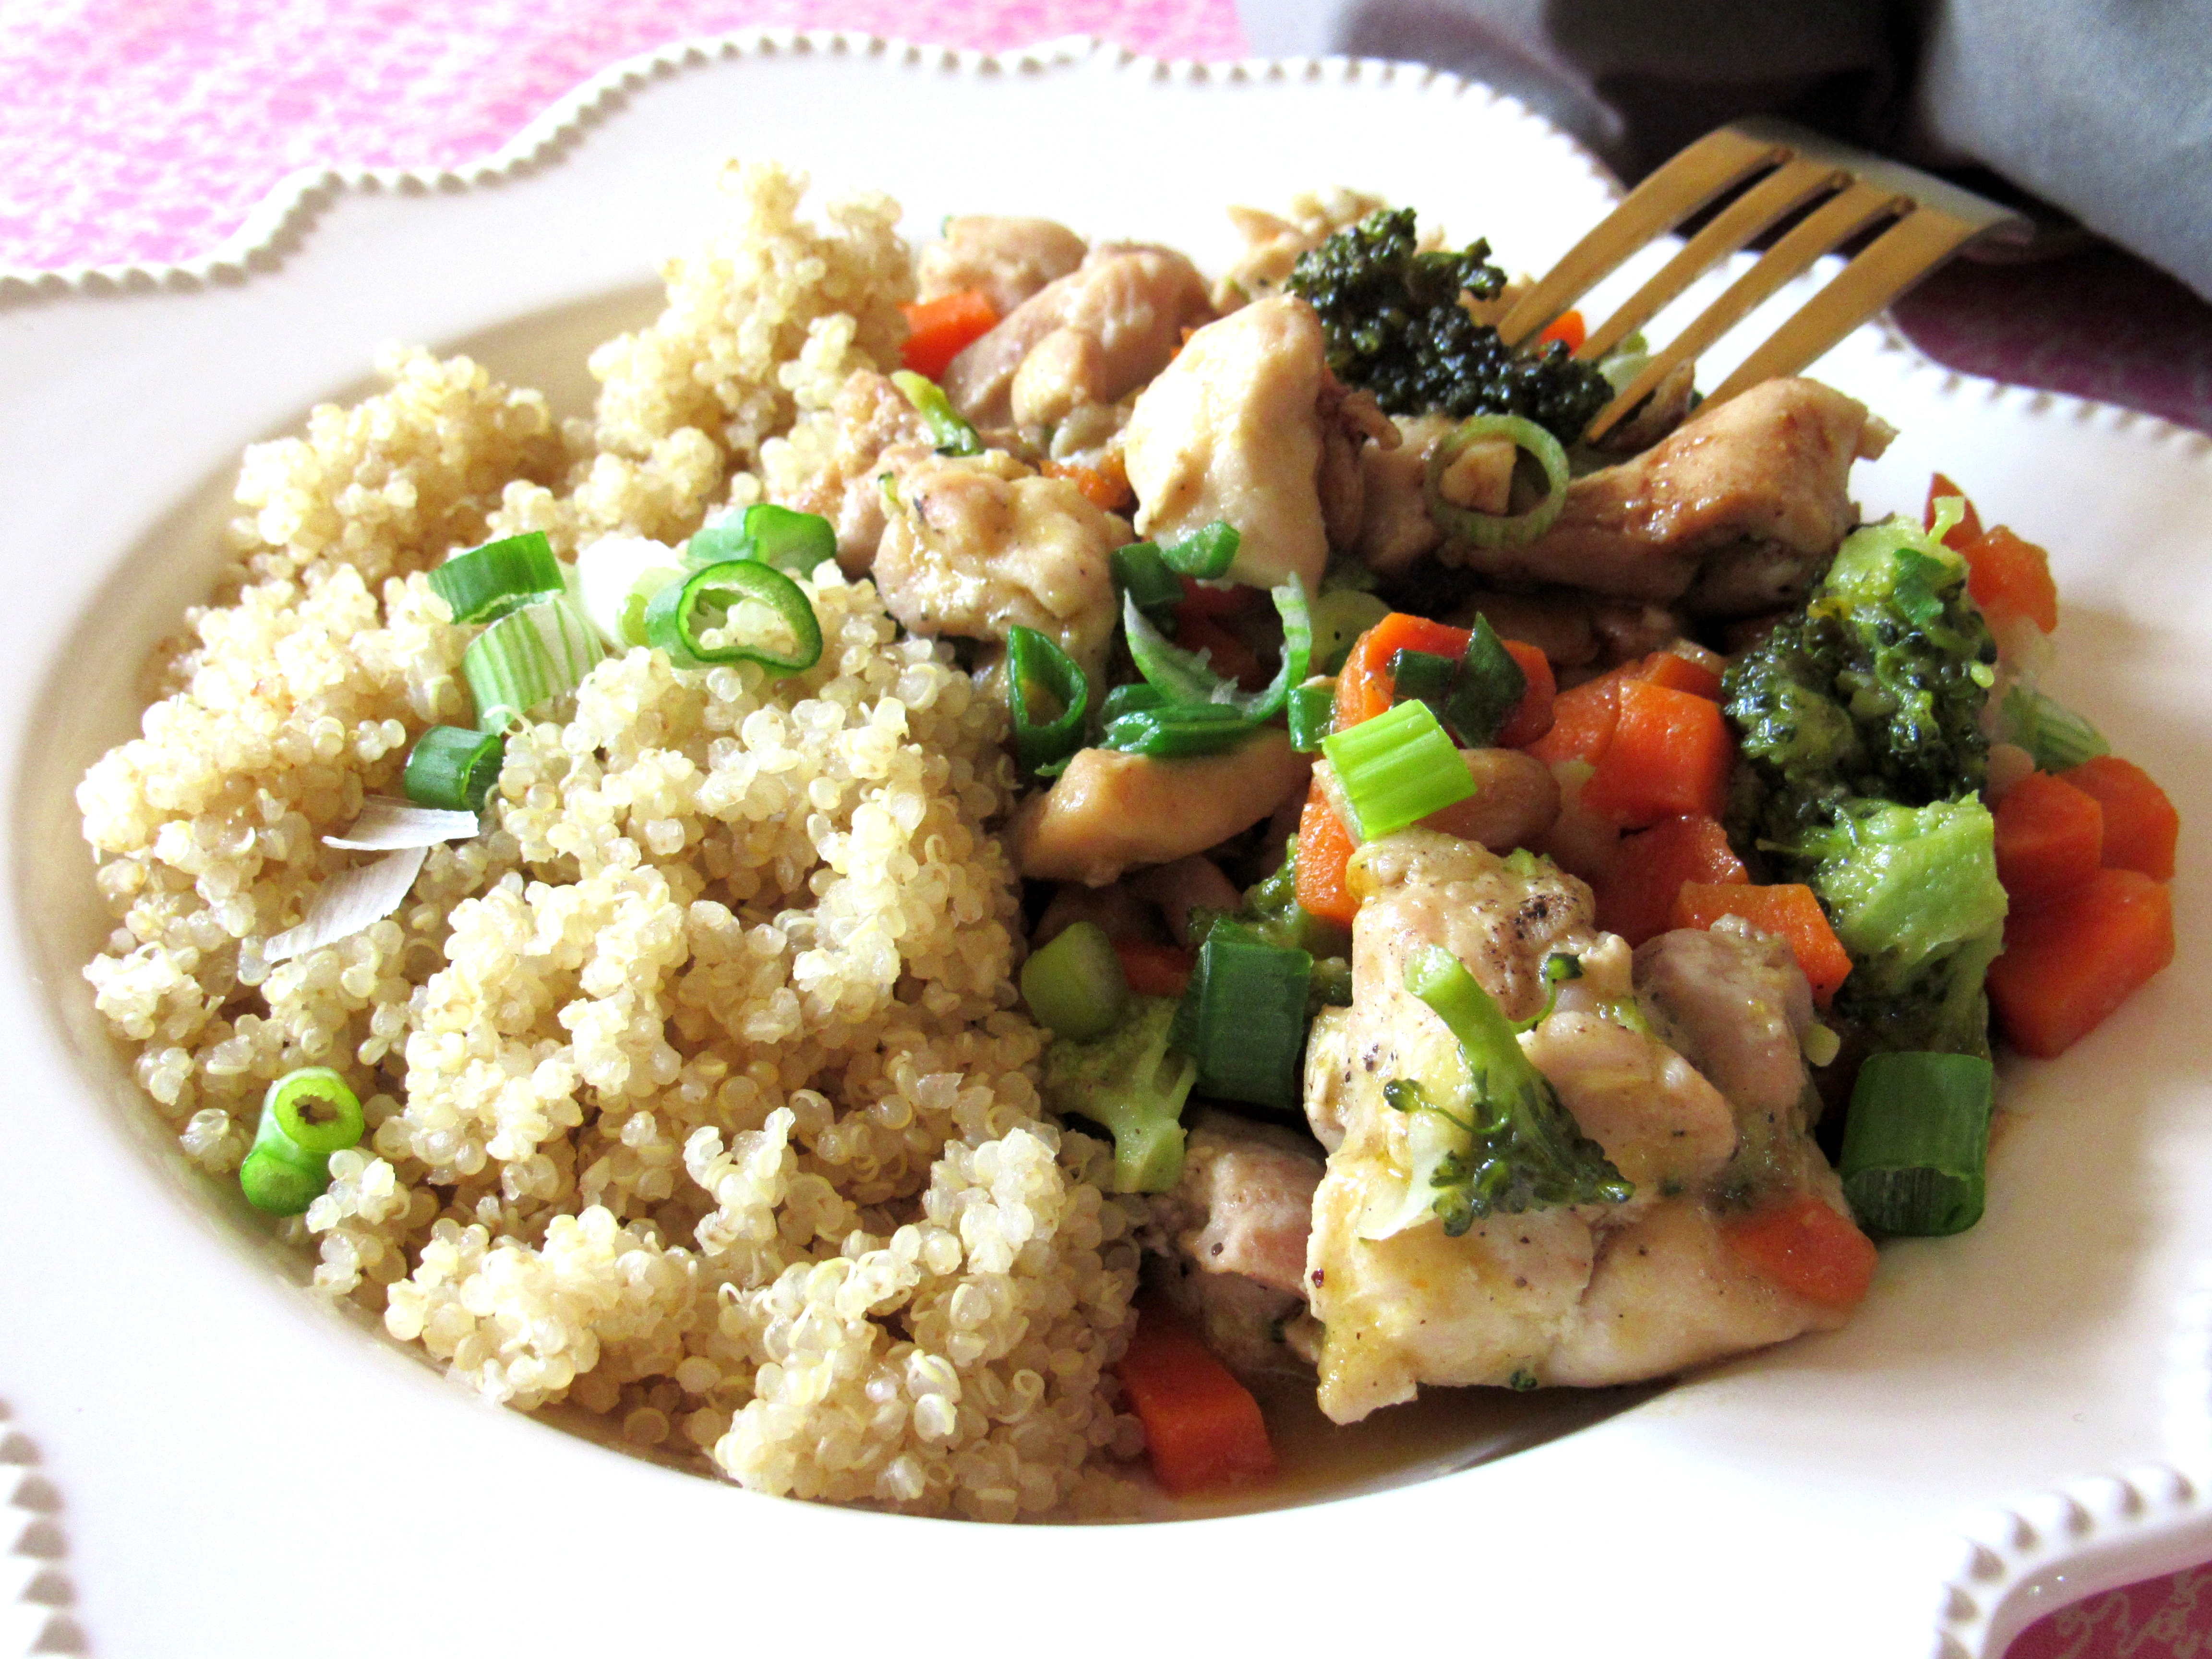
Teriyaki Chicken and Quinoa
The Teriyaki Chicken and Quinoa also has one of my favorite things………lots of veggies! I am The Eat Your Veggies Lady after all! I have included broccoli (cruciferous vegetable), carrots (a root vegetable and a good source of Vitamin A and healthy carbs), scallions (alliums which are cholesterol lowering and cardiovascular protective), mushrooms (a significant source of zinc, calcium, iron, potassium, folic acid and more), and I just couldn’t help myself, I added some fresh basil on top of each bowl at the end, because I like it’s flavor so much (it’s benefits are, disease fighting, antibacterial, and combats stress).
First you will make the sauce. This can be made ahead and kept in the refrigerator until you are ready to use it. It is a wonderful condiment to have on hand, so any extra will not go to waste.
Soy Free Teriyaki Sauce
Makes 2 Cups
You will need a medium sauce pan and a blender.
Ingredients:
10 ounces of Frozen Pineapple (or fresh)
1/2 of a Red Apple, cored but not peeled
1/3 Cup of Chopped Yellow Onion
1/3 Cup of Coconut Aminos (a soy free alternative made from coconut sap)
1/3 Cup of Fresh Orange Juice
1/4 Cup of Apple Cider Vinegar
2 Cloves of Garlic, minced or 2 Teaspoons of Garlic Infused Olive Oil
2 Tablespoons of Honey
1/2 Teaspoon of Ground Ginger
1/2 Teaspoon of Sea Salt
Directions: Add all the ingredients to the sauce pan and bring to a boil. Reduce heat, and simmer until the apple is tender, about five to ten minutes. Cool for fifteen minutes. Add it to your blender and puree until smooth. Add the sauce back to your sauce pan, and simmer again until reduced by a third. Store refrigerated in a glass container until ready to use.
Now to prepare the Teriyaki Chicken and Quinoa!
Teriyaki Chicken and Quinoa – Soy Free
Teriyaki Chicken and Quinoa
Prepare enough Quinoa to make 4 servings according to package directions. Set aside, covered.
Ingredients for Teriyaki Chicken:
2 1/2 pounds of boneless, skinless chicken thighs cut into 1 inch cubes
4 Cups of Fresh Broccoli Florets cut into bite size pieces
4 Cups of Carrots, peeled and diced into 1/2 inch pieces (this is about 4 large carrots)
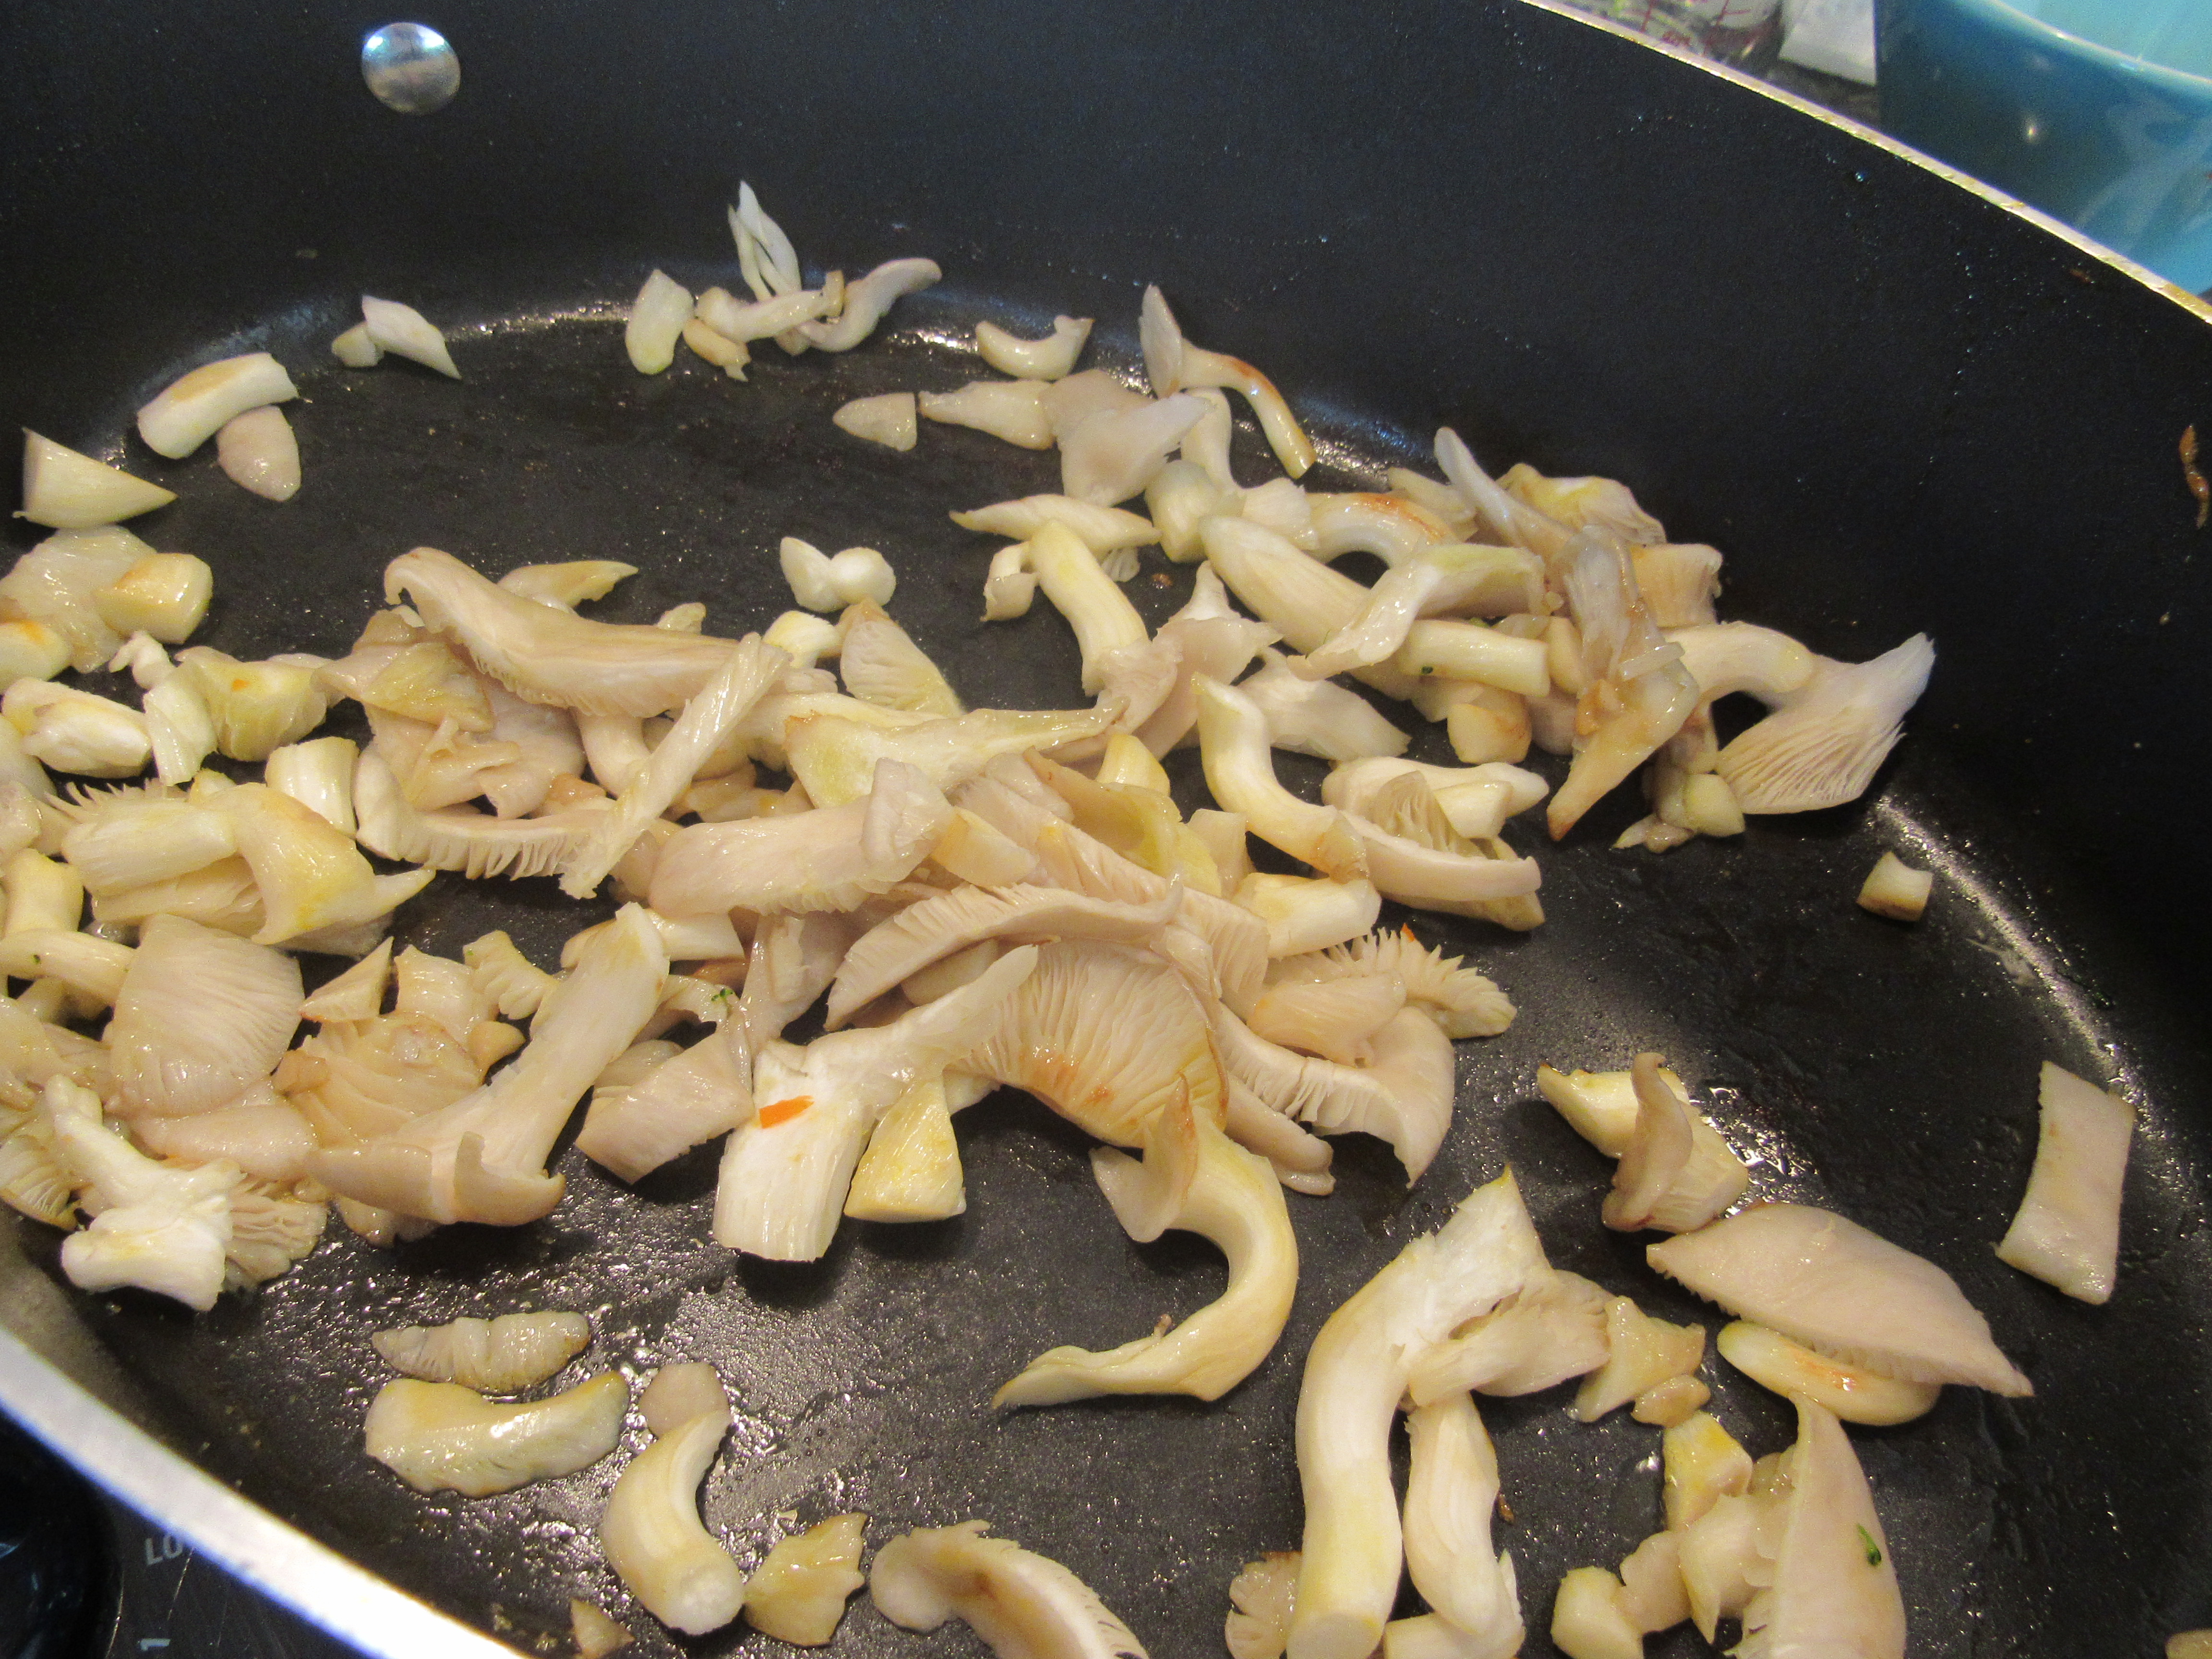
6 ounces of fresh mushrooms, diced (I used oyster mushrooms. Use the kind you like.)
1/2 Cup of Scallions, sliced
2 Tablespoons of fresh Basil
4 Tablespoons of Olive Oil, divided
1 1/4 Teaspoons of Sea Salt, divided
1/2 Teaspoon of Ground Black Pepper, divided (omit for nightshade free)
Directions:
In a large skillet, add 2 tablespoons of Olive Oil. Turn your burner to high heat, then add the chicken cubes to the olive oil and sprinkle it with 1/2 teaspoon of salt and 1/4 teaspoon of pepper. Brown the chicken on one side for 5 minutes, then flip and brown the other side for 5 minutes. Remove the chicken from the pan into a large bowl and set aside. Don’t worry if it is still pink. You will cook it more.
In the same pan, add 1 tablespoon of olive oil. Over medium high heat add the diced carrots and a half teaspoon of salt and 1/4 teaspoon of pepper. Cook for five minutes. Then, add the broccoli to the carrots and cook another five minutes, stirring frequently. You can add a little broth or water if needed.
Add the carrots and broccoli to the chicken in the bowl.
Add the remaining tablespoon of olive oil to the pan and the mushrooms. Sprinkle with 1/4 teaspoon of salt and brown the mushroom over medium high heat. This should take about 5 minutes.
When the mushrooms have browned, add the chicken and vegetables back into the pan and bring up to a sizzle over medium high heat. Stir in the scallions and 1 cup of prepared teriyaki sauce. Add more if needed. Cover and cook over medium heat for five minutes until the chicken is cooked through.


Teriyaki Chicken and Quinoa
Serve beside the cooked quinoa, sprinkle with fresh chopped basil and some extra scallions.
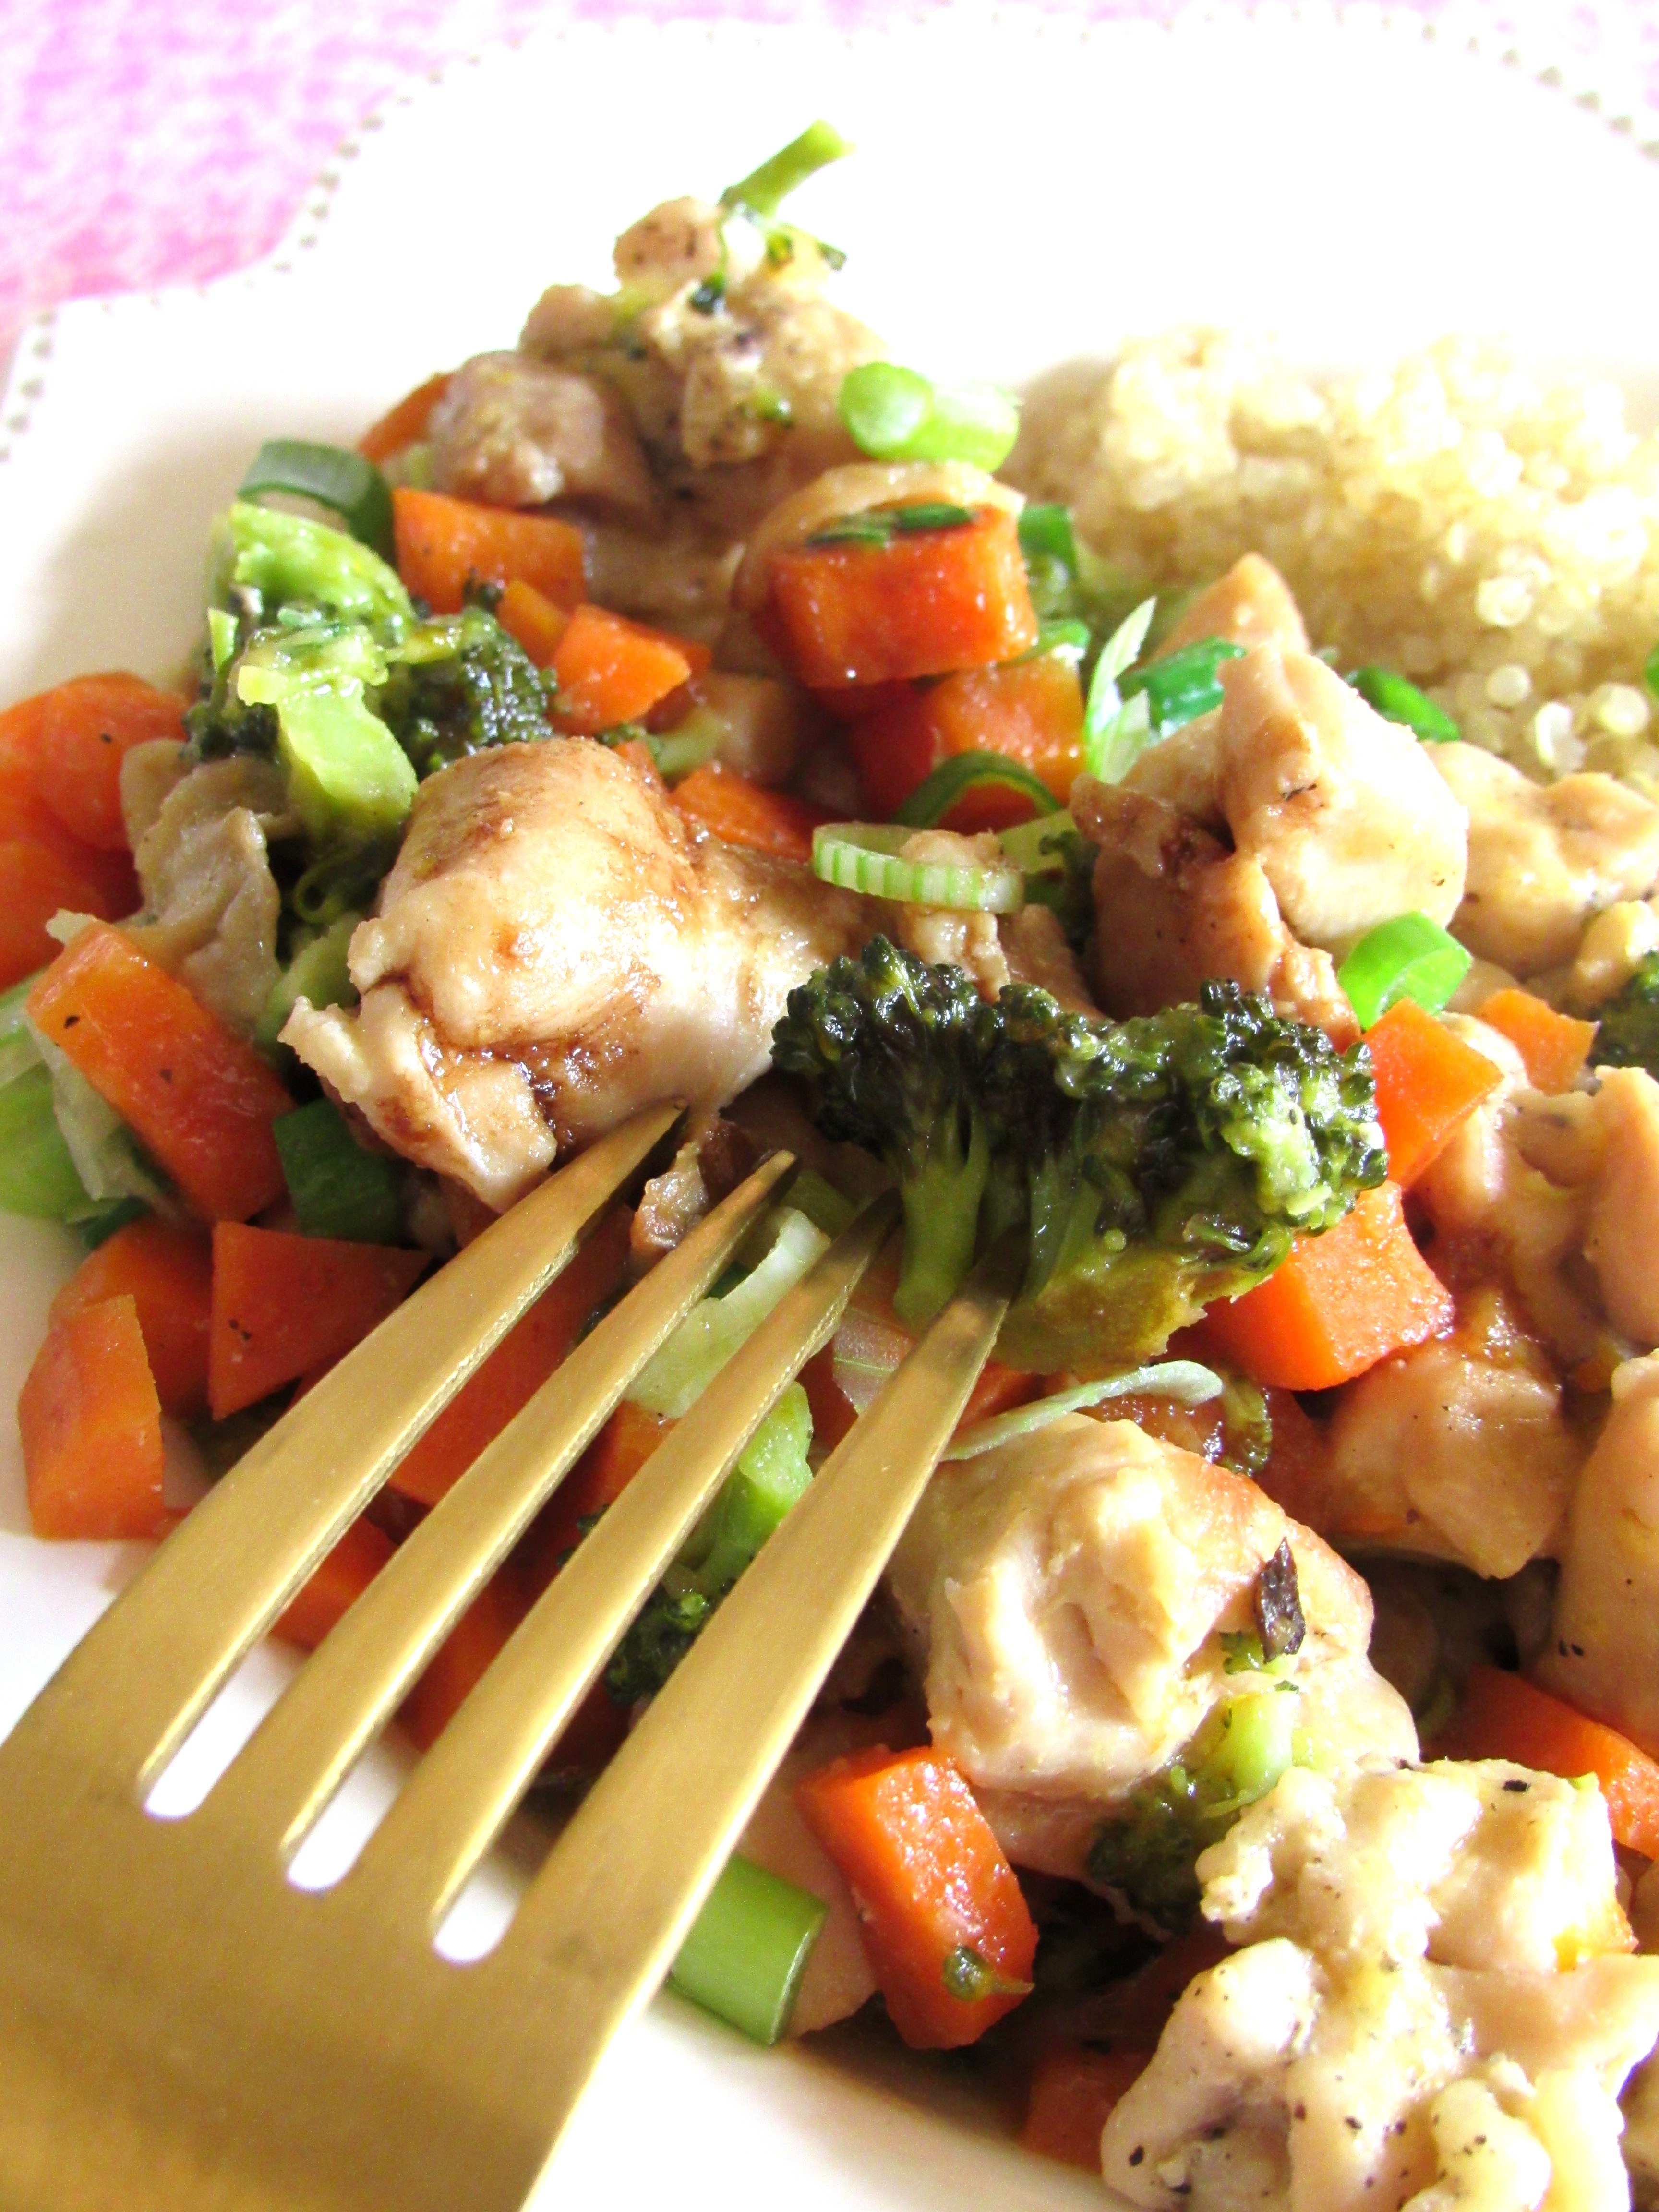
Teriyaki Chicken and Quinoa
Serves 4 – 6 people with leftovers. 🙂

Eat Your Nutrients!


Recent Comments