Tag Archives: SCD

Dill and Chive Grain Free Crackers

Dill and Chive Grain Free Crackers

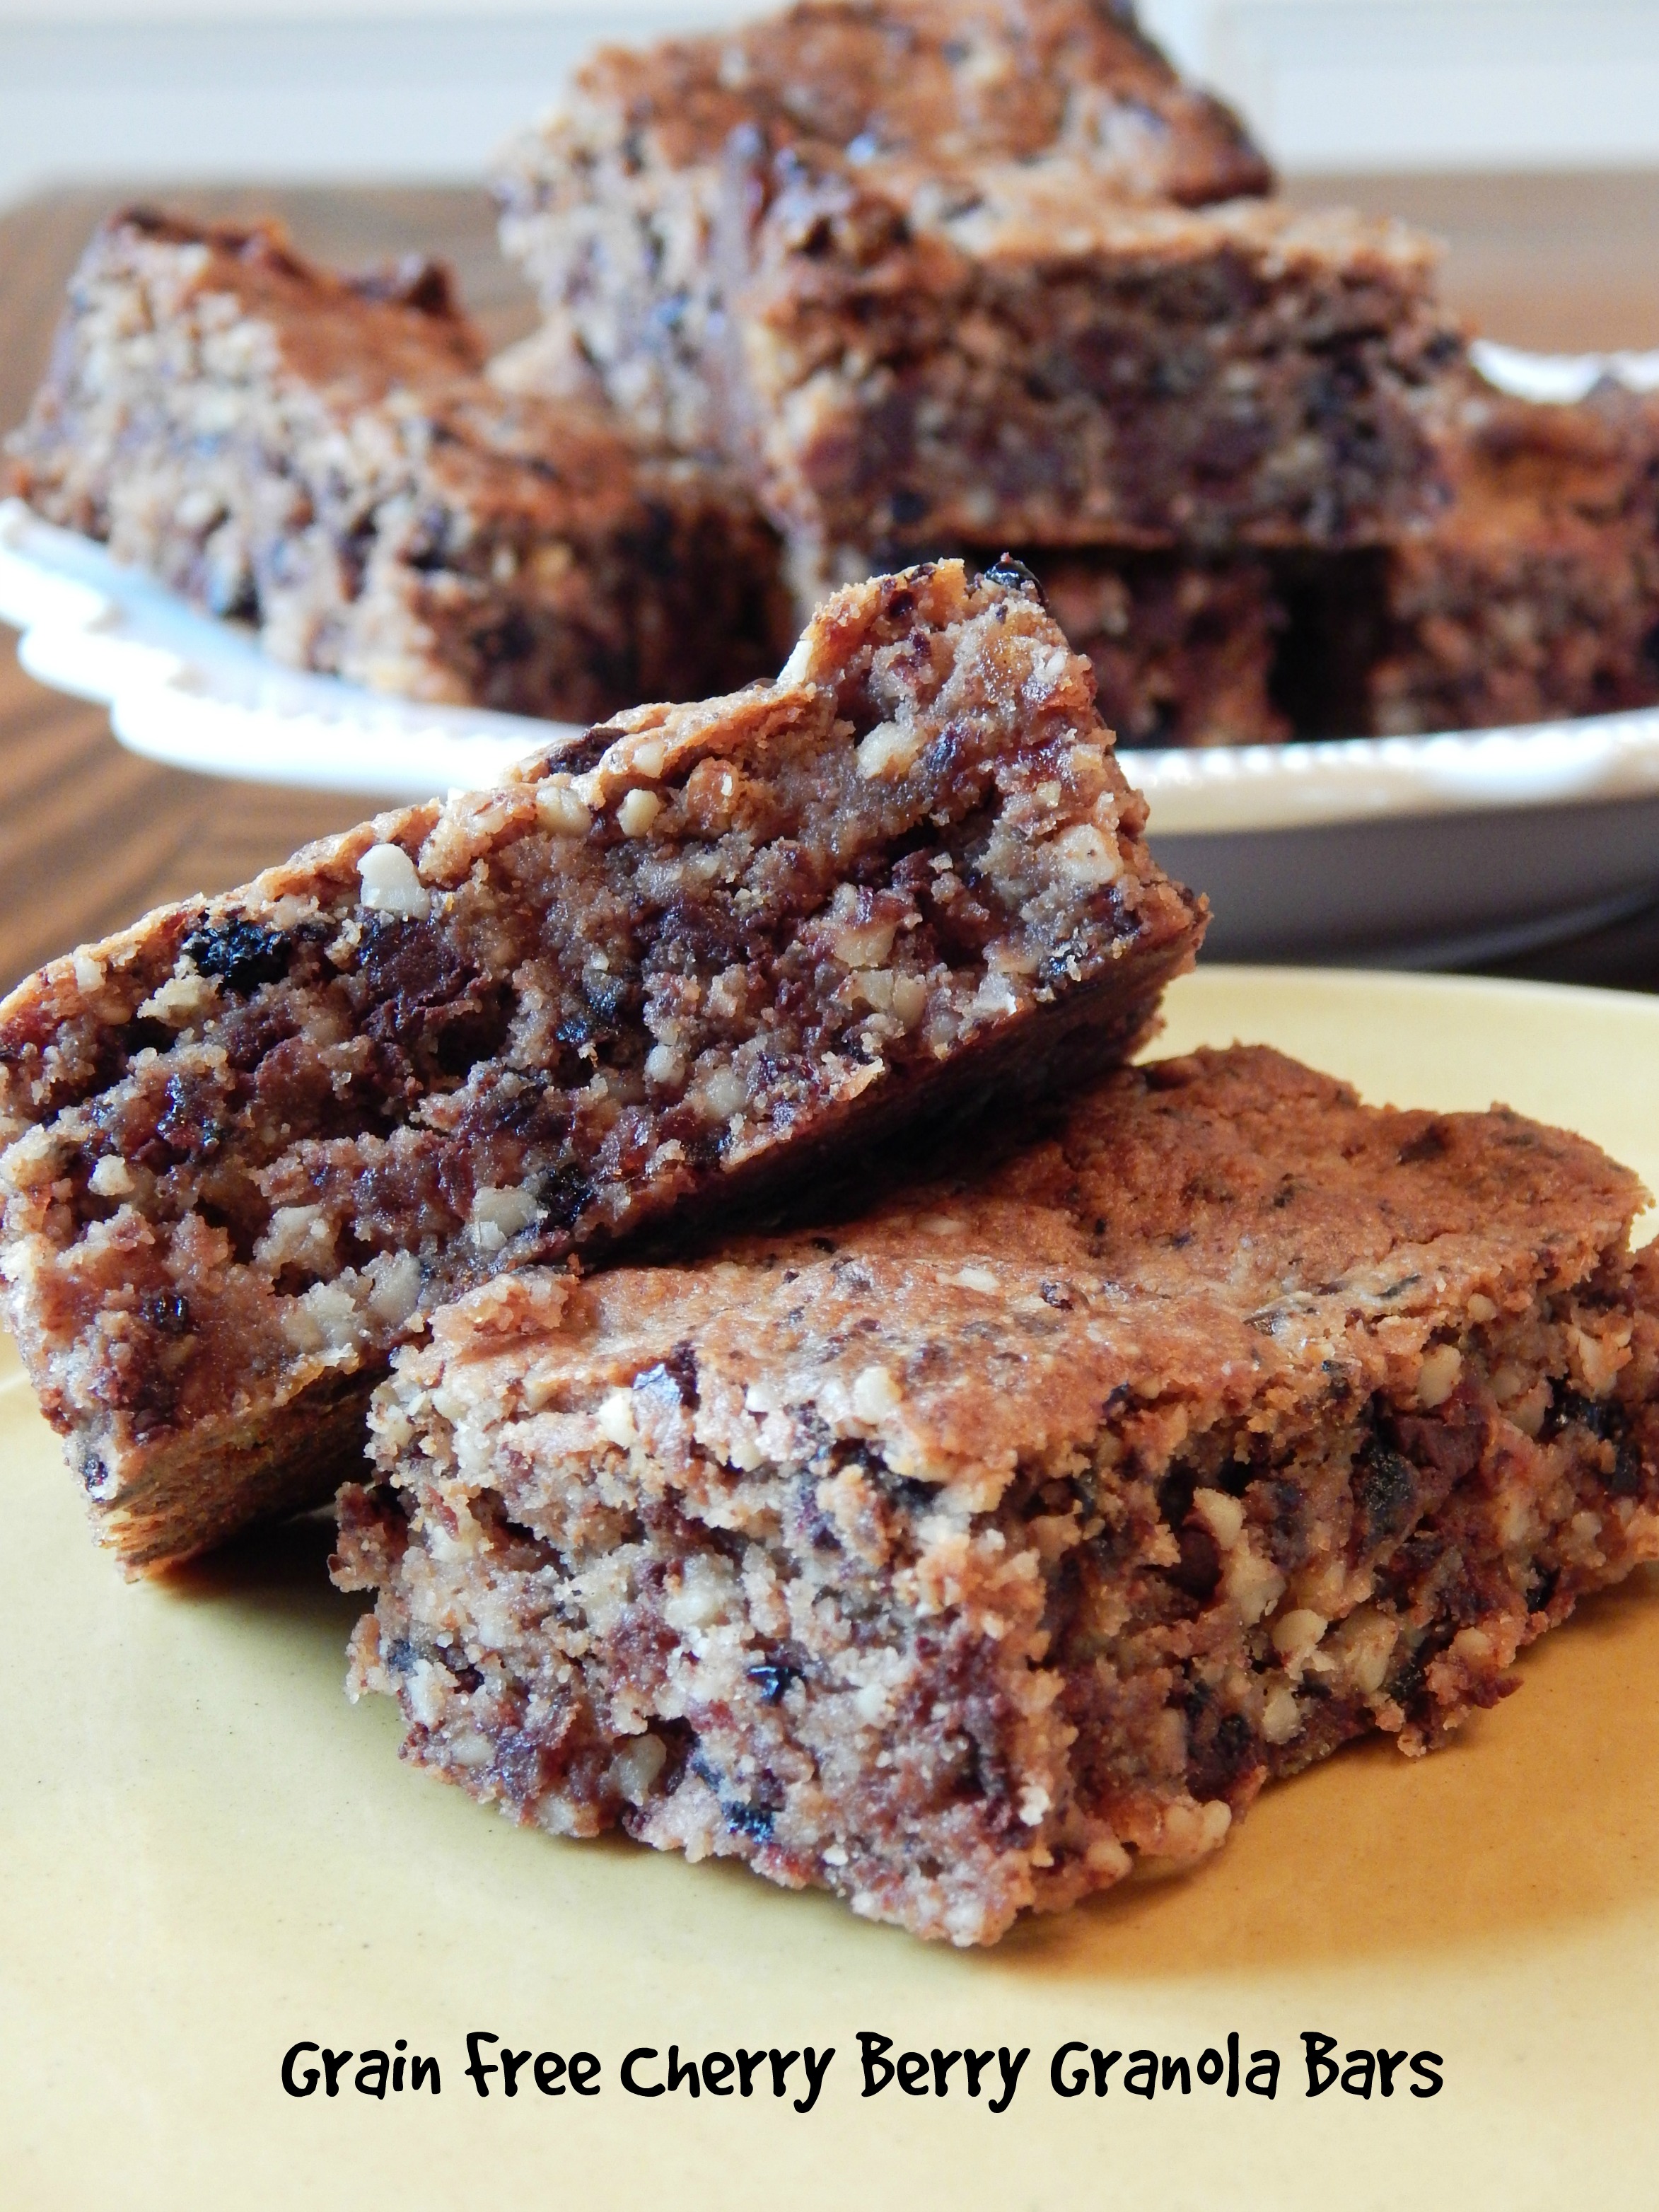
The crunch of walnut pieces and the flavor of dill and chives makes this a perfect cracker for snacking. I especially like dill in summer, and it is so good in these crackers! It reminds me of working in the garden as a child and smelling the fresh dill on the breeze and feeling the warm sun on my body. These crackers are a fantastic addition to an appetizer spread, and I also like to mound a bunch of dinner leftovers on them for a quick snack. Who doesn’t love a quick, healthy snack? Prepared in advance, these will keep in the freezer for a month.

Dill and Chive Grain Free Crackers

Dill and Chive Grain Free Crackers

Dill and Chive Grain Free Crackers

Ingredients:

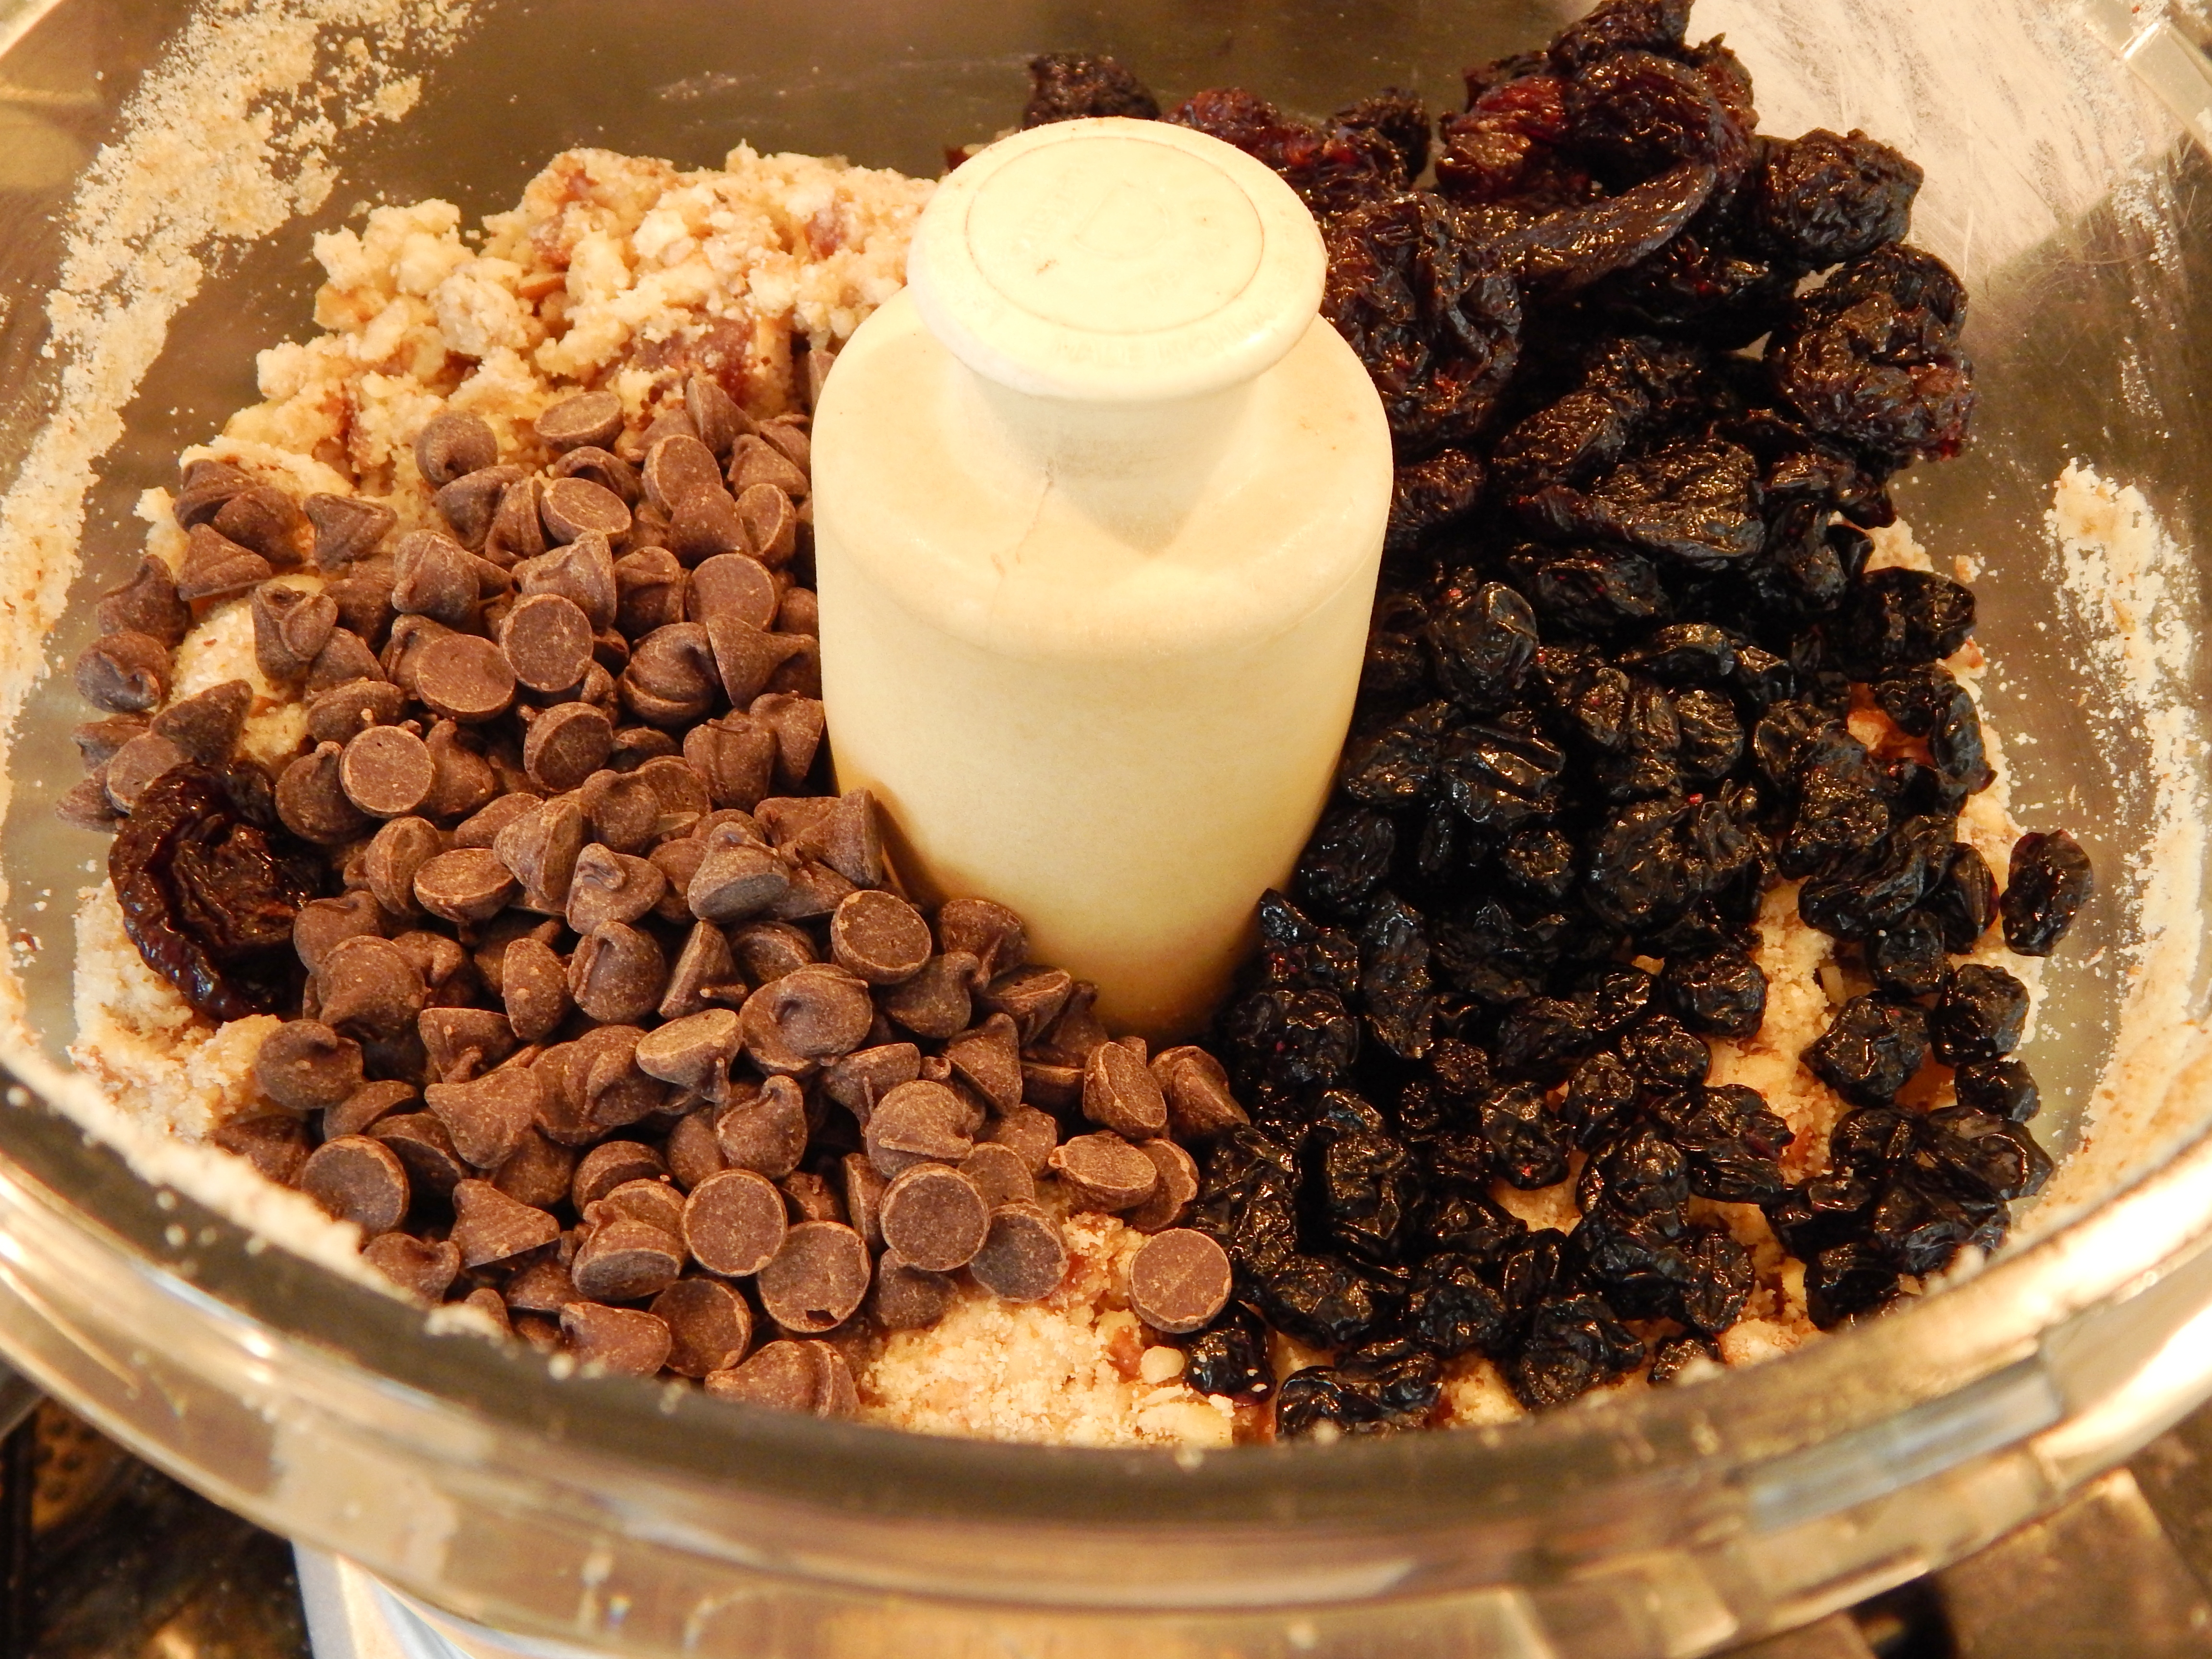
1 Cup Superfine Almond Flour**

1/2 Cup Raw Walnuts, Chopped into Medium Pieces

2 Flax Eggs (see instructions below)

2 Tablespoons Fresh Dill, Minced (can substitute 2 Teaspoons of Dried Dill)

2 Tablespoons Fresh Chives, Minced (can substitute 2 Teaspoons of Dried Chives)

1 Teaspoon Honey

1/4 Teaspoon Pink Himalayan Salt or Sea Salt**

* Making an egg substitute with ground Flax Seed is easy! Take one Tablespoon of ground Flax Seed and whisk it with 3 Tablespoons of water in a small bowl and let sit for 15 minutes until it becomes a gel like consistency. In this recipe I have used two Flax Eggs, so you would take 2 Tablespoons of Ground Flax Seed and 6 Tablespoons of water, whisk it all together and let sit for 15 minutes while you prepare the rest of the cracker ingredients.

**See In My Pantry for Product Resources

Directions:

Preheat the oven to 325º degrees, and line a baking sheet with parchment paper.

In a medium bowl, add your almond flour, dill, chives and salt. After your flax eggs are ready, whisk in the honey. Then, add the liquid to the flour mixture and whisk with a fork until well combined. Add in the chopped walnuts last, and incorporate into the dough.

Place the dough between two sheets of parchment and roll out with a rolling pin to 1/4″ inch thickness. Remove the top parchment sheet used for rolling, and put the rolled cracker dough with the bottom parchment on the cookie sheet. Place in the oven and bake for 15 to 20 minutes until golden brown and crunchy. Keep a close eye on them the last five minutes to prevent over browning. Cool on a wire rack, and then break them into whatever sized pieces you like!

These are delicious served with my Roasted Eggplant and Red Pepper Tapenade Recipe or Dairy Free Fresh Basil Pesto. If you would like more appetizer ideas, go to Kelly Bejelly’s post on her blog, A Girl Worth Saving, and check out her 35 Paleo Appetizers post here!

Dill and Chive Grain Free Crackers

Dill and Chive Grain Free Crackers

Eat Your Nutrients!

Eat Your Nutrients!

Quick Sauteed Beet Greens and Pecans

There is an abundance of fresh greens available during the growing season. Have you ever tried beet greens? They have a mild, appealing taste, and I like to mix it up to get in as many nutrients as I can.

Beet greens add variety to your diet, and are quite tasty, not to mention they have more minerals, vitamins and antioxidants than the root. The greens are best when they are young and tender. I found a bunch of golden beets recently at the local farm market, and the greens were glorious! Check out the second photo below! It was such a great find to be able to eat the whole vegetable, tops and all!

Here is an easy way to cook them up quickly and deliciously!

Sauteed Greens and Pecans

Quick Sauteed Beet Greens and Pecans


Fresh Golden Beets with Green Tops

Fresh Golden Beets with Green Tops

 Quick Sauteed Beet Greens with Pecans

Ingredients:

6 Cups Fresh Beet Greens, washed and coarsely chopped

2 Tablespoons of Garlic Olive Oil (or 2 Tablespoons Olive Oil and 1 Tsp. Fresh minced garlic)

2 Tablespoons of Coarsely Chopped Raw Pecans

1 Pinch of Red Pepper Flakes

Salt (your favorite to taste)

Black Pepper (to taste)

Directions:

In a large sautee pan on the stove top. Pour in the oil and heat over medium high heat. Add the garlic if using and red pepper flakes, cook briefly, about 30 seconds. Add the beet greens and toss until wilted and tender. Add salt and pepper to taste. Sprinkle with the pecans.

This is an easy and delicious side!

Eat Your Nutrients!

Eat Your Nutrients!


Deli Chicken Salad

This recipe is so easy on a busy week. The cook once eat twice concept is a lifesaver for today’s busy lifestyles! I was talking to my sister on the telephone yesterday, and she has three children in five sports this Spring and is really struggling to put good food on the table. I hear her! It can be challenging to churn out healthy meals for the family no matter who you are, and busy Mom’s can really benefit from some fast recipe ideas!

Deli Chicken Salad (cook once eat twice)

My deli chicken salad recipe uses leftover roasted chicken. I used a chicken from my Lemon Herb Juicy Roasted Chicken recipe here. I had leftover roasted chicken and needed something quick on Monday night. I find chicken salad is so much moisture when you use the whole bird, (a mixture of dark and light meat).

To cook once eat twice, depending on the size of your family, you will need one or two whole chickens. Make the Lemon Herb Roasted Chicken recipe, or another favorite whole roasted chicken recipe the first night. The second night, you will shred the leftover cooked chicken and put together the chicken salad in ten minutes!

Deli Chicken Salad

Ingredients:

2 1/2 Cups Shredded Leftover Chicken

1 Cup Good Mayonnaise (I used my favorite Paleo Mayonnaise here)

1 Tablespoon of Dill Pickle Relish (I love Bubbies) for those Low FodMap it has garlic, but this tiny amount should be fine!)

1 Tablespoon of Whole Grain Mustard (I just found this Clean Brand at my Local Coop, it is delicious!)

1/2 Teaspoon Himalayan Pink Salt or Sea Salt

Directions: Just mix it all together and serve it. Someone is sure to lick the bowl clean!

Tip: Double the recipe for even another day packed in lunches!

Delli Chicken Salad

Have a Happy Day!

Eat Your Nutrients!

Eat Your Nutrients!

Honey Drizzled Wild Salmon on a Bed of Butternut, Topped with Spinach

At the end of a hard day, I am ready for a  hearty meal that includes vegetables, Omega 3’s, healthy carbohydrates and fats.  I want it to leave me feeling replenished, well fed and my belly full. If this is you, then this salmon recipe is what you are looking for! Join me in creating a beautiful, nutrient rich salmon entree!

Honey Drizzled Salmon on a bed of Butternut Topped w/ Spinach

Honey Drizzled Salmon on a bed of Butternut Topped w/ Spinach

The drizzle of honey around each plate pairs beautifully with the salmon and butternut. Just a touch of honey creates a Umami flavor and takes the dish to extraordinary. Although this entree looks restaurant fancy, I promise it is not too difficult. The hardest part is peeling the butternut squash.

Honey Drizzled Salmon on a bed of Butternut Topped w/ Spinach

Honey Drizzled Salmon on a bed of Butternut Topped w/ Spinach

Honey Drizzled Salmon on a bed of Butternut Topped w/ Spinach

Directions:

Prepare Simple Oven Roasted Butternut Squash ←recipe here

Tent with Foil to keep warm and then turn your oven to broil (high) and place the baking rack on the second level from the top of the broiler.

Ingredients:

For the Salmon:

1 1/2 Pound Sockeye Salmon Filet (approximate weight)

3 Tablespoons Olive Oil

1 Teaspoon Lemon Zest

1 Teaspoon Himalayan Pink Salt or Sea Salt

1/4 Cup Honey for Drizzling (clear if SCD/Low FodMap)

Lay Salmon on a parchment or foiled lined, rimmed baking sheet. Mix Olive Oil, Lemon Zest, and Salt in a small bowl and brush on the Salmon.  Broil the salmon under the broiler for approximately ten minutes or until the thickest part of the salmon reaches 145º degrees.

While the Salmon is broiling prep your Sauteed Spinach:

Sauteed Spinach

Ingredients:

4 Cups of Fresh Baby Spinach

1 Teaspoon Minced Garlic

1 Tablespoon of Olive Oil (use Garlic Olive Oil if Low FodMap & Omit Garlic)

1 1/2 Tablespoons of Pine Nuts

1/2 Teaspoon Himalayan Pink Salt or Sea Salt

In a large sautee pan, place Olive Oil, Garlic (if using) and pine nuts. Turn the burner to high, and toast the pine nuts in the oil until lightly brown. This happens quickly (just a minute or two). Add the spinach and salt. Toss until spinach is wilted.

To plate your dish, start with roasted squash on each plate. Top with a generous portion of broiled salmon. Finally, add the sauteed spinach, and drizzle with honey…..so Delicious!

Serves 4


Eat Your Nutrients!

Eat Your Nutrients!


Tropical Matcha Green Tea Ice Cream

It’s Mother’s Day weekend! If my Mama lived closer, I would make her this delicious Tropical Matcha Green Tea Ice Cream for dessert, because it is absolutely delicious, and also because it has nutrient rich ingredients that will make her skin glow and benefit her body!

Tropical Matcha Ice Cream

Tropical Matcha Green Tea Ice Cream

I have to admit, I am passionate about Matcha. I started drinking it years ago because of the rich green tea flavor! I love the taste, and the health benefits were an added bonus! Matcha is packed full of antioxidants, and even though it contains caffeine, it calms and relaxes the body while it energizes. It contains high levels of chlorophyll, vitamin C, selenium, chromium, zinc and magnesium. If that wasn’t enough, there are EGCG’s in Matcha that lower blood sugar and cholesterol. Matcha detoxifies, increases metabolism, boosts memory and concentration, and is disease and cancer preventative. Wow! Who doesn’t want all that?

Tropical Matcha Ice Cream

Okay, so that is one of the ingredients in this creamy, tropical ice cream. I also added pineapple, mango, lemon juice (Vitamins A and C), and avocado which all beautify your skin! There is coconut milk and coconut oil for healthy fat (along with the avocado). The avocado adds extra creaminess with a neutral flavor, and finally natural honey. So, let’s eat ice cream in a very healthy way!

Tropical Matcha Green Tea Ice Cream

Ingredients:

2 Cups of Fresh Cubed Pineapple

1 Ripe Mango

1 Can Full Fat Coconut Milk (No additives for SCD Diet)

1/2 Cup Good Honey (clear if eating SCD Low FodMap)

1/2 Ripe Avocado

2 Tablespoons of Matcha Green Tea Powder

1 Tablespoon Fresh Squeezed Lemon Juice

1 Tablespoon Melted Coconut Oil

Directions:

1. In a blender, blend all the ingredients.

2. Refrigerate Ice Cream Mix for at least 4 hours or overnight.

3. Churn in an ice cream maker. I love this one.

Serve!

Tropical Matcha Ice Cream

Tropical Matcha  Green Tea Ice Cream

Eat Your Nutrients!

Eat Your Nutrients!


Are You Authentic?…plus a Honeyed Latte Recipe

Are you your most authentic self? If not what is a step you could take to change that? Has there been a time when you recognized you weren’t being your authentic self and wished to be someone else? What did you do? How did it make you feel? What about times when you were completely authentic?

Honeyed Latte

Honeyed Latte with Cinnamon

This is a really important subject for your health and happiness! If you feel like you can’t be yourself except when you are alone, you are not being true to yourself. Everyone on the planet has special gifts and a cellular makeup that makes you like no other person! When you are comfortable, confident and happy with yourself, it shines through you, and draws others to you. You are able to fulfill your purpose so much better! You are a gift to the world, so live your life being you!

Here is a special latte recipe just for you to enjoy!

Honeyed Latte with Cinnamon

Ingredients:

1/2 Cup Espresso (or strong coffee if you don’t have an espresso machine)

1/2 Cup Full Fat Coconut Milk (or try Toasted Hazelnut Vanilla Nut Milk here)

1 Tablespoon of Honey (clear if eating SCD/Low FodMap)

1/4 Teaspoon Pure Vanilla Extract

1/8 Teaspoon Cinnamon

Directions:

Pour your Milk, Honey, Vanilla and Cinnamon in a frothing pitcher. Steam until hot and frothy. Then, prepare your espresso (or strong coffee). If you are using coffee you can heat your milk to desired temperature and whisk vigorously to create a creamy froth.

Honeyed Latte with Cinnamon

Honeyed Latte with Cinnamon

Pour the coffee and sweetened, flavored milk together into your very favorite mug. Sit and enjoy and savor the moment and your uniqueness!

Eat Your Nutrients!

Eat Your Nutrients!

Want more tips or need a Health Coach? Check out my new Health Coaching Website here!

Avocado Fries with Dairy Free Ranch Dip

Am I the only one who could eat a whole avocado at once? They are so creamy and delicious! Did you know that the fat in Avocados helps you absorb nutrients in carotenoid containing raw vegetables like carrots and leafy greens (and other red, green & orange vegetables) and converts it into Vitamin A? This is true of other fats as well and is just one of the reasons a low fat salad dressing is such a bad idea. Fat helps you access the nutrients in vegetables!

avocado fries with Won't Miss A Thing Ranch

Avocado also contains fiber and other vitamins and minerals, and the fat keeps you full. I like the glow factor of eating avocados. They are good for your skin! You don’t have to eat a whole avocado at once to get the benefits. These avocado fries are a delicious side at a cookout, and also a very fun appetizer!

Serve them with carrots and my Won’t Miss a Think Dairy Free Ranch Recipe!

Avocado Fries with Dairy Free Ranch Dip

Preheat your oven broiler and place the rack on the second level from the top. Lay out a parchment lined baking sheet.

Ingredients:

2 Avocados that are ripe but not mushy

1/2 Cup Superfine Almond Flour

1/4 Cup Apple Cider Vinegar

1 Teaspoon Himalayan Pink Salt or Sea Salt

Directions:

Wash your avocados and cut them in half removing the pit and then slicing them into six slices each, so three slices per half. You will have a total of 12 wedges.

In a shallow bowl, add your Apple Cider Vinegar and coat your Avocado Fries with the vinegar.

In a separate bowl whisk together the almond flour and salt. Dip each avocado slice in the crumb mixture, coating all sides, and place on the baking sheet.

Broil the avocado fries approximately 3 minutes on one side, then remove from the oven and turn, return to the broiler for an additional 3 minutes until golden. Sprinkle with a little additional salt if desired. I like a coarse finishing salt.

Serve with my SCD Low FodMap Ranch here.

Check out more free Health & Wellness Tips on my Facebook page here!

Eat Your Nutrients!

Eat Your Nutrients!

Grain Free Cherry Berry Granola Bars

Granola Bars have been a long time favorite around our house, and today I have a grain free version for you! My girls have given me the thumbs up on them.

Grain Free Cherry Berry Granola Bars


There is so much to love about granola bars. They stay fresh for several days, so you can make a big batch and wrap them individually for a quick snack, breakfast or a grab and go when you are heading out! Because, hey, the weather is getting so nice, who wants to spend a lot of time in the kitchen on a bright sunny day, or you have ball practice, a yoga class or workout to get to at the gym, or it is your day to……?

I really like the tahini in the recipe. I have noticed since consuming more nut and seed butters in the last six months, my hair is growing thicker and faster, and who doesn’t want that? Read this for information on 10 Superfoods to Prevent Hair Loss.

I added optional chocolate chips in the recipe. Note: If you use chocolate, they are not SCD approved. I have recently tried a mini dark chocolate chip that is sweetened with Stevia by Lily’s or use your favorite dark chocolate.

Grain Free Cherry Berry Granola Bars

Ingredients:

1 Cup Raw Pecans

1 Cup Raw Walnuts

1/2 Cup Dried Dates, pitted & coarsely chopped

1/2 Cup Coconut Flour

1/2 Cup Superfine Almond Flour

2/3 Cup Honey

1/2 Cup Tahini

3 Tablespoons Coconut Oil

1/2 Cup Dried Cranberries (no sugar added)

1/2 Cup Dried Blueberries (no sugar added)

1/2 Cup Mini Dark Chocolate Chips (optional, omit for SCD)

2 Teaspoons Pure Vanilla Extract

1/4 Teaspoon Himalayan Pink Salt or Sea Salt

(see In My Pantry here for product brands I use)

Directions: Preheat your oven 350º degrees. Line a square 8″ x 8″ baking pan with a sheet of parchment paper.

Using a Food Processor with a blade attachment, add the pecans, walnuts, coconut flour, almond flour, chopped dates and salt. Pulse in the processor until you have coarse pieces of nuts. Melt the coconut oil in the microwave (takes about 20 seconds), and add the melted coconut oil, honey, vanilla and tahini to the food processor and pulse until evenly combined but the mixture still contains chunks. Add the dried berries and chocolate chips if using.

Granola Bar Mix

Granola Bar Mix

Pulse until evenly distributed. Transfer the dough to your parchment lined pan, and using a piece of plastic wrap to prevent it sticking to your hands, press the dough evenly into the pan.

Bake for 30 minutes in your preheated oven.

Remove from the oven and cool completely. After the bars have cooled, lift them easily from the pan using the edges of the parchment.

With a sharp knife on a cutting board. Cut the bars into 15 rectangles.

Enjoy!

Eat Your Nutrients!

Eat Your Nutrients!


Blueberry Crumb Loaf

blueberry crumb loaf with type 2

It’s a great day to make a blueberry crumb loaf! The birds are screaming here this morning. They are so happy about the Spring weather! Everything is so green, and the buds on my Thundercloud Plum trees are swelling and turning pink. We have several of the trees lining the driveway. The smell of the blooms is heavenly! It reminds me of sweet tarts.

Thundercloud Plum Tree Blossoms

Thundercloud Plum Tree Blossoms

Thundercloud Plum Tree Close to Blooming

Thundercloud Plum Tree Close to Blooming

I planted blueberry bushes three years ago, and this year I think I will get a good crop of them. Blueberry bushes are ornamental also, so I incorporated them in my front garden.

I grew up with my father always having a large garden, and my mother would can and preserve the summer’s bounty, which we would enjoy year round. So, this year I have decided to get back to my roots and grow more of my own food. I started a raised bed garden and so far have planted baby lettuces, which are sprouting already.

Hopefully by summer, I will be making this loaf using my own organic blueberries. But today after being outdoors working in the garden, I can’t think of a better afternoon snack than a cup of tea and a slice of warm blueberry crumb loaf!

Here is the recipe!

Blueberry Crumb Loaf

Preheat your oven to 350º degrees and grease an 8″ inch loaf pan and line it with parchment paper.

Ingredients for Streusel Topping:

1/4 Cup Toasted Walnuts (Toast them for five minutes in your 350º degree preheated oven)

2 Tablespoons Pecans

2 Tablespoons Finely Shredded Unsweetened Coconut

1 Tablespoon Coconut Oil

2 Tablespoons Honey

1 Tablespoon Cinnamon

1/4 Teaspoon Himalayan Pink Salt or Sea Salt

Ingredients For Bread Batter:

2 Cups of Superfine Almond Flour

2 Tablespoons of Coconut Flour

2 Eggs

1/4 Cup Coconut Oil

2 Tablespoons of Dried Currants

3/4 Cup Organic or Wild Blueberries

2 Tablespoons Honey

2 Teaspoons of Pure Vanilla Extract (like this)

1 Teaspoon Gluten Free Baking Soda

1/2 Teaspoon Cinnamon

1/4 Teaspoon Ground Cardamom

1/4 Teaspoon Himalayan Pink Salt or Sea Salt

Directions:

For the Streusel Topping:

Pulse all the streusel ingredients in a food processor until it forms medium crumbs and is even in texture. I use my mini processor for this, but you can use whatever one you choose.

Set aside while you make your bread batter.

To make the bread batter:

In a medium bowl, whisk together the eggs, melted coconut oil, honey and vanilla extract. Set aside. In a large bowl whisk together the remaining dry ingredients except the currants and blueberries.

Add the wet ingredients into the dry ingredients, and thoroughly incorporate. With a rubber spatula, fold in the currants and blueberries. Spoon the batter into your prepared loaf pan and spread it evenly. It is thick. Then, sprinkle the streusel topping evenly over the loaf.

Bake in the preheated oven for 50 minutes or until a toothpick inserted into the center of the loaf comes out clean. You can tent the loaf with foil the last 15 minutes if you notice the crumb is getting too dark.

Remove from the oven, and cool in the pan for five minutes. Then using the parchment to help you, remove the loaf from the pan and cool on a wire rack.

Serve warm or cooled. Store any leftover bread after the first day in the refrigerator.

Blueberry crumb loaf with type

Eat Your Nutrients!

Eat Your Nutrients!


My Paleo Peeps!

paleo peeps 3 with caption

Get-togethers with friends nourishes the soul as well as the body. Food is at the heart of community when you think about it. Most events, parties and time spent in celebration with others involves some type of food, traditions and favorite regional dishes.  It is also seasonal, so in the Fall and Winter we eat more heavy warming food, and in the Spring and Summer our bodies tend crave lighter food. This works perfectly in eating locally. I encourage you to listen to your body. What is it telling you?

My Paleo Peeps is a fun way to serve deviled eggs.  Take them to a get together, or invite some peeps to a picnic to celebrate Spring. Immerse yourself in community with others and nourish your body and soul!

I used local pastured eggs in this recipe. The yolks are yellow and full of nutrition!

Paleo Peeps 2 with text

Although I regularly make homemade clean mayonnaise with my immersion blender, I am in love with Primal Kitchens new Mayo made with avocado oil and completely clean ingredients! It is so good and convenient! I used it in these deviled eggs, or you can make or choose your own favorite brand. Here is my favorite homemade recipe, because it is fail proof. You need an immersion blender, and it is super fast!

paleo peeps 4 with type


My Paleo Peeps!

Ingredients:

12 Pastured Eggs (Hard Boiled and Cooled)

1/2 Cup Good Quality Mayo (I used Primal Kitchen Avocado Oil Mayo).

1 Tablespoon Gluten Free Yellow Mustard (garlic free for Low FodMap like this.)

1 Teaspoon Himalayan Pink Salt or Sea Salt

1 Peeled Carrot

24 Currants

1 Sundried Tomato for Wattle

Directions: Slice the eggs in half from tip to bottom. Remove the yolks and mash with the mayonnaise, mustard and salt. Put the egg yolk mixture in a quart size ziplock bag and snip off the end of the bag. Pipe the yolk mixture evenly into the egg halves.

Now decorate your peeps! Currants for the eyes, slice your carrot into beak shapes and skinny slivers for the feet, and take a small snippet of sundried tomato for the wattle! Refrigerate an hour or more before serving to set the filling.

Paleo peeps 1

Eat Your Nutrients!

Eat Your Nutrients!

1 6 7 8 15