Tag Archives: Real Food

Grain Free Bunny Pancakes

Bunny Pancakes Grain Free Kid Friendly

I recently saw the cutest pancakes made into a bunny shape showing the back of a bunny in Good Housekeeping Magazine. They were made with wheat flour, and since my family is gluten free, I really wanted to replicate these for my kids, but with my own spin on it and grain free. We had so much fun making these, and they are easy peasy and delicious! It is a fun kitchen recipe for children to participate in. Mine had a ball creating their bunnies on the griddle, naming their bunnies (Bubba and Fluffy), deciding if they were a boy or girl, etc.  For the younger kids, they will enjoy watching you make their bunny, and I sure hope the kid in all of us enjoys a bunny too!

Here’s Zackary getting ready to eat his bunny pancake.

Grain Free Bunny Pancakes with Zackary

They are made with nutritious ingredients, and are perfect any time of year, but especially on Easter. These pancakes are made with bananas, eggs, almond flour and honey, and I used blueberries for the eyes and dried, unsweetened banana chips for the tail and feet embellishment.

Weekend Bunny Pancakes, Healthier Kid Approved

grain-free-bunny-pancakes

Grain Free Bunny Pancakes

Ingredients:

2 Ripe Bananas

4 Pastured Eggs

3/4 Cup Superfine Almond Flour

2 Tablespoons of Clear Honey

1/4 Teaspoon Baking Soda

Banana Chips

Blueberries

Coconut Oil for greasing the griddle.

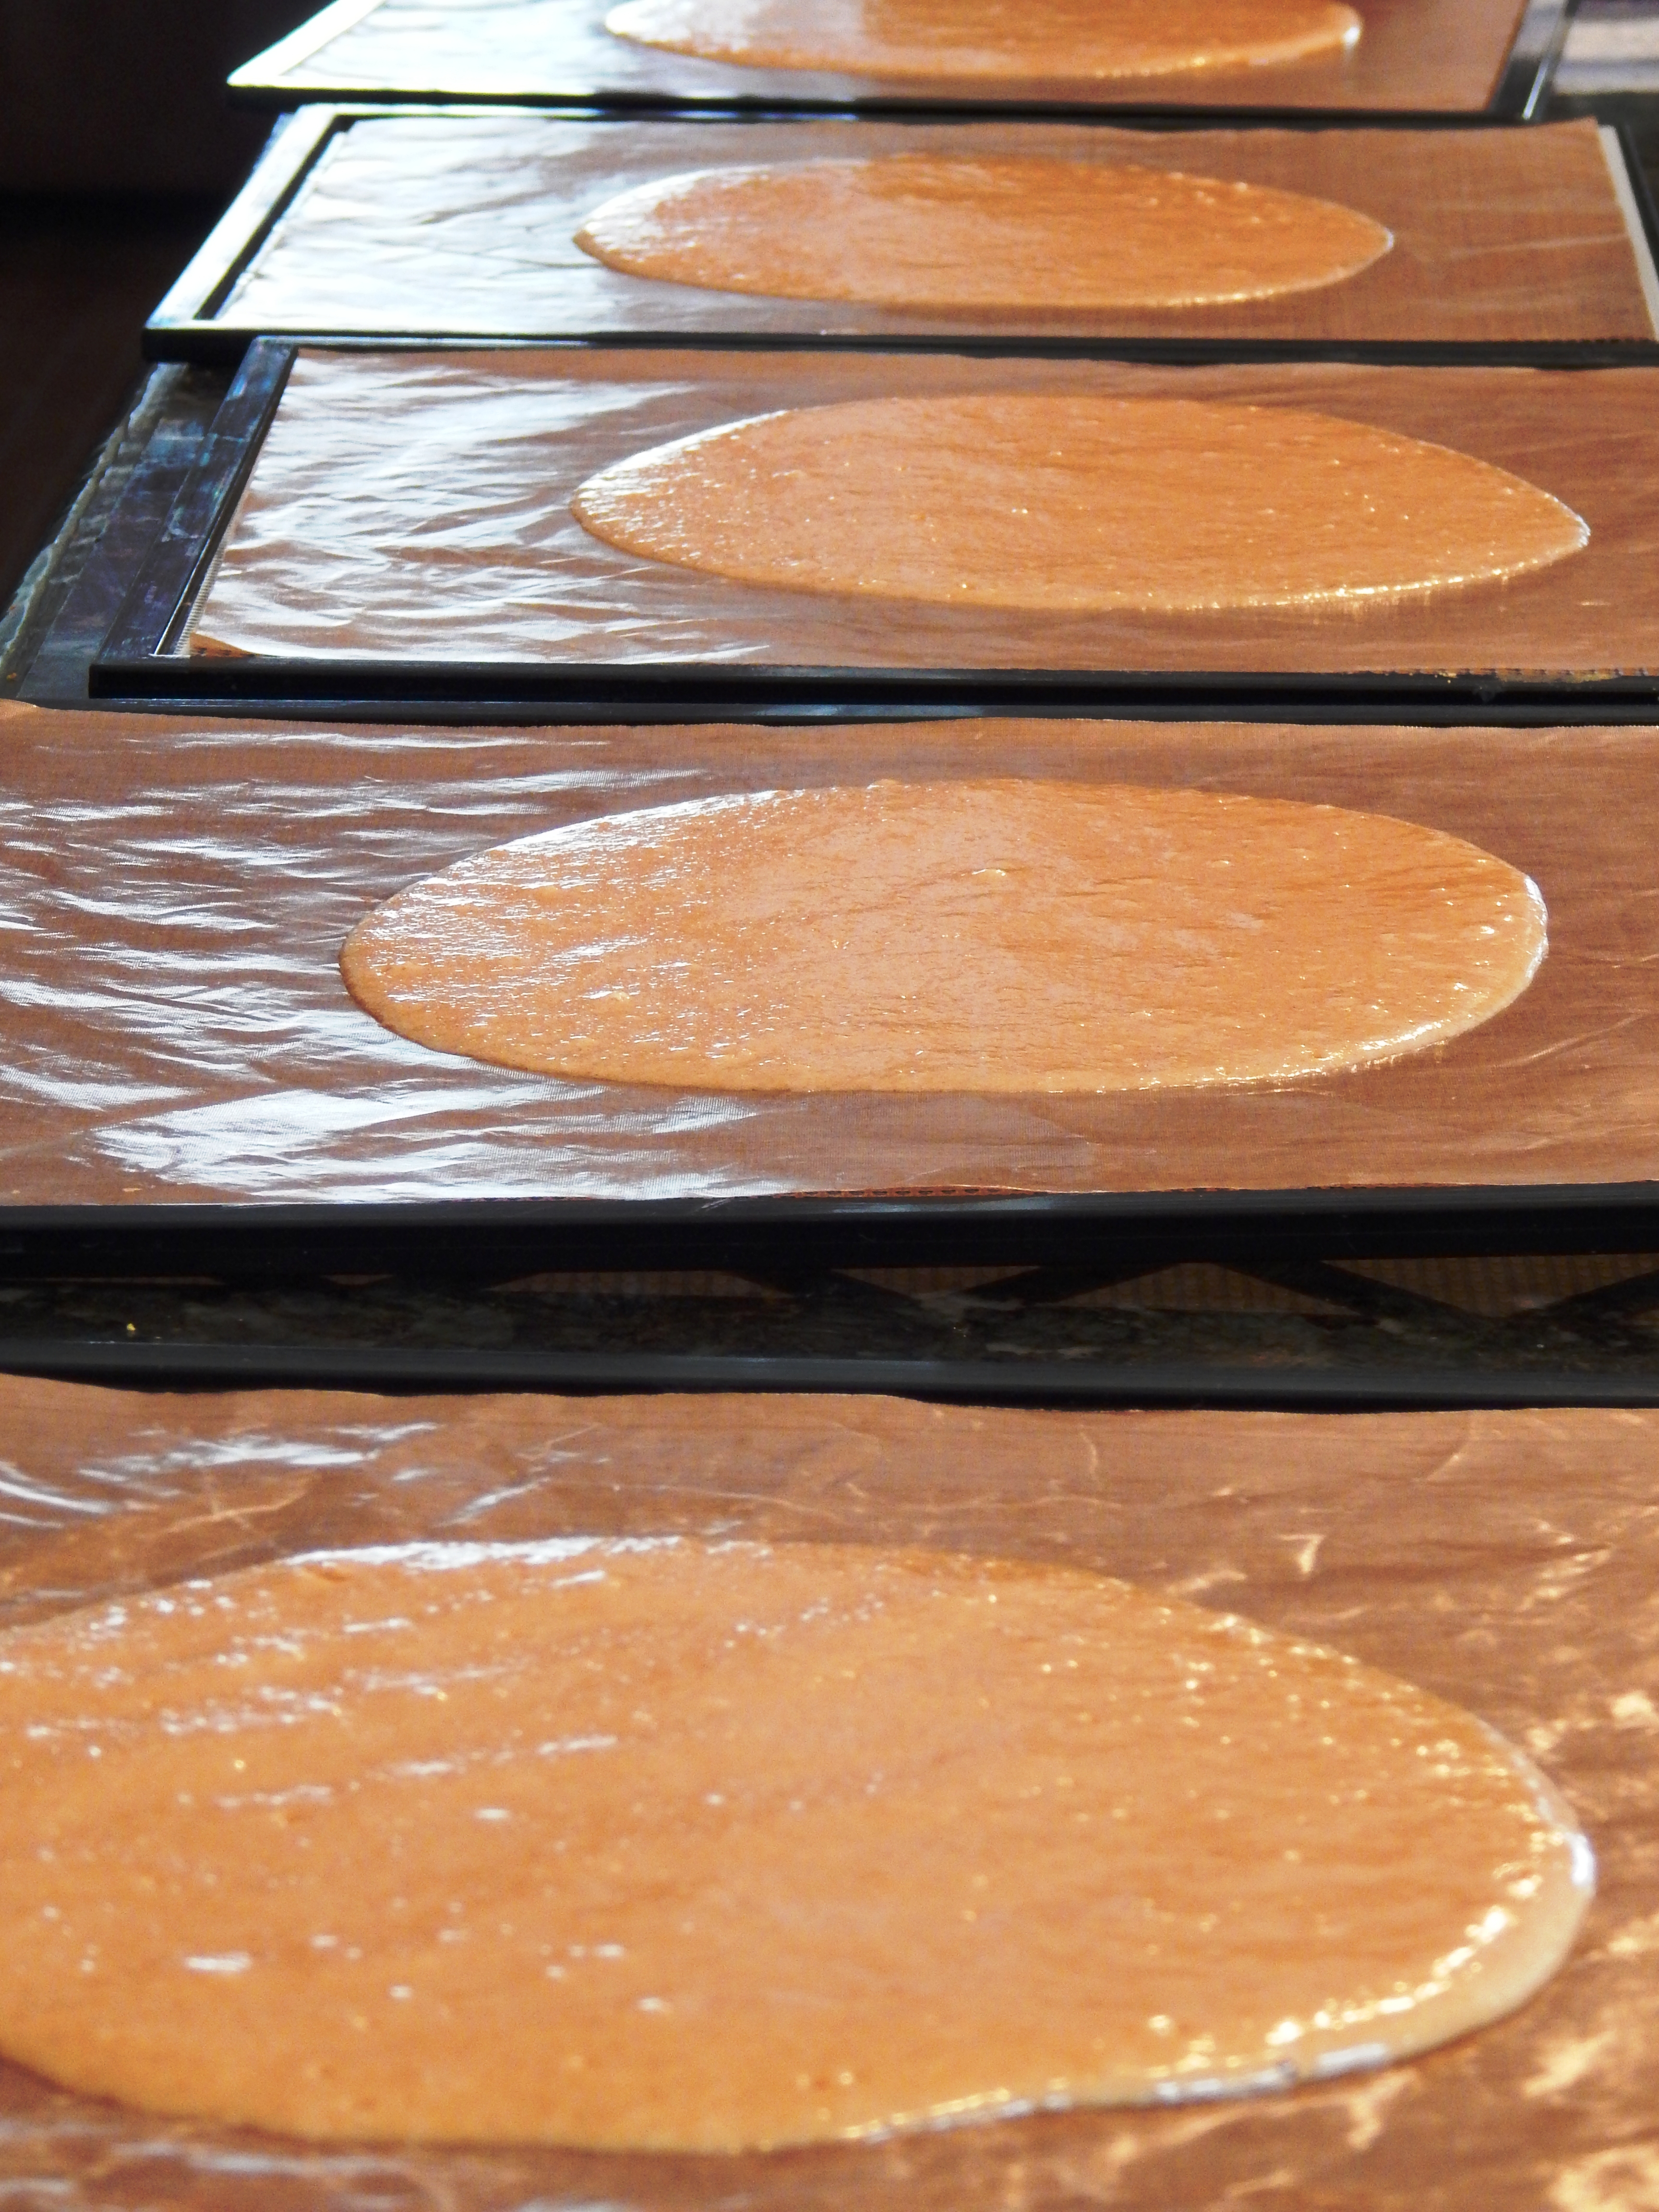
Directions: Heat a non-stick griddle to 325º degrees. Puree the bananas in a small blender. In a medium bowl, whisk together all the ingredients except the blueberries and dried banana chips.

Brush a little melted coconut oil onto a preheated griddle. Drop 1/4 cup of batter in a circle shape for the body, 2 Tablespoons of batter in a circle shape for the head, 1 Tablespoon of batter in an oval shape for each foot, and 1 Tablespoon of batter in a long ear shape for each ear. Put three blueberries on the bottom of each foot for toes and two blueberries on the head for eyes. When set and the edges are looking dry carefully flip the pancakes and cook a minute or two longer. Assemble the bunny with the blueberry eyes and toes facing up. Add a dried banana chip for the tail and one for each foot decoration and serve.

Makes 4 Bunnies.

Note: 1 Bunny is Moderate FodMap containing 3 Tablespoons of Almond Flour.

Grain Free Bunny Pancakes - Kid Approved, Paleo


Eat Your Nutrients!

Eat Your Nutrients!

Blueberry Blast Smoothie

blueberry blast smoothie

Are you a fan of healthy smoothies like me? I love all the blended nutrition you can get in a smoothie, and how they are so easy to digest. I am especially a fan of really cold ones. The coolness of the smoothie gives me a sense of well being. A warm beverage can do the same thing depending on the season, time of day, if I just worked out or was romping around the yard with Ming and the girls. My favorite smoothies are ones that get their sweetness from whole fruit and no added sugar like this Blueberry Blast Nut Smoothie. It is simple to make and can be enjoyed any time you get a craving. This delicious smoothie takes only minutes to whip together, and contains good fat from Coconut Milk and a Nut Butter of your choice, as well as Blueberries and Melon for Vitamin C, Antioxidants and Phytonutrients. There is the option for add ins for more health benefits!

For more health and wellness tips, you can go to my new Sandra Shields, Certified Health Coach Facebook page here and like it to follow me. I post new content there throughout the week! Thank you to all my followers for your support! I love you guys!

Blueberry Blast Smoothie

Ingredients:

1 Banana

1 Cup Wild Blueberries

1 Cup Honeydew Melon, Chopped

1/2 Cup Coconut or Almond Milk

1 Tablespoon of Nut Butter (Almond, Walnut, Cashew)

1 Cup Crushed Ice

Blend in a blender on high until smooth.

Serves 1 – 2

Optional add ins: Bee Pollen, 2 Tablespoons of Grass Fed Gelatin, 1 Tablespoon Ground Flax

Eat Your Nutrients!

Eat Your Nutrients!

Spiralized Golden Beet Salad

Spiralized Golden Beet Salad

I am in love with spiralized vegetables! It changes the texture and whole experience of eating them. The noodles or spirals coming out of the spiralizer as you turn the handle are gorgeous and abundant! Recently, I spiralized golden beets and then wondered, what should I do different with these gorgeous spun gold noodles? I decided to lightly steam them and serve them as a chilled beet salad.  I wanted crunch, flavor and eye appeal. I also wanted to keep the ingredients simple. The results were a salad with almonds for crunch, scallions and avocado oil.

I tend to spiralize several things at once and then store them in the refrigerator until I want to use them, so I only have to clean up the spiralizer once. These beets were ready a day in advance, and the actual preparation time the day of was about 20 minutes.

Spiralized Golden Beet Salad

Ingredients:

2 Medium Golden Beets, washed, peeled and spiralized

1/2 Cup Scallions, sliced, green parts only for Low FodMap

1/3 Cup Slivered Almonds

3 Tablespoons Avocado Oil

2 Teaspoons White Wine Vinegar

1/2 Teaspoon of Himalayan Pink Salt or Sea Salt (to Taste)

1/4 Teaspoon of Black Pepper or to Taste

Spiralized Golden Beet Salad 2

Directions: Place a few inches of water in the bottom of a pan with a steamer insert and bring to a boil.  Add the beets and steam five minutes, just till tender…think al dente. Remove from the steamer and run under very cold water to cool quickly and prevent further cooking. Drain the beets well. Add to a bowl and toss with the remaining salad ingredients. Serve, or refrigerate to chill more and let the flavors meld.

Everything contained in this salad is not only delicious, but offers health benefits. Beets are rich in nutrients, fiber, detoxify and contain phytonutrients.  Scallions are great for immune system health and contain Vitamin K for bones and Vitamin A for the eyes. Almonds contain fiber, protein and good fat as well as the good fat in the avocado oil, which is delicious!

Eat Your Nutrients!

Eat Your Nutrients!


A new way to celebrate St. Patty’s Day!

What better way to Celebrate St. Patrick’s Day than with nutrient dense green real food!

foodasmedicinethemovie's avatarfoodasmedicinethemovie

For me, St. Patrick’s Day was always about parades of kilted men blasting “Amazing Grace” on bagpipes, green beer, and McDonald’s Shamrock Shakes.  I have a proposal for a new way for us to observe the 17th of March in a celebration of something else that is green – vegetables!

veggie_shamrock

We can all agree that eating more vegetables is beneficial.  In this article I posted on our Facebook page earlier this week, Dr. Mark Hyman states, “With the greater emphasis on vegetables we’re more apt to actually meet our nutritional needs and prevent illness and inflammation.”  For most people, adding more vegetables to their diet is a big drag.  But, it doesn’t have to be.  If you make it creative and a celebration, it can be fun!

This year for St. Patty’s Day, I’ve planned a menu for the entire day of entirely green fare.  From breakfast to dinner’s dessert, everything will be green!

View original post 148 more words

Good Eats for a Lunar New Year Celebration!

CNY Year Collage Final

Gung Hay Fat Choy! It is the first day of the Lunar New Year Celebration, and I have put together a collection of recipes that you can make for a fun party! It is also known as the Spring Festival, and spring is just around the corner! Believe it, it is coming! This year is the year of the sheep. It is my daughter, Skyli’s year.  The date and animal changes every year, because it is based on the Chinese Lunar Calendar, you can see a calendar here and read fun facts! You have probably seen this calendar on a paper place mat at a Chinese restaurant.

Two of my daughters were born in China, so we celebrate every year, but you don’t have to be born there to celebrate! I have included here the Asian Fusion Shrimp Egg Custard with Scallion Oil Drizzle as a starter, Chinese Five Spice Chicken Bites, Asian Pork Ribs, Savory Carrot Scallion Pancakes and Matcha Green Tea Cookies. Serve it with some warm Jasmine Tea, Sliced Oranges (which signify good luck and prosperity in the coming year) and Cauliflower Rice or White Rice, and you have a party!

The Lunar New Year celebration lasts for two weeks, there are dragon dance parades, fireworks, good food and community culminating with the lantern festival. You will see a lion in the collage above. It is different from the dragon which comes at the end of the dragon dance parade. You can read more about Chinese New Year in China here. The decor is extraordinary during this time in Asia.  Google Chinese New Year Photos to see real pictures of the parade.

Here is a photo of my family in China several years back in the spring in Tiananmen Square.

Our Family in Tiananmen Square While Traveling in China

Our Family in Tiananmen Square While Traveling in China

There is nothing like traveling to the country of origin and eating the authentic food. It changed my entire view of Chinese food.

I hope you enjoy these recipes! For more delicious additions to your party, check out these Grain Free Chinese Almond Cookies on Tasty Yummies by Texarin Baking, or PaleoLeap’s Beef and Broccoli Stir-Fry.

Happy Chinese New Year everyone!

Eat Your Nutrients!

Eat Your Nutrients!

Note: White Rice is not Specific Carb Diet approved so go with cauliflower rice if you are on it.

Cheesy Kale Chips

Are you a kale lover? Yeah, yeah, you have heard about all the benefits of eating kale, but you just don’t like it that much? Well, have you tried kale chips? It is the best way to initiate anyone into eating kale. Kale chips made in a food dehydrator are addicting! Just like a potato chip, but hey they are good for you! Here is a second variation of kale chips if you like variety, like I do! The Pizza Kale Chip recipe can be found here. Although my daughter’s like them both, they each have a favorite. Skyli’s favorite is the Cheesy Kale Chips and Jessica’s the Pizza Kale Chips. Try them both, they are so good!

Cheesy Kale Chips for blog

Kale has many health benefits, including fiber, B vitamins, vitamin A, K, C, Calcium, Copper, Potassium and Magnesium. I have been getting a lot of leafy greens in my diet lately and feel amazing! Fat helps digest and access the nutrients in greens, and the pine nuts and pumpkin seeds that give these chips a cheesy flavor, also add fat to the chips, as well as the walnuts, so you can absorb the nutrients!

Here’s the recipe!

Cheesy Kale Chips

Ingredients:

2 Large Bunches of Curly Kale

1 Cup Pine Nuts

1/2 Cup Raw Pumpkin Seeds (I used sprouted)

1/2 Cup Raw Walnuts

2 Red Bell Peppers, Seeded

1/2 Cup Fresh Squeezed Lemon Juice

2 Tablespoons Honey

2 Scallions, green parts only

1/2 Teaspoon Turmeric Powder

1 Teaspoon Himalayan Pink Salt or Sea Salt

Directions:

Taking your thumb and index finger along the spine of the kale leaves, strip the leaves in one swipe from it’s rib or stalk. Thoroughly wash the kale leaves under cool water. Lay out on paper towel in one layer to dry completely, 30 minutes to an hour. I like to use a salad spinner first to get most of the moisture off. It is important the kale is thoroughly dry if you want crunchy chips!

Meanwhile, make the “cheesy” seasoning. In a high speed blender, like a Vitamix, blend all the remaining ingredients to make the pizza sauce. In a very large bowl, place your dried kale and pour the sauce on top. Get your hands in there and thoroughly mix and coat the kale leaves.

Place on six teflon lined dehydrator trays and place in your food dehydrator at 118º degrees for 10 to 16 hours until very crisp.

In the dehydrator, they get crunchy like potato chips and stay that way! If you don’t have a dehydrator, and would like to own one, I highly recommend this one! I have two of them, and they come in handy for a lot of food, including fruit rollups……see the recipe for delicious Banana Coconut Leather here.

Enjoy getting your nutrients!

8 Servings

Eat Your Nutrients!

Eat Your Nutrients!


Banana Pineapple Coconut Leather

Are you ready for a portable treat that is oh so satisfyingly chewy and good for you? Was that a yea? Then these scrumptious snacks are going to make your day! I promised you some fruit roll ups, and this is the first one with more to come. The first time I made these, they were devoured right away, and I had to guard the last one for myself. They aren’t difficult, but you do have to wait for the dehydrator to do it’s job, so it requires patience……I am working on that in many areas of my life. I love the way they make the room smell like I am baking banana bread while they are dehydrating. It is like natural potpourri, but better because you get to eat it!

Banana Coconut Leather for blog

Banana Coconut Leather

Directions:

Turn your food dehydrator to 135º degrees. Line six dehydrator trays with parchment or teflon inserts.

Ingredients:

6 Ripe Bananas

1 Cup Chopped Fresh Pineapple

1/2 Cup Unsweetened Shredded Coconut

2 Tablespoons Honey

2 Teaspoons Fresh Lemon Juice

1 Teaspoon Ground Cinnamon

1/2 Teaspoon Himalayan Pink Salt

Add Bananas, Pineapple, Himalayan Pink Salt, Honey, Cinnamon and Lemon Juice to a high speed blender, like this one, and blend until smooth. Add the coconut and blend for 30 seconds. You still want small bits of coconut in it. Pour the batter onto the six trays evenly dispersing.

Banana Coconut Leather Ready To Go In Dehydrator

Banana Coconut Leather Ready To Go In Dehydrator

Now, pick up the tray and tip and swirl in a circular motion to spread the batter evenly. Dehydrate for seven hours, flipping them after six hours. They can go a little longer and be fine too. I have left them for ten hours, they will just be more crunchy instead of chewy. Remove from the dehydrator, cool and roll up with strips of parchment, or you can store them flat. These are a wonderful, yummy, healthy snack! My children’s friends are so envious when they bring them in their lunches! If you like these, stay tuned for more roll up recipes!

Eat Your Nutrients!

Eat Your Nutrients!

Pizza Kale Chips

If you are looking for a way to get in more greens, want to avoid dairy or just don’t tolerate it but love pizza (and who doesn’t), want to crowd out the junk without pain and cravings, may I suggest these crunchy, Pizza Kale Chips? Warning, they are addictive!

Pizza Kale Chips

Pizza Kale Chips

Ingredients:

2 Bunches of Organic Curly Kale

1/2 Cup Pumpkin Seeds

1/2 Cup Pine Nuts

1/2 Cup Organic Sundried Tomatoes (Plain no Oil, soaked for 30 minutes in warm water)

1 Organic Red Bell Pepper

1/4 Cup Fresh Squeezed Lemon Juice

1/4 Cup Sliced Green Scallions (green parts only)

1 Teaspoon Dried Oregano

1 Teaspoon Ground Fennel Powder

1 Teaspoon Himalayan Pink Salt or Sea Salt

1 Teaspoon Dried Basil

1/4 Teaspoon Crushed Red Pepper Flakes

1/4 Cup of Water

Directions:

Taking your thumb and index finger along the spine of the kale leaves, strip the leaves in one swipe from it’s rib or stalk. Thoroughly wash the kale leaves under cool water. Lay out on paper towel in one layer to dry completely, 30 minutes to an hour. I like to use a salad spinner first to get most of the moisture off. It is important the kale is thoroughly dry if you want crunchy chips!

Meanwhile, make the seasoning. In a high speed blender, like a Vitamix, blend all the remaining ingredients to make the pizza sauce. In a very large bowl, place your dried kale and pour the sauce on top. Get your hands in there and thoroughly mix and coat the kale leaves.

Place on six teflon lined dehydrator trays and place in your food dehydrator at 118º degrees for 10 to 16 hours until very crisp.

In the dehydrator, they get crunchy like potato chips and stay that way! If you don’t have a dehydrator, and would like to own one, I highly recommend this one! I have two of them, and they come in handy for a lot of food, including fruit rollups….recipe coming soon!

You can also make them in the oven, but I have never been as happy with the results using the oven. You will have to eat them the day they are made that way, and the texture just isn’t the same. If you don’t have a dehydrator, and would like to make them in the oven, Preheat Oven 300º, using parchment lined baking sheets, lay the kale in a single layer and bake 15 minutes. Remove from the oven and flip with a spatula, and bake an additional 10 to 15 minutes watching carefully so they don’t burn. Cool Completely.

Kale has a lot of roughage. This recipe make 8 servings. Listen to your body and don’t overdo it which is easy to do when they are so good!

Enjoy!

Eat Your Nutrients!

Eat Your Nutrients!

Lime Pork Shoulder with Blueberry Pomegranate Reduction Sauce

Hello lovely people! I hope you are enjoying January wherever you may be in the hemosphere! I have to say, I would like to see a teeny tiny bit more sun here on the East Coast. However, January seems to be speeding by, and what better way to enjoy it than a warm, hearty, nutritious meal with fast and easy to cook pork shoulder roast (aka pork butt) cut into cubes, and drizzled with a blueberry pomegranate reduction sauce!

Lime Pork Butt with Blueberry Pomegranate Reduction Sauce

Lime Pork Butt with Blueberry Pomegranate Reduction Sauce

It is pretty, delectable and much faster than roasting a whole pork roast, but with the same delicious juicy flavor, because it is broiled! As an added bonus, cubing it allows more square inch for the lime zest to cover the pork! Serve it with carrots, brussels sprouts and mashed celeriac root, or your favorite sides, to balance out the meal with lots of important veggies. Sound appealing? Well, stick with me, and you will have it on the table in no time! You choose the sides! You can do this dish in advance up to the broiling! The meat is marinated from 4 to 24 hours, and the reduction can be made in advance as well.

Lime Pork Shoulder with Blueberry Pomegranate Reduction Sauce

Ingredients for the Pork:

1 3.5 Lb. Pork Shoulder, I get mine from U.S. Wellness Meats

3 Fresh Limes, zest and juice

1/2 Cup Olive Oil

1 Teaspoon Himalayan Pink Salt or Sea Salt

1/2 Teaspoon Black Pepper

1/4 Cup Sliced Green Onion, Green Parts Only

Ingredients for Blueberry Pomegranate Reduction Sauce:

2 Cups Wild Blueberries, Thawed

1/2 Cup POM Wonderful 100% Juice (I called POM Wonderful direct and was told that their juice contains only 100% pomegranate so it is SCD Safe)

2 Teaspoons Garlic Olive Oil

1/2 Teaspoon Chipotle Powder

1/4 Teaspoon Himalayan Pink Salt of Sea Salt

1/4 Teaspoon Black Pepper

Directions:

Cube the pork shoulder into 2 inch cubes and place it in a gallon ziplock bag. Whisk together the lime zest, lime juice, olive oil, salt, pepper and green onion. Pour over the cubes and make sure the pork is evenly coated. Place in the refrigerator to marinate for at least 4 hours and up to 24 hours.

To make the reduction sauce, blend all the sauce ingredients in a blender until completely smooth. Pour the sauce into a small saucepan and bring to a boil. Reduce heat when boiling to a simmer, and continue to simmer until it has reduced by half. This will take approximately 20 minutes. Keep an eye on it, and when it is half its original amount and thickening, it is ready.

When ready to cook your pork, preheat your broiler to high heat. Remove the pork cubes from the marinade, discard the marinade, and place the pork on a rimmed baking sheet lined with parchment or foil for easier cleanup. Broil the pork for seven minutes, then remove from the oven, turn the cubes over, and broil 5 – 7  more minutes or until the pork has reached 145º degrees in the center.

Serve with warm Blueberry Pomegranate Reduction Sauce on top.

Serves 8

Lime Pork Shoulder with Blueberry Pomegranate Reduction Sauce

Lime Pork Shoulder with Blueberry Pomegranate Reduction Sauce

Eat Your Nutrients!

Eat Your Nutrients!


Eggnog Toasted Almond Ice Cream

Eggnog Toasted Almond Ice Cream

Eggnog Toasted Almond Ice Cream

Confession! I love to eat eggnog anything during the holidays. Me and Eggnog Toasted Almond Ice Cream had an appointment yesterday with one of my favorite seasonal movies, The Holiday, with Cameron Diaz, Kate Winslet, Jack Black, and the very hot and English Jude Law. I love that movie! The English Cottage, Rosehill Cottage in England, is the home of Iris in the movie. It is ultra charming and such a contrast to the swanky Los Angles home of Amanda (Diaz). I love the thought of home exchange to travel, and am considering trying it myself. I can watch this movie every year during the holidays! It is a feel good movie, and the Eggnog Toasted Almond Ice Cream is perfect with a favorite holiday movie. Hmmmmm, might have to have some while I watch Prancer! It is a great way to unwind with a healthier version of ice cream, during this sometimes stressful time of year, a movie and a seasonal favorite flavor!

This recipe is a very authentic eggless eggnog recipe. So, if you are sensitive to eggs, or are looking for a dairy free, egg free recipe, this one is a keeper!

Eggnog Toasted Almond Ice Cream

Eggnog Toasted Almond Ice Cream

Eggnog Toasted Almond Ice Cream

Ingredients:

2 Cans of Full Fat Coconut Milk (no Additives)

1 Cup Toasted Sliced Raw Almonds

1/2 Cup Clear Honey

1/4 Cup of Great Lakes Gelatin (Green Label optional adds nutrition)

1 Teaspoon of Freshly Grated Nutmeg

1/8 Teaspoon Himalayan Pink or Sea Salt

2 Tablespoons of White Rum

Preheat your Oven 350º degrees. Lay the almonds on a cookie sheet in a single layer and toast in the oven for 5-7 minutes until just golden brown. Set aside for when you churn the ice cream. Mix together the remaining ingredients in a large bowl with a whisk.

Refrigerate the ice cream base for 2 to 4 hours until very chilled. You can make it a day ahead too. Churn in your ice cream maker. It takes about 30 minutes. Add the toasted almonds the last five minutes of churning. Sprinkle servings with additional freshly grated nutmeg if desired.

Makes 12 scoops!

Now for a movie and ice cream to get those feel good endorphins maximized!

(Santa Plate Painted by Sam Shields)