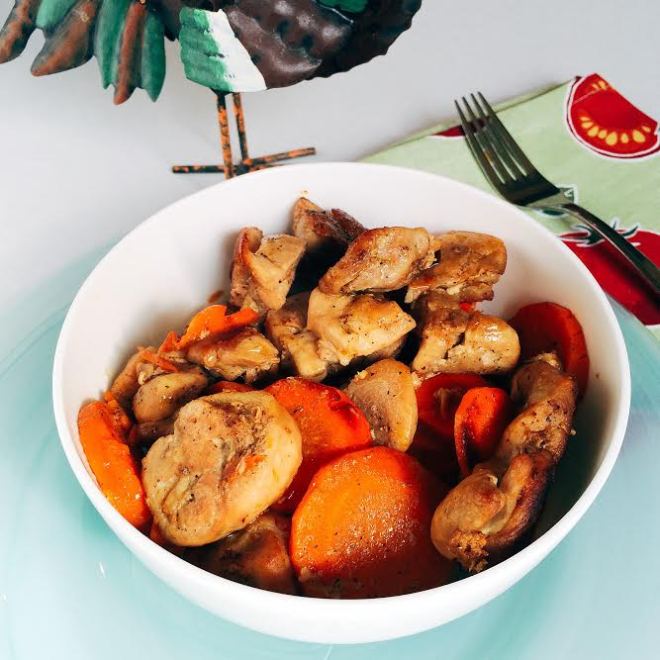
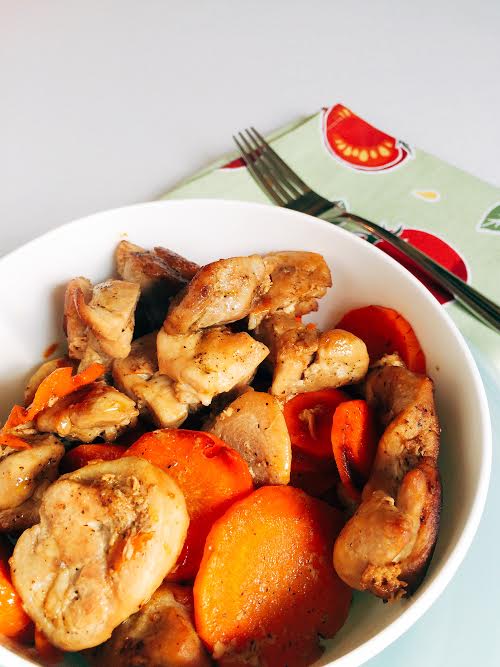
Hello lovely people! I hope you are enjoying January wherever you may be in the hemosphere! I have to say, I would like to see a teeny tiny bit more sun here on the East Coast. However, January seems to be speeding by, and what better way to enjoy it than a warm, hearty, nutritious meal with fast and easy to cook pork shoulder roast (aka pork butt) cut into cubes, and drizzled with a blueberry pomegranate reduction sauce!

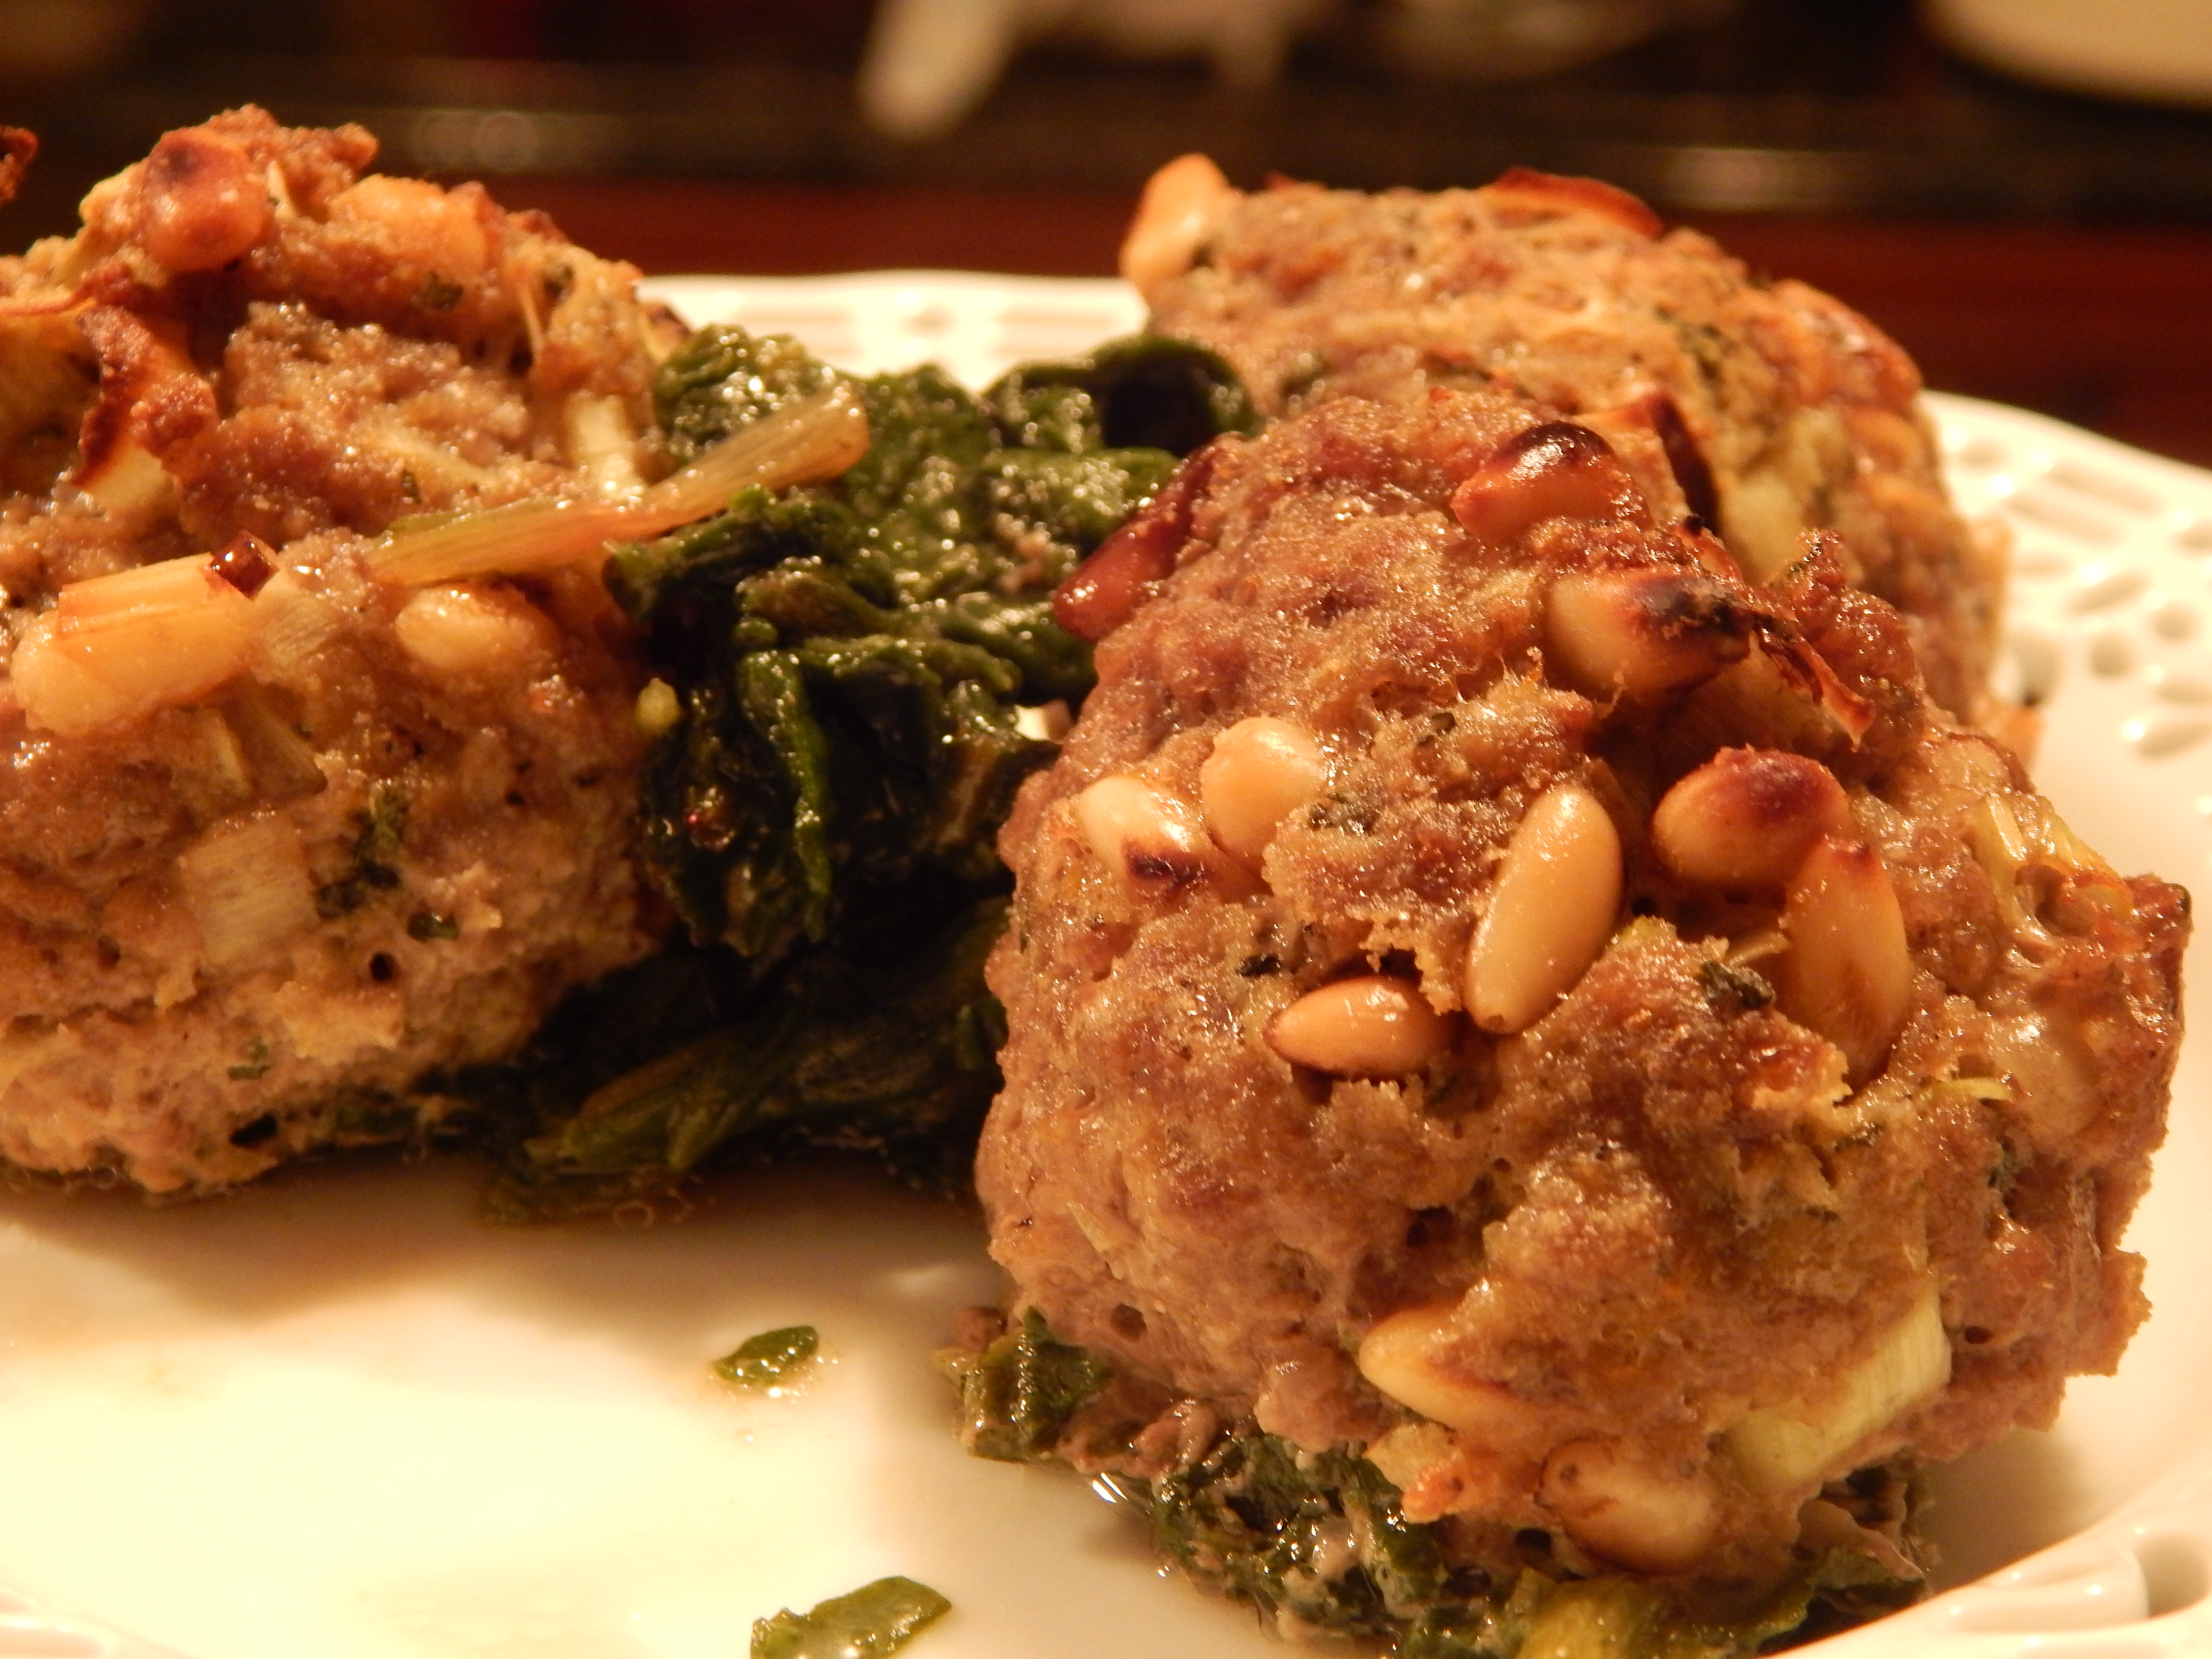
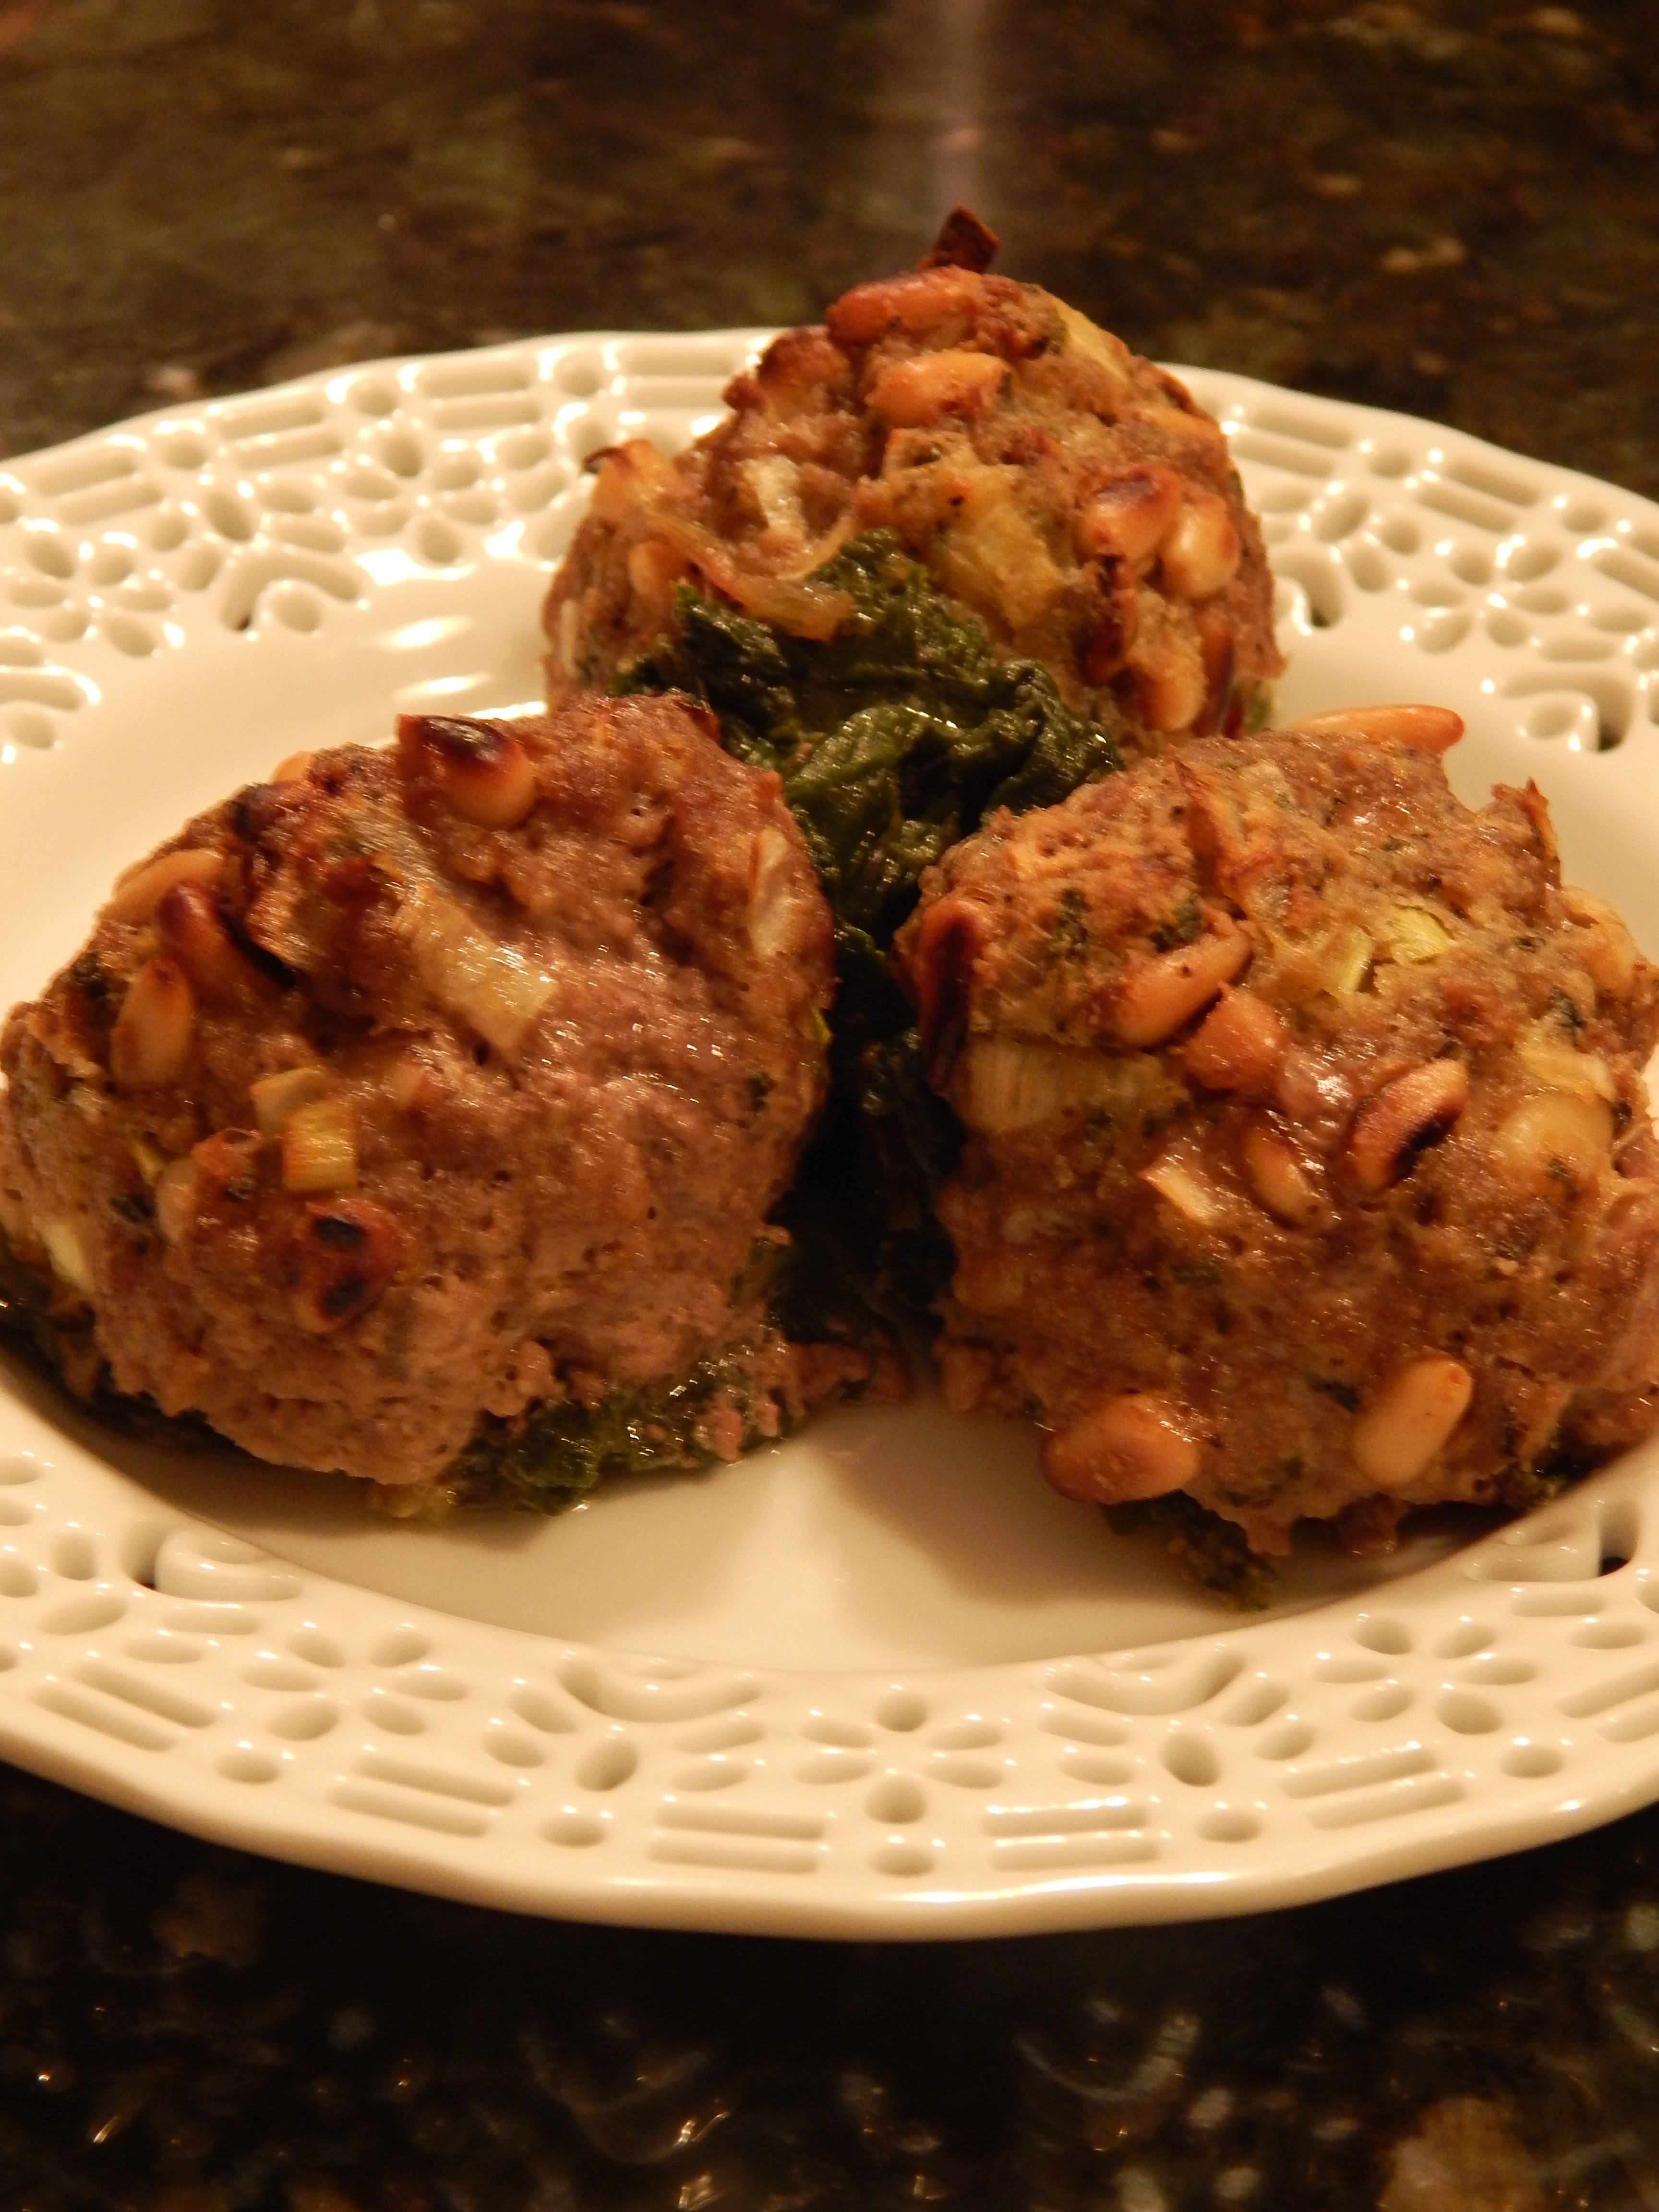
Lime Pork Butt with Blueberry Pomegranate Reduction Sauce
It is pretty, delectable and much faster than roasting a whole pork roast, but with the same delicious juicy flavor, because it is broiled! As an added bonus, cubing it allows more square inch for the lime zest to cover the pork! Serve it with carrots, brussels sprouts and mashed celeriac root, or your favorite sides, to balance out the meal with lots of important veggies. Sound appealing? Well, stick with me, and you will have it on the table in no time! You choose the sides! You can do this dish in advance up to the broiling! The meat is marinated from 4 to 24 hours, and the reduction can be made in advance as well.
Lime Pork Shoulder with Blueberry Pomegranate Reduction Sauce
Ingredients for the Pork:
1 3.5 Lb. Pork Shoulder, I get mine from U.S. Wellness Meats
3 Fresh Limes, zest and juice
1/2 Cup Olive Oil
1 Teaspoon Himalayan Pink Salt or Sea Salt
1/2 Teaspoon Black Pepper
1/4 Cup Sliced Green Onion, Green Parts Only
Ingredients for Blueberry Pomegranate Reduction Sauce:
2 Cups Wild Blueberries, Thawed
1/2 Cup POM Wonderful 100% Juice (I called POM Wonderful direct and was told that their juice contains only 100% pomegranate so it is SCD Safe)
2 Teaspoons Garlic Olive Oil
1/2 Teaspoon Chipotle Powder
1/4 Teaspoon Himalayan Pink Salt of Sea Salt
1/4 Teaspoon Black Pepper
Directions:
Cube the pork shoulder into 2 inch cubes and place it in a gallon ziplock bag. Whisk together the lime zest, lime juice, olive oil, salt, pepper and green onion. Pour over the cubes and make sure the pork is evenly coated. Place in the refrigerator to marinate for at least 4 hours and up to 24 hours.
To make the reduction sauce, blend all the sauce ingredients in a blender until completely smooth. Pour the sauce into a small saucepan and bring to a boil. Reduce heat when boiling to a simmer, and continue to simmer until it has reduced by half. This will take approximately 20 minutes. Keep an eye on it, and when it is half its original amount and thickening, it is ready.
When ready to cook your pork, preheat your broiler to high heat. Remove the pork cubes from the marinade, discard the marinade, and place the pork on a rimmed baking sheet lined with parchment or foil for easier cleanup. Broil the pork for seven minutes, then remove from the oven, turn the cubes over, and broil 5 – 7 more minutes or until the pork has reached 145º degrees in the center.
Serve with warm Blueberry Pomegranate Reduction Sauce on top.
Serves 8

Lime Pork Shoulder with Blueberry Pomegranate Reduction Sauce

Eat Your Nutrients!


Recent Comments