
As I was gazing out the window sipping a cup of hot tea and watching the snow falling in quite a big snowstorm Monday, (also watching the birds at the feeder eating black sunflower seeds), I started thinking about what to do with the Cod I had in my freezer.
I have been bored with Cod, but in a fish taco, that could be exciting for the taste buds, especially if it had spices with some heat and was paired with a tangy hot honey sauce and mango chutney on top all wrapped in a warm corn tortilla with some red shredded cabbage for some crunch.
Cod is very finicky, you have to cook it to 145 degrees to be food safe, but just a smidge more, I mean 155 degrees, and it is like rubber. This Blackened Fish Taco hit all the spots, it was tender and flaky with spicy, savory and sweet. The family said this is definitely “blog worthy”. That is a phrase we use when I am testing recipes to share here. I hope you enjoy it as much as we do. In my opinion, it is definitely a reason to have cod in your freezer.
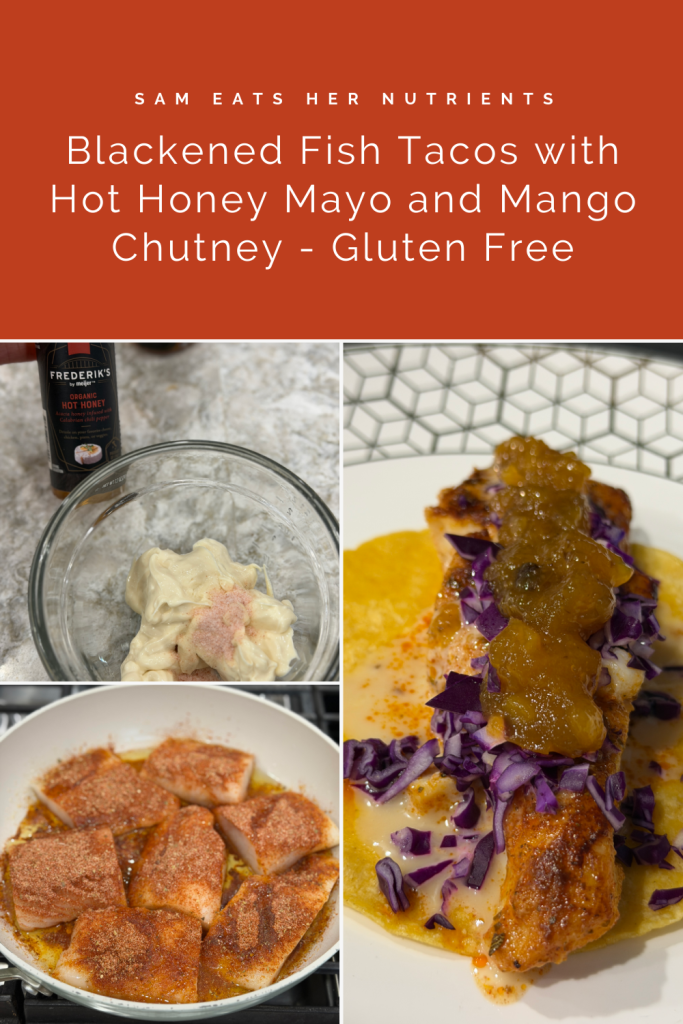
Blackened Fish Tacos with Hot Honey Mayo and Mango Chutney – Gluten Free
2 Pounds of Cod (approximately 7 pieces)
3 Tablespoons of Avocado Oil, for frying
Corn Tortillas
2 Limes
Shredded Purple Cabbage
Mango Chutney
Hot Honey
Mayonnaise
Blackened Seasoning, recipe follows
Salt
Let’s make the blackened seasoning ( you can also purchase it already made for you) Here is my homemade recipe that makes just enough for the fish:
Blackened Seasoning
1 Tablespoon of Paprika
1 Teaspoon of Salt
1 Teaspoon of Garlic Powder
1 Teaspoon of Onion Powder
1 Teaspoon of Oregano
1/4 to 1/2 Teaspoon of Cayenne Pepper depending on how much heat you like
Mix the spices together in a small bowl, and it’s ready to use.
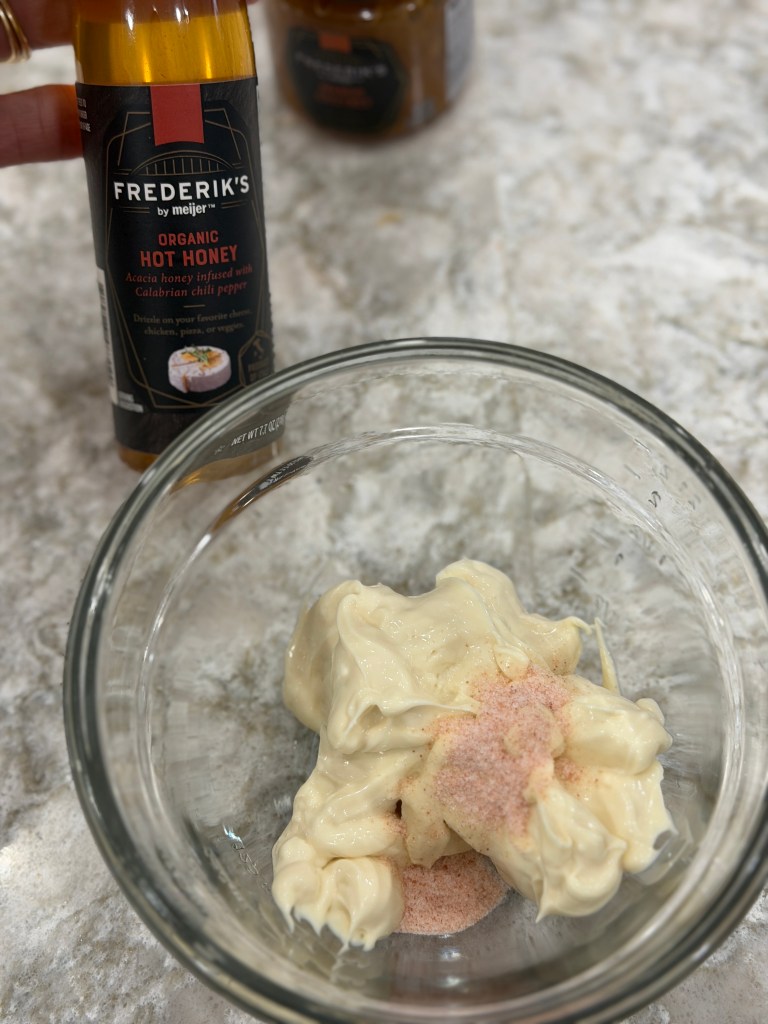
Hot Honey Mayonnaise
1/2 Cup of Mayo (I use Primal Kitchen)
1/4 Cup of Hot Honey (I got mine in the deli section of our grocery store)
1 Tablespoon of Freshly Squeezed Lime Juice
1/2 Teaspoon of Salt
Whisk it all together, and put it into the refrigerator until it’s time to serve.
Directions for the Fish Tacos:
You will need a large frying pan for the fish, and a smaller one to warm the corn tortillas.
Place two tablespoons of avocado oil in the large pan and one tablespoon in the smaller pan.
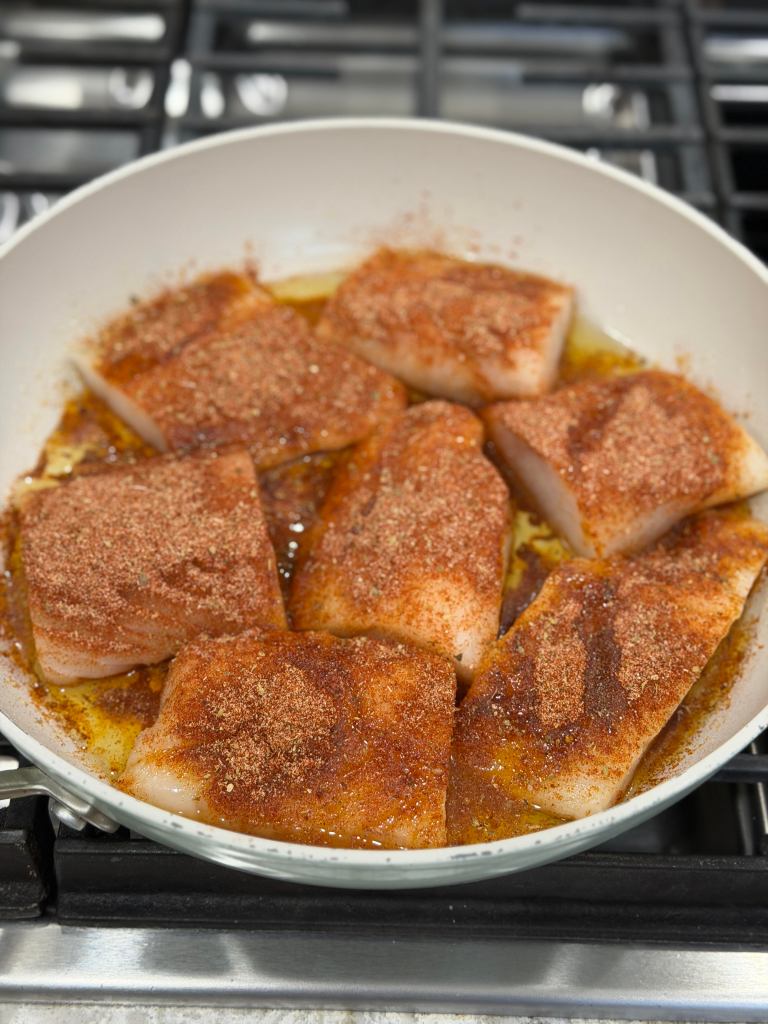
Sprinkle your Cod with all of the blackened seasoning on both sides evenly, and place it in the pan. Put your pan on a hot burner on high, and cook the fish for three minutes on one side, and then flip it over for another three to four minutes. Use a thermometer to gage the heat until the fish reaches an internal temperature of 145 degrees, being careful not to go over, so your fish is as tender as possible. This depends on the thickness of your fish. When the fish is done, squeeze the juice of one lime all over the cooked fish.
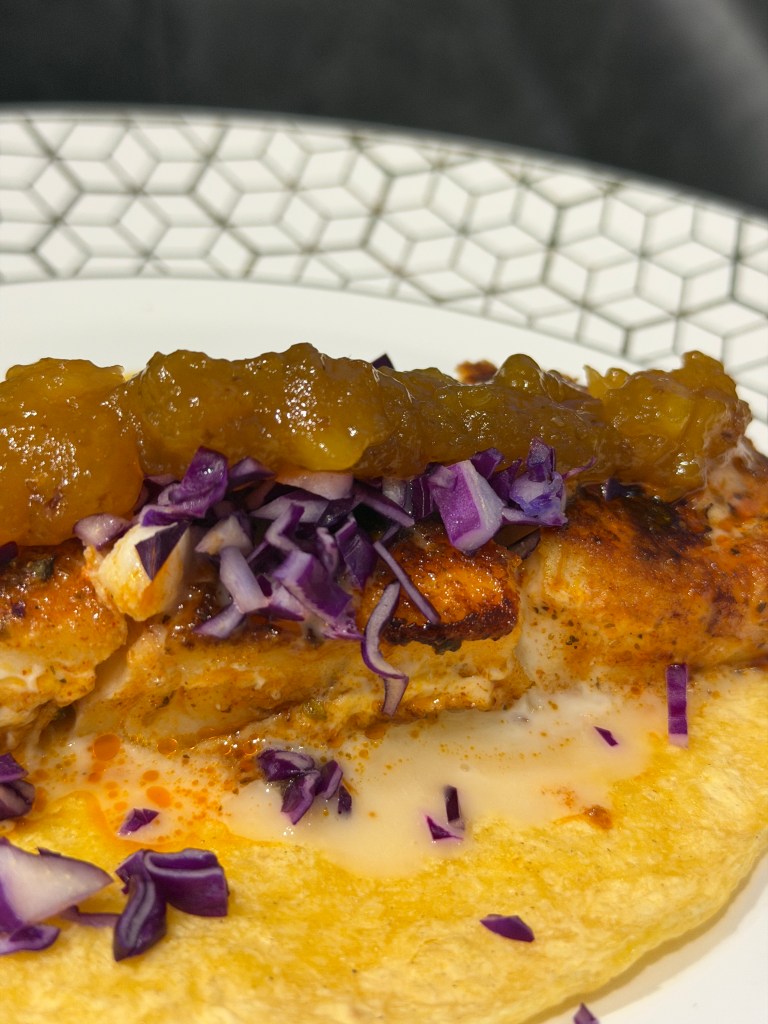
Blackened Fish Tacos with Hot Honey Mayo & Mango Chutney
Meanwhile heat your corn tortillas in the smaller pan in avocado oil one at a time, flipping them with tongs to warm both sides.
To serve, place a blackened piece of cod on a warm corn tortilla, top with hot honey mayo, a dollop of mango chutney, and some shredded purple cabbage. Enjoy! This recipe came together quick and easy, and I can’t wait to make it again. It is gluten free and dairy free, and a healthy dinner entree. Serve it with veggie sides or a nice leafy green salad.
As the near year is just a few days away, I wanted to also share my thoughts on going into 2026. Lets make 2026 unbelievably good for us. Let our mindsets be intentional this year. Not resolutions, but small choices and resets each week. Tips: Put some post it’s on your mirror, set a reminder on your phone, set aside daily space for yourself even if it’s 10 minutes that is different than before, start a journal that is vision centered kind of like a vision board.
“The greatest danger for most of us is not that our aim is too high…” – Michelangelo
I always love to hear from you!
Blessings,
Sam
Sandra Shields, Health Coach


Recent Comments