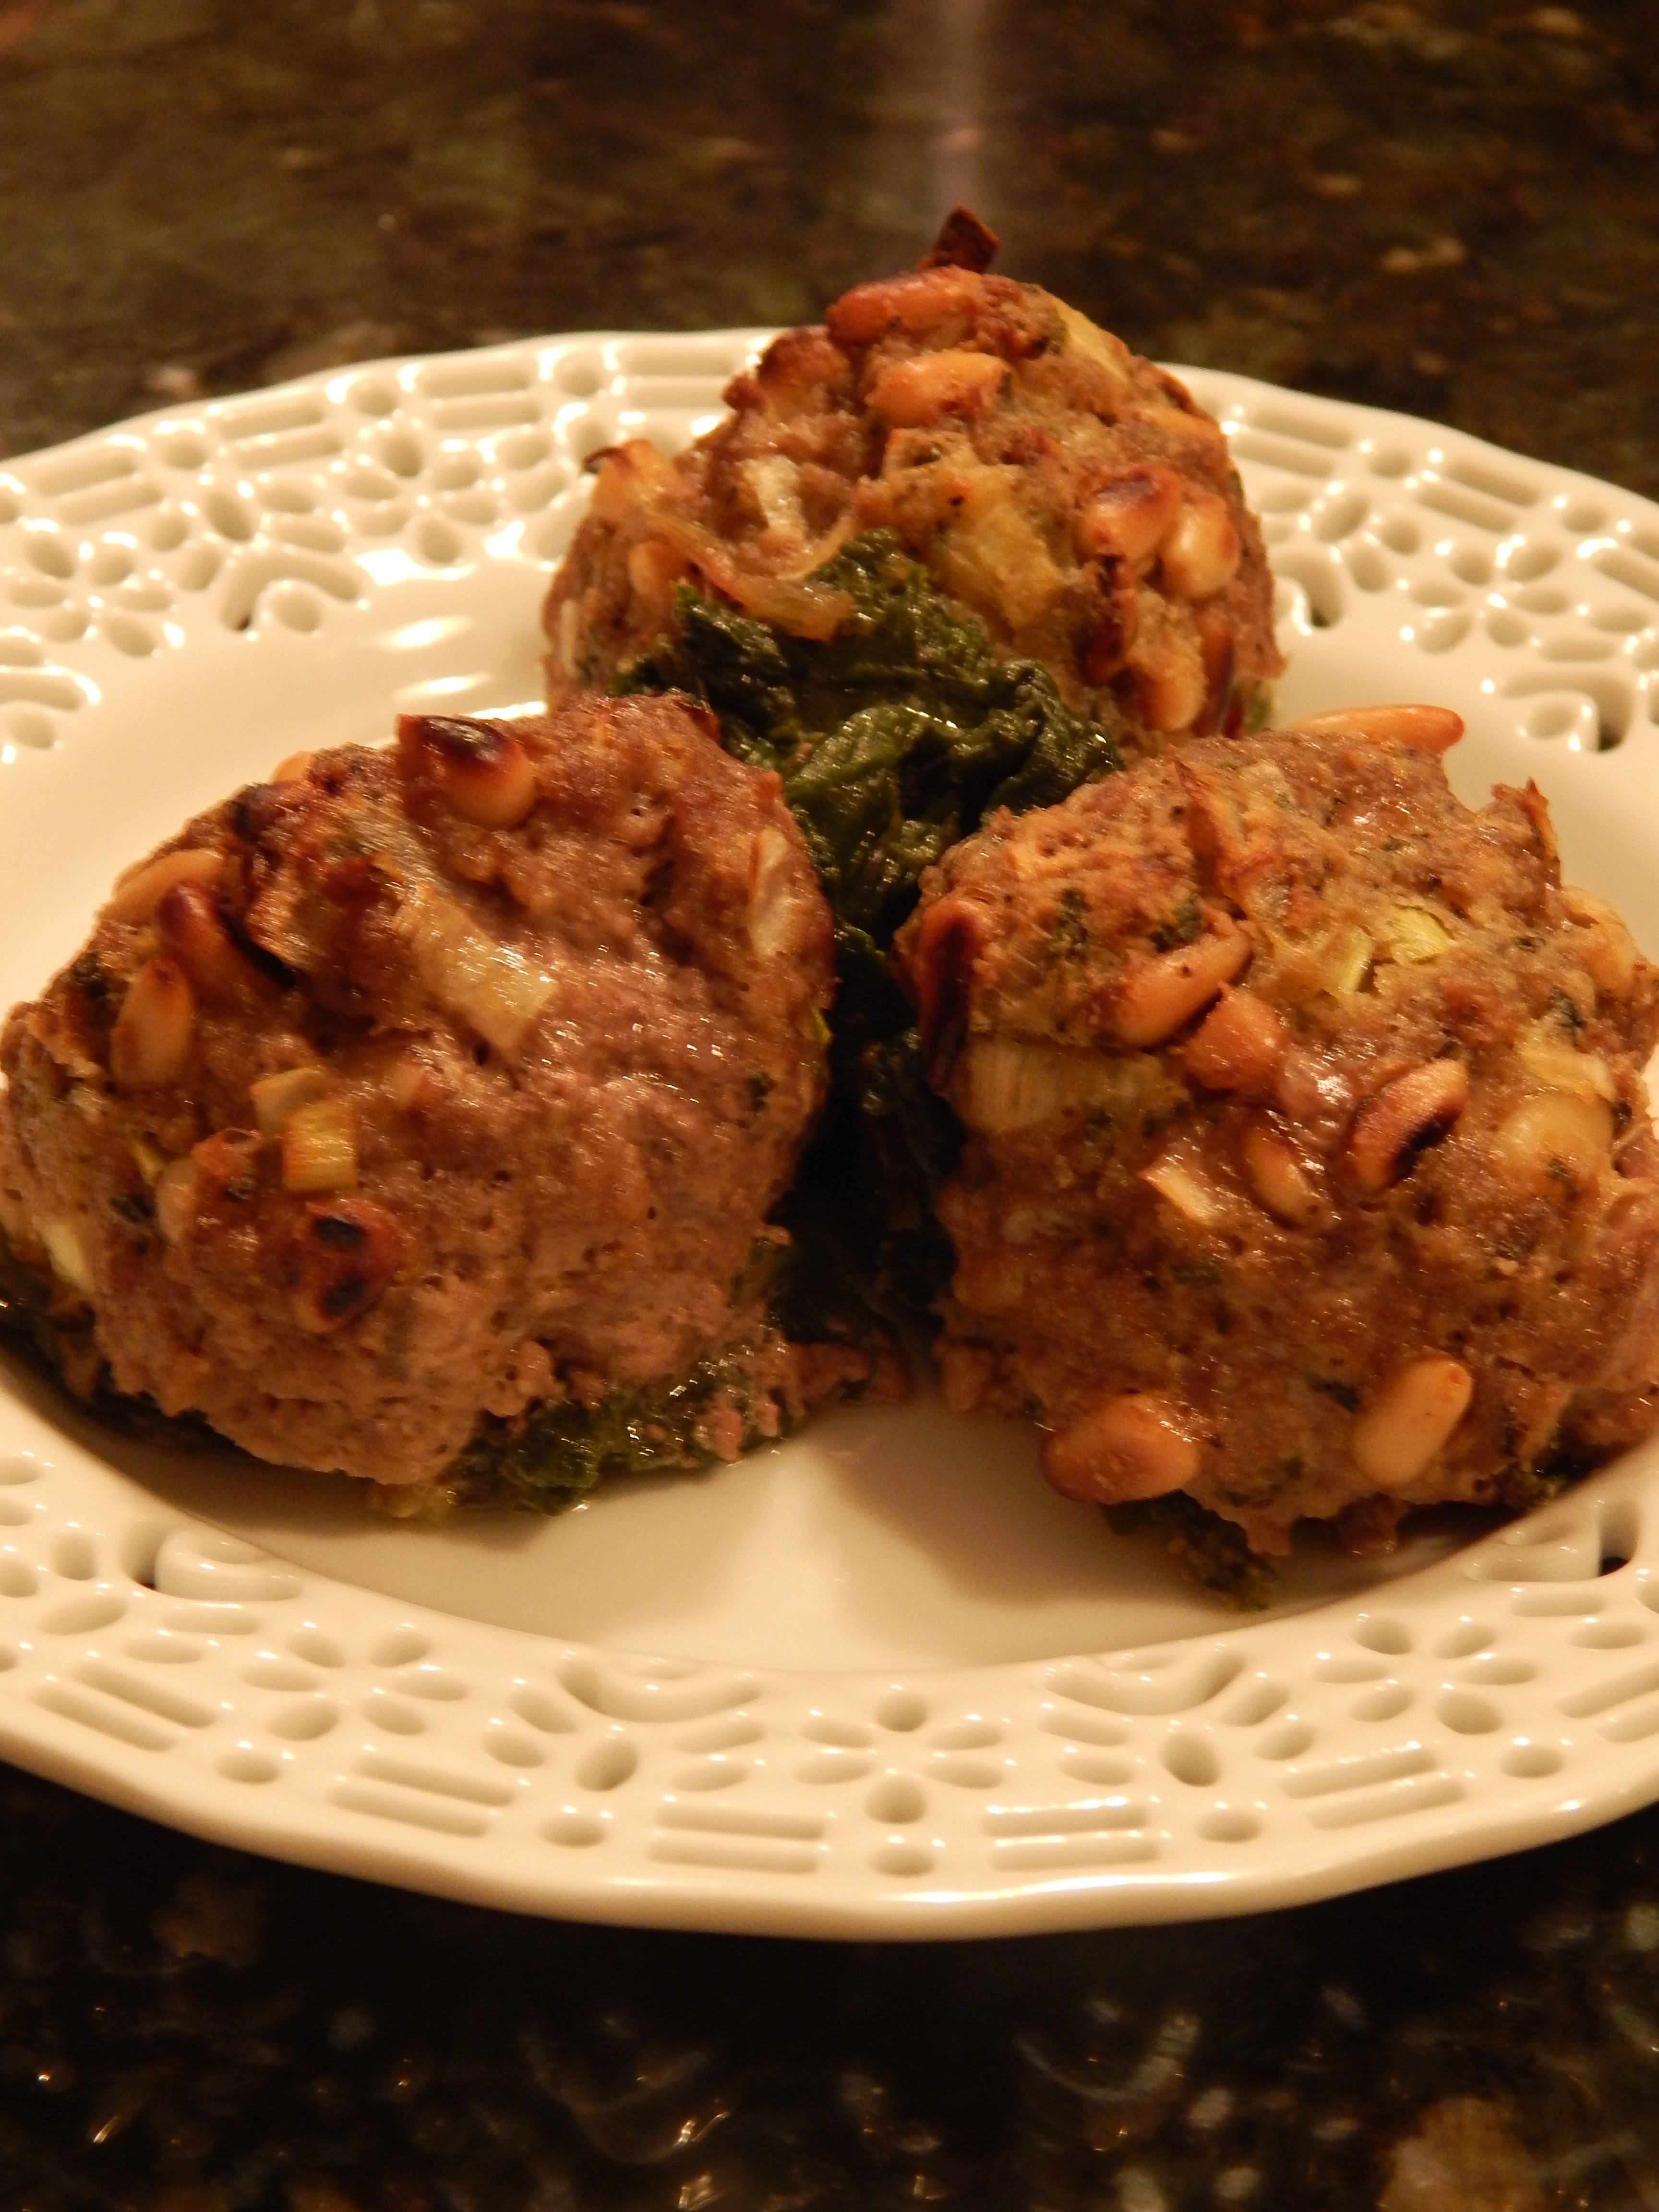
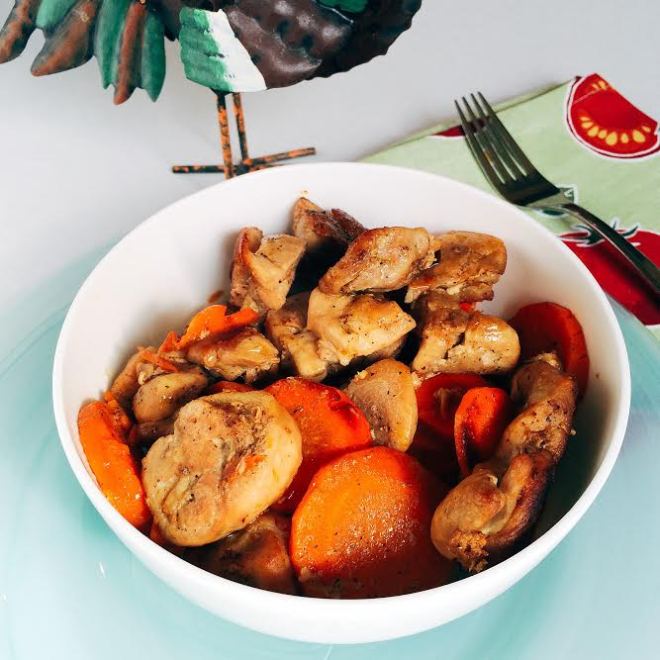
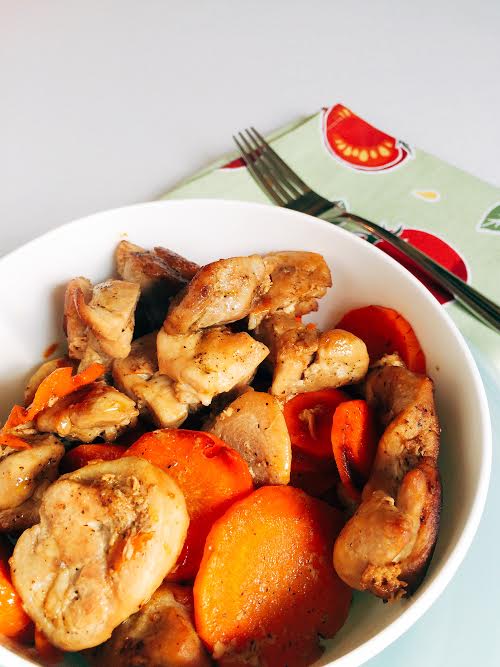
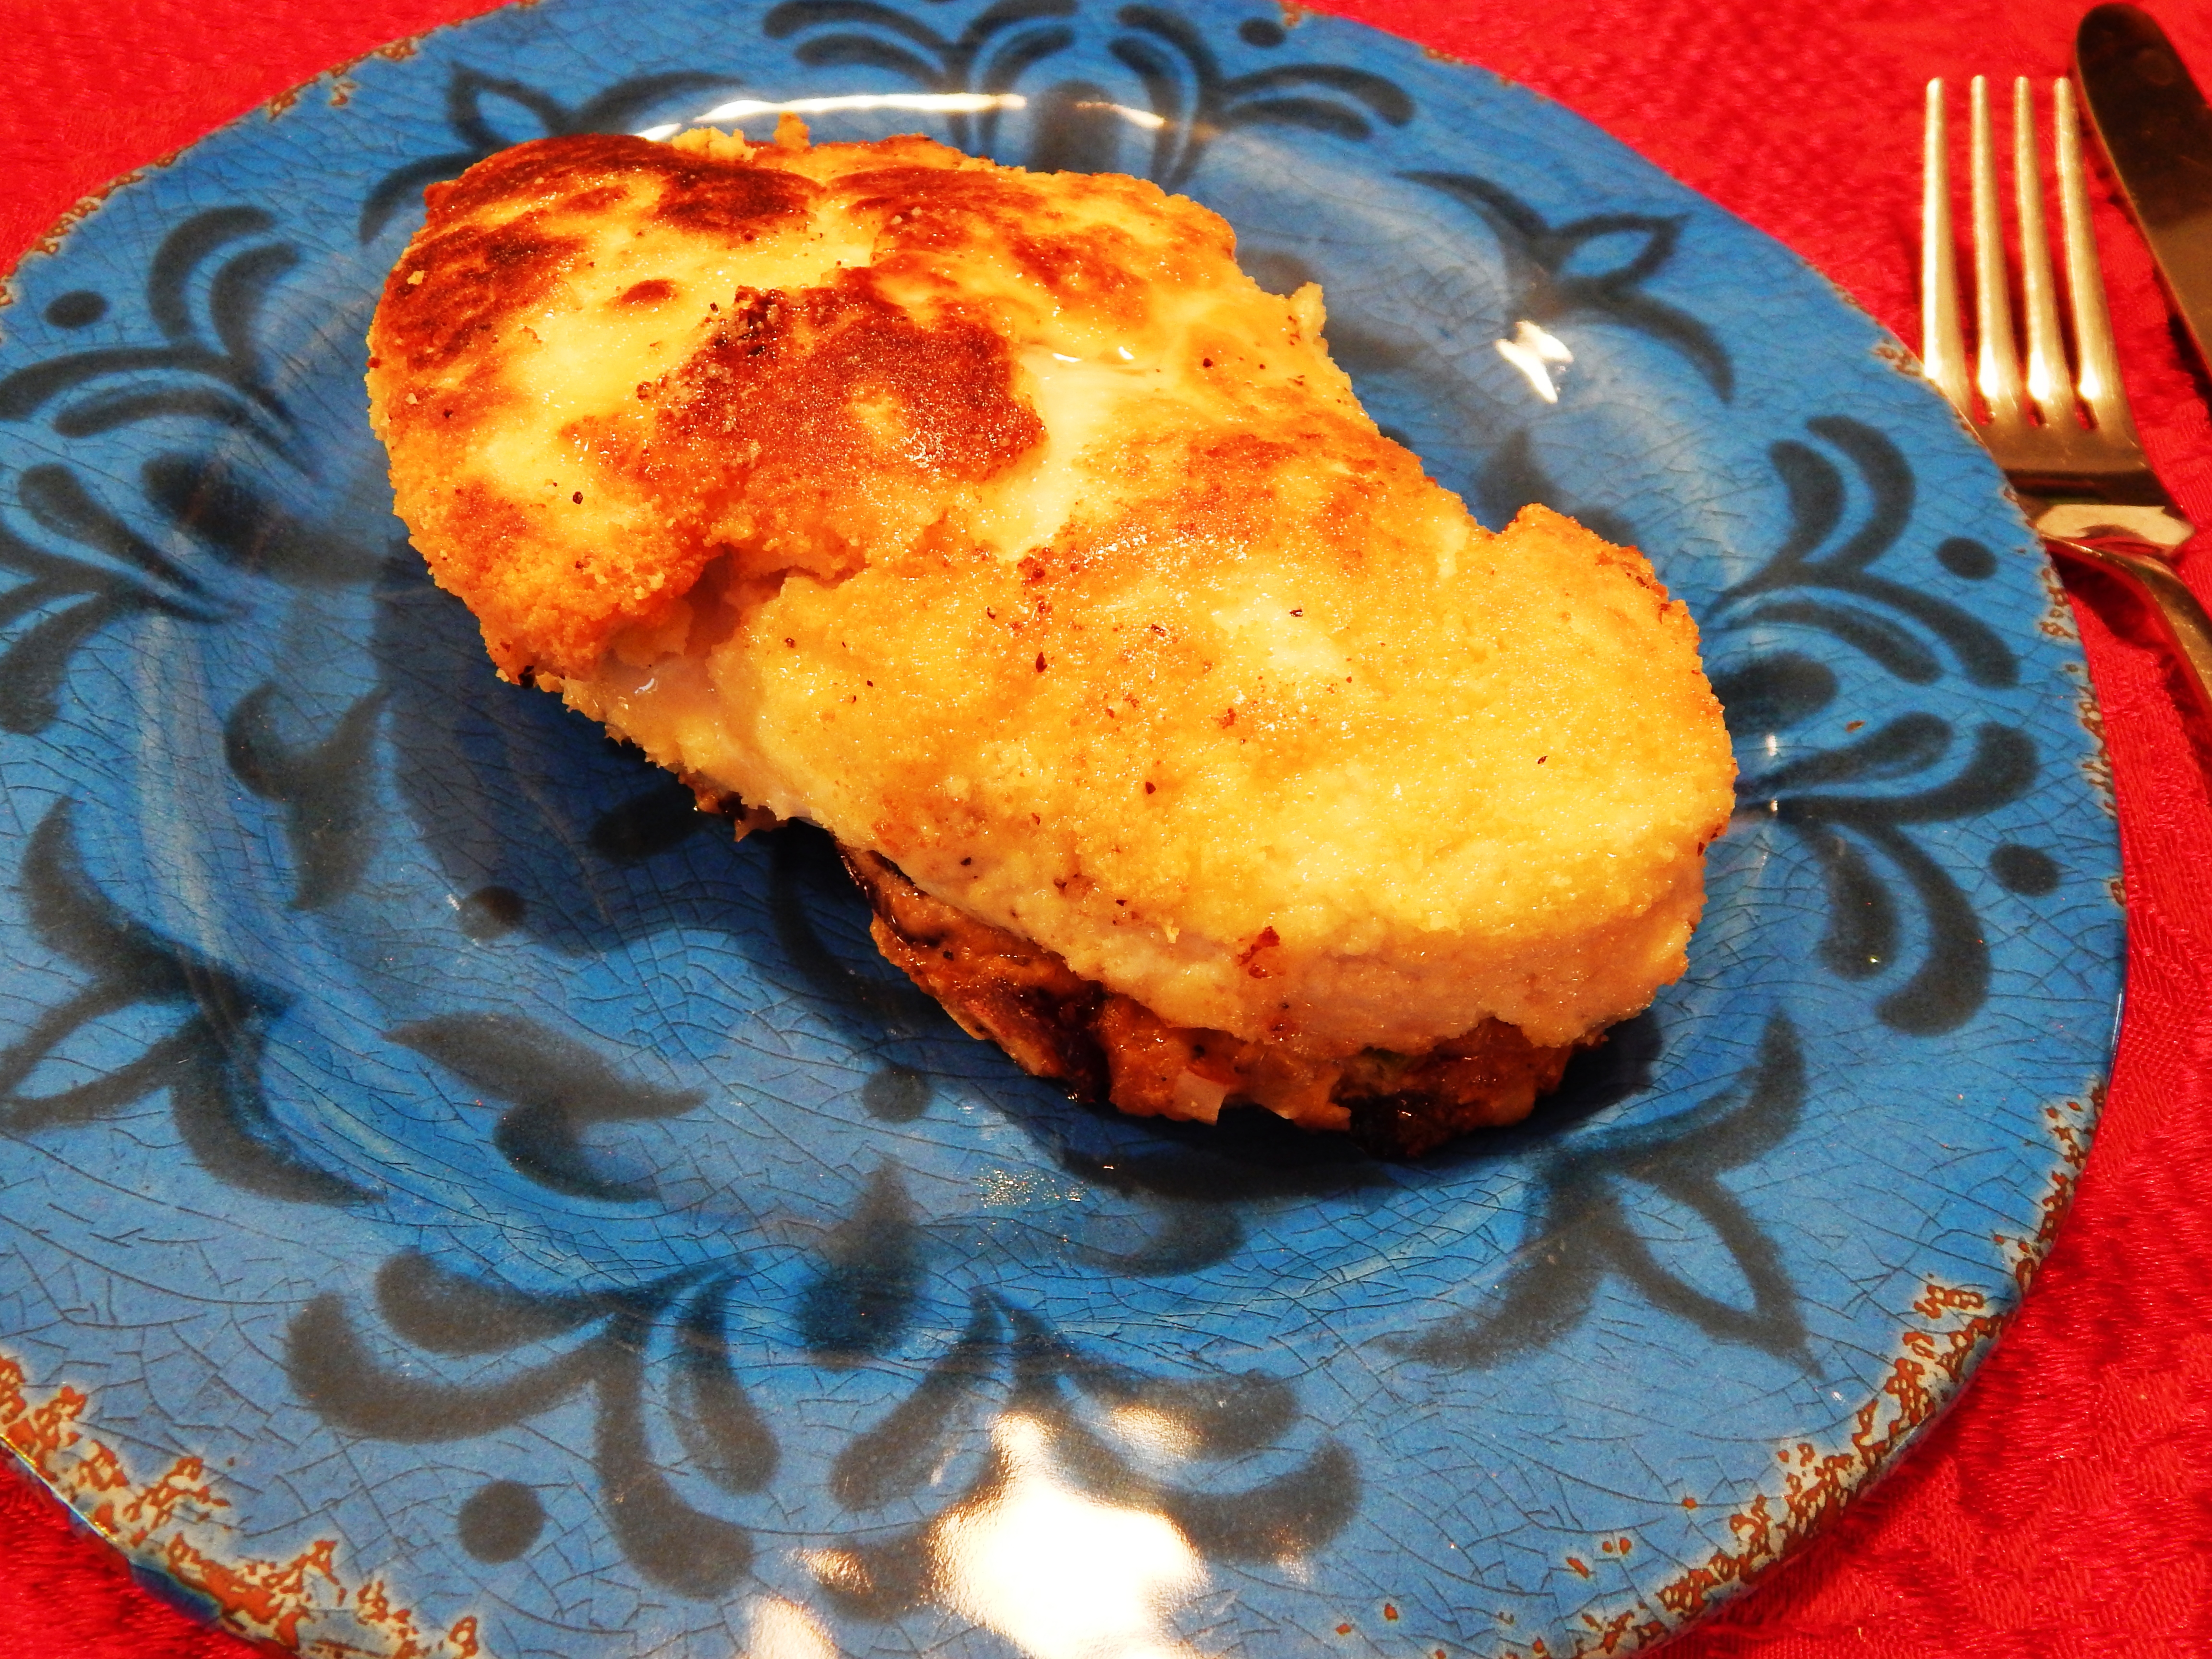
This is a hearty meatball, and a delicious way to get in your greens! The meatballs are baked on top of the swiss chard (1 cup has 18 milligrams of calcium). Fats help with the digestion and absorption of vitamins and minerals in greens, plus it makes them taste so good! The pine nuts give the meatballs texture and personality. The mint, fennel, leeks and orange zest pair very well together with the lamb. This meatball recipe is an easy, one dish, main dish. Grass fed lamb is a good source of zinc, vitamin B12 and selenium. I also served this dish with roasted carrots, beets and a side salad. You can add any vegetables you like to your meal. Meatballs are so versatile! It is one of the things I love about them! Plus, since I have been really busy with my health coaching classes, this dish gets me out of the kitchen fast! I am sure many of you busy people out there will appreciate this easy, delicious recipe as much as I do!
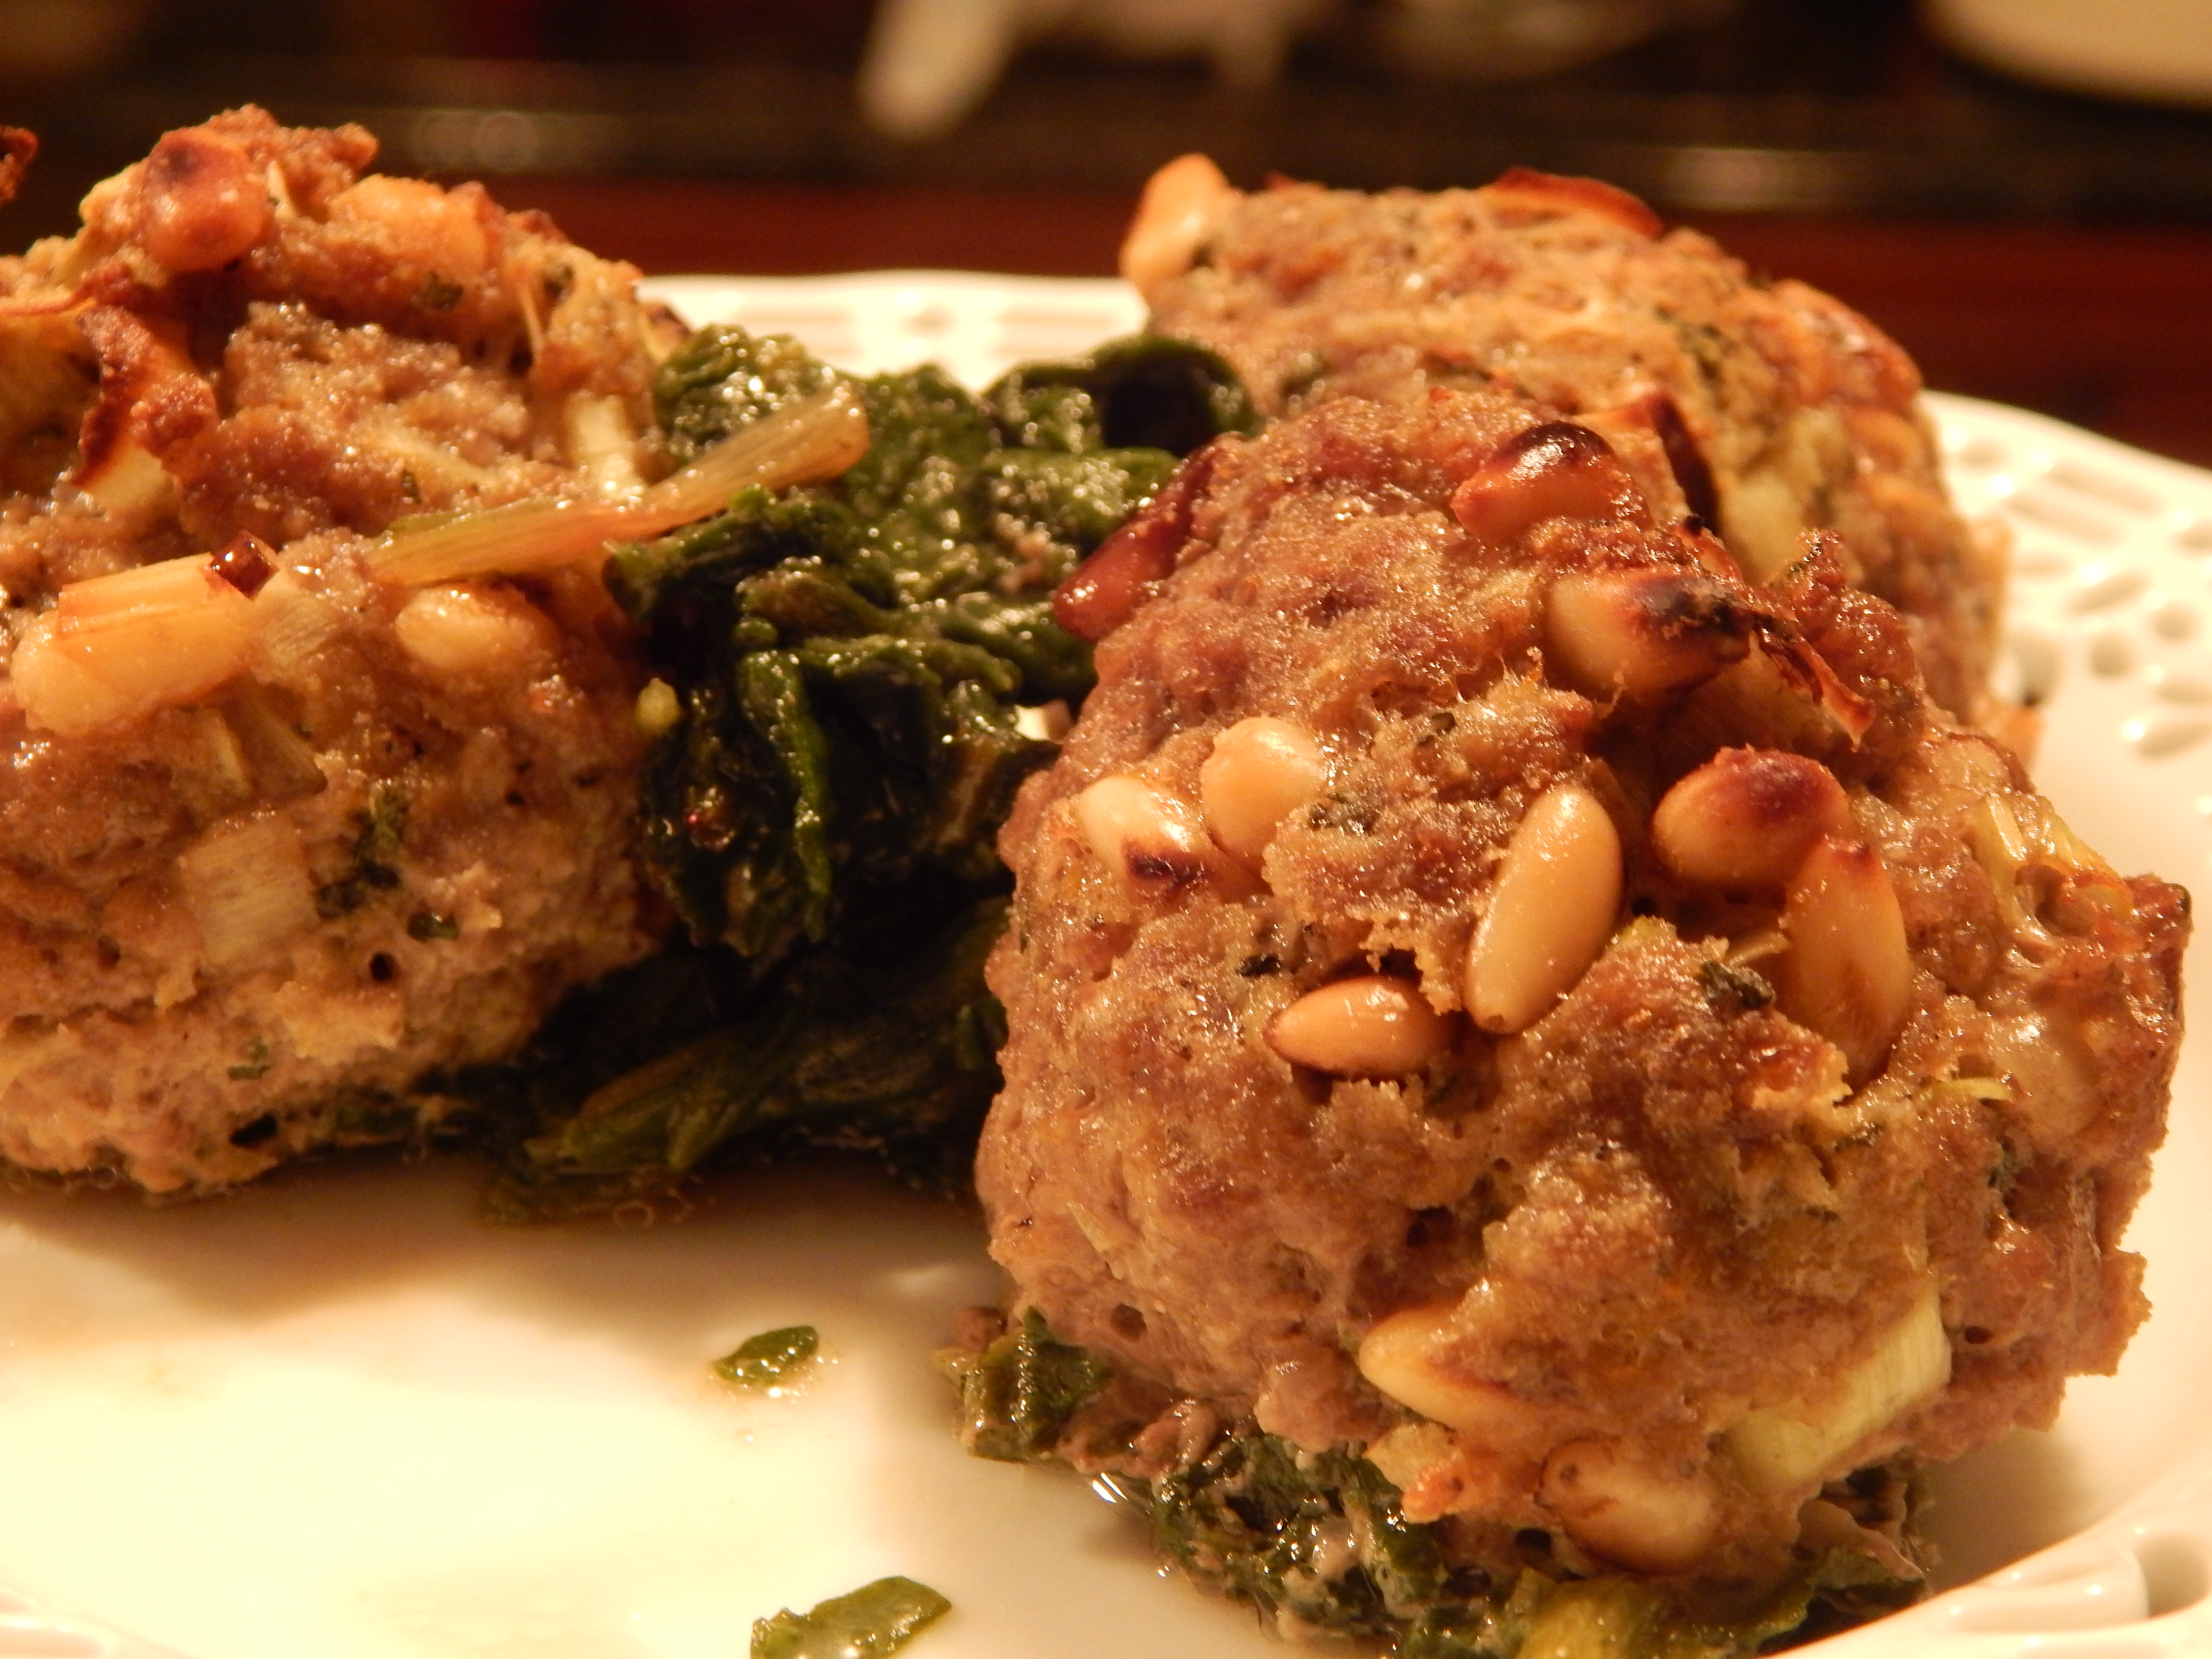
Lamb Meatballs with Pine Nuts and Swiss Chard
Lamb Meatballs with Pine Nuts and Swiss Chard
Lamb Meatballs with Pine Nuts and Swiss Chard
Ingredients:
2 Pounds of Grass Fed Ground Lamb
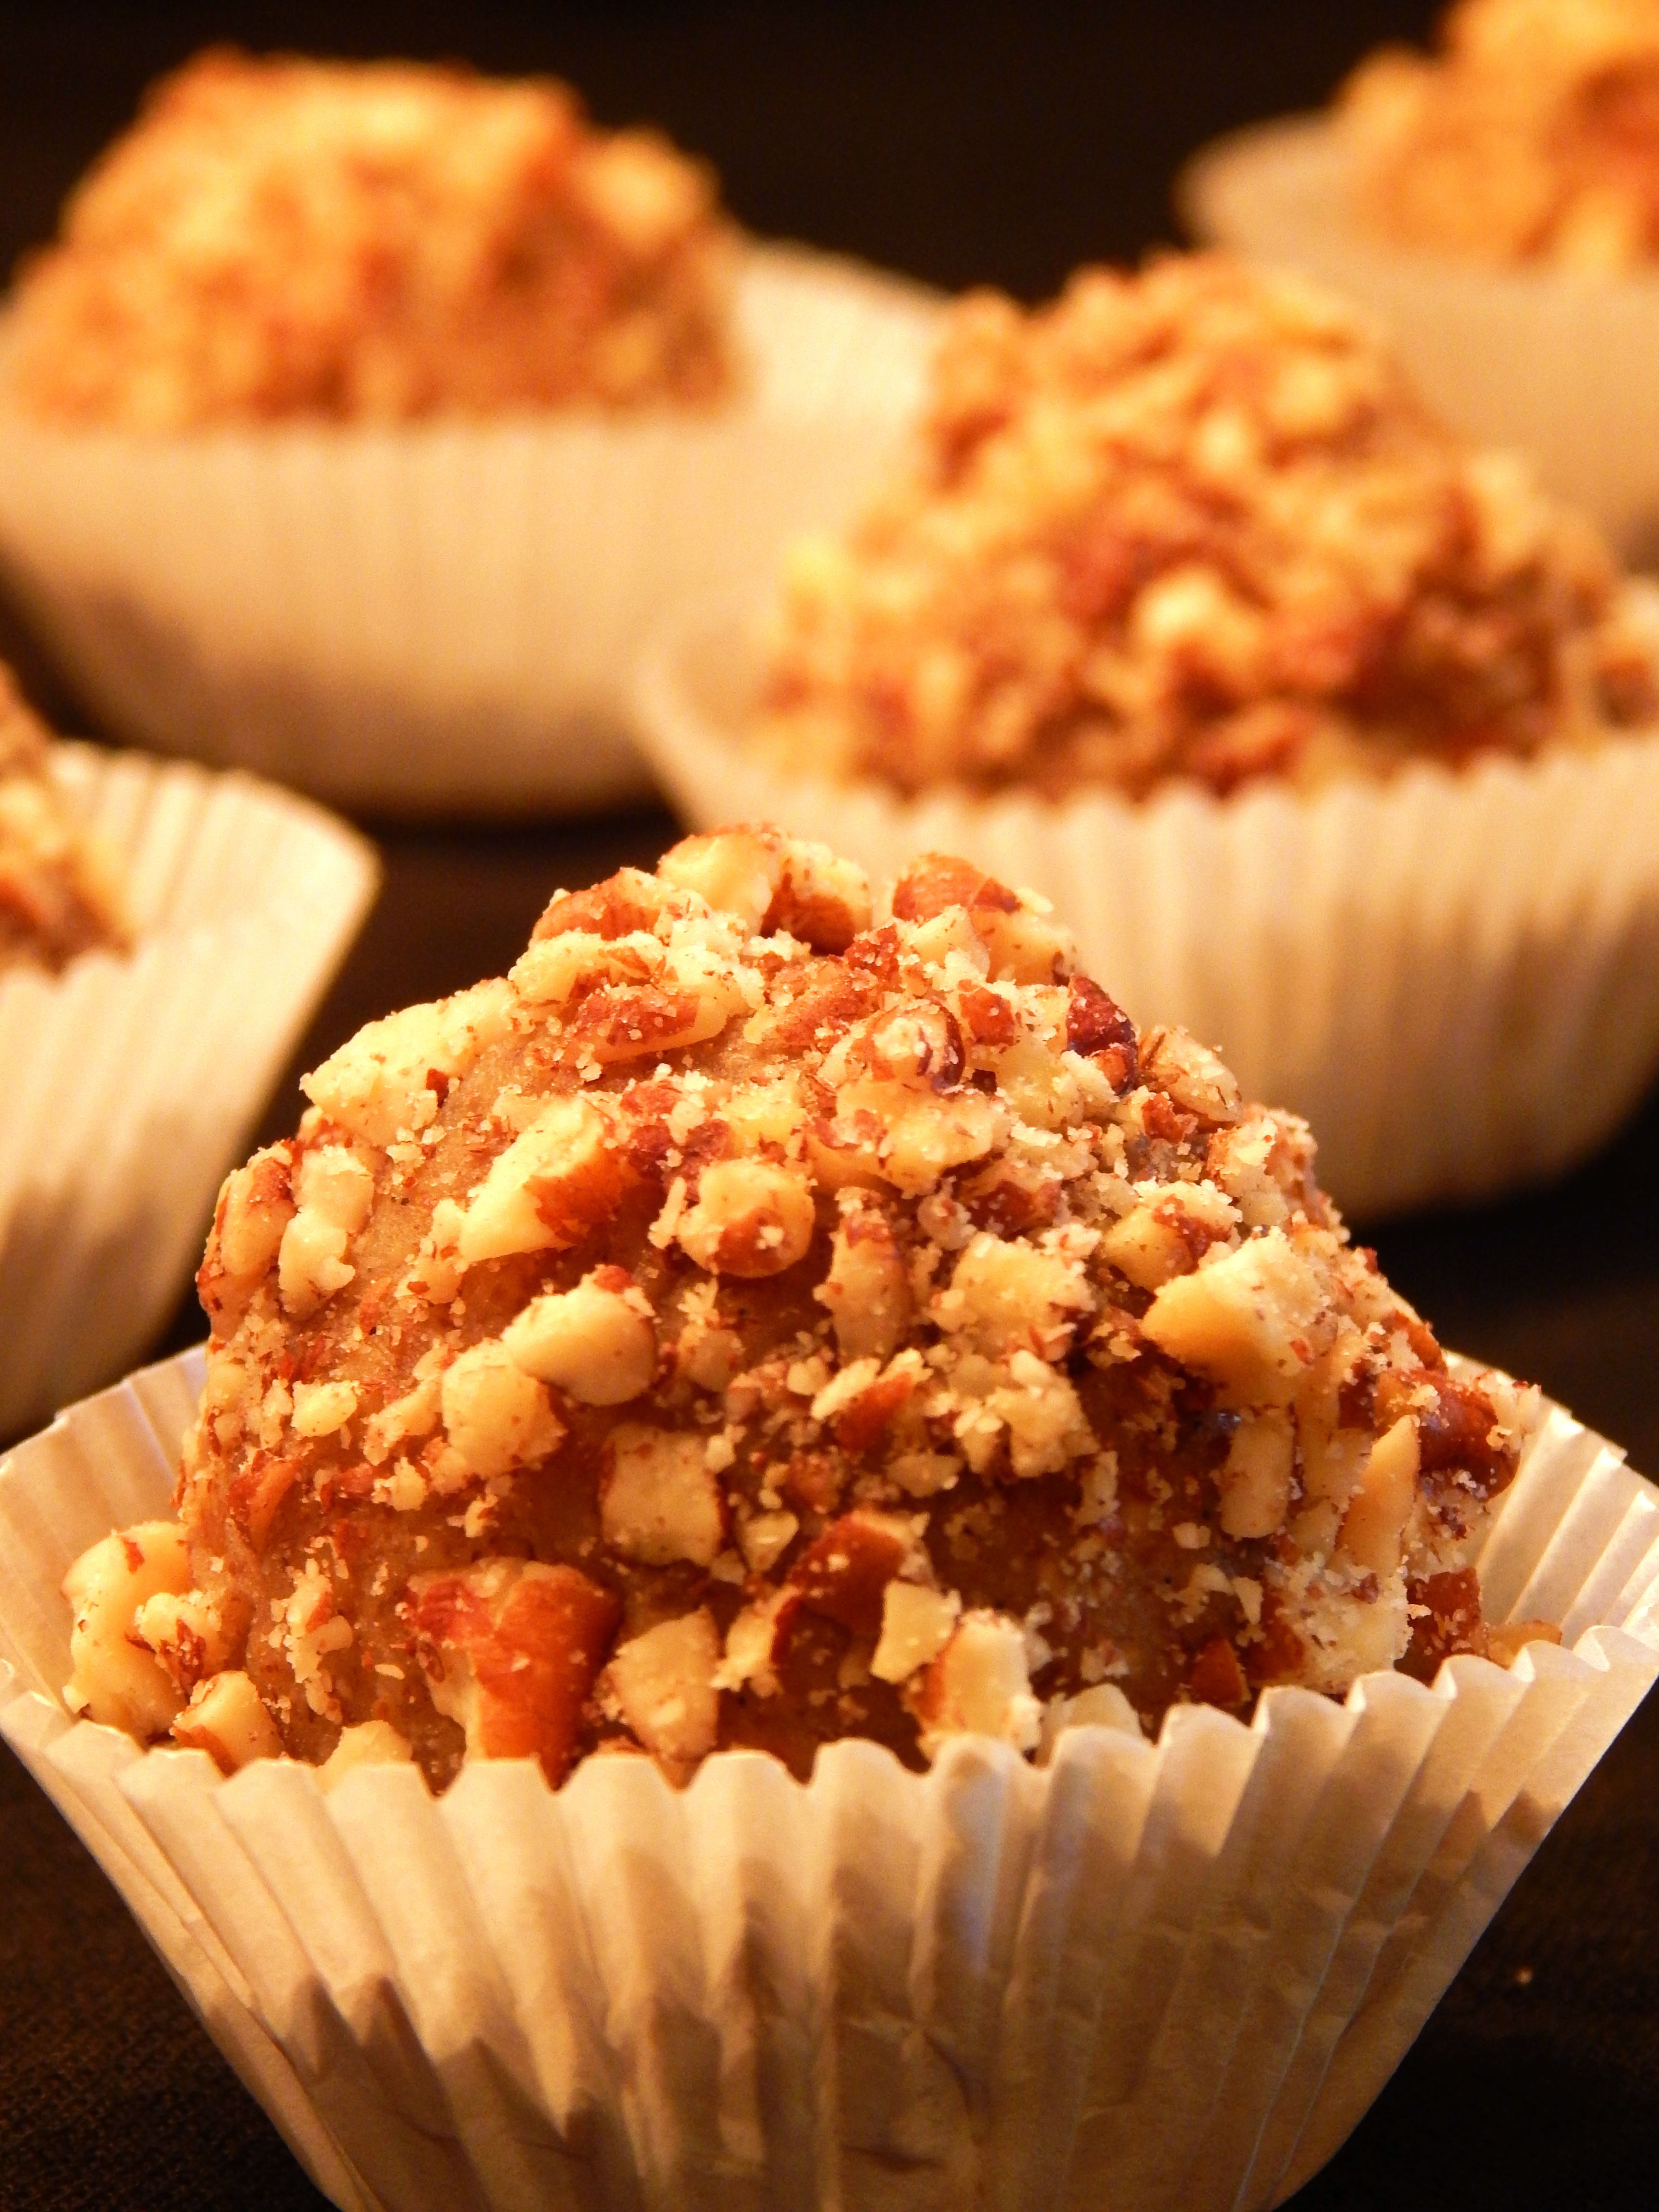
1/2 Cup Pine Nuts
1/2 Cup Superfine Almond Flour
1/4 Cup Finely Chopped Leek
1 Egg
2 Tablespoons plus 2 Teaspoons Garlic Infused Olive Oil
1 Tablespoon Dried Mint
1 Tablespoon Ground Fennel
1/2 Teaspoon Black Pepper
1/2 Teaspoon Himalayan Pink Salt or Sea Salt
Zest of One Organic Orange
1 Bunch of Swiss Chard, stems removed and coarsely chopped.
Directions:
Set your oven to broil.
Toast the pine nuts in a pan over medium high heat on the stove top for five minutes or until golden brown.
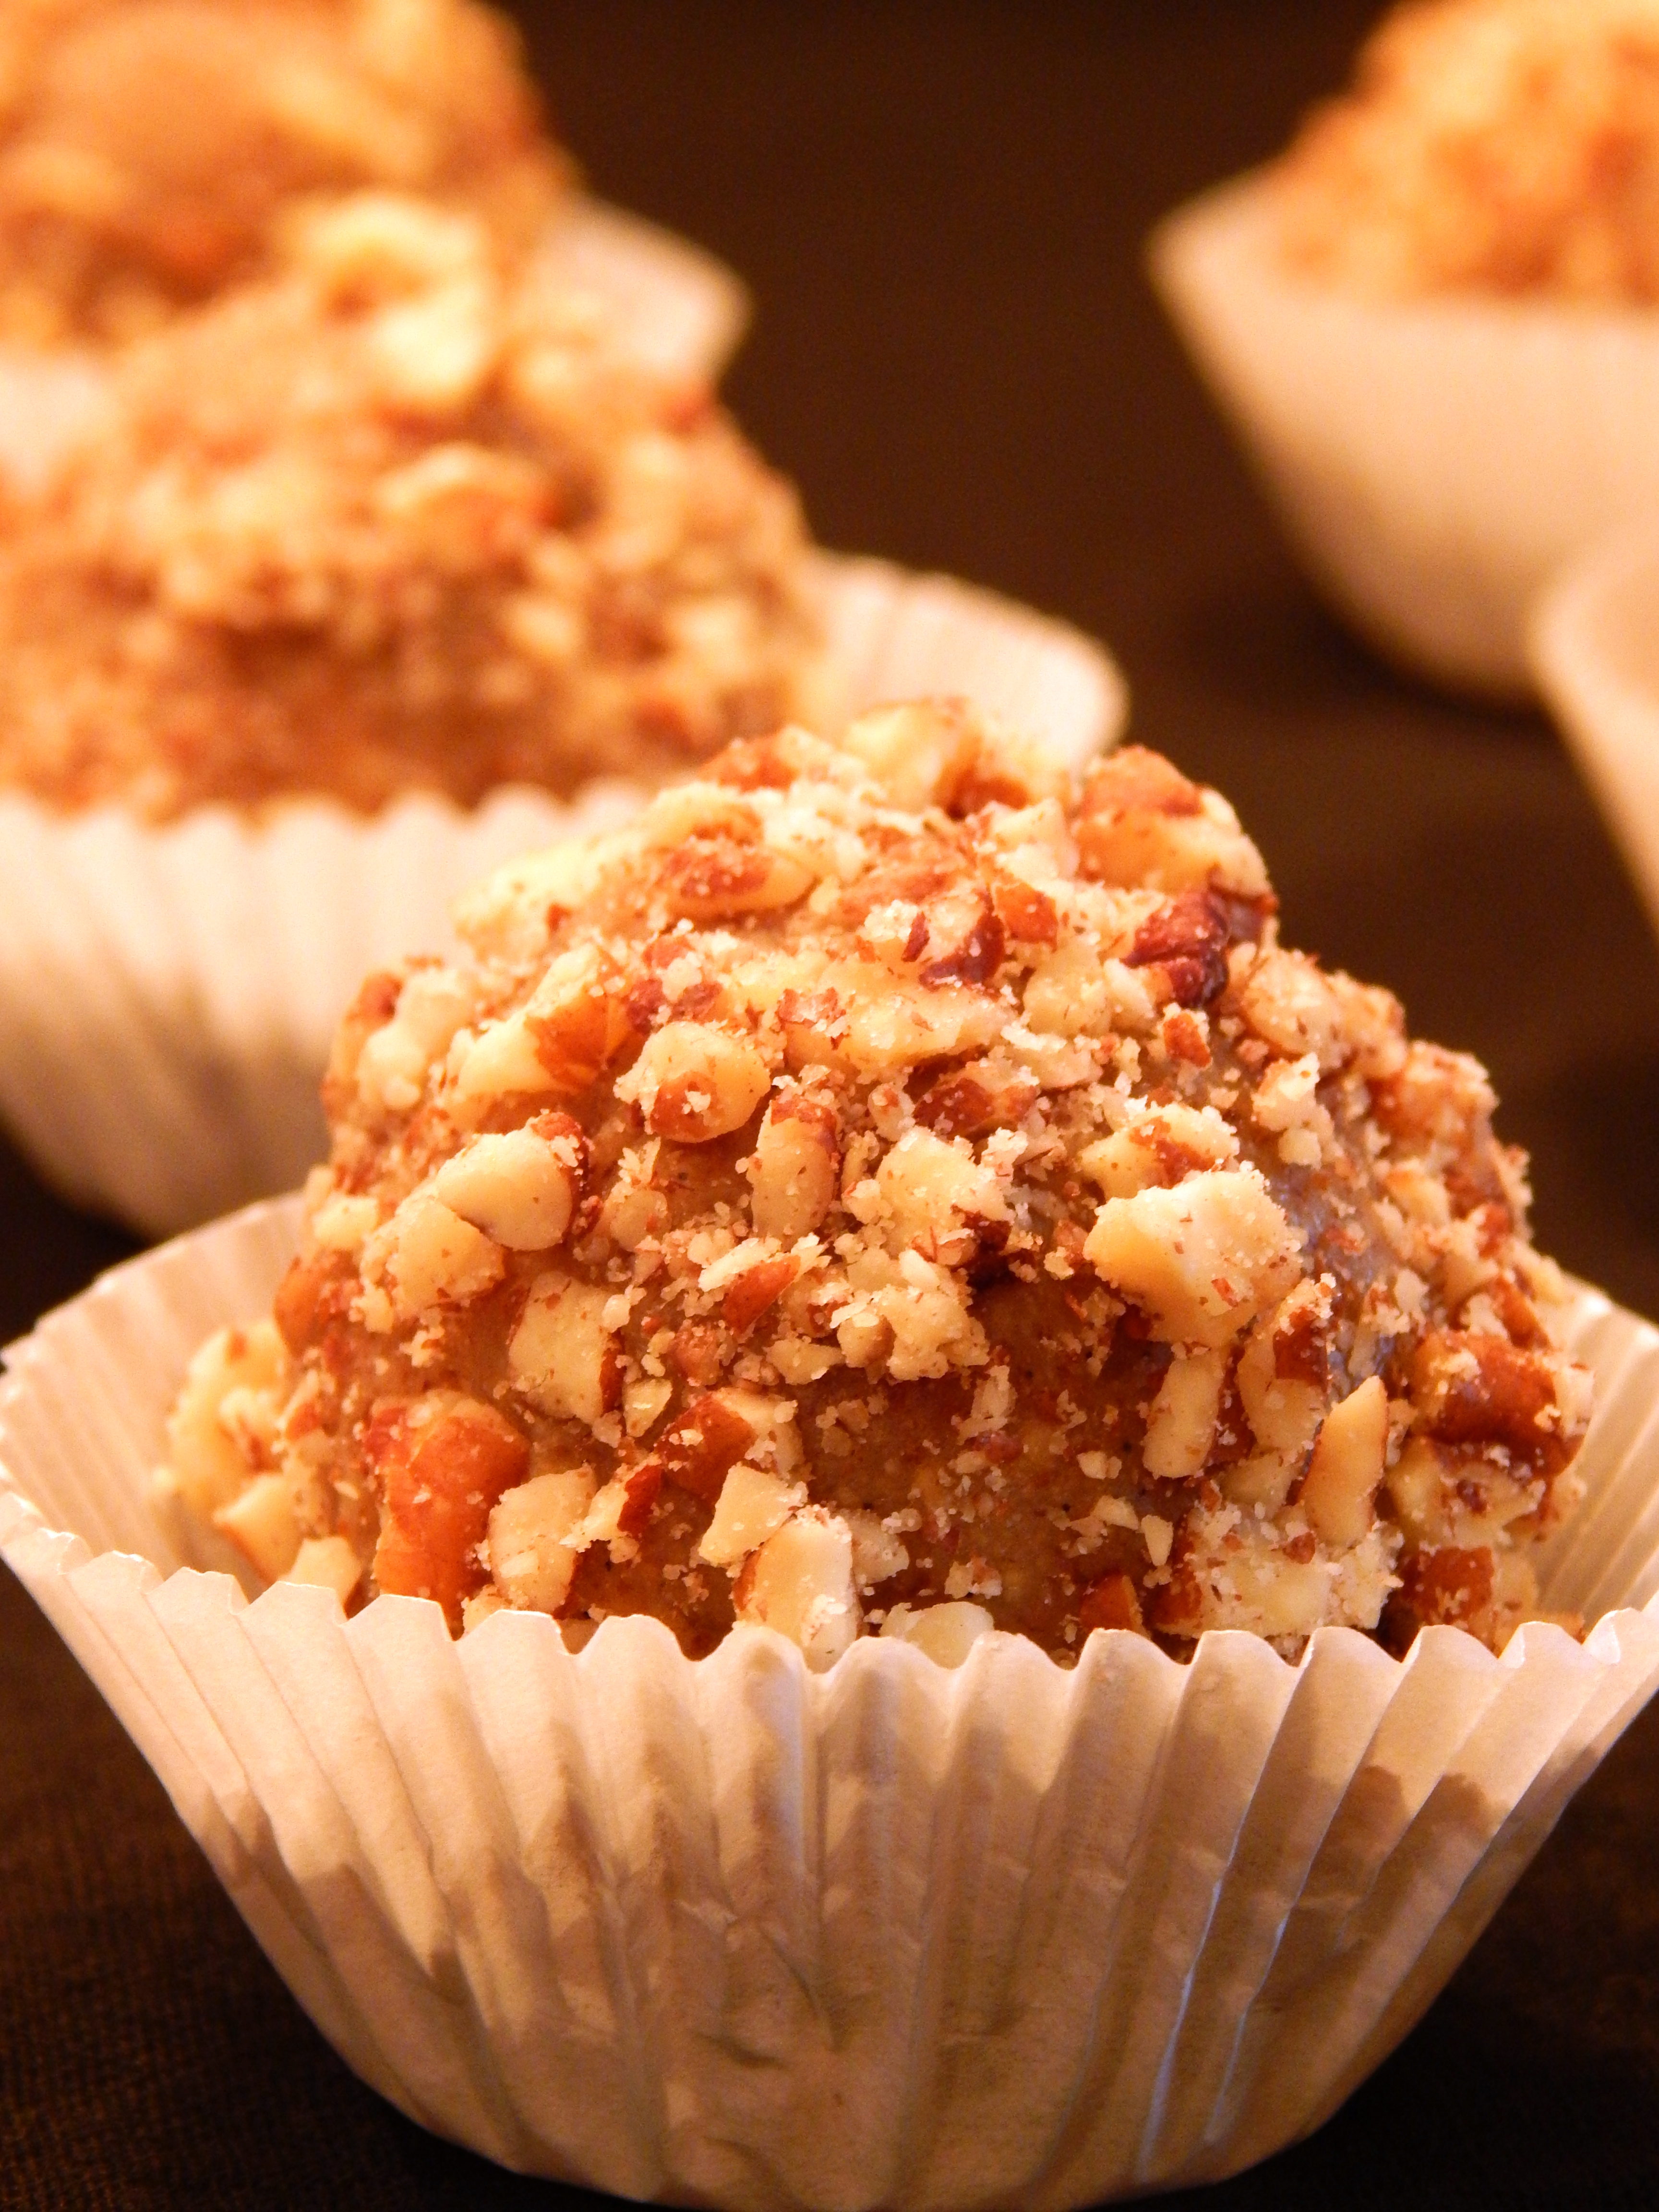
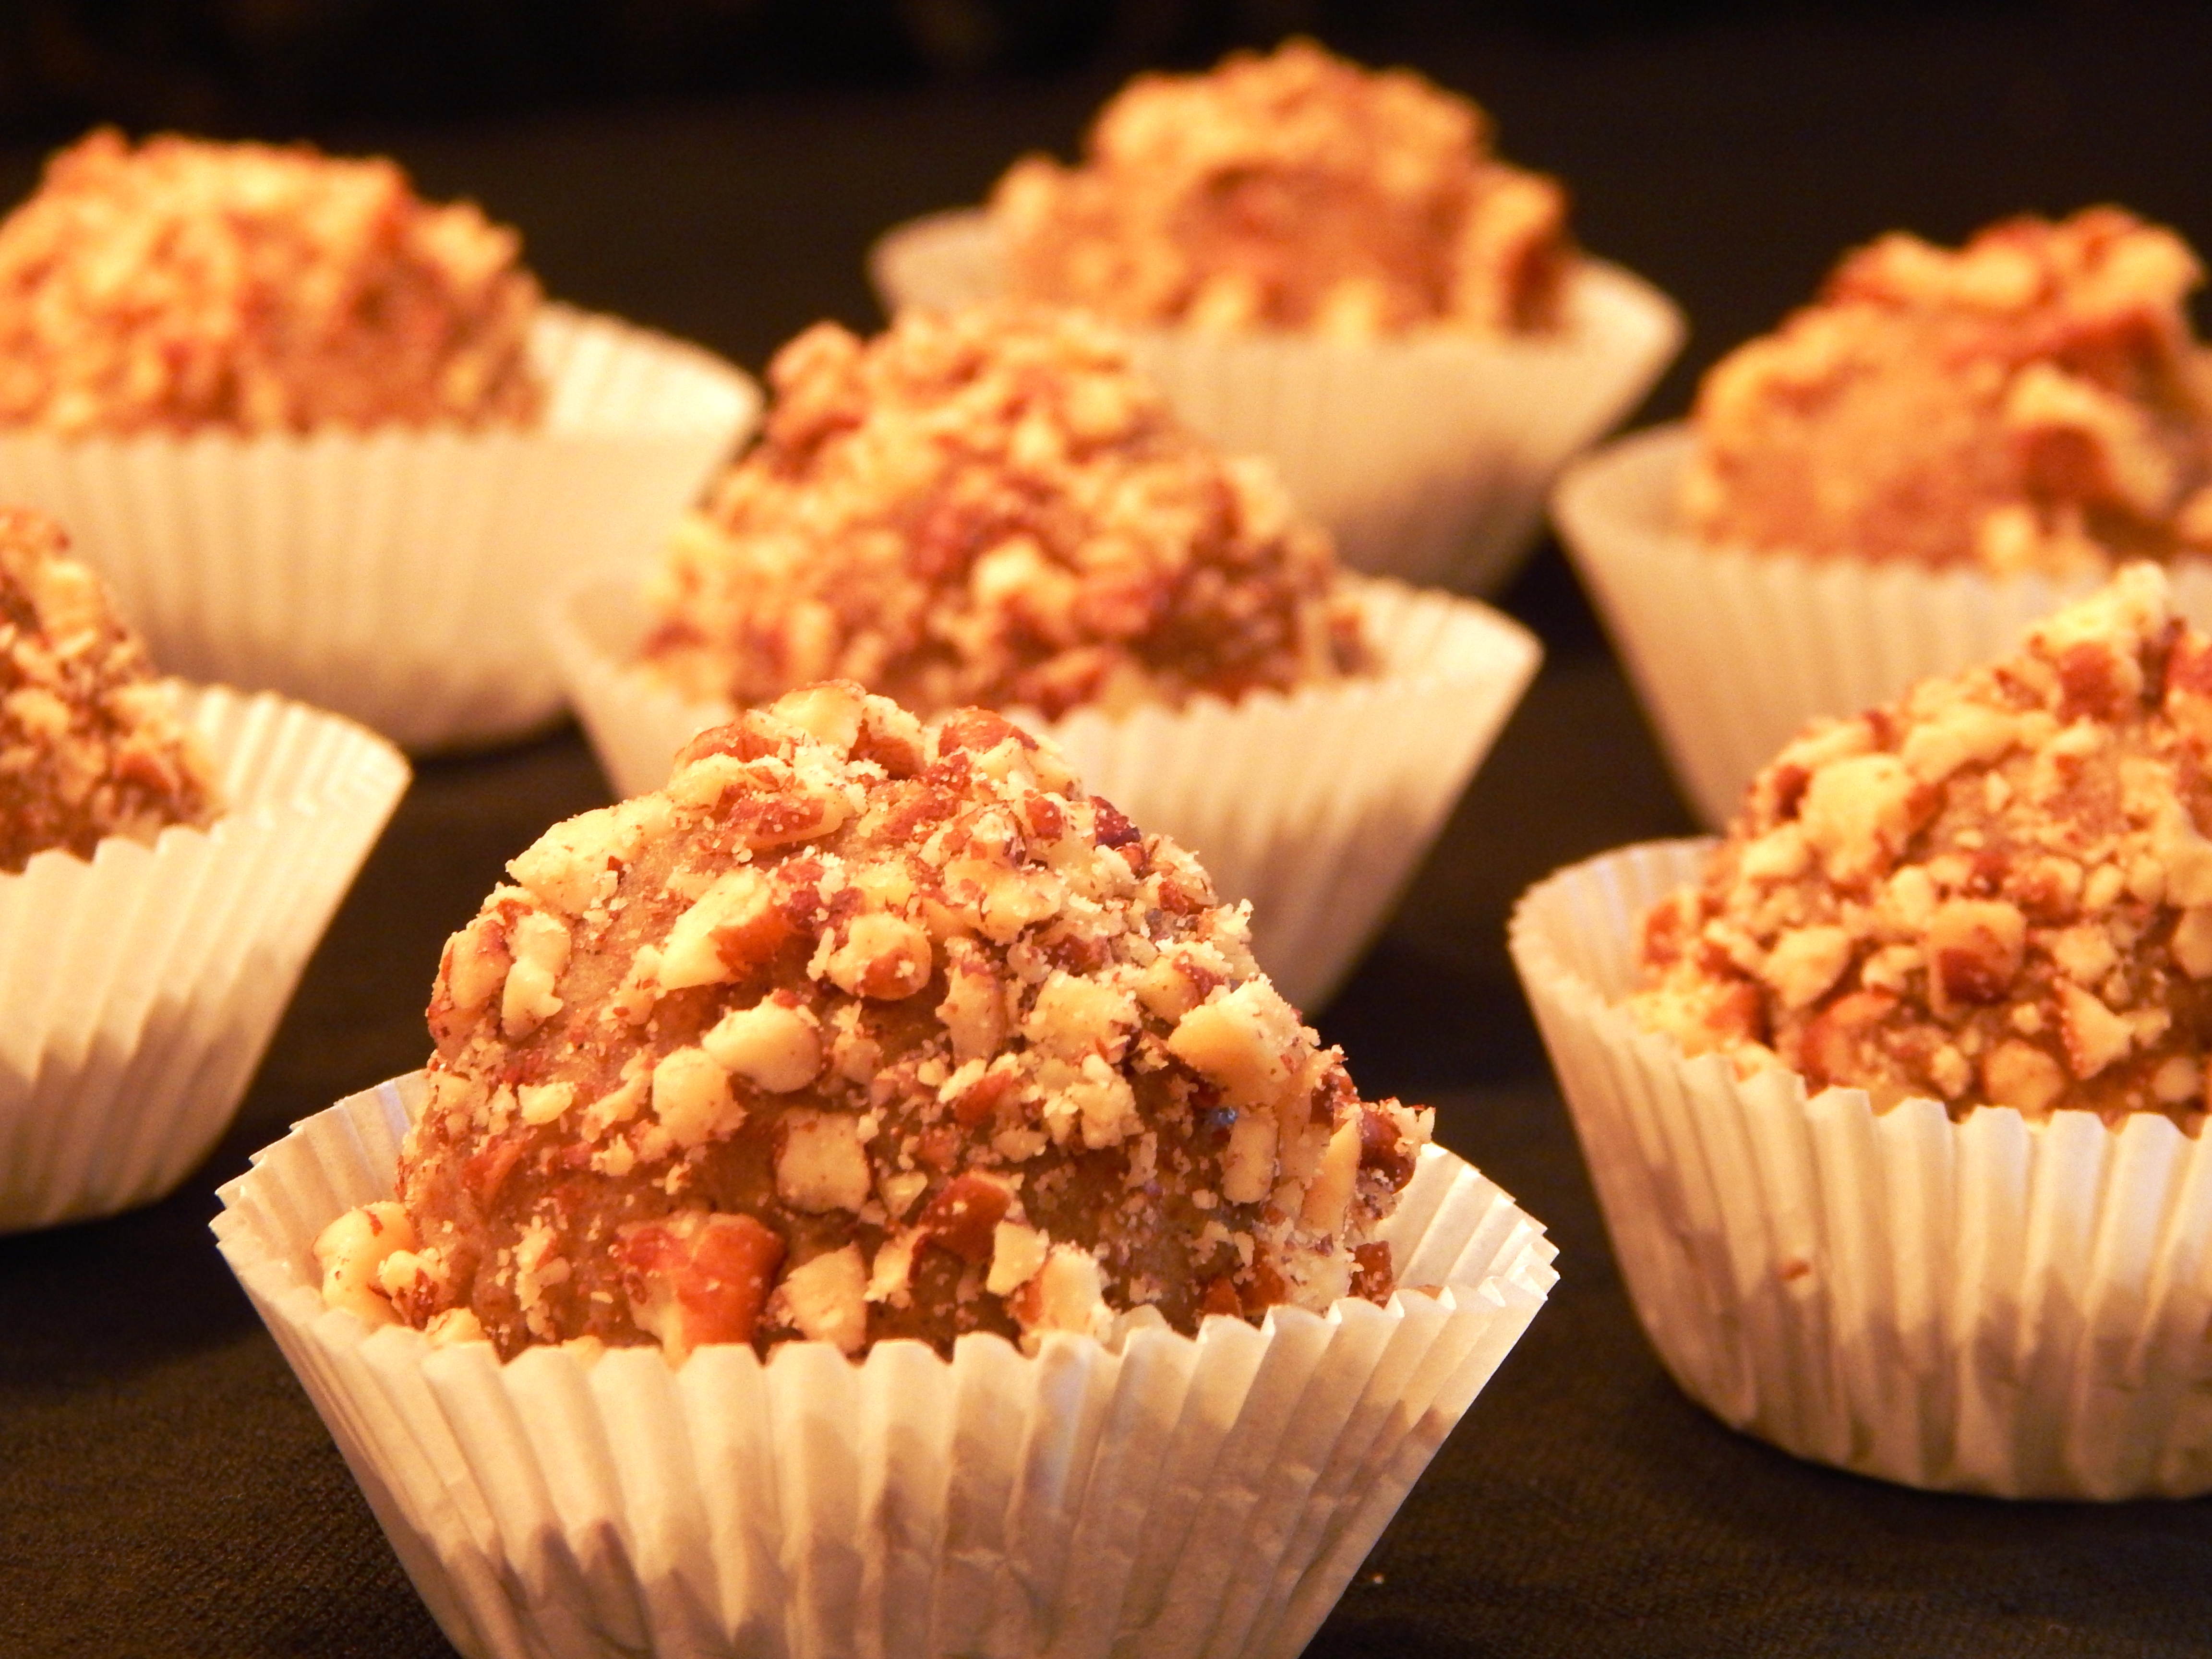
Mix together the ground lamb, pine nuts, and remaining ingredients except the chopped swiss chard. Form into golf ball sized meatballs. Place the chopped swiss chard in a large non-stick, oven-proof pan or large dutch oven. Toss with 2 teaspoons of olive oil and sprinkle lightly with additional salt and pepper to taste. Place the meatballs on top of the swiss chard, leaving space between the meatballs for even cooking.
Place meatballs and swiss chard under the broiler, and broil for five minutes. Turn oven to bake at 375º degrees, and bake an additional ten minutes until the internal temperature of the meatballs reaches 165º degrees. At this point your chard will be nicely cooked, with the lamb juices incorporated into them, and the meatballs soft and tender. In a pinch, you can also use frozen chard with great results! Approximately 18 Meatballs.

Eat Your Nutrients!


Recent Comments