
I am in love with spiralized vegetables! It changes the texture and whole experience of eating them. The noodles or spirals coming out of the spiralizer as you turn the handle are gorgeous and abundant! Recently, I spiralized golden beets and then wondered, what should I do different with these gorgeous spun gold noodles? I decided to lightly steam them and serve them as a chilled beet salad. I wanted crunch, flavor and eye appeal. I also wanted to keep the ingredients simple. The results were a salad with almonds for crunch, scallions and avocado oil.
I tend to spiralize several things at once and then store them in the refrigerator until I want to use them, so I only have to clean up the spiralizer once. These beets were ready a day in advance, and the actual preparation time the day of was about 20 minutes.
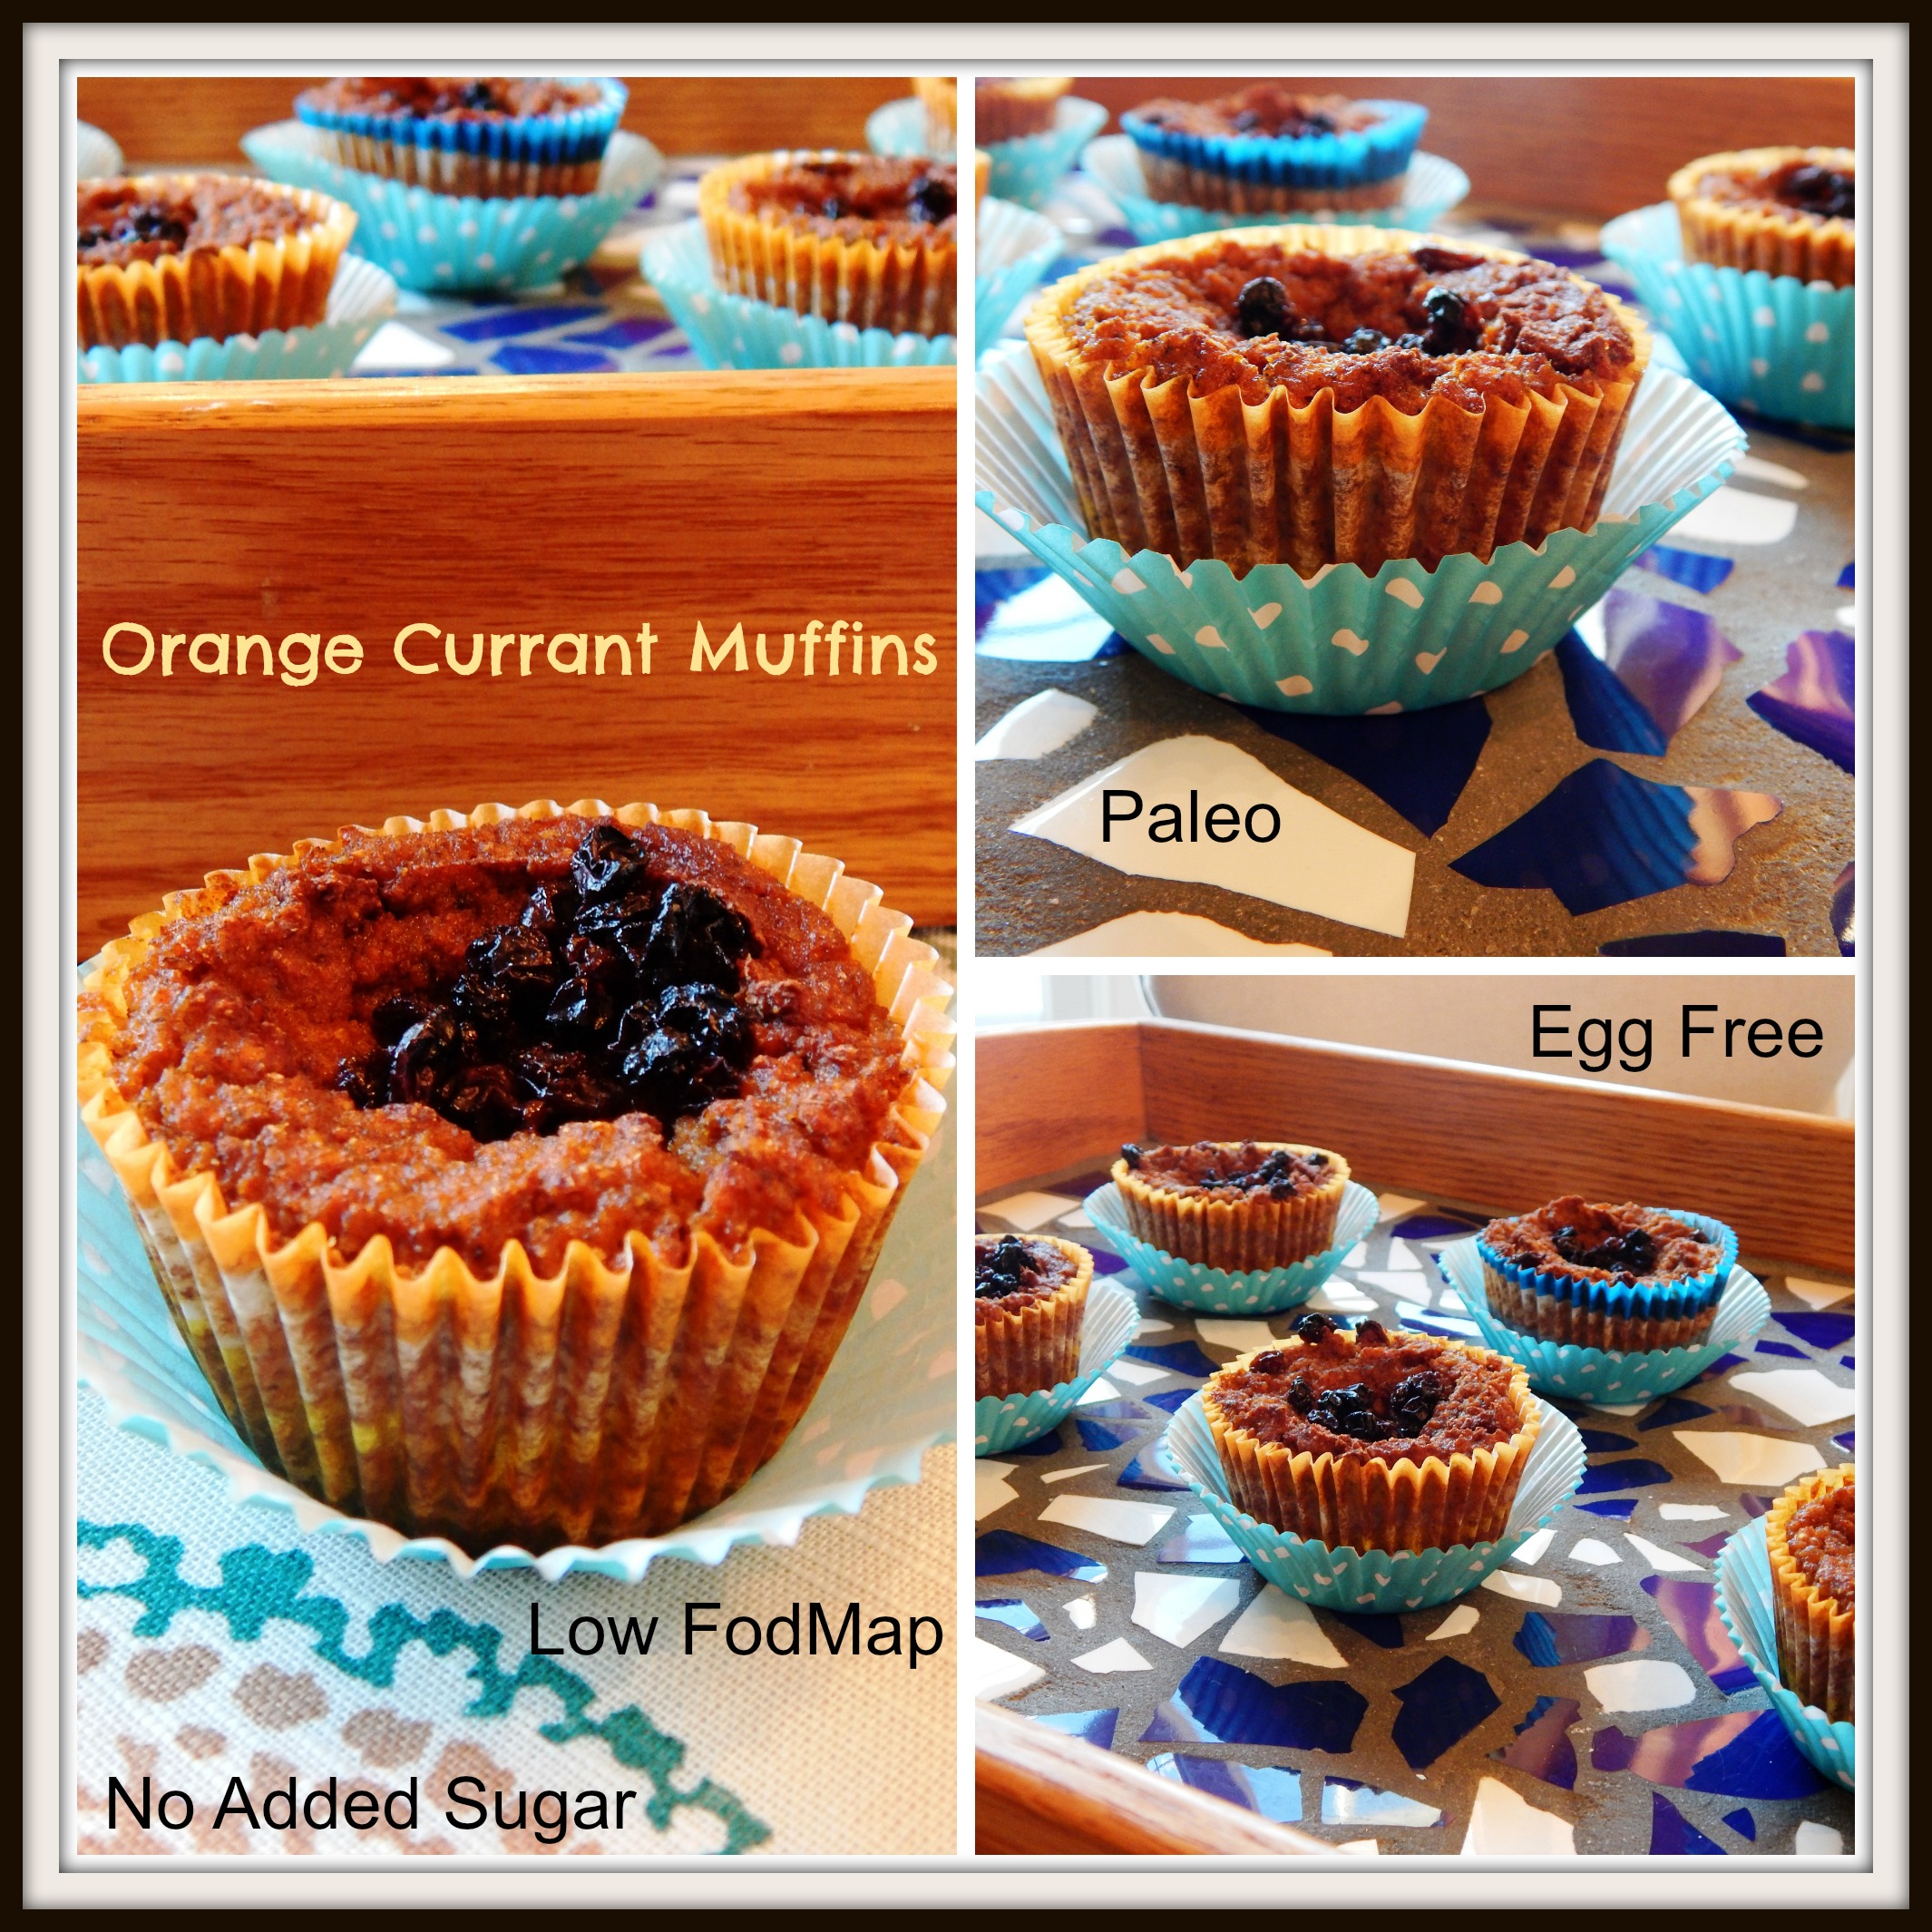
Spiralized Golden Beet Salad
Ingredients:
2 Medium Golden Beets, washed, peeled and spiralized
1/2 Cup Scallions, sliced, green parts only for Low FodMap
1/3 Cup Slivered Almonds
3 Tablespoons Avocado Oil
2 Teaspoons White Wine Vinegar
1/2 Teaspoon of Himalayan Pink Salt or Sea Salt (to Taste)
1/4 Teaspoon of Black Pepper or to Taste

Directions: Place a few inches of water in the bottom of a pan with a steamer insert and bring to a boil. Add the beets and steam five minutes, just till tender…think al dente. Remove from the steamer and run under very cold water to cool quickly and prevent further cooking. Drain the beets well. Add to a bowl and toss with the remaining salad ingredients. Serve, or refrigerate to chill more and let the flavors meld.
Everything contained in this salad is not only delicious, but offers health benefits. Beets are rich in nutrients, fiber, detoxify and contain phytonutrients. Scallions are great for immune system health and contain Vitamin K for bones and Vitamin A for the eyes. Almonds contain fiber, protein and good fat as well as the good fat in the avocado oil, which is delicious!

Eat Your Nutrients!


Recent Comments