I just returned from a very relaxing time in South Palm Beach Florida. I was traveling with my husband, Doug, for his President’s Club business/pleasure trip, and we stayed at The Breakers Resort where I found it very easy to eat clean, healthy food much to my delight! We also went snorkeling and saw many colorful fish including Barracuda.

Greek Salad with Grilled Skewered Salmon

Greek Salad with Grilled Skewered Salmon
One of my favorite restaurants in the resort (they had ten to choose from) was The Ocean House, which was casual dining overlooking one of the pools and the ocean. It has a wrap around porch with seating on the porch in the shade.

The Ocean House Restaurant – Doug
The Nitrogen Infused Cold Brew Coffee was so creamy and refreshing it was hard to believe that it was just coffee, and the nitrogen imparts a creaminess. See the picture below. It was soooooo good! Wish they had it locally where I live. I could become totally addicted to the stuff. It is so mild and delightful!
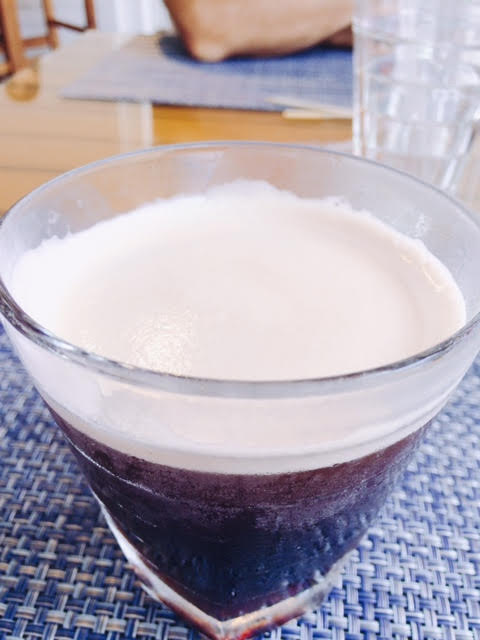
Nitrogen Infused Cold Brew Coffee
However, the Greek Salad was so delicious, and you had the option of adding Skewered Salmon to the salad (my favorite) or chicken, steak or shrimp. The Salmon was simply grilled with olive oil, salt and pepper and was so tender and flaky. I wanted to recreate the recipe at home.
Throughout the resort, you could also get fresh pressed raw juices that had just a touch of honey in them and were made daily by the staff. My favorite was the green detox and the second runner up was fresh watermelon juice with lime and ginger. Here is a picture of the pineapple coconut water juice I had. I tried them all. 🙂

Fresh Pressed Pineapple Coconut Juice
We walked to beach every morning and saw the beautiful sunrise. There were other sunrise lovers on the beach and locals with their dogs. One dog in particular was hilarious. He was a hot dog dog, more properly called a dachshund, and he was digging for soft shell crabs and eating them. He had a hole dug as deep as he was with just his rear end sticking out. His owner told us he regularly did this and had a love of crab.

Sunrise at Palm Beach

Waiting for our Guide to go Snorkeling!
Here is my version of this delicious main course salad! Sadly, I cannot pass on the sun, sand and water to you along with it, but I would if possible!
Greek Salad with Grilled Skewered Salmon
Ingredients for Salad:
4 Cups of Leafy Lettuce
1/2 of a Red Bell Pepper, Diced
1/2 of an English Cucumber, Diced
1/4 Cup Finely Diced Red Onion
1/4 Cup Pitted Kalamata Olives
1/4 Cup Scallions, sliced thinly
Place all the ingredients for the salad in a medium bowl, and set out dinner plates.
Greek Vinaigrette
Ingredients:
1 Garlic Clove, minced or garlic pressed
1/2 Teaspoon of Dried Oregano
1/4 Teaspoon of Dried Parsley
1/2 Teaspoon of Sea Salt
1/4 Teaspoon of Black Pepper
1 Teaspoon of Djon Mustard
2 Tablespoons of White Wine Vinegar
1 Tablespoon of Fresh Squeezed Lemon Juice
1/2 Cup Good Olive Oil
Whisk it all together until emulsified, and set aside.
Grilled Salmon
2 Wild Caught Alaskan Salmon Filets
1/3 Cup Good Olive Oil, plus more for the grill pan
Generous amount of Sea Salt and Black Pepper
6 Bamboo Skewers.
Directions:
Preheat your oven to 350º degrees. Preheat your grill pan on the stove top on medium heat, dry, for five minutes. Slice each salmon filet into three strips. Brush generously all over with olive oil. Then season with salt and pepper. Place a generous additional amount of olive oil on your grill pan, brushing to coat it so the salmon will not stick. Thread the salmon on the skewers. Grill the salmon three minutes, basting with more of the olive oil, then turn for an additional three. Then place the grill pan in the oven and finish off the salmon for five minutes, or until the center has reached 145º degrees. This will happen quickly.
To assemble the salad. Toss the greens and other salad ingredients you prepared previously with a generous amount of Greek Vinaigrette. Divide the greens between two or three plates. Top with the hot salmon skewers!
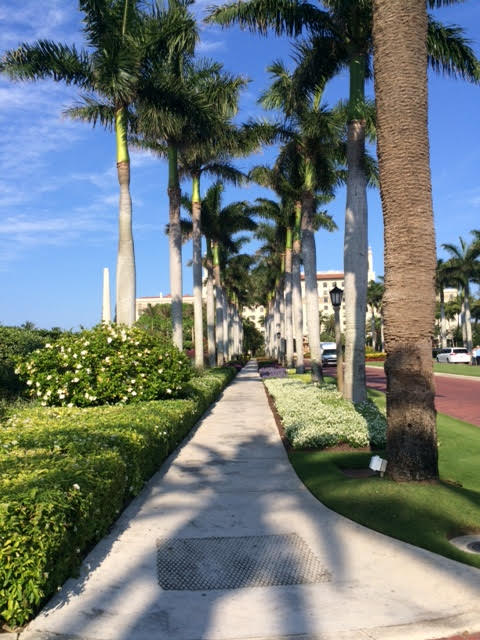
The Breakers Palm Beach


Recent Comments