
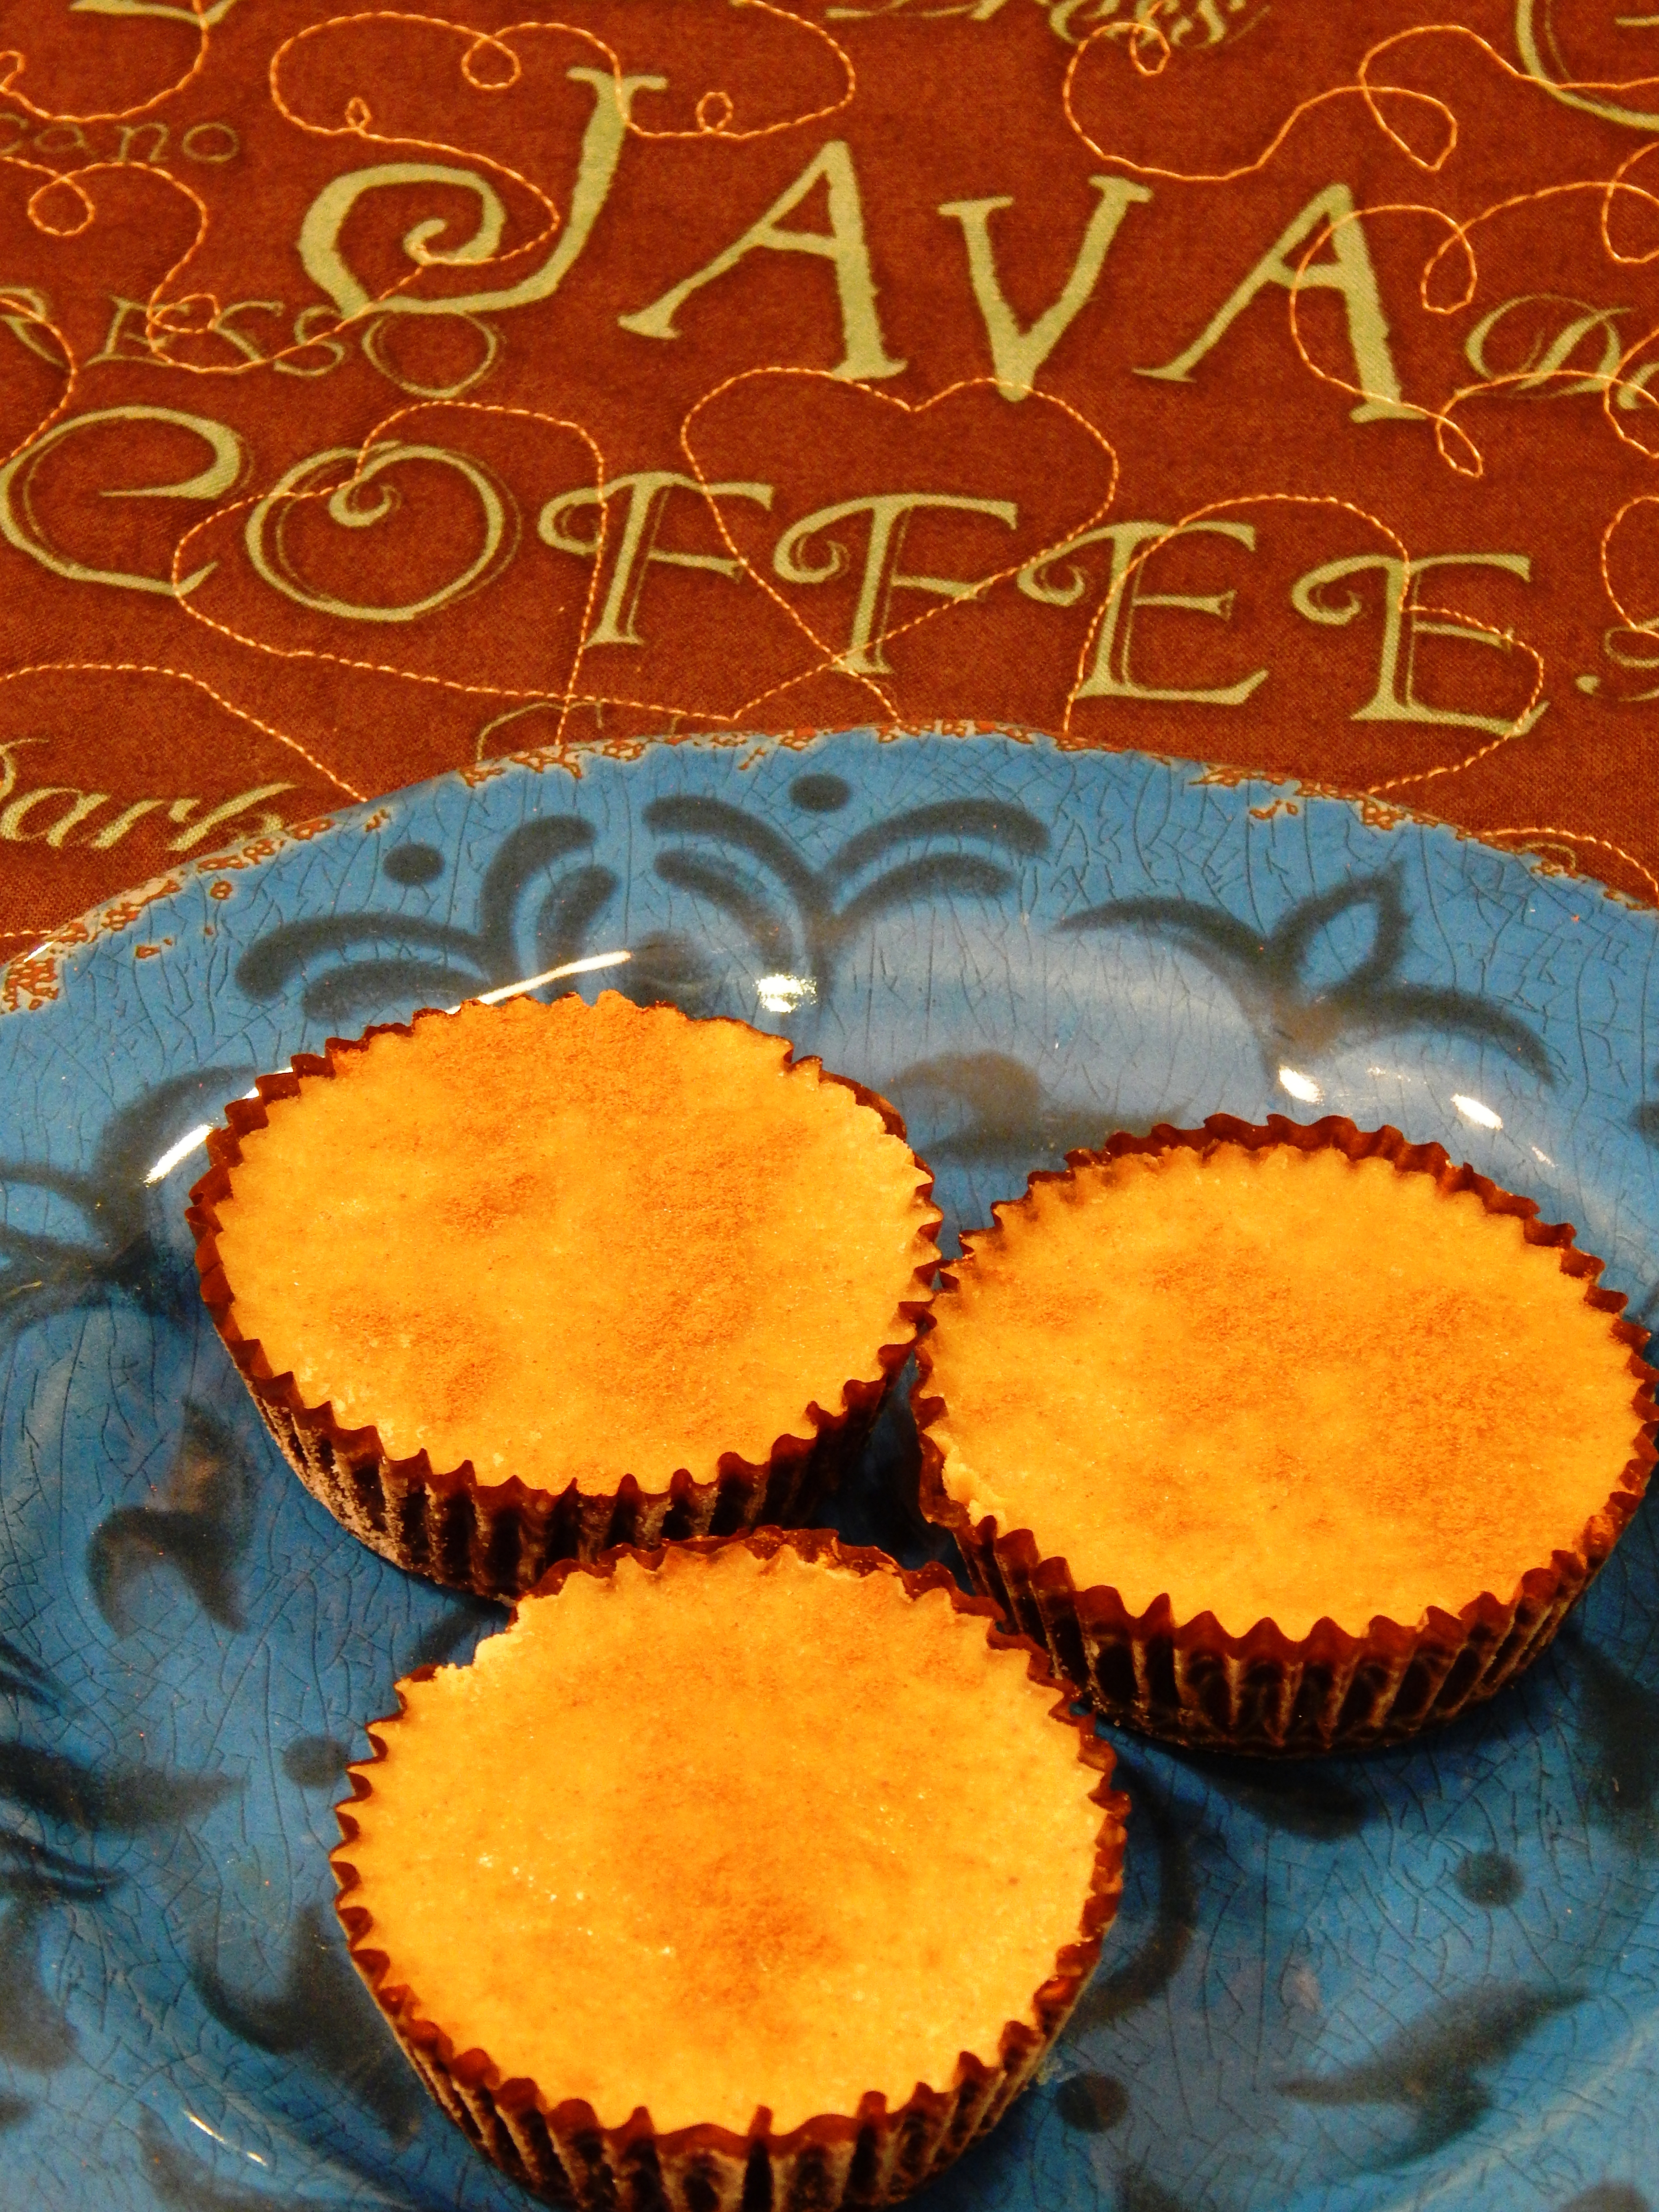
Chai Love You – Individual Chai Spice Creamer
If you think the smell of Chai is a warming, comforting aroma like I do, these individual frozen creamers are just what you need for your cup! I am really loving the convenience of these individual creamers that are frozen to stay fresh! Right now I have Pumpkin Spice and Chai in my freezer so I can have whatever flavor I am in the mood for in my coffee and tea. I have even popped them in my morning smoothies with great results! Chai is like a warm, loving hug! I have been reading the book The Power of Intention by Wayne Dryer, and one really important insight I like in the book is choosing to see the good in others and letting go of the negative thoughts that surface in your mind, replacing them with something you see positive about people. It really has been broadening my view and opening me up more positive intention throughout the day.
Chai Love You – Individual Chai Spice Creamers
Ingredients:
1/2 Cup Coconut Oil
1/4 Cup Clear Honey
1 1/2 Cups Full Fat Coconut Milk (no additives, I like this kind)
1 Tablespoon Pure Vanilla Extract
1 Tablespoon Cinnamon
1 1/2 Teaspoons Ground Cardamom
3/4 Teaspoon Cloves
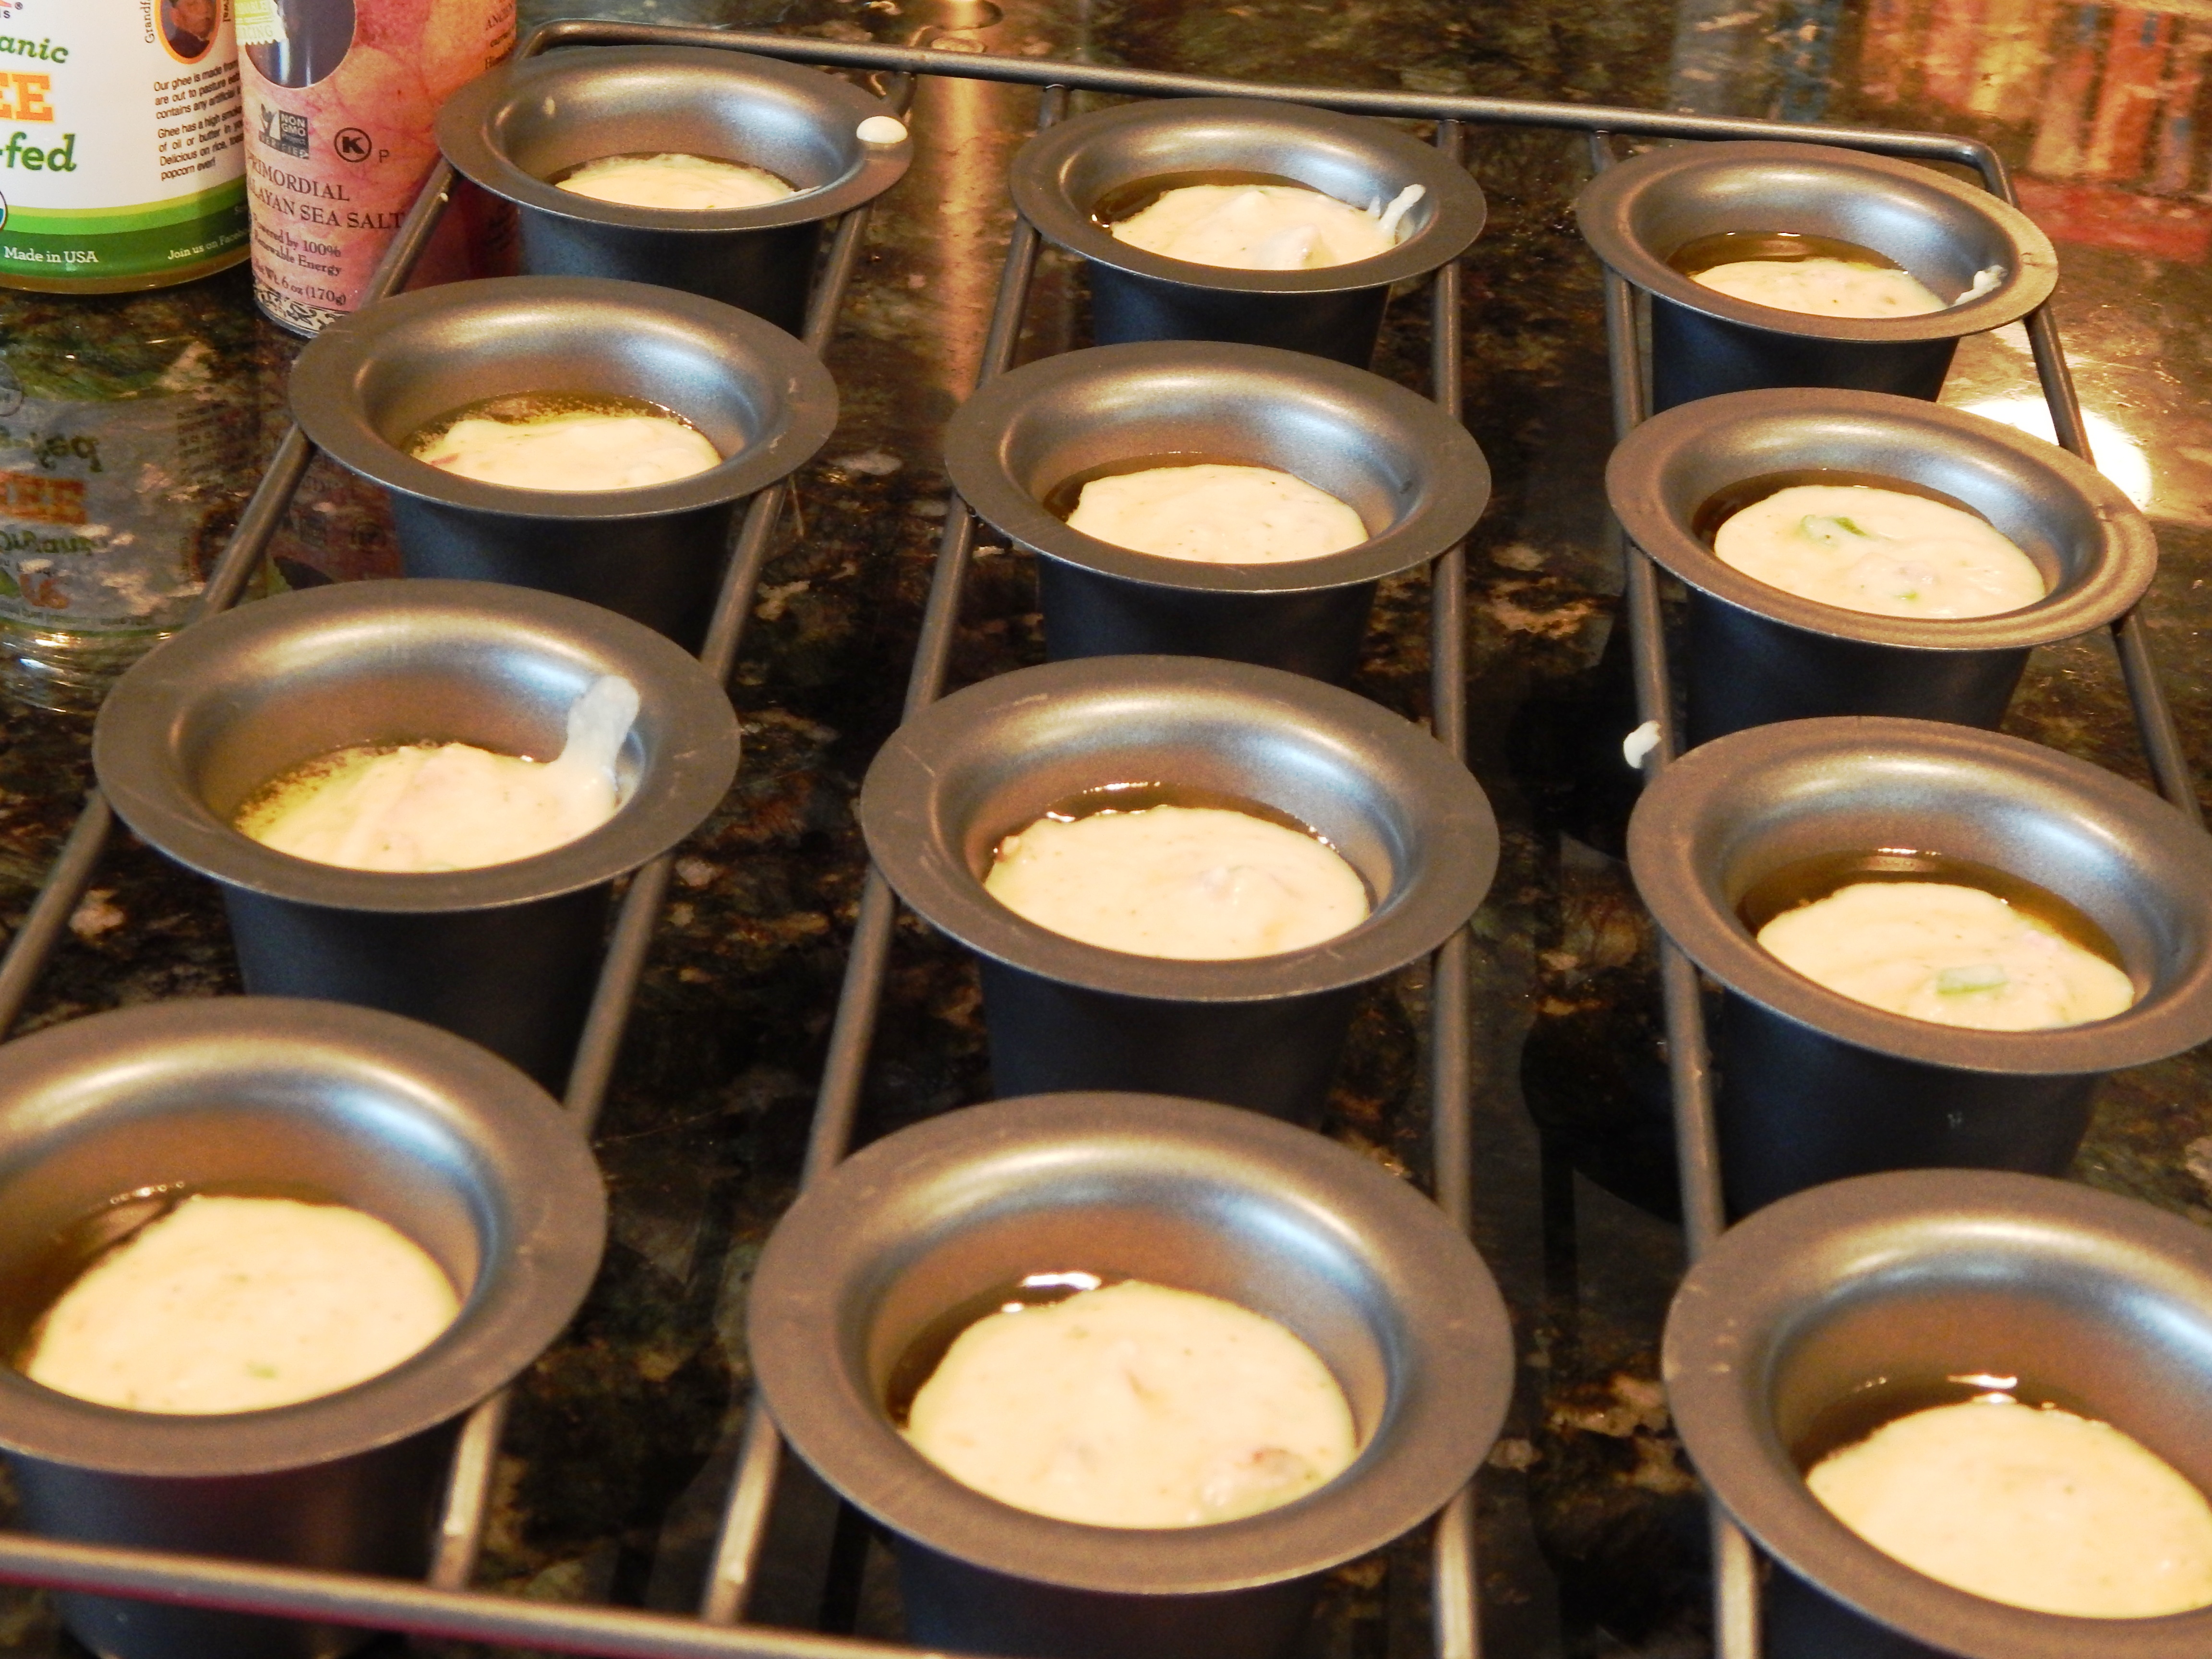
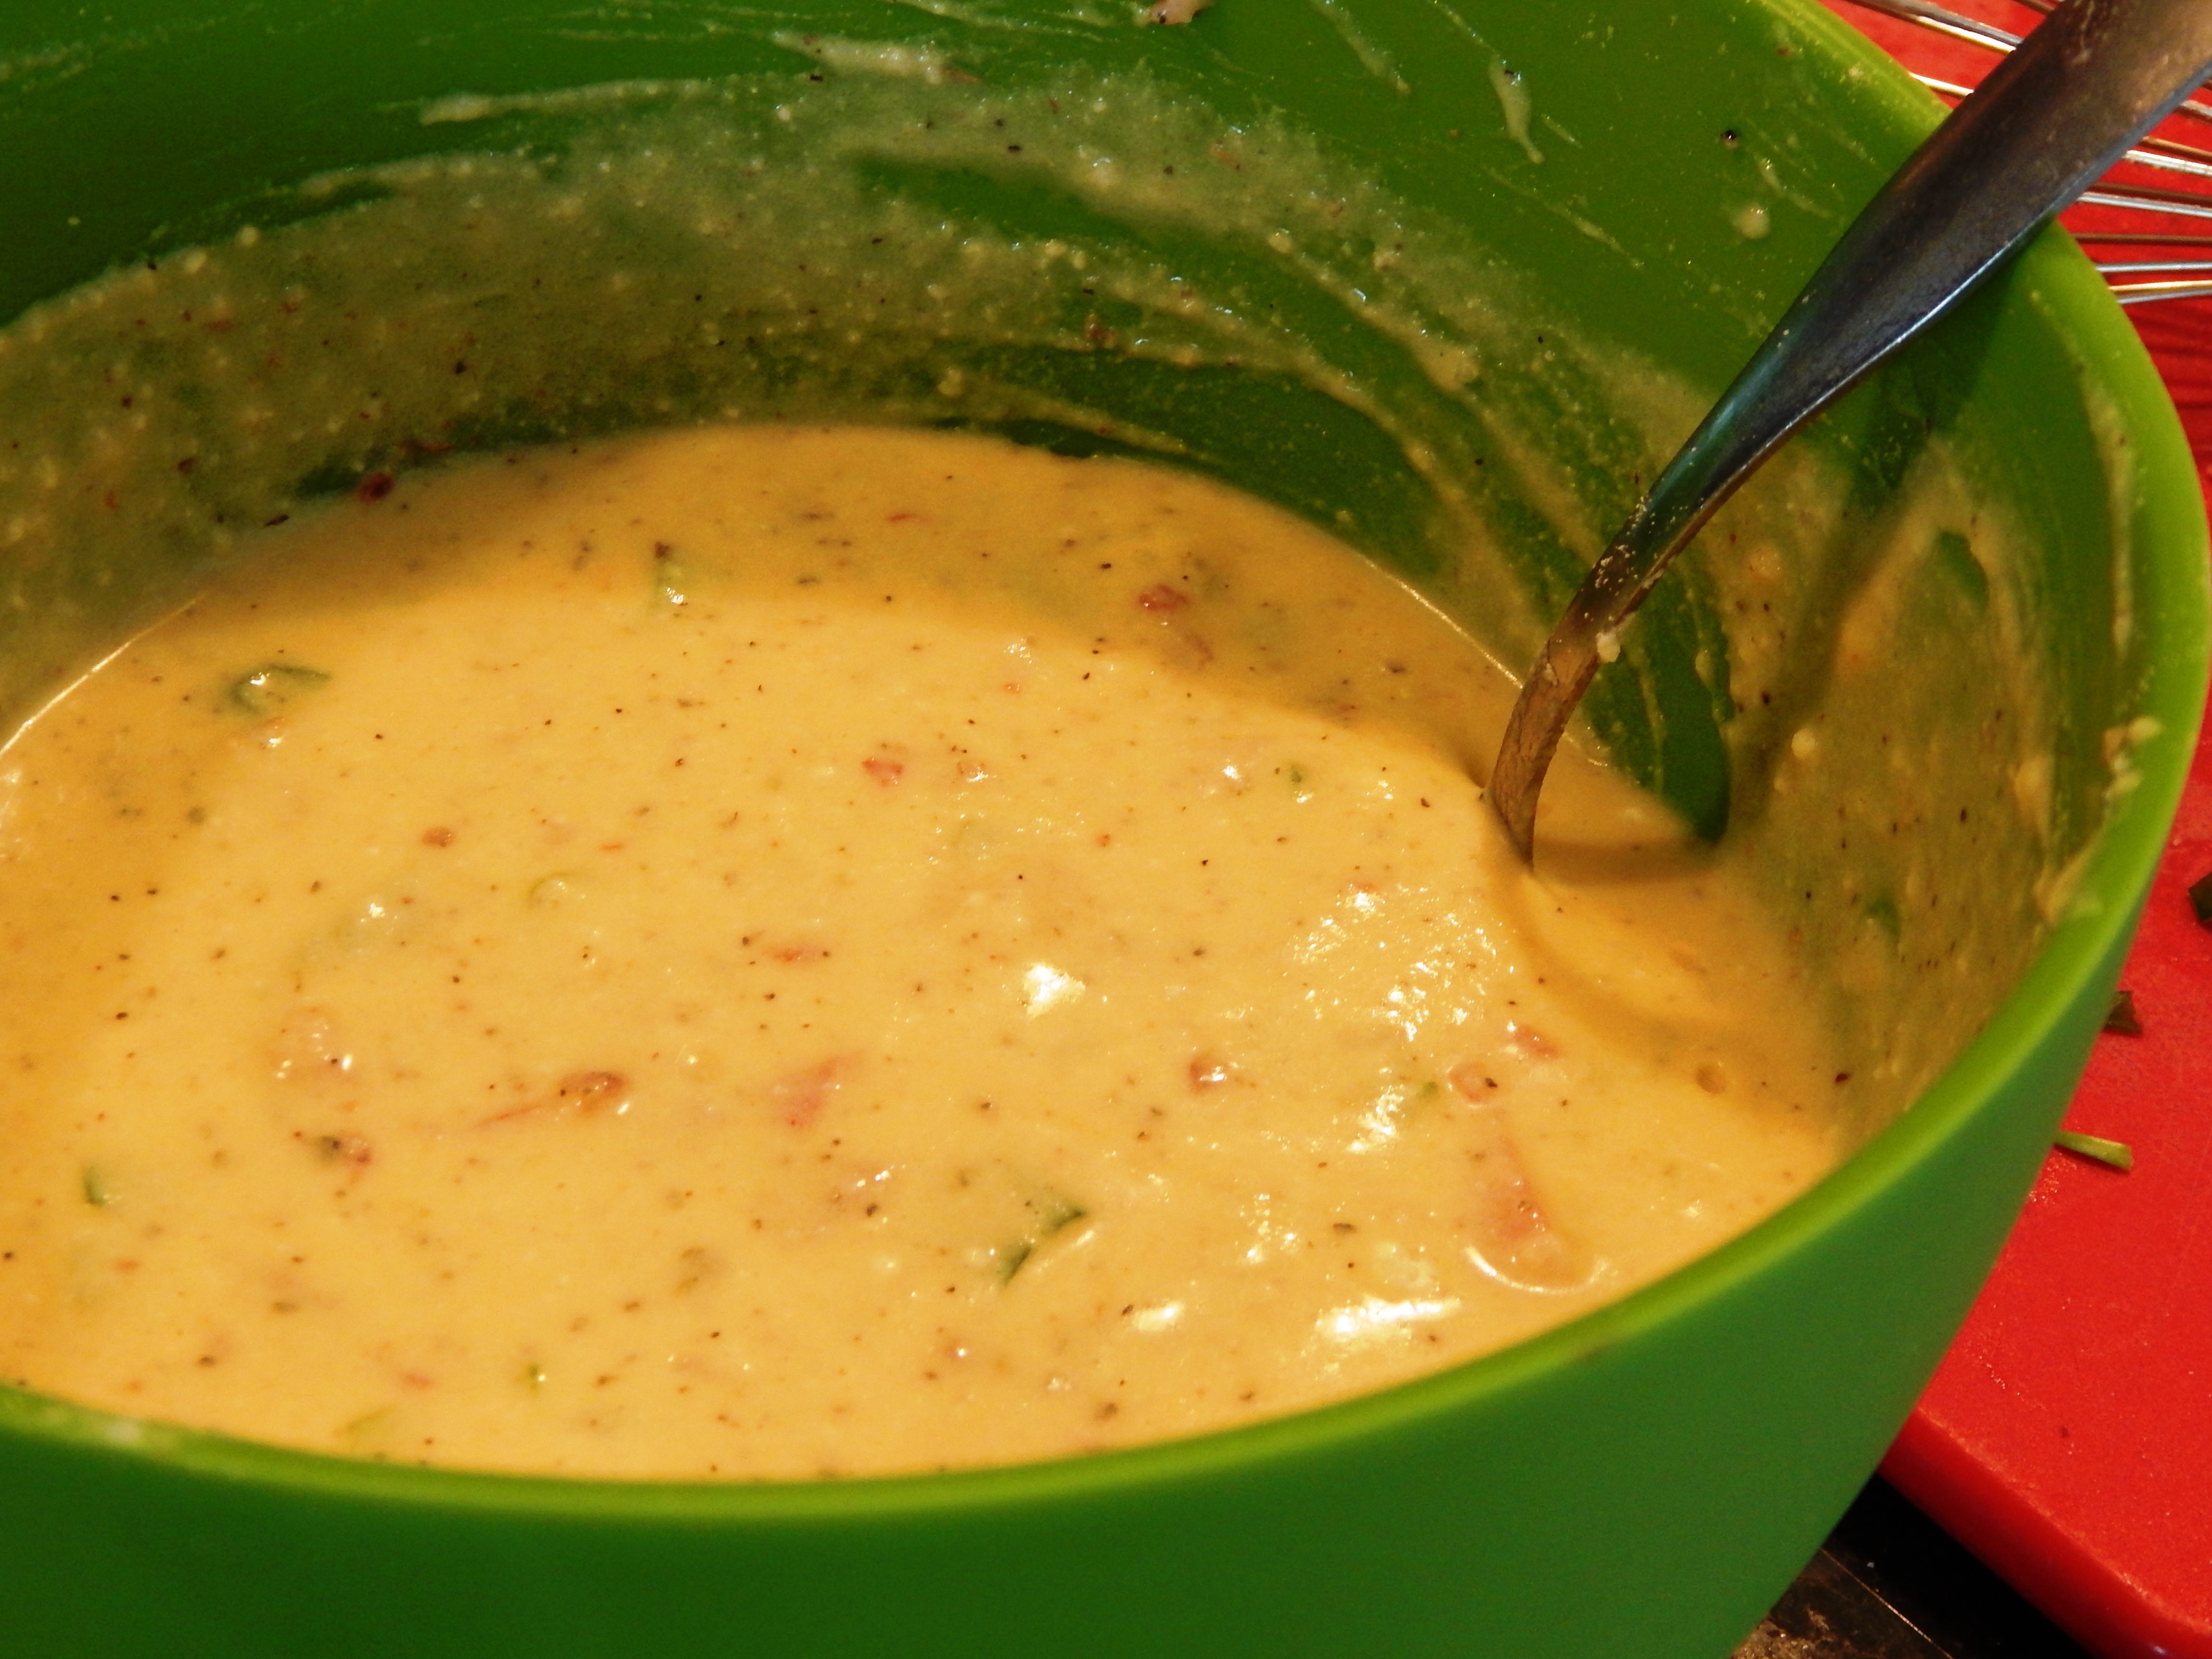
Directions: Line a twelve cup muffin pan with natural or foil muffin cup liners. Melt the coconut oil in a medium bowl in the microwave or on the stovetop. Whisk in the remaining ingredients until thoroughly blended and divide evenly between the muffin cups. Place the muffin pan in the freezer and freeze solid. After about four hours you can remove the Chai Spice Creamers from the pan and store in an airtight container in the freezer. To use, add to your favorite hot beverage and whisk.

Eat Your Nutrients!


Recent Comments