Summer is cookout season! Just mentioning the word cookout is a sure way to get company flocking to your door! Set up an outdoor game or two like Bocce Ball and Badminton, and you have a party!
Here are Eighteen Summer favorites of mine! Please feel free to share any of your favorite healthy Summer recipes in the comments below! What will you be making this Summer?
Bacon Wrapped Grilled Pork Chops with Citrus Drizzle by the Civilized Caveman
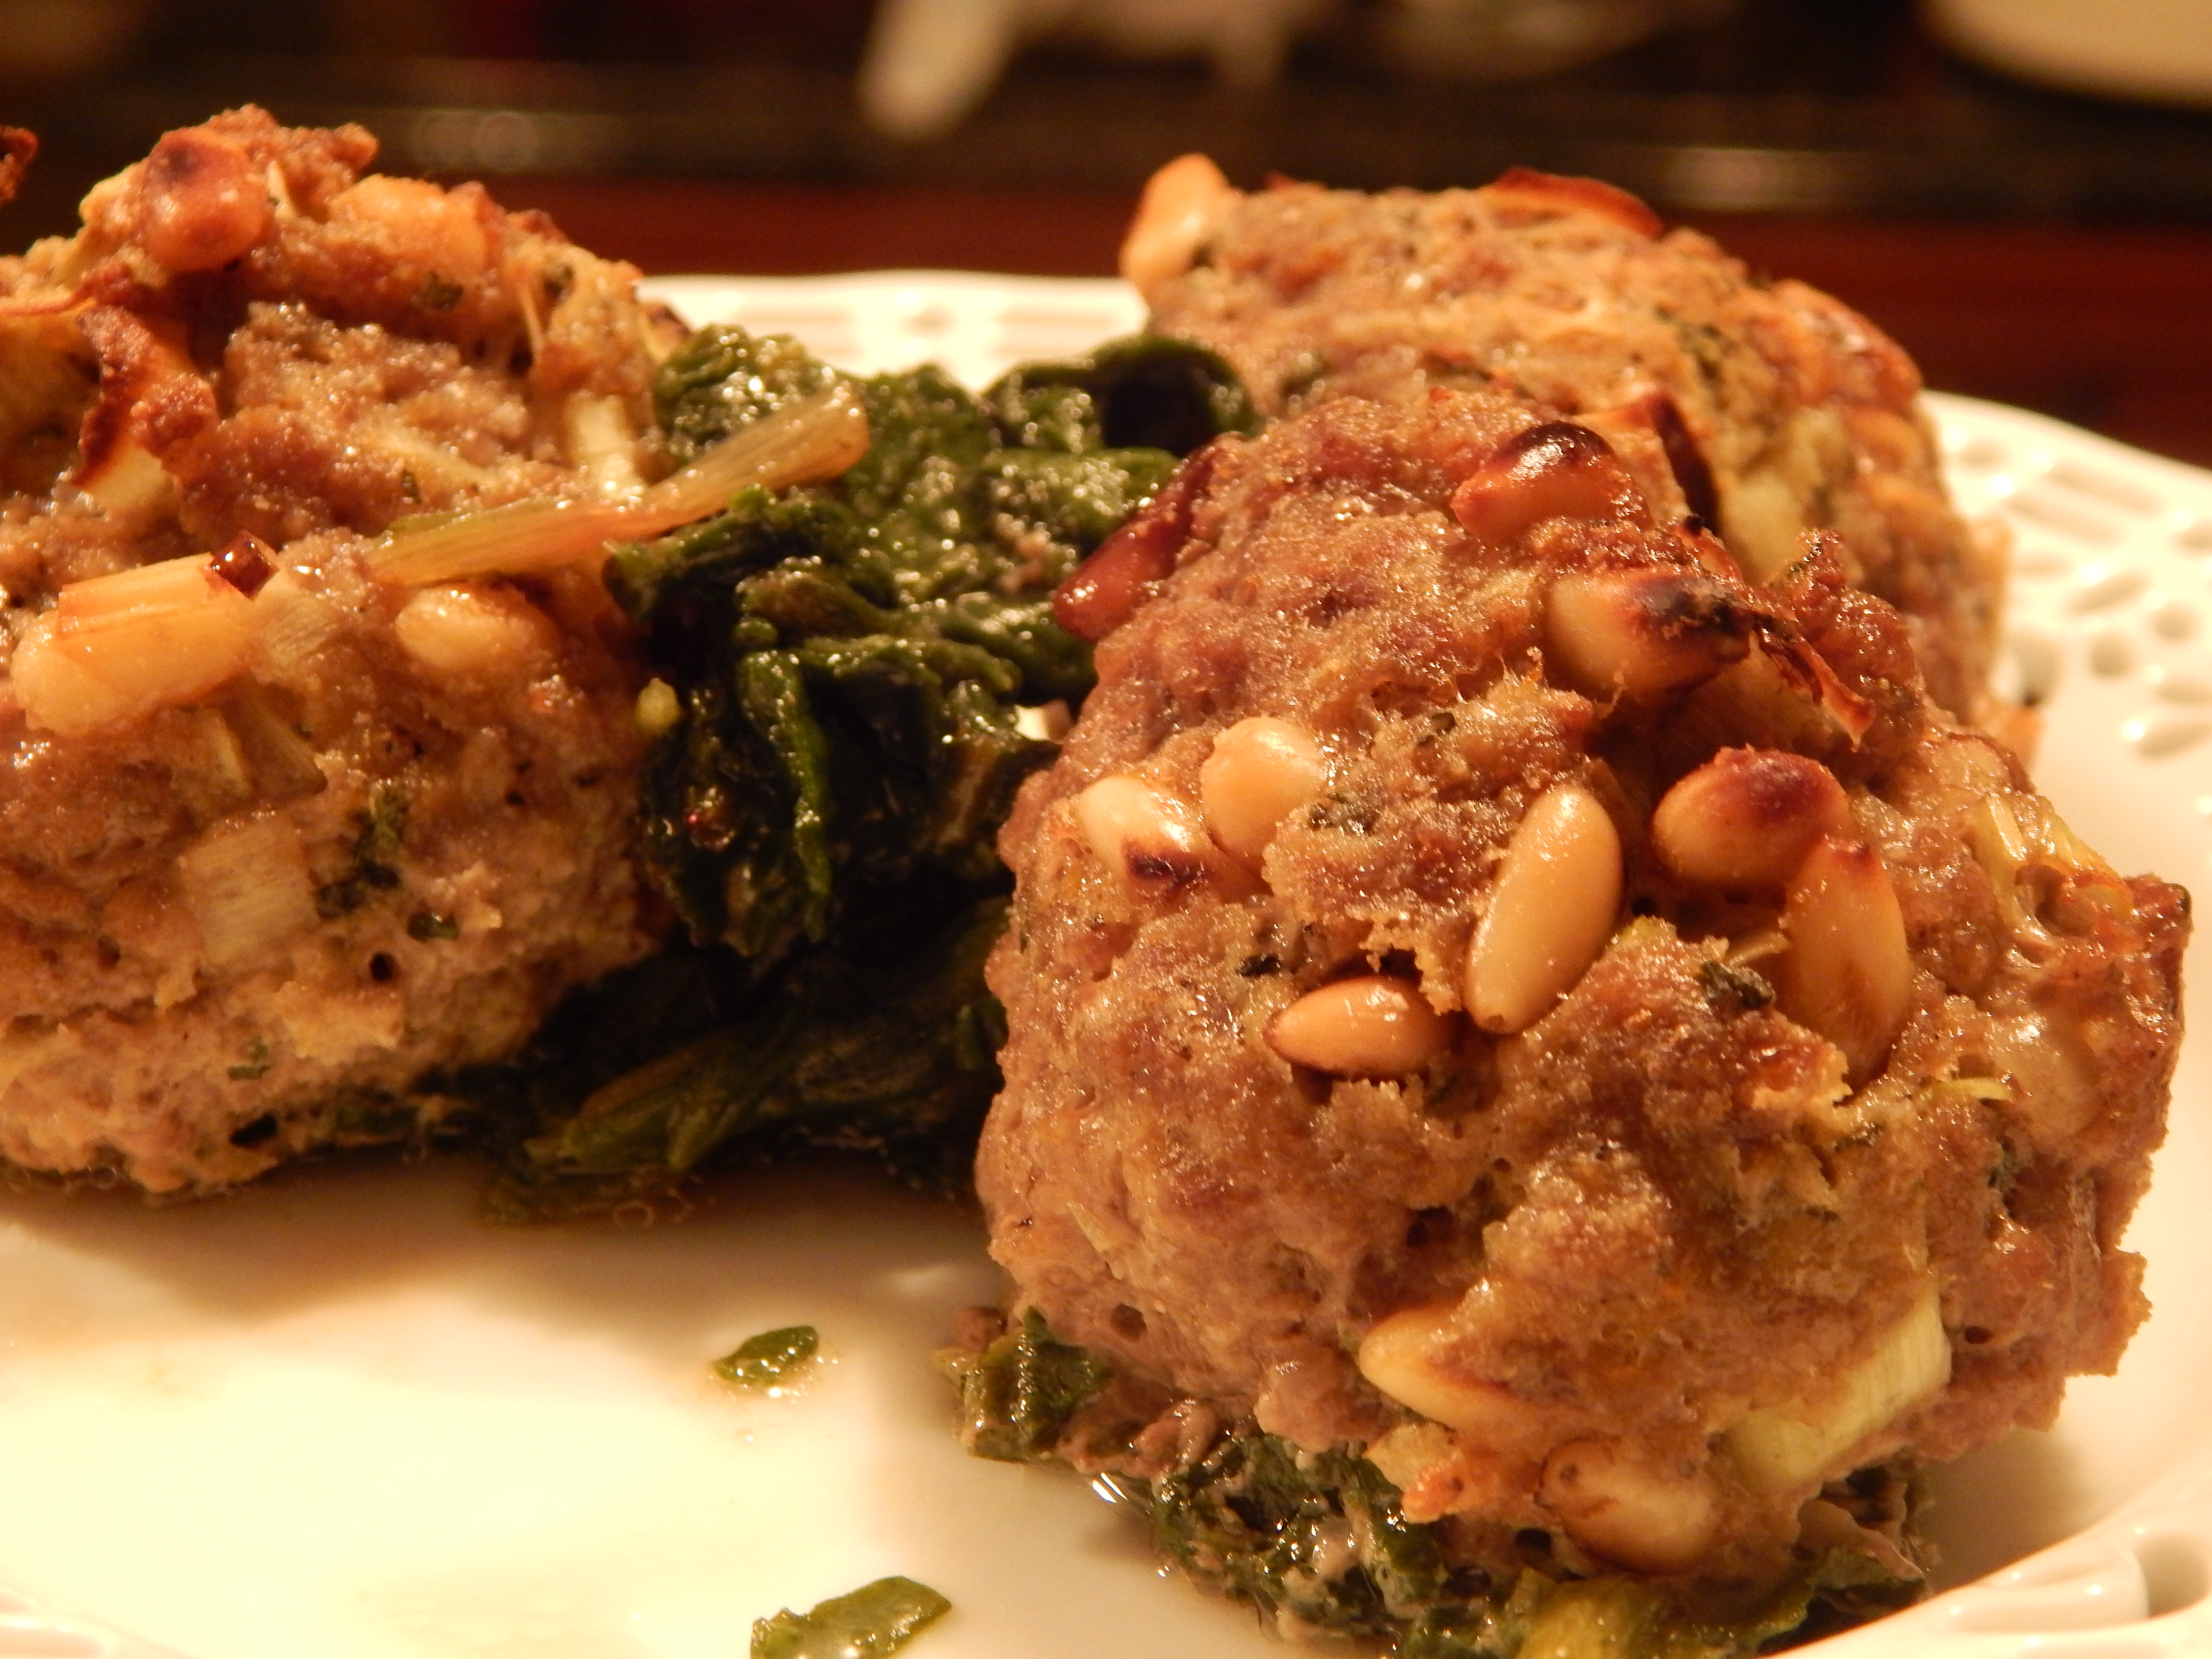
Prosciutto Olive and Sundried Tomato Turkey Burgers by Tammy Credicott
Grilled Vegetables and Shrimp Toss by Sam Eats Her Nutrients

Grilled Vegetables and Shrimp Toss
Grilled Bok Choy with Sesame Ginger Sauce by Sustainable Dish
Sesame-Ginger Flank Steak Salad by Primal Palate
Hatch Chili Layered Stack by Paleo Foodie Kitchen
Grilled Venison 50/50 Burgers by Sam Eats Her Nutrients
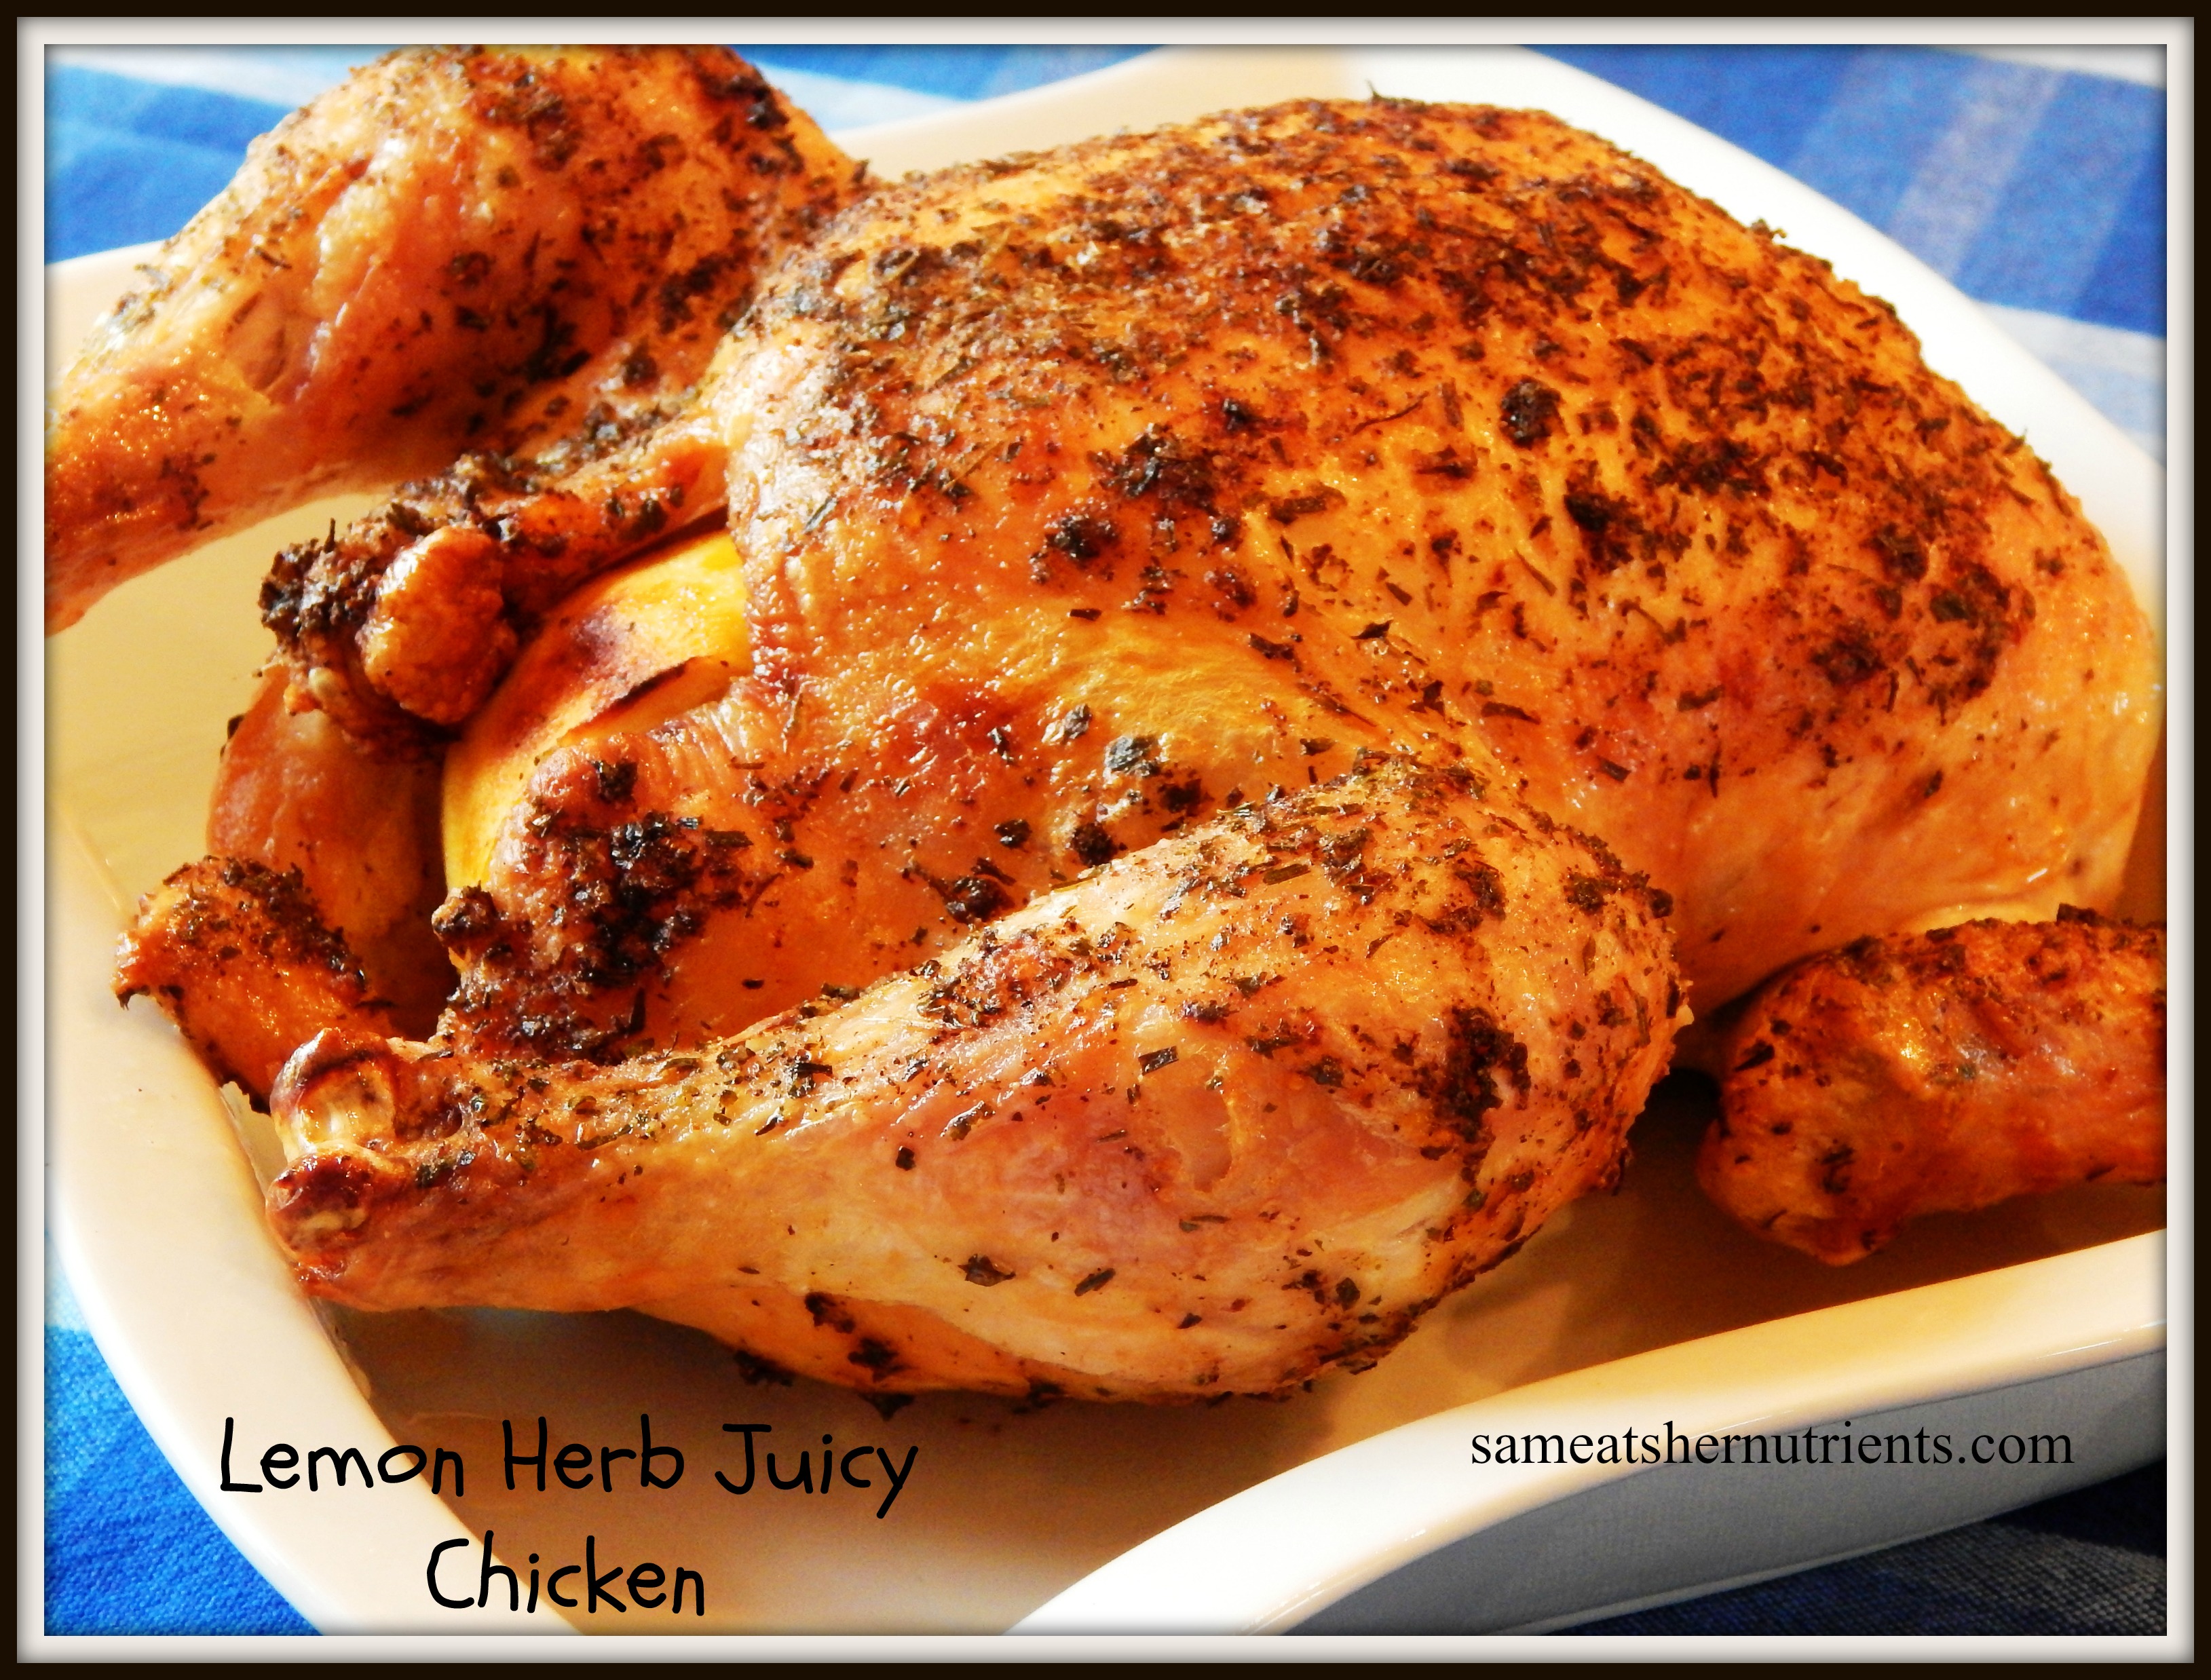
Aromatic Whole Grilled Chicken by Mark’s Daily Apple
Lamb Kofta (Meat on a Stick) by Stupid Easy Paleo
Fruit & Nut Broccoli Salad by Crafty Coin
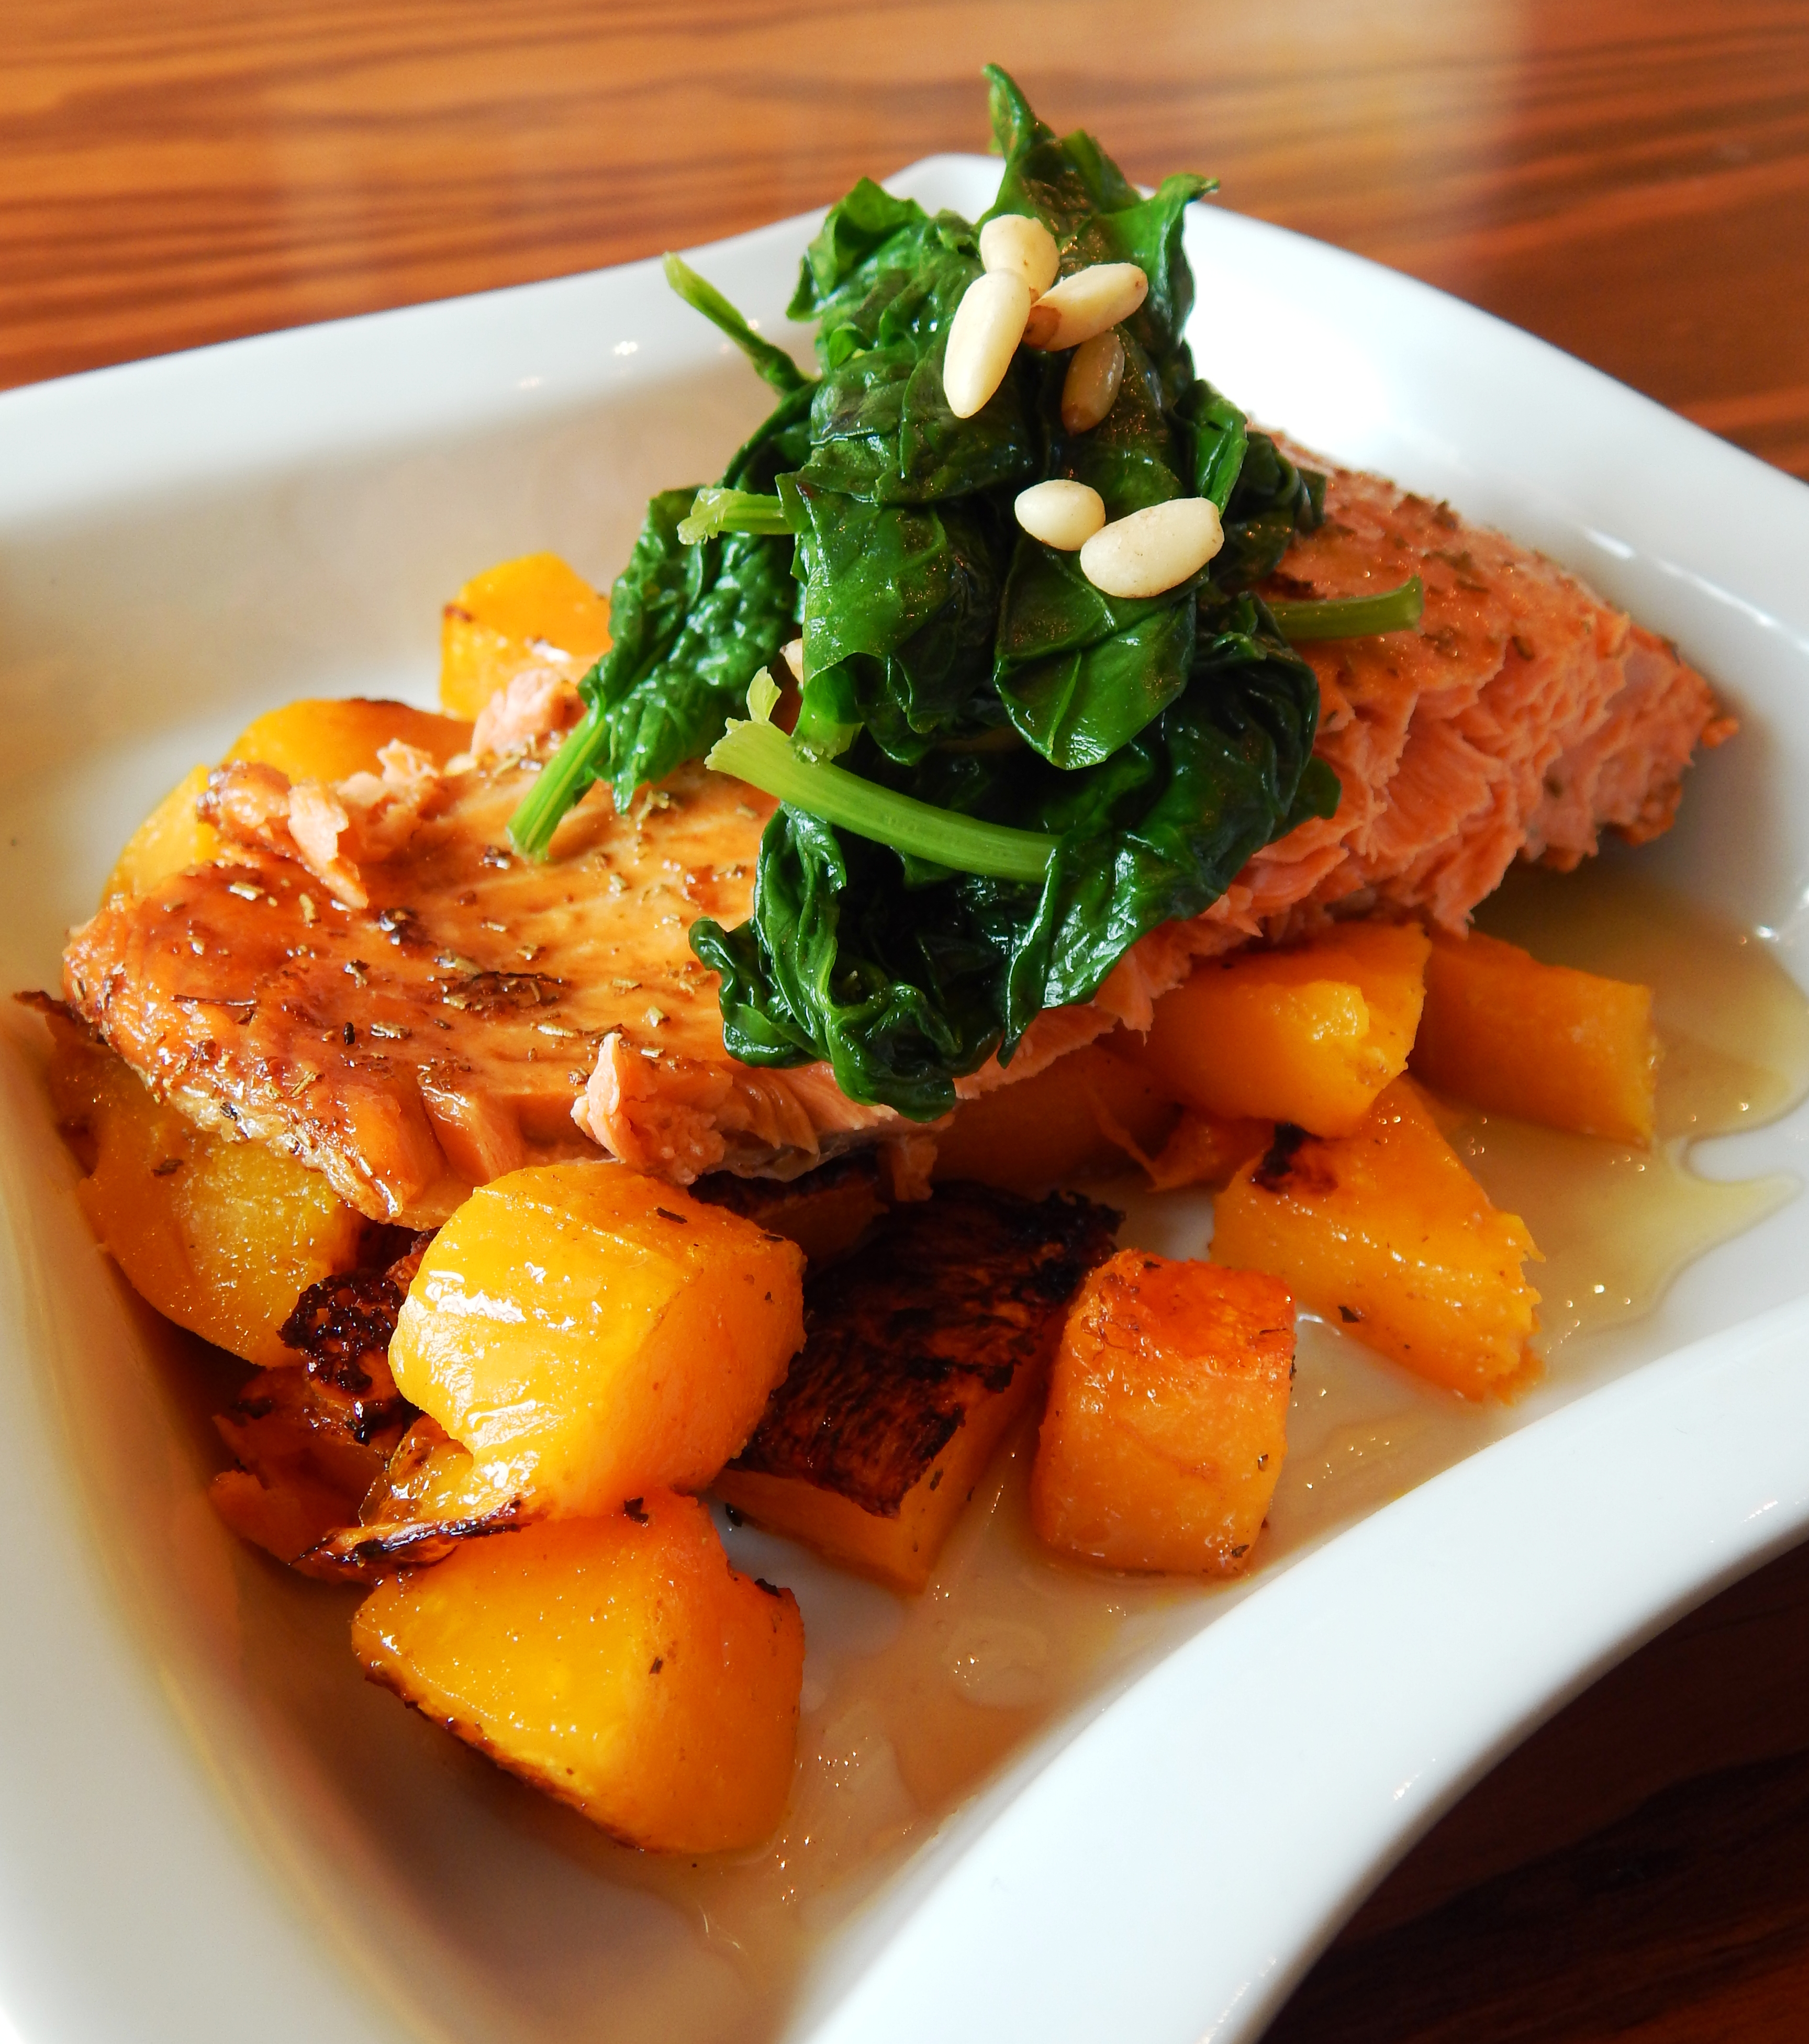
Salmon Cucumber Noodle Salad by Mangia Paleo
Nom Nom’s Sister’s Phenomenal Grilled Green Chicken by Nom Nom Paleo
Lemon Parsley Grilled Zucchini by Danielle Walker of Against All Grain
The Best Creamy Coleslaw by The Paleo Mom
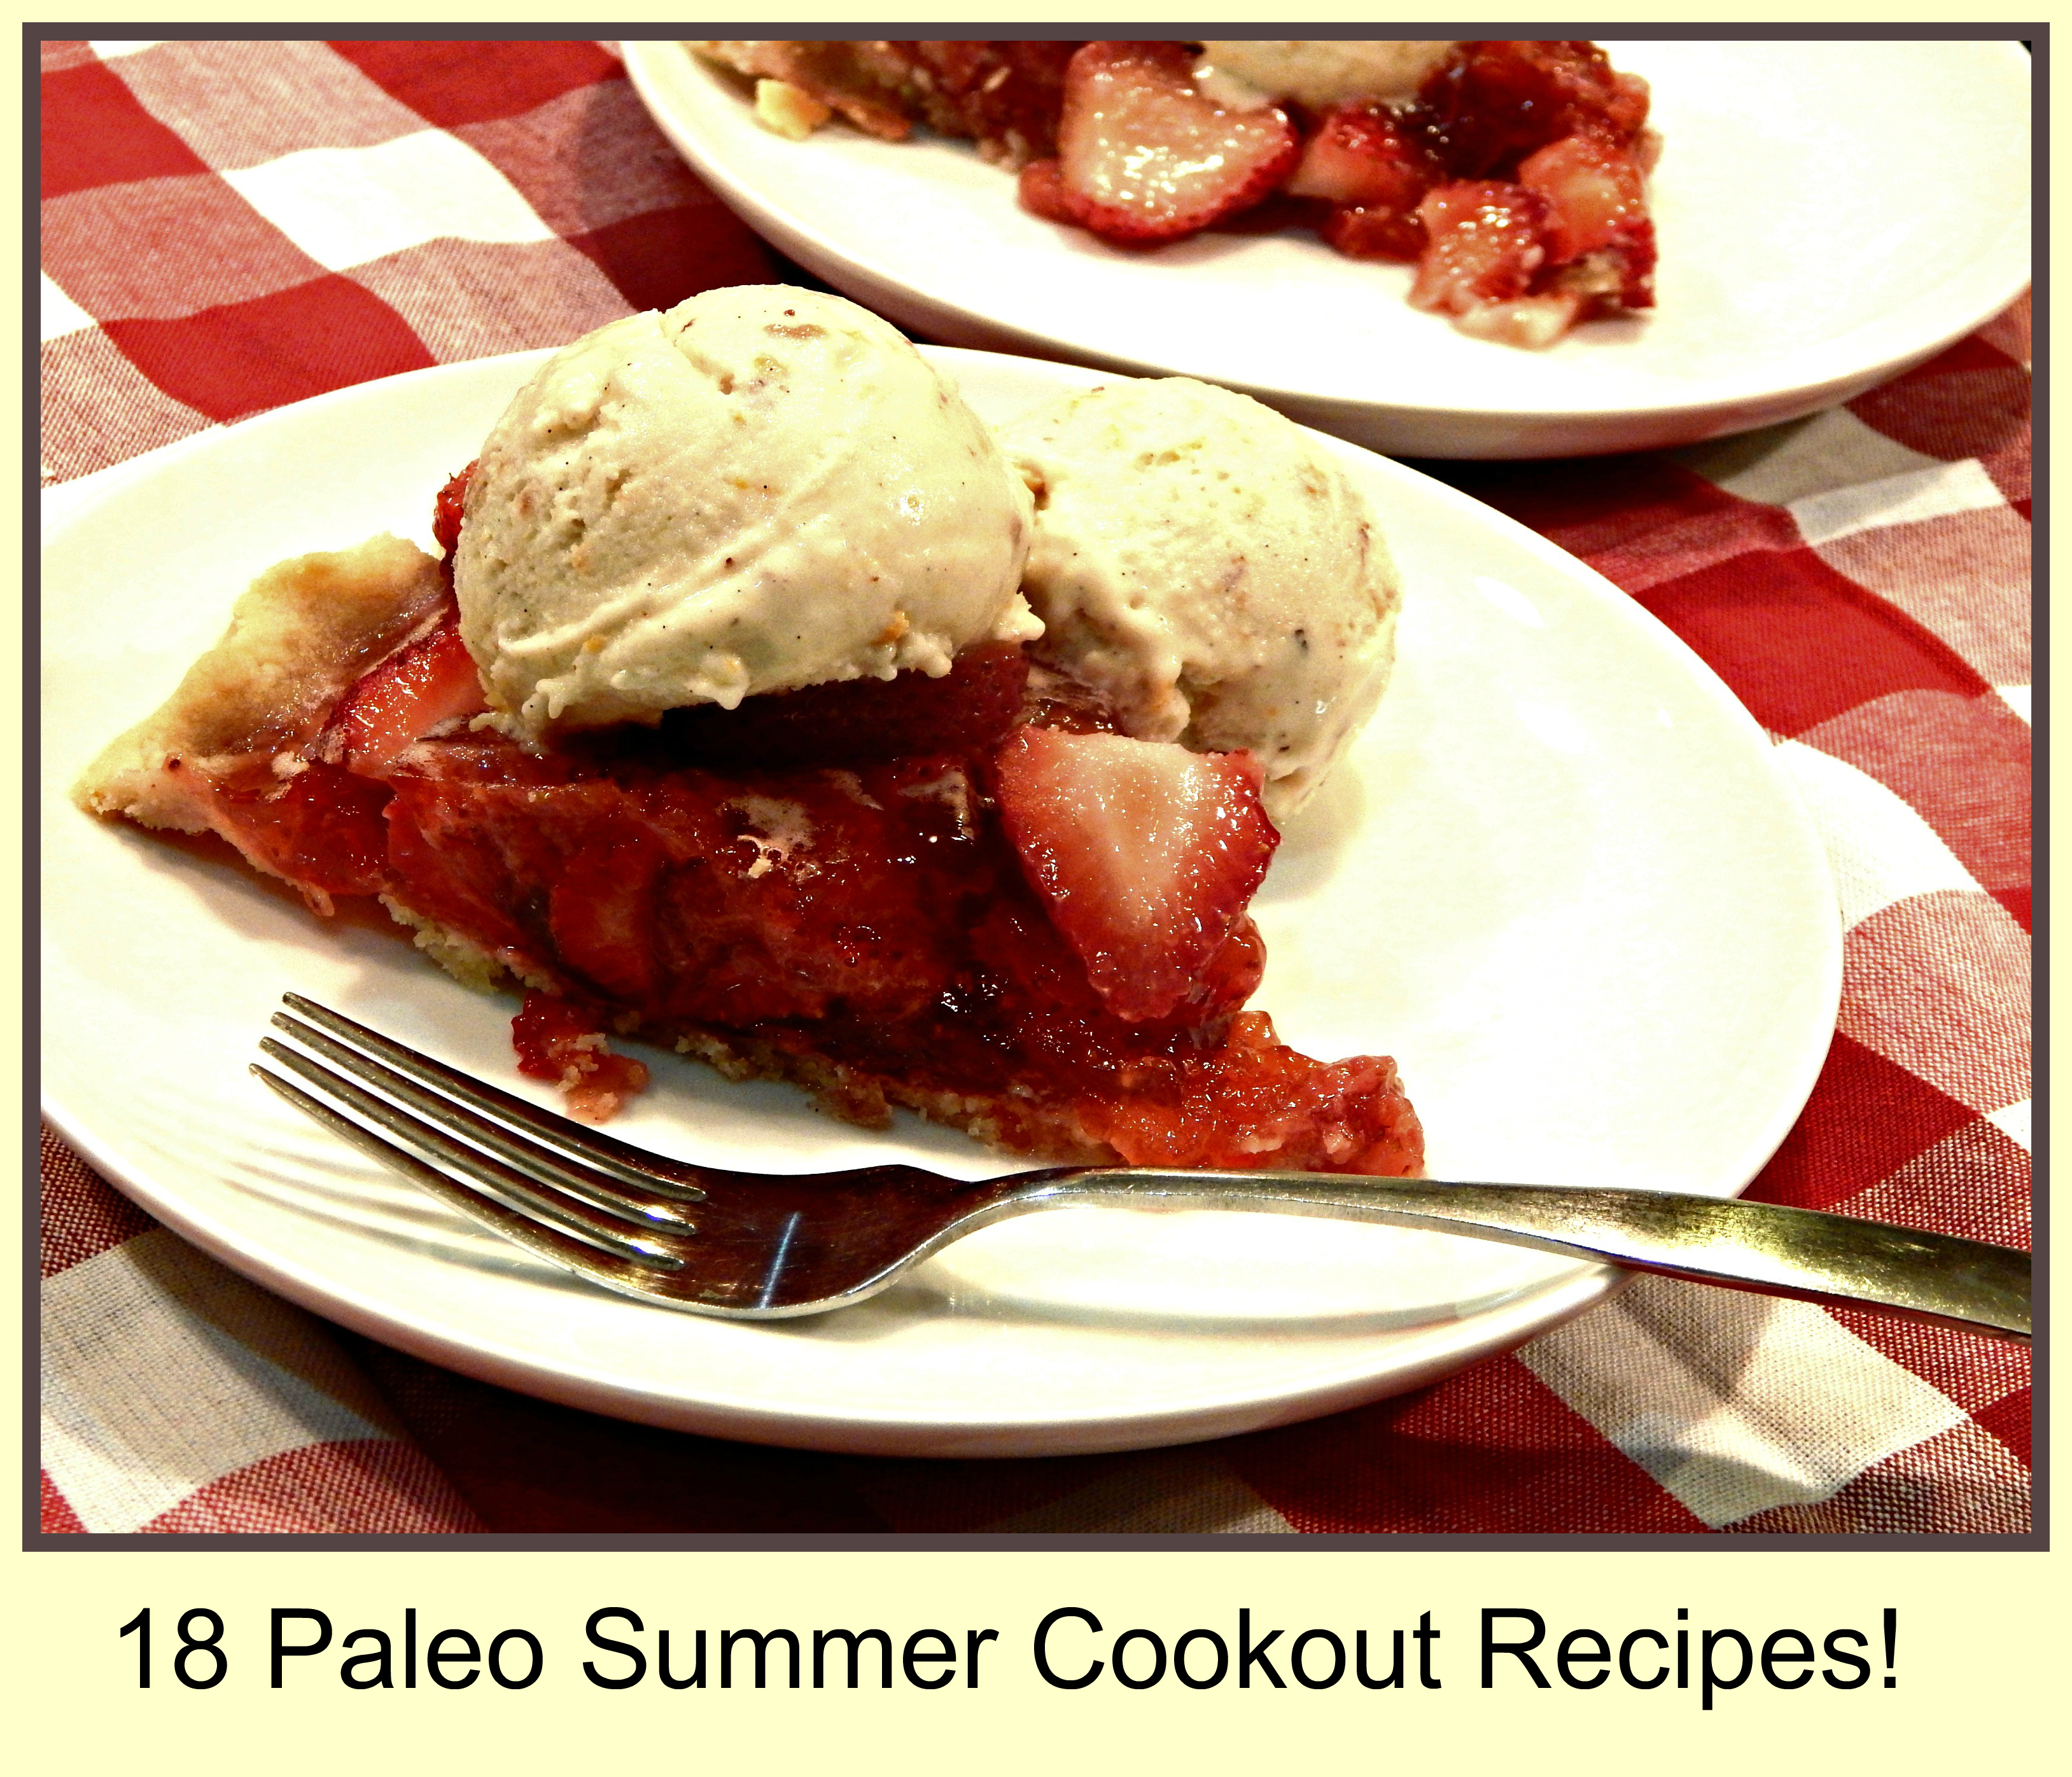
Paleo SCD Summer Strawberry Pie with Toasted Hazelnut Vanilla-Orange Ice Cream by Sam Eats Her Nutrients
Strawberry Sangria Sorbet by Sam Eats Her Nutrients
Strawberry Ice Cream Bon Bons by A Girl Worth Saving
S’More Worthy Graham Crackers by hopecentric

Strawberry Sangria Sorbet
Enjoy a Summer Cookout, have some fun, and share some delicious food! Happy June!

Eat Your Nutrients!


Recent Comments