After traveling in China a couple times about 14 years ago, I had a whole new appreciation for authentic Chinese cuisine, and when I returned home I searched for a cookbook that could help me recreate the flavors I had enjoyed while traveling in the beautiful country with such friendly and fascinating citizens. It was a magical time not only because we were adopting our two youngest daughters, but also because their cuisine was much, much different than the Chinese restaurants here in the states.

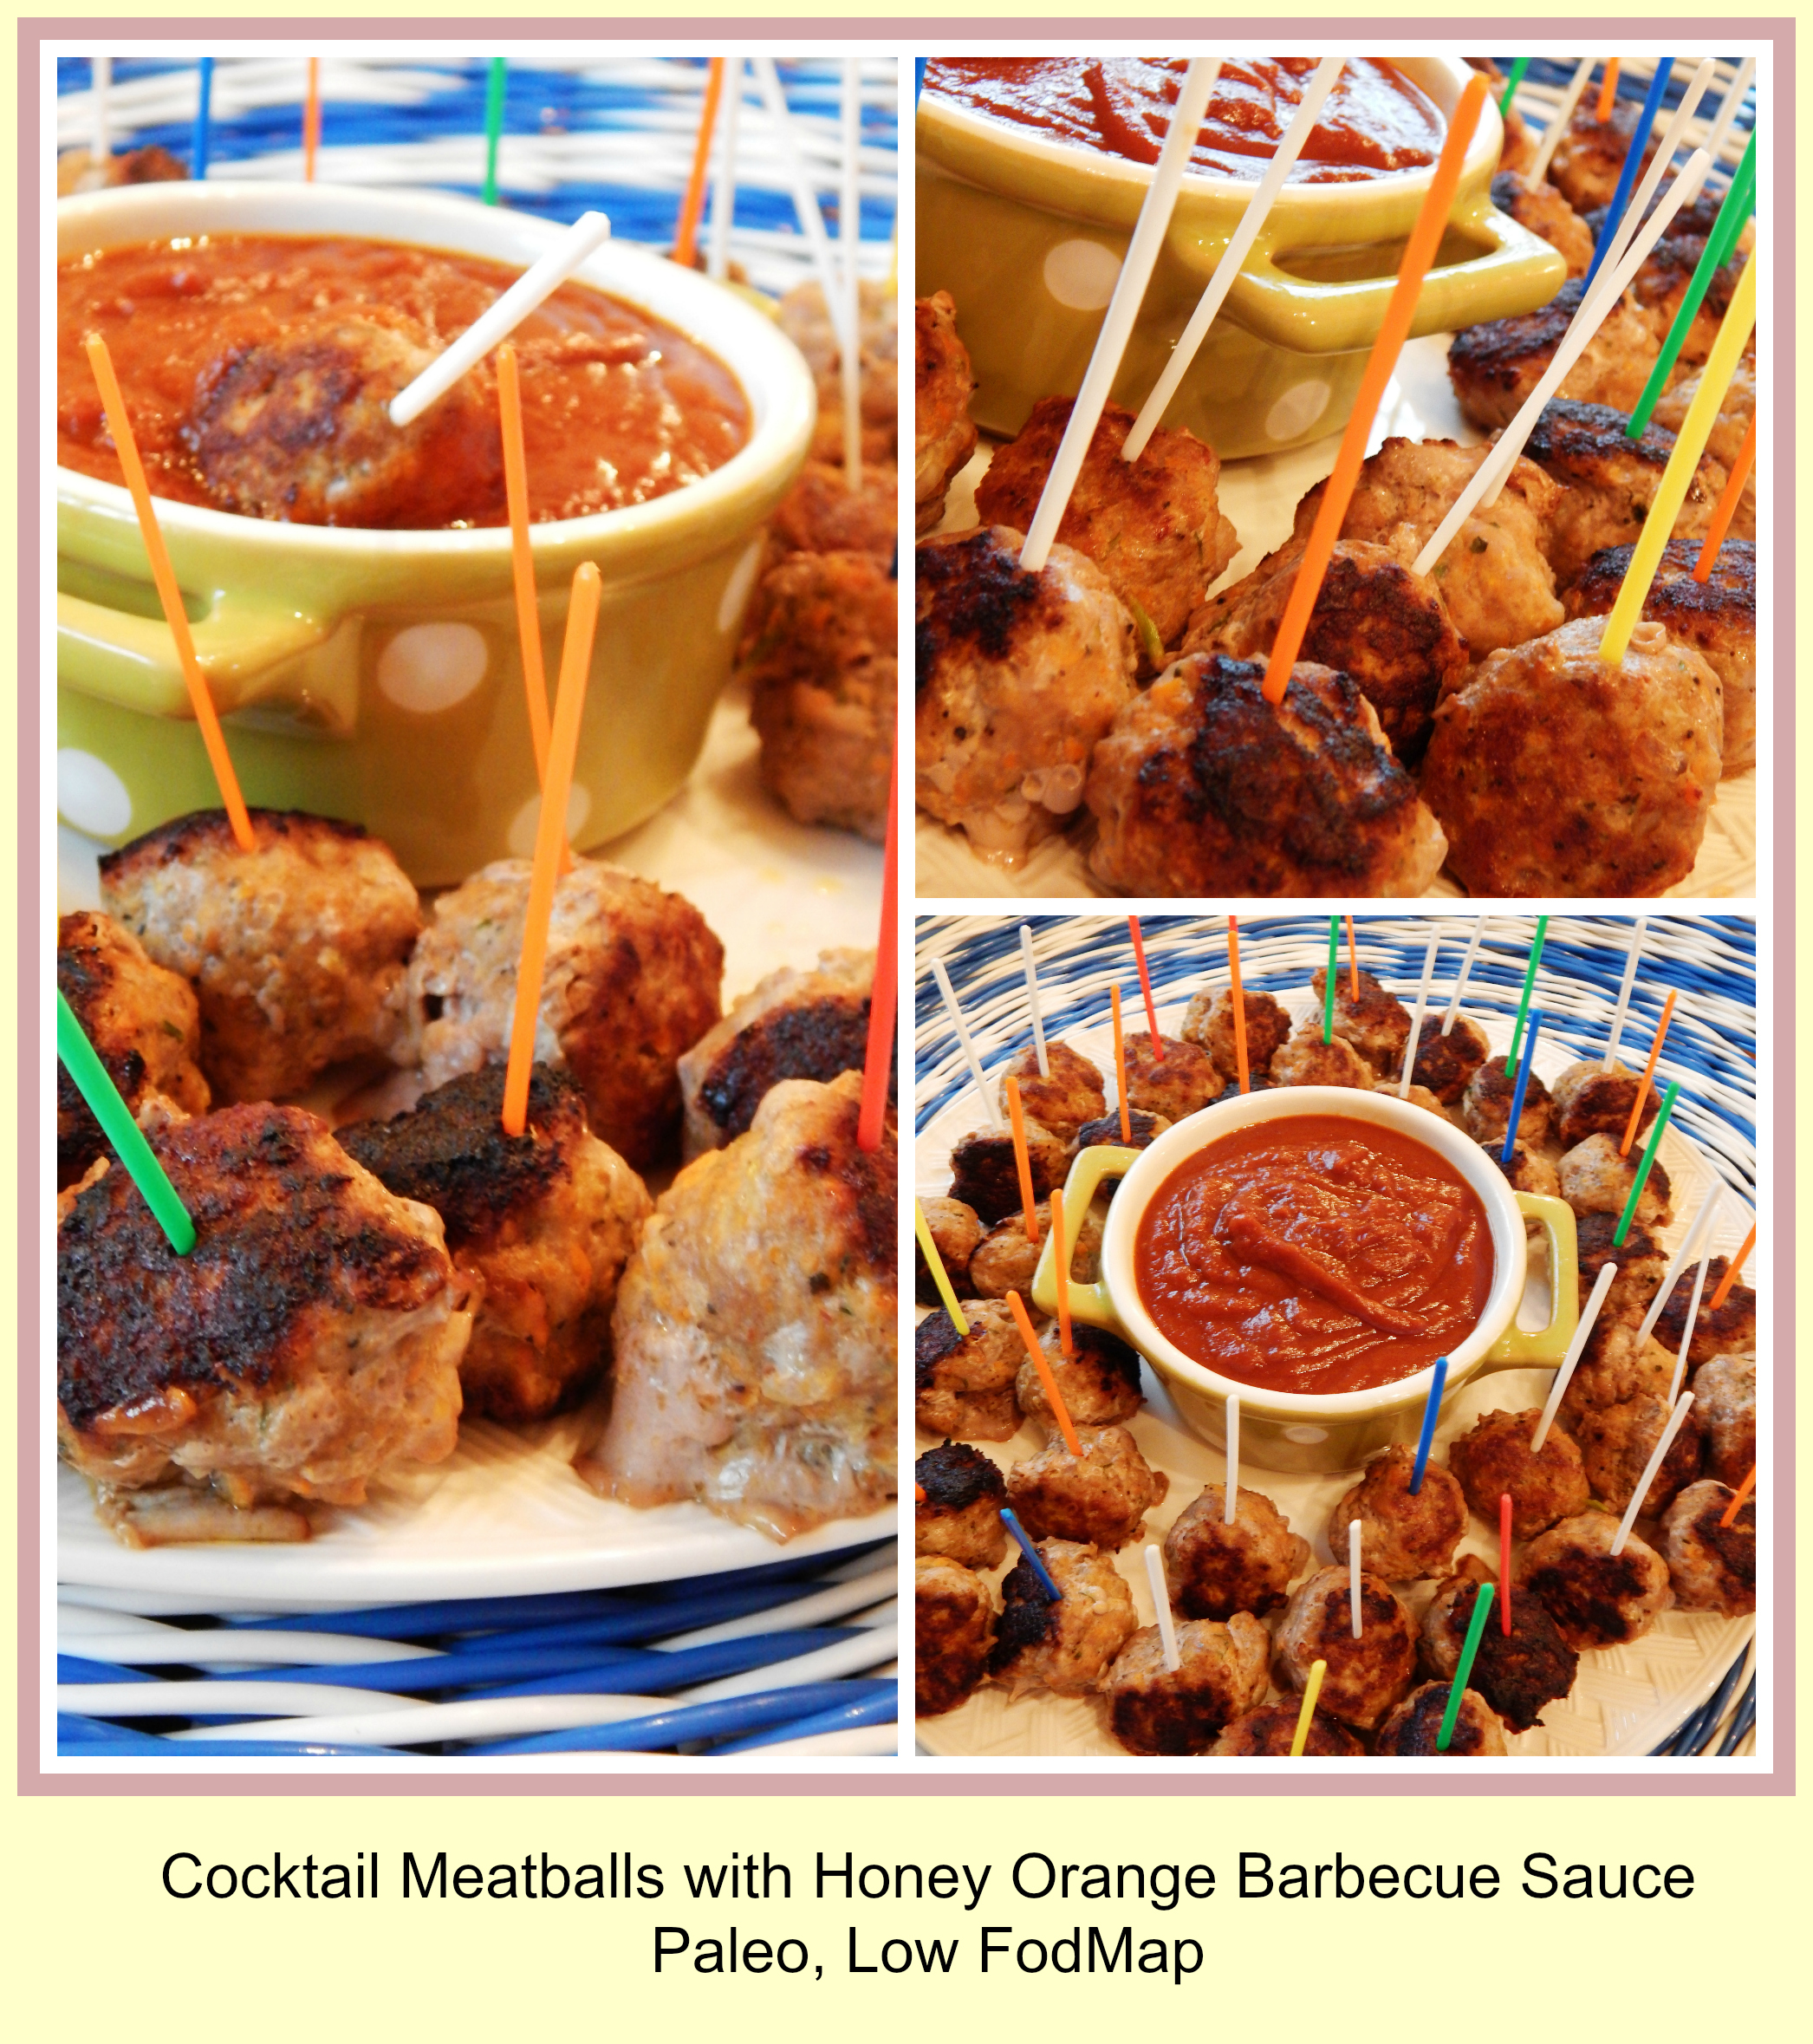
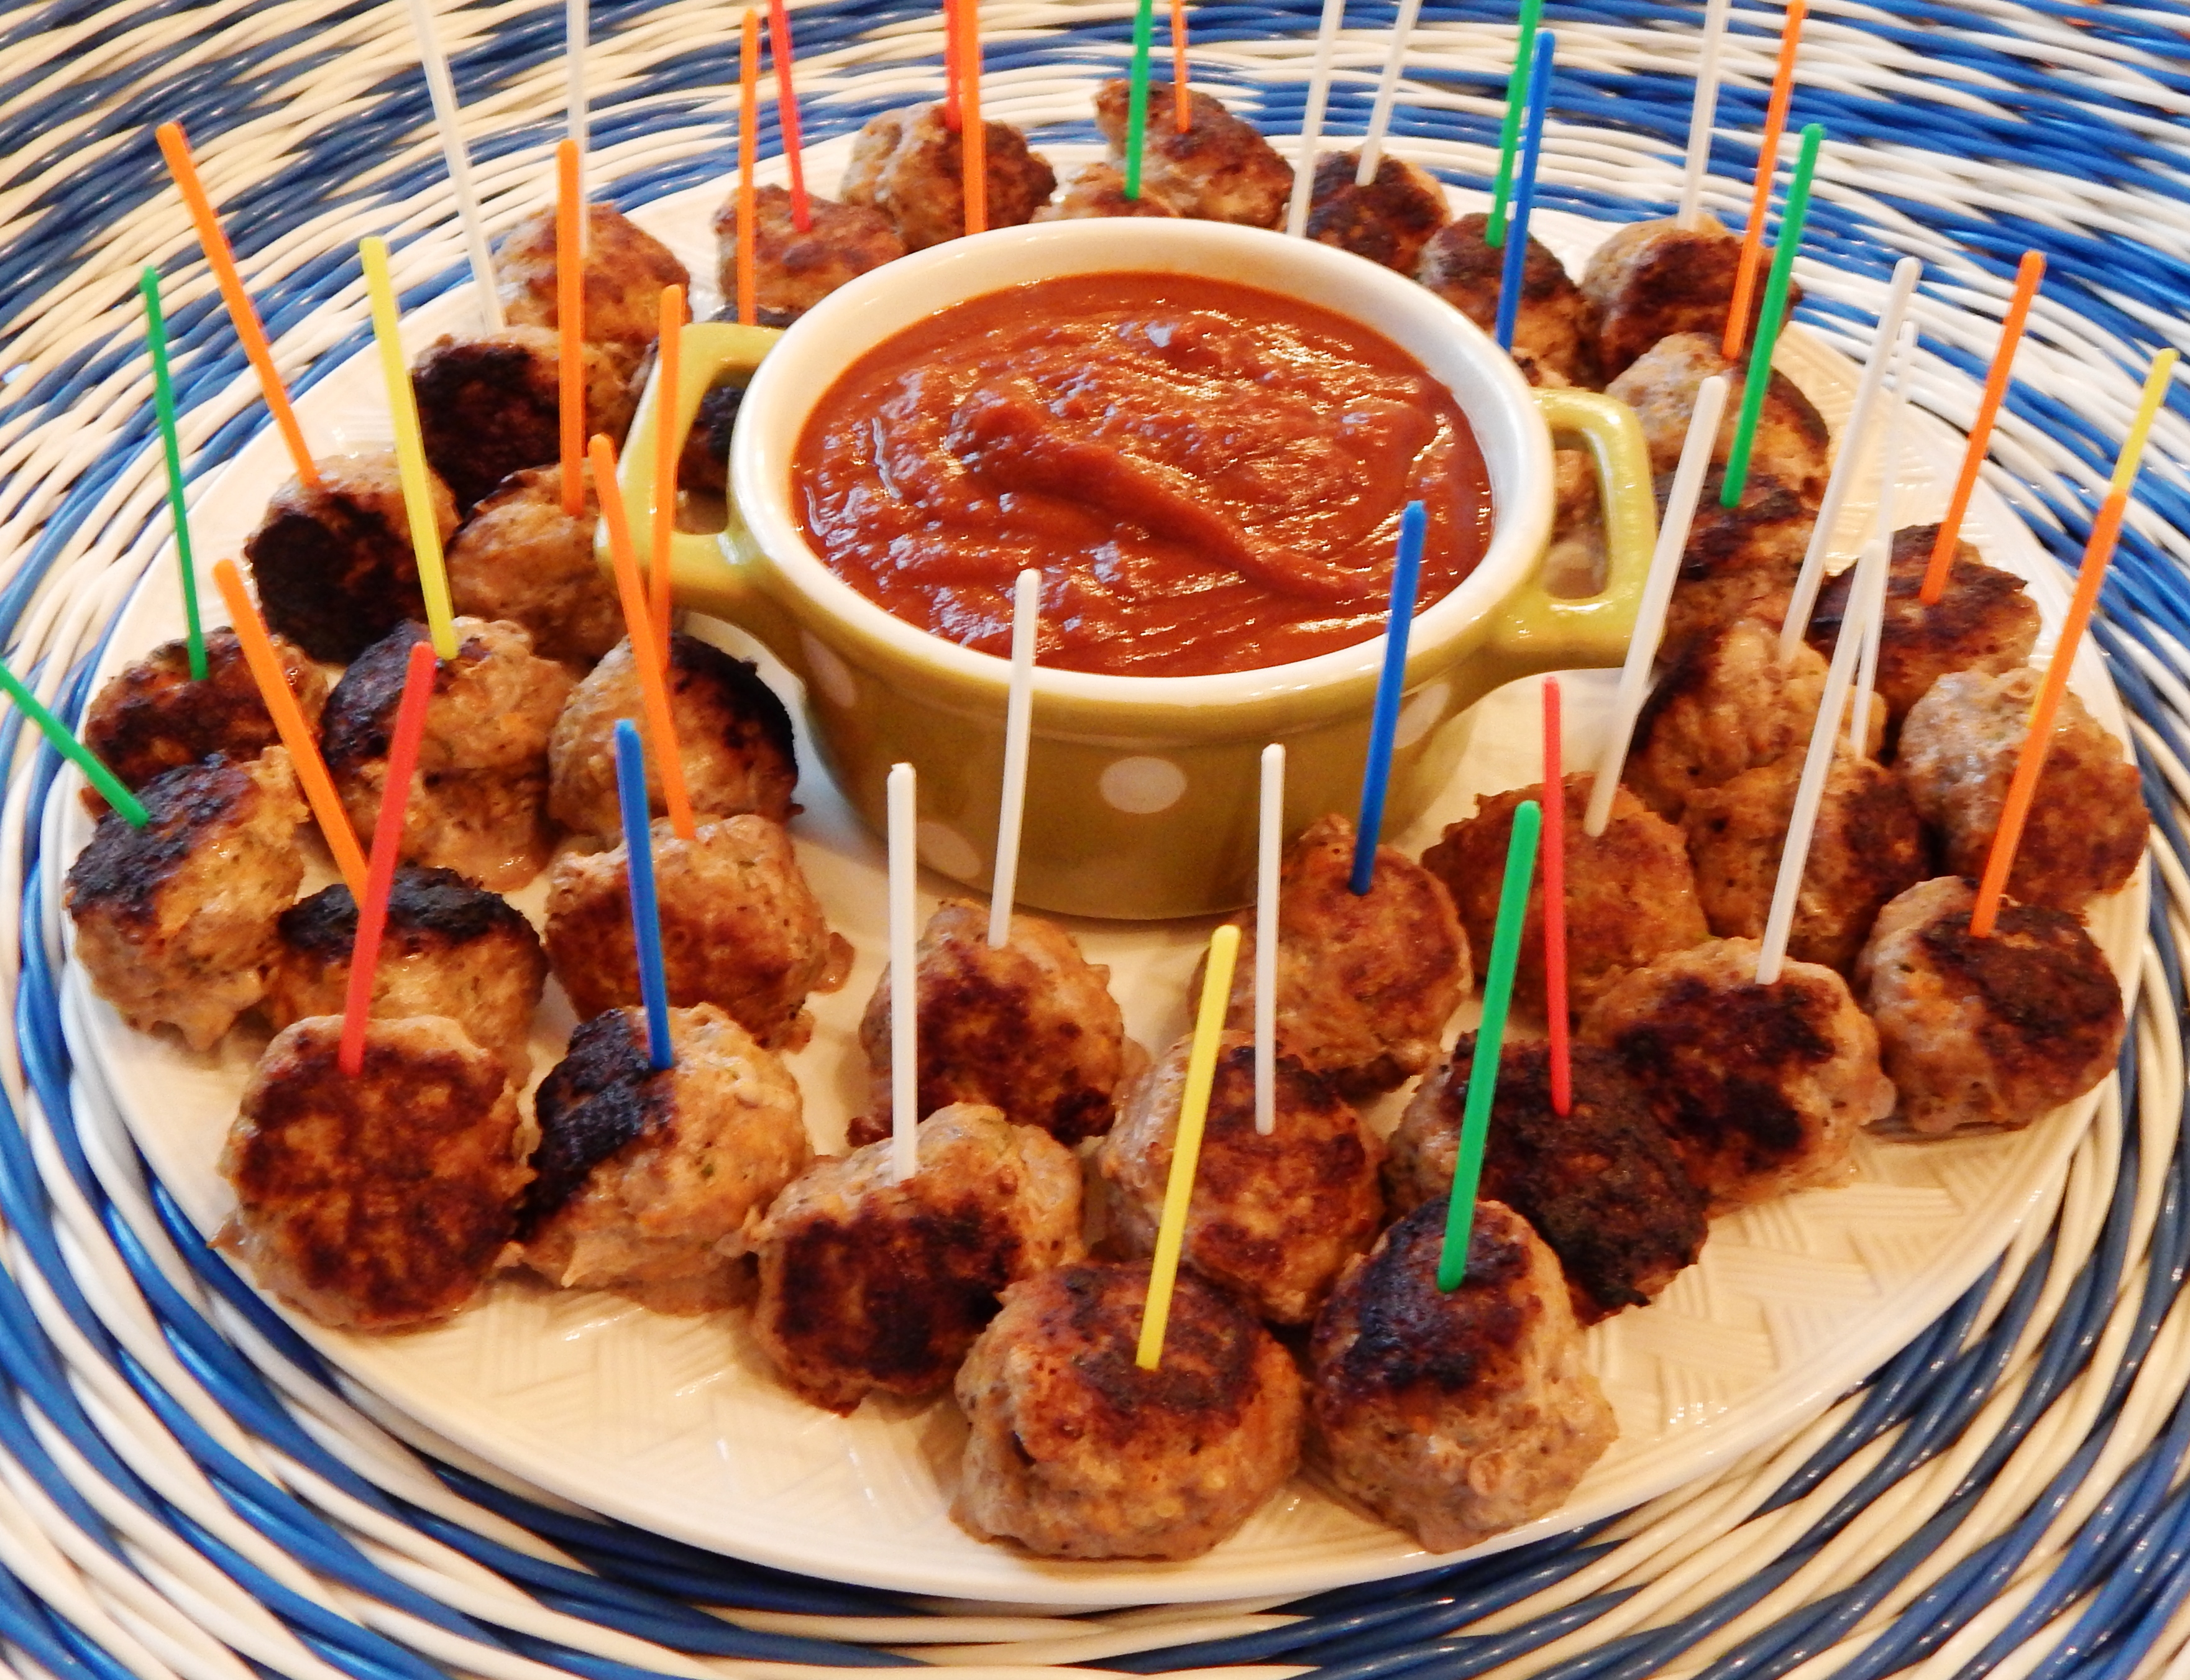
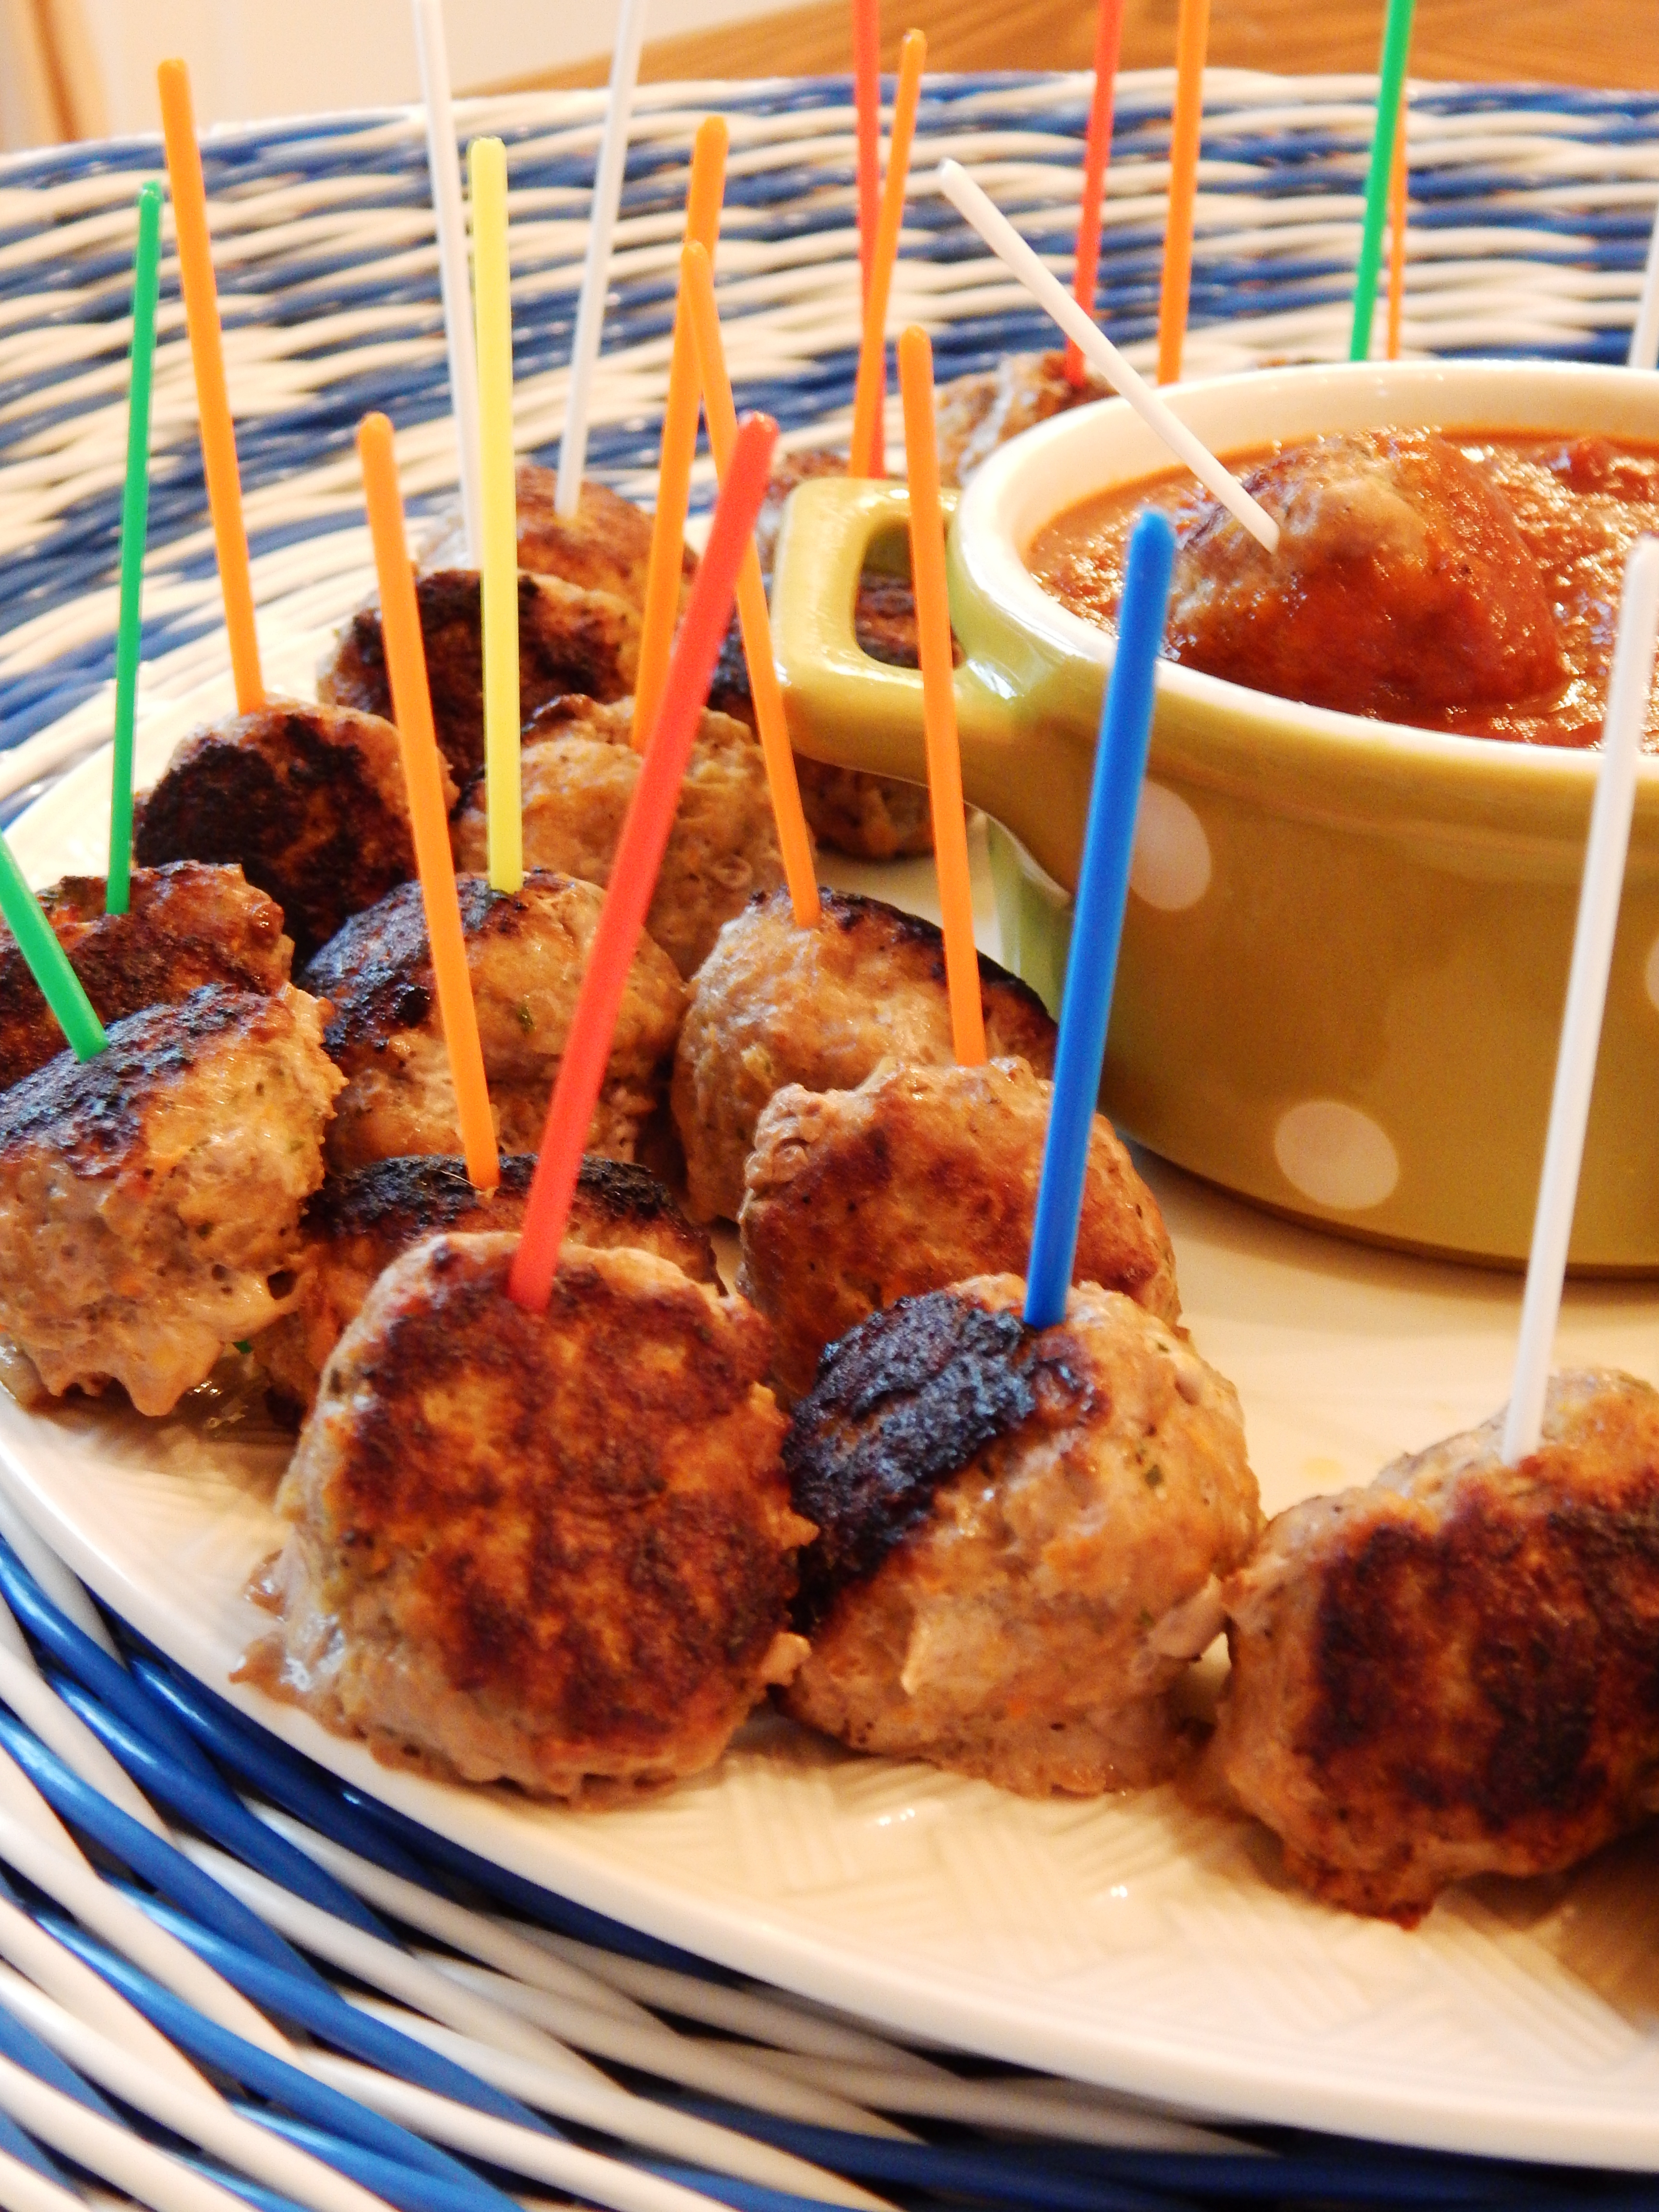
Won Ton Shrimp and Pork Meatballs
I found a book by Eileen Lin Fei Lo entitled The Chinese Kitchen. I consider her the Julia Child of Chinese Cuisine and Technique, and I started frequenting Chinese Markets back home and working my way through her cookbook, making delicious and authentic tasting dishes. It was a huge learning curve at first, and then I got better and better at it, and my family was thrilled. My little baby girls loved Congee and Steamed Egg Custards, and I was able to make them for them. Then I became gluten sensitive, and the book sat forlornly on the shelf collecting dust.

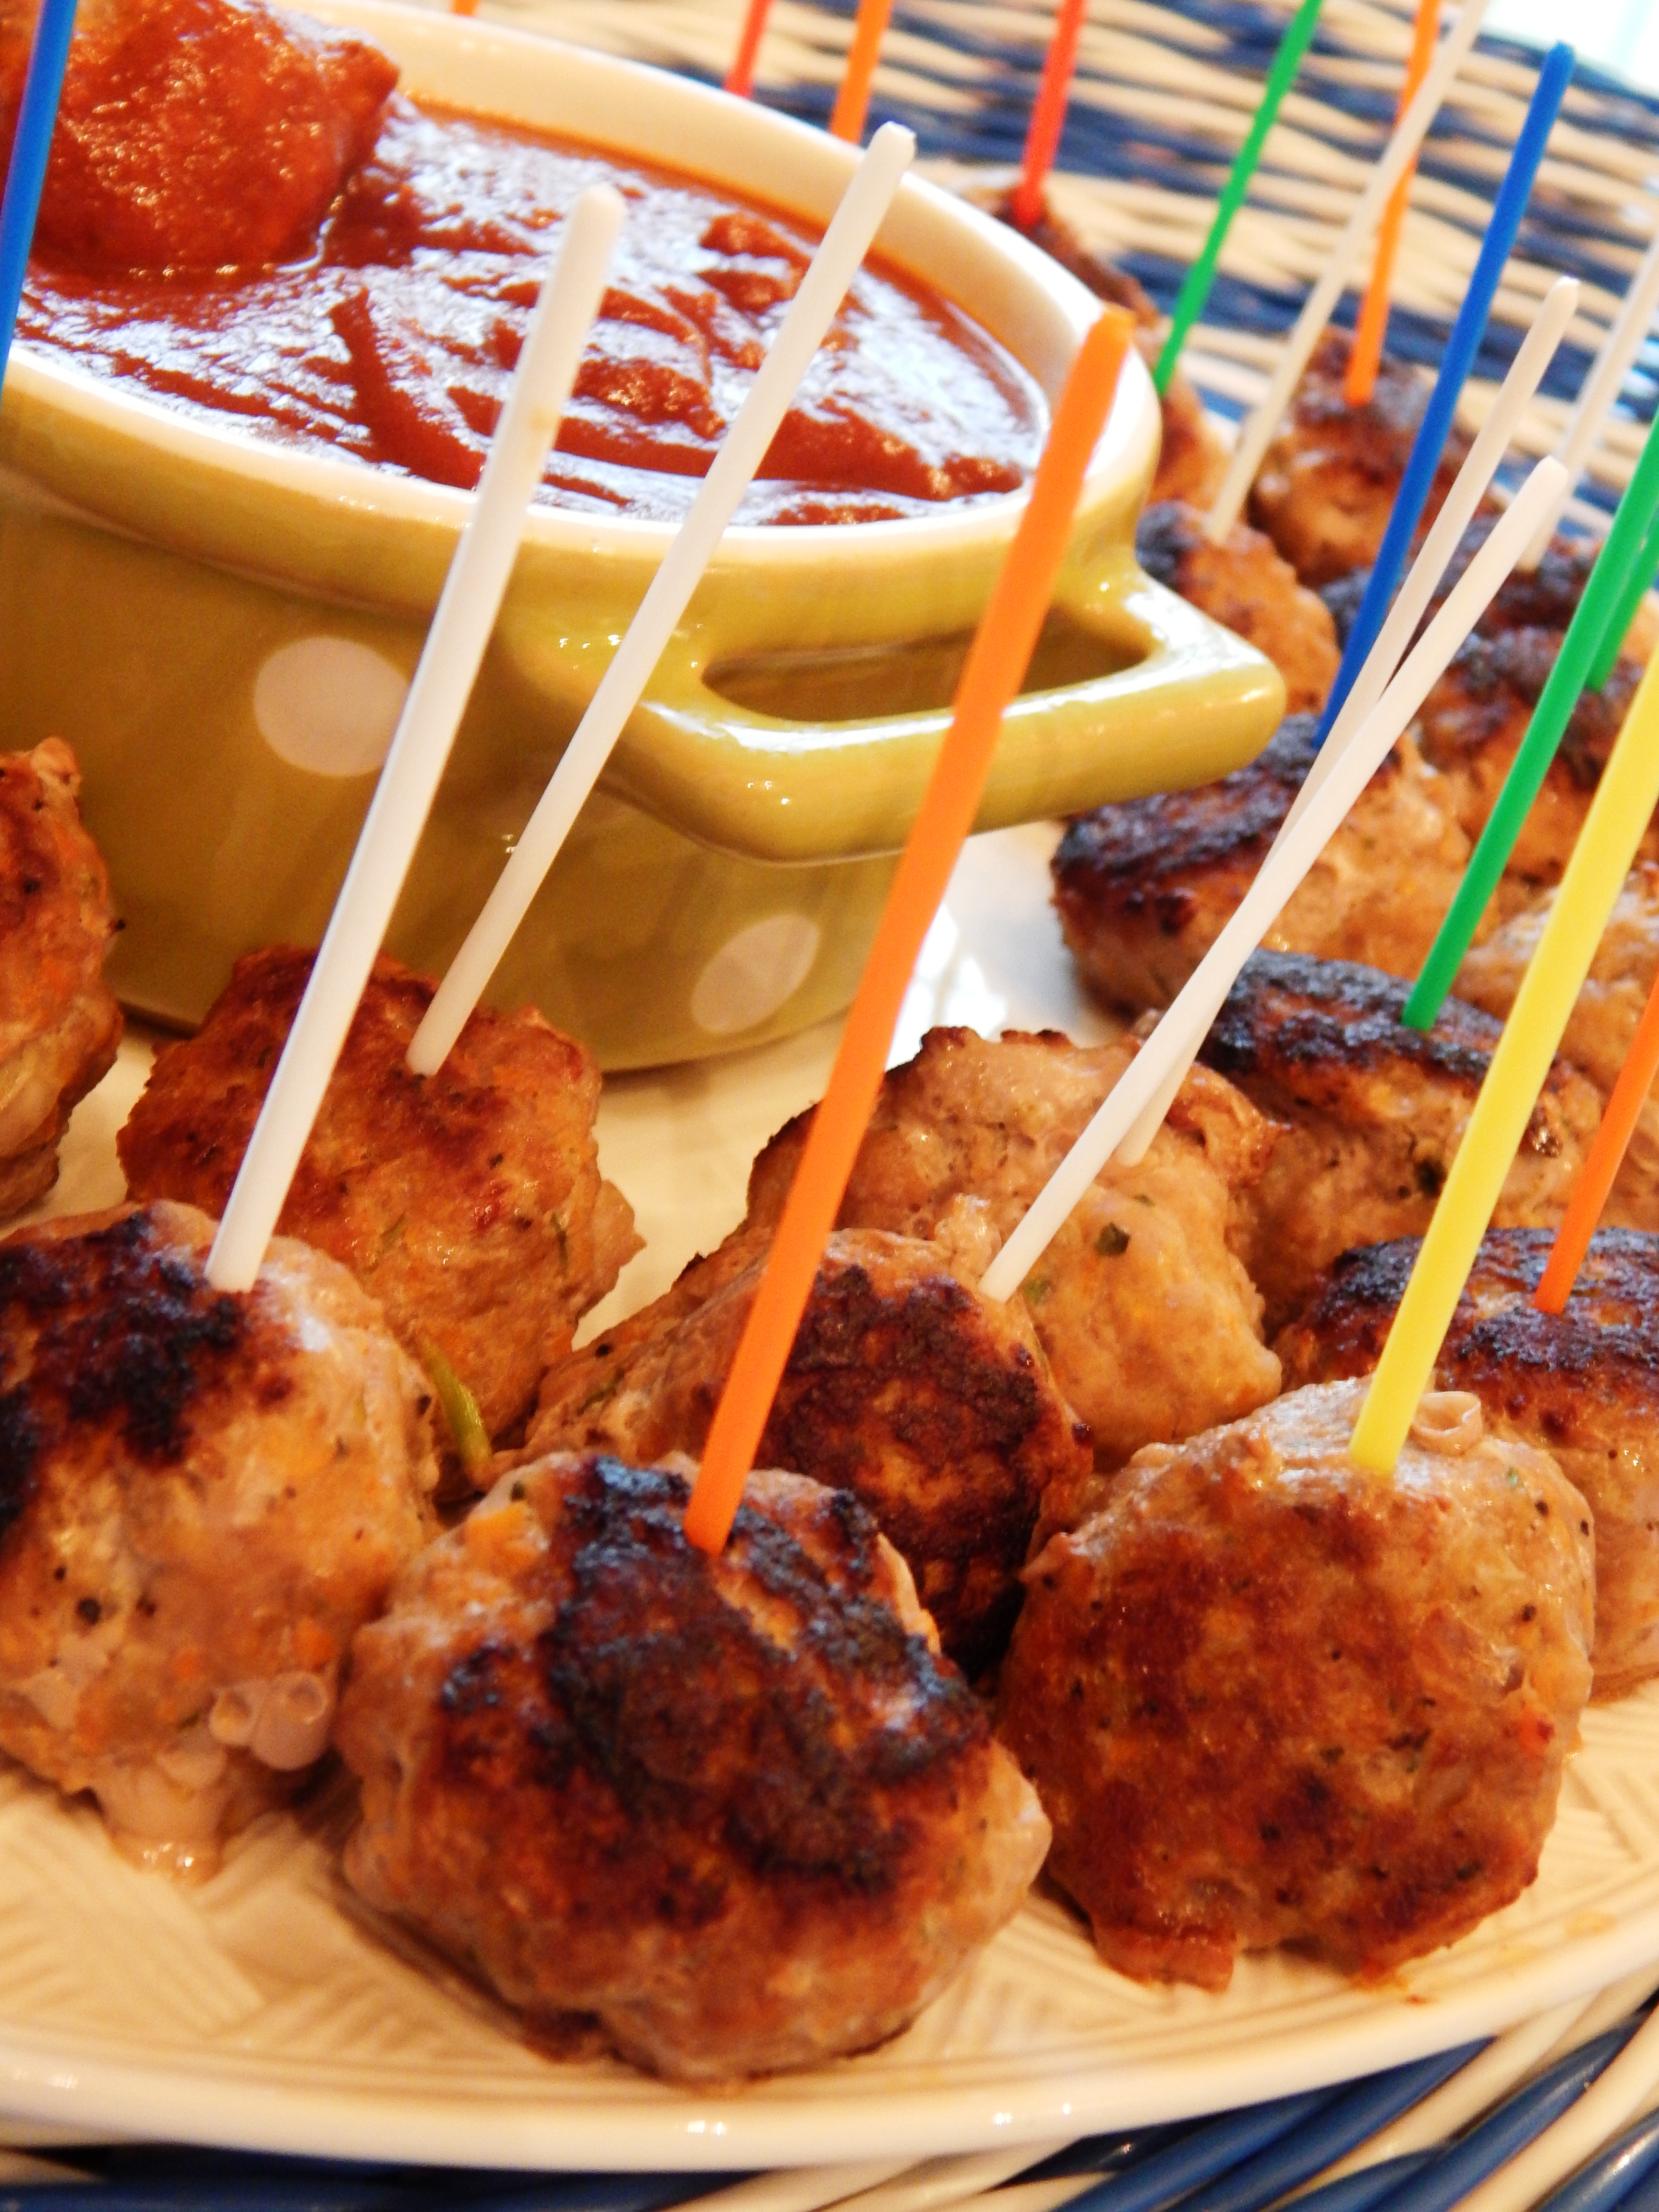
Won Ton Shrimp and Pork Meatballs
This week, I pulled it off a gluten free, wrapper-less, won ton that I think you will love regardless of your food preferences. I was craving those little won tons I used to eat, and I was determined to make a Paleo version of them. I was pretty gleeful after I mixed up the meatballs and let them refrigerate for a couple hours before forming them, because the meatballs were too soupy……… until I sprinkled in a couple teaspoons of gelatin at the very end and mixed it up again, then said a little prayer and popped them in the refrigerator.
When I took the mixture out of the refrigerator to form the balls, I could tell when I started rolling them that they were the perfect texture and were going to be silky on the tongue.
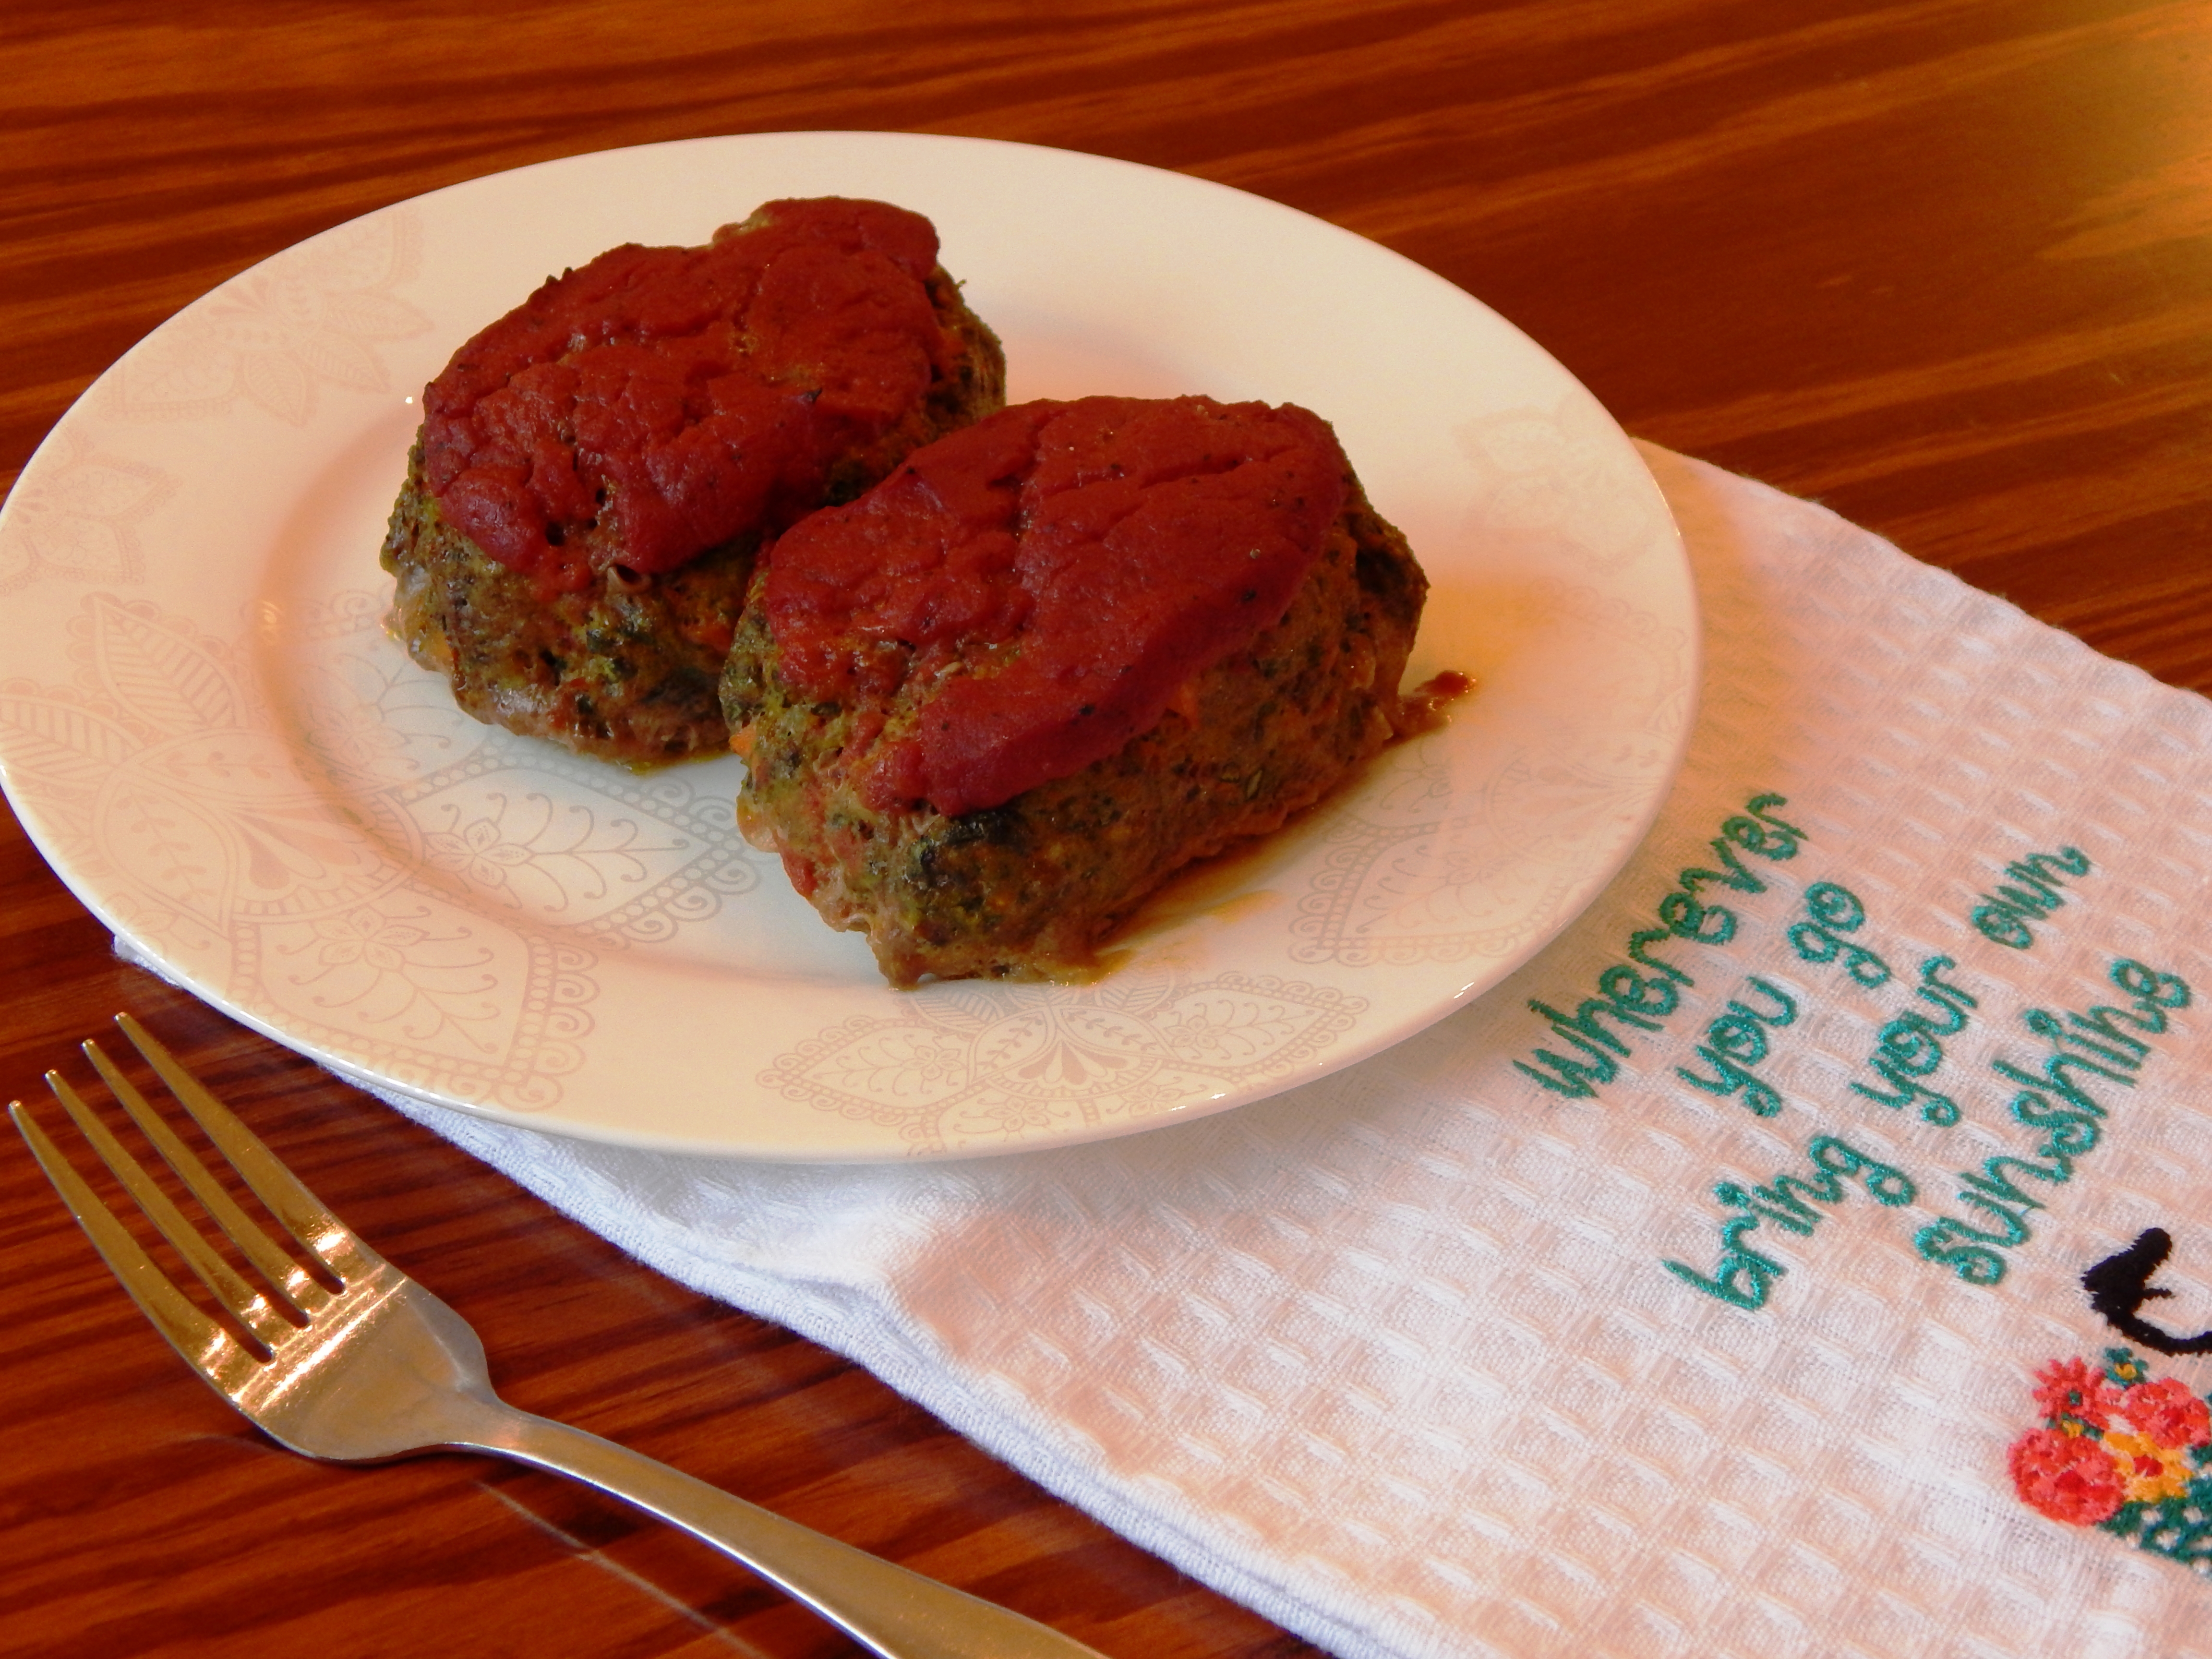
This meal is grain-free, so I made julienned carrots and zucchini sauteed in fat our your choice. I like olive oil, which is not traditional, but very healthy. My kids and hubby gobbled them up. The only sad part is there are no leftovers for lunch today. Next time I will make a double batch!
Won Ton Shrimp and Pork Meatballs
Ingredients:
1 Pound Pastured Ground Pork
1 1/2 Cups Cooked Baby Shrimp, finely diced
1 Tablespoon of Coconut Aminos (this is a fantastic soy substitute)
1 Tablespoon of Fish Sauce (I used Red Boat)
1 Teaspoon of Honey
1 Teaspoon of Toasted Sesame Oil
1 Teaspoon of Sea Salt
1/2 Teaspoon of Onion Powder
1/2 Teaspoon of Garlic Powder
1/2 Teaspoon of Ground Ginger
1/4 Teaspoon of White Pepper
2 Teaspoons of Grass Fed Gelatin (the kind that thickens like Vital Choice Green Label – see In My Pantry)
For Cooking:
2 Tablespoons of Olive Oil.
Mix all the ingredients together in a large bowl with your hands, except the gelatin, until very thoroughly blended. Sprinkle the gelatin over the top of the mixture, and quickly incorporate thoroughly with your hands. Place in the refrigerator for at least two hours and up to 24.
To make the won ton. Preheat the oven to 350º degrees. Form the won ton into tablespoon sized balls. Place the oil in a large non-stick skillet, and melt over medium high heat. When melted, evenly distribute in the skillet, and add the won ton. Cook on one side until lightly browned, then turn them and cook a few more minutes. Then place the pan in the oven for ten minutes to cook through the center.
Serve.

Eat Your Nutrients!


Recent Comments