There was this place we went in the Winter where we got a really good workout and had fun at the same time.
I was dating my then to be husband, and a Northern Michigan Winter could be long. I never knew any different, and I didn’t think to complain about the cold. It was how I was born, raised and lived my entire childhood and early adulthood.
Michigander’s were tough, resilient, and we knew how to have fun despite the weather.
Although there were plenty of outdoor activities, the raquetball club was one of our favorite Friday night spots. You could work up a great sweat, and the court was smaller than a tennis court, hitting the ball more frequently in fast succession was very satisfying. The loud popping echo of the ball hitting the walls was loud and invigorating. I really worked up an appetite, and it was tradition to stop afterwards and eat at our favorite Mexican restaurant. They had the BEST Chicken Taco Salad and Margaritas! The salad was really big, and you were full when you were done. It was not a light salad at all, but there were plenty of great ingredients in it.

Later, when we moved East and no longer played raquetball……after we were married and had two kids…….we recreated our own version at home and made it once a week religiously. It was very close, but I used a commercial dressing that I wouldn’t choose today. So, I’ve come up with my own dressing, without the soybean oil but all the great flavor!
Currently, I hadn’t made the salad in years, but lately I’ve really missed it.
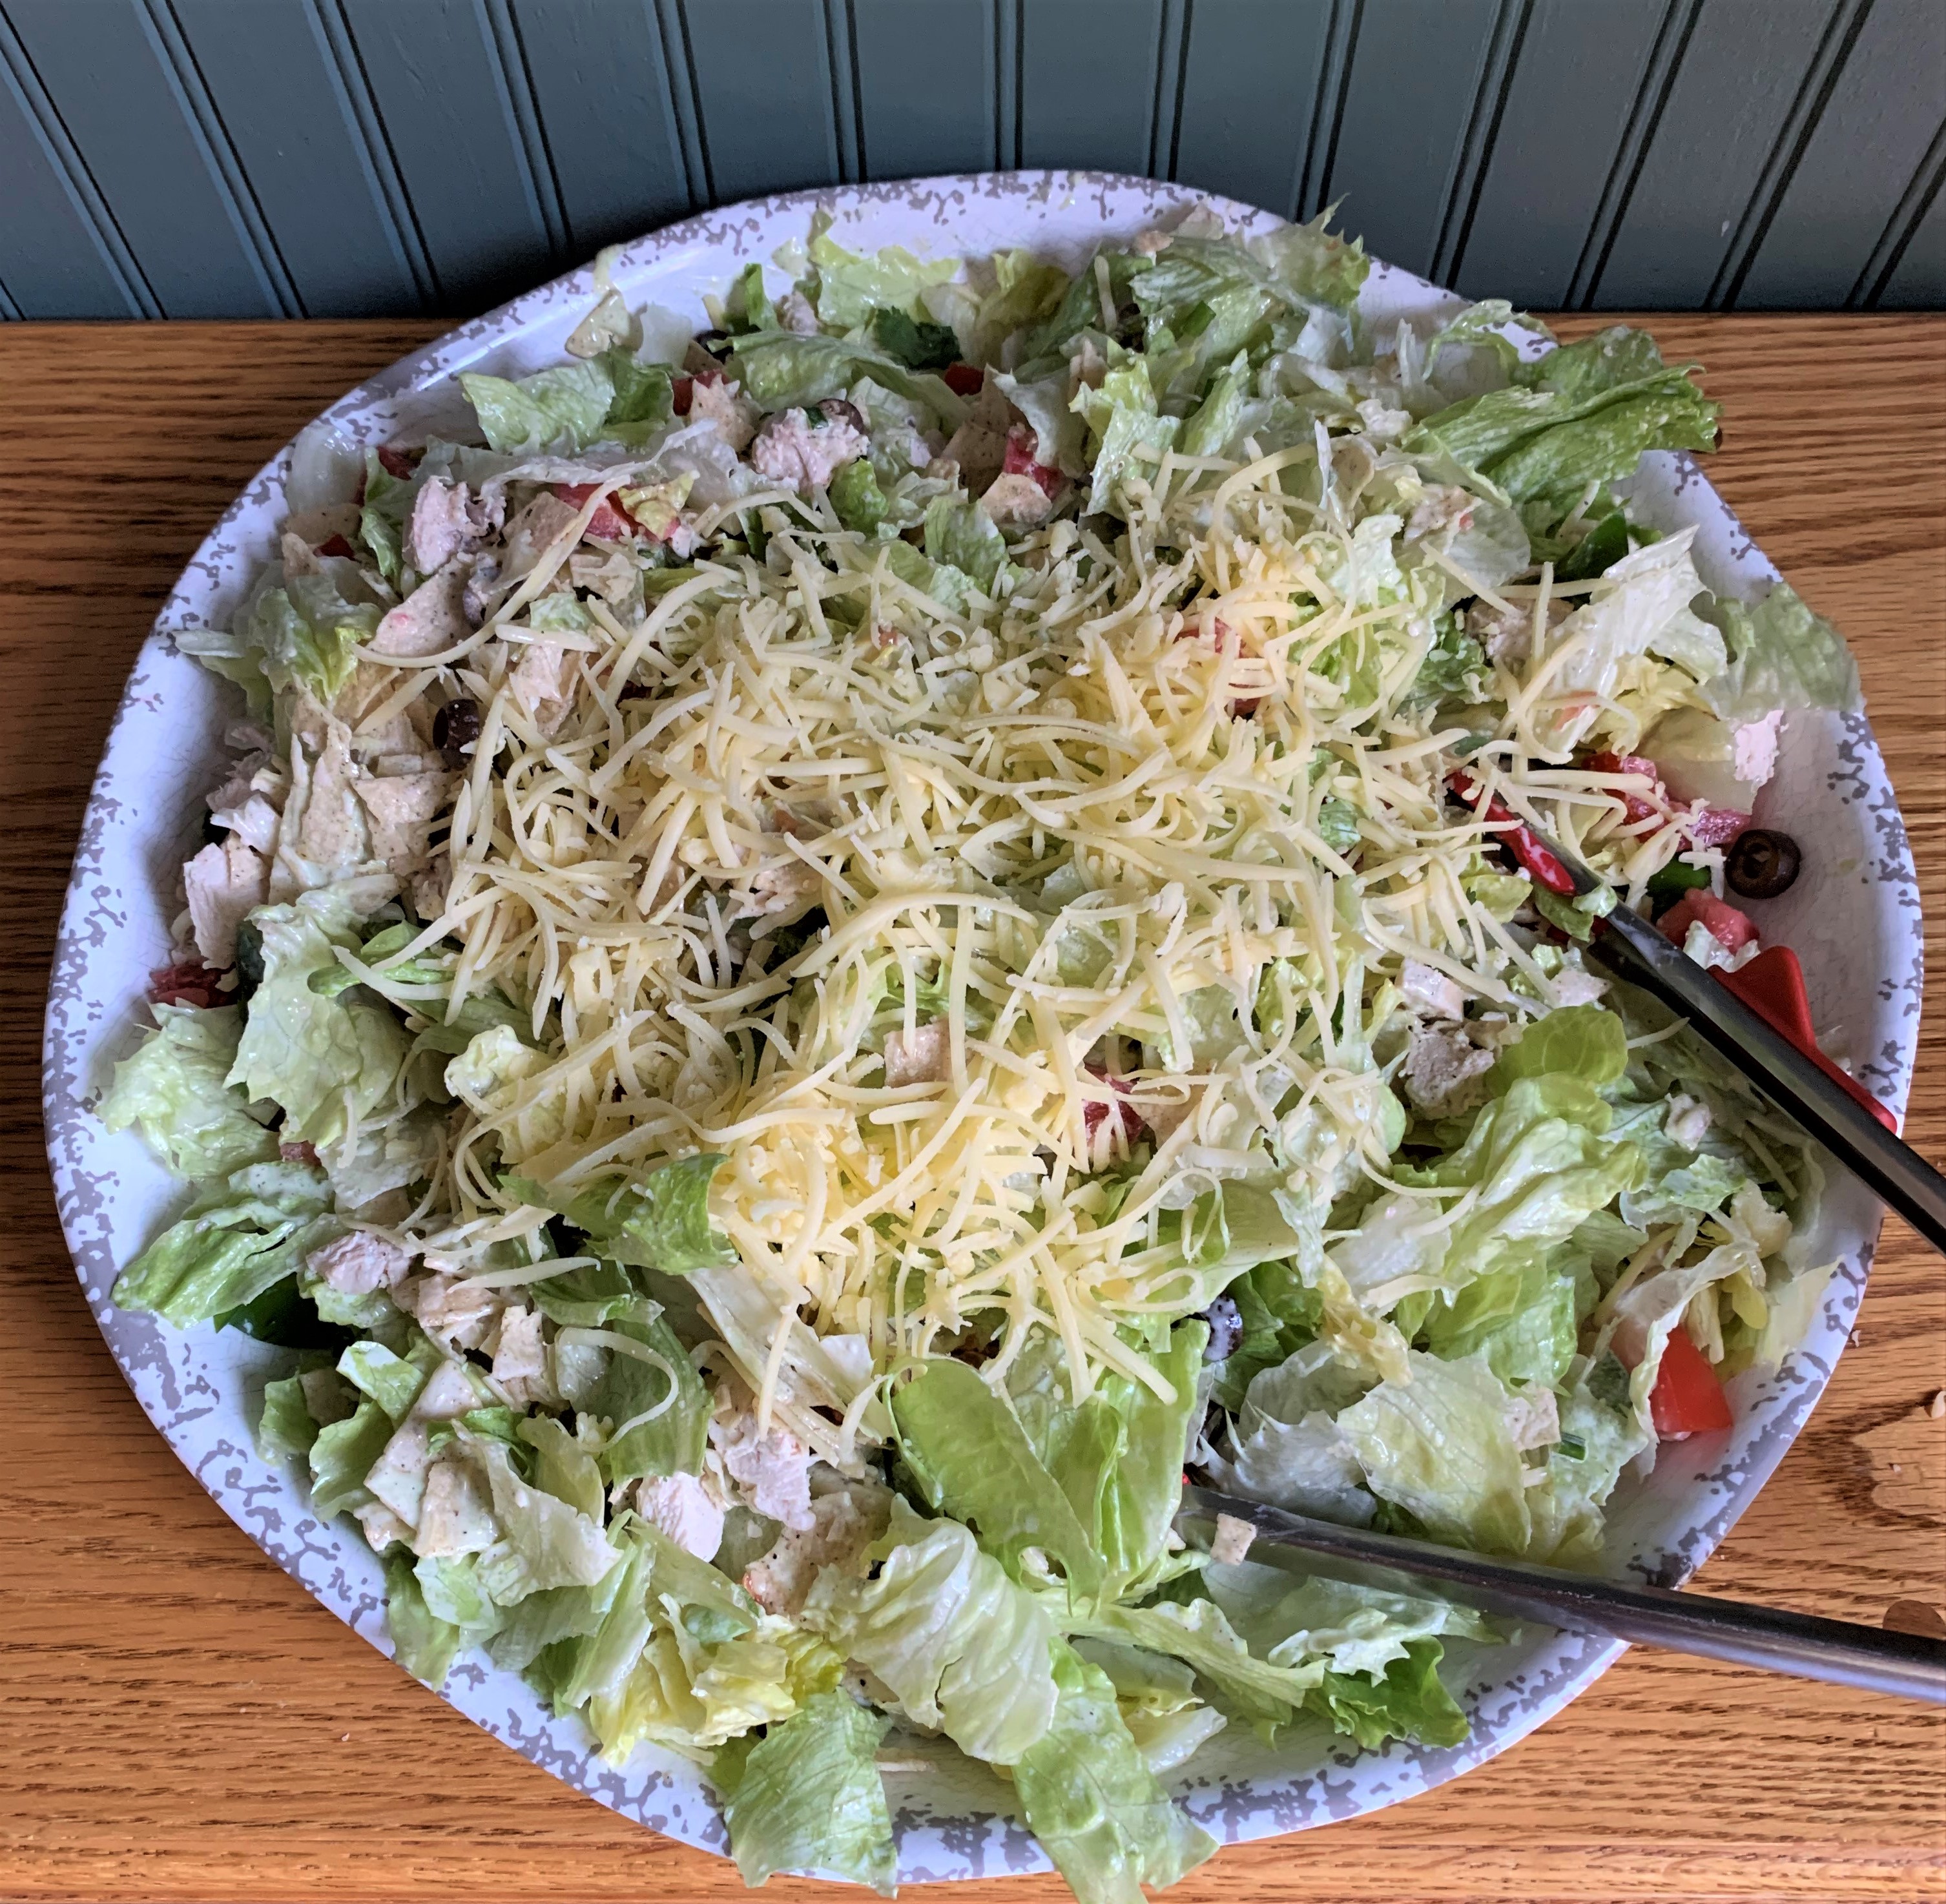
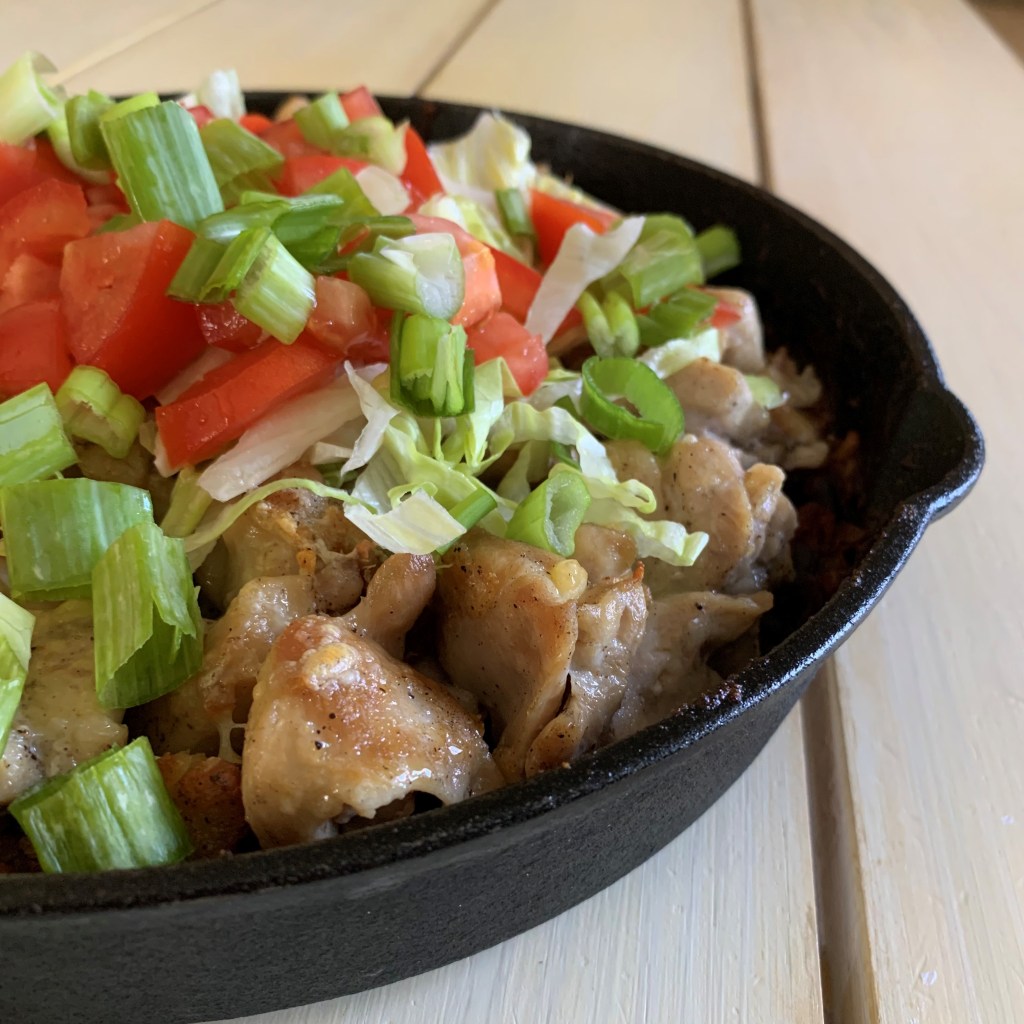
So, I have recreated it here with grain free chips, grass fed cheese and my own homemade creamy Italian dressing. It is darn good! My husband, Doug, said it was spot on, just like he remembered. I think you will love it too.
This is a BIG bowl. The leftovers are good, even though the chips won’t be as crunchy as when it is freshly made, and you can half it if you desire! Now all you have to do is:
Build It! Here’s the recipe:

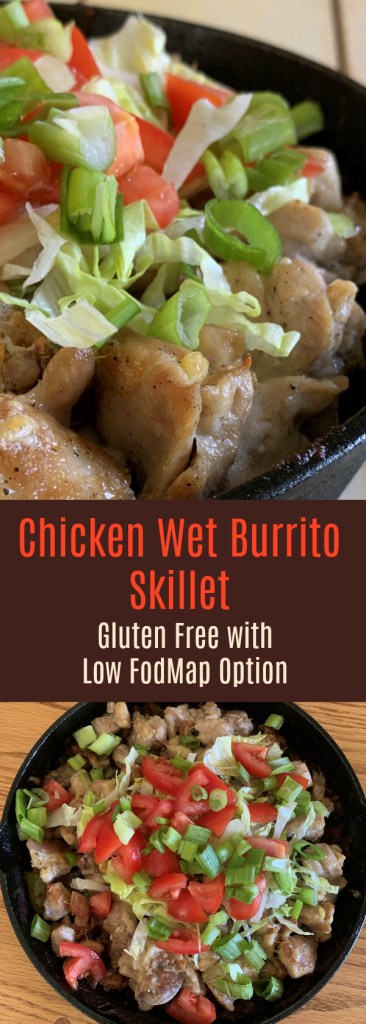
Chicken Taco Salad with Creamy Italian Dressing
Ingredients:
4 Boneless Chicken Breasts
8 Cups of Iceberg Lettuce, torn into bite sized pieces
8 oz. of Grass Fed Cheddar Cheese, shredded
1 Can of Sliced Black Olives (I used this 3.8 oz. can of Field Day)
1/4 Cup of Sliced Scallions
2 Medium Sized Ripe Tomatoes, Chopped
1 Large Green Pepper, Diced
Cilantro (optional) Chopped, a handful
1 Bag of Siete Sea Salt Chips (5 oz) Crushed with your hands
Directions:
Make the Creamy Italian Dressing below and refrigerate.
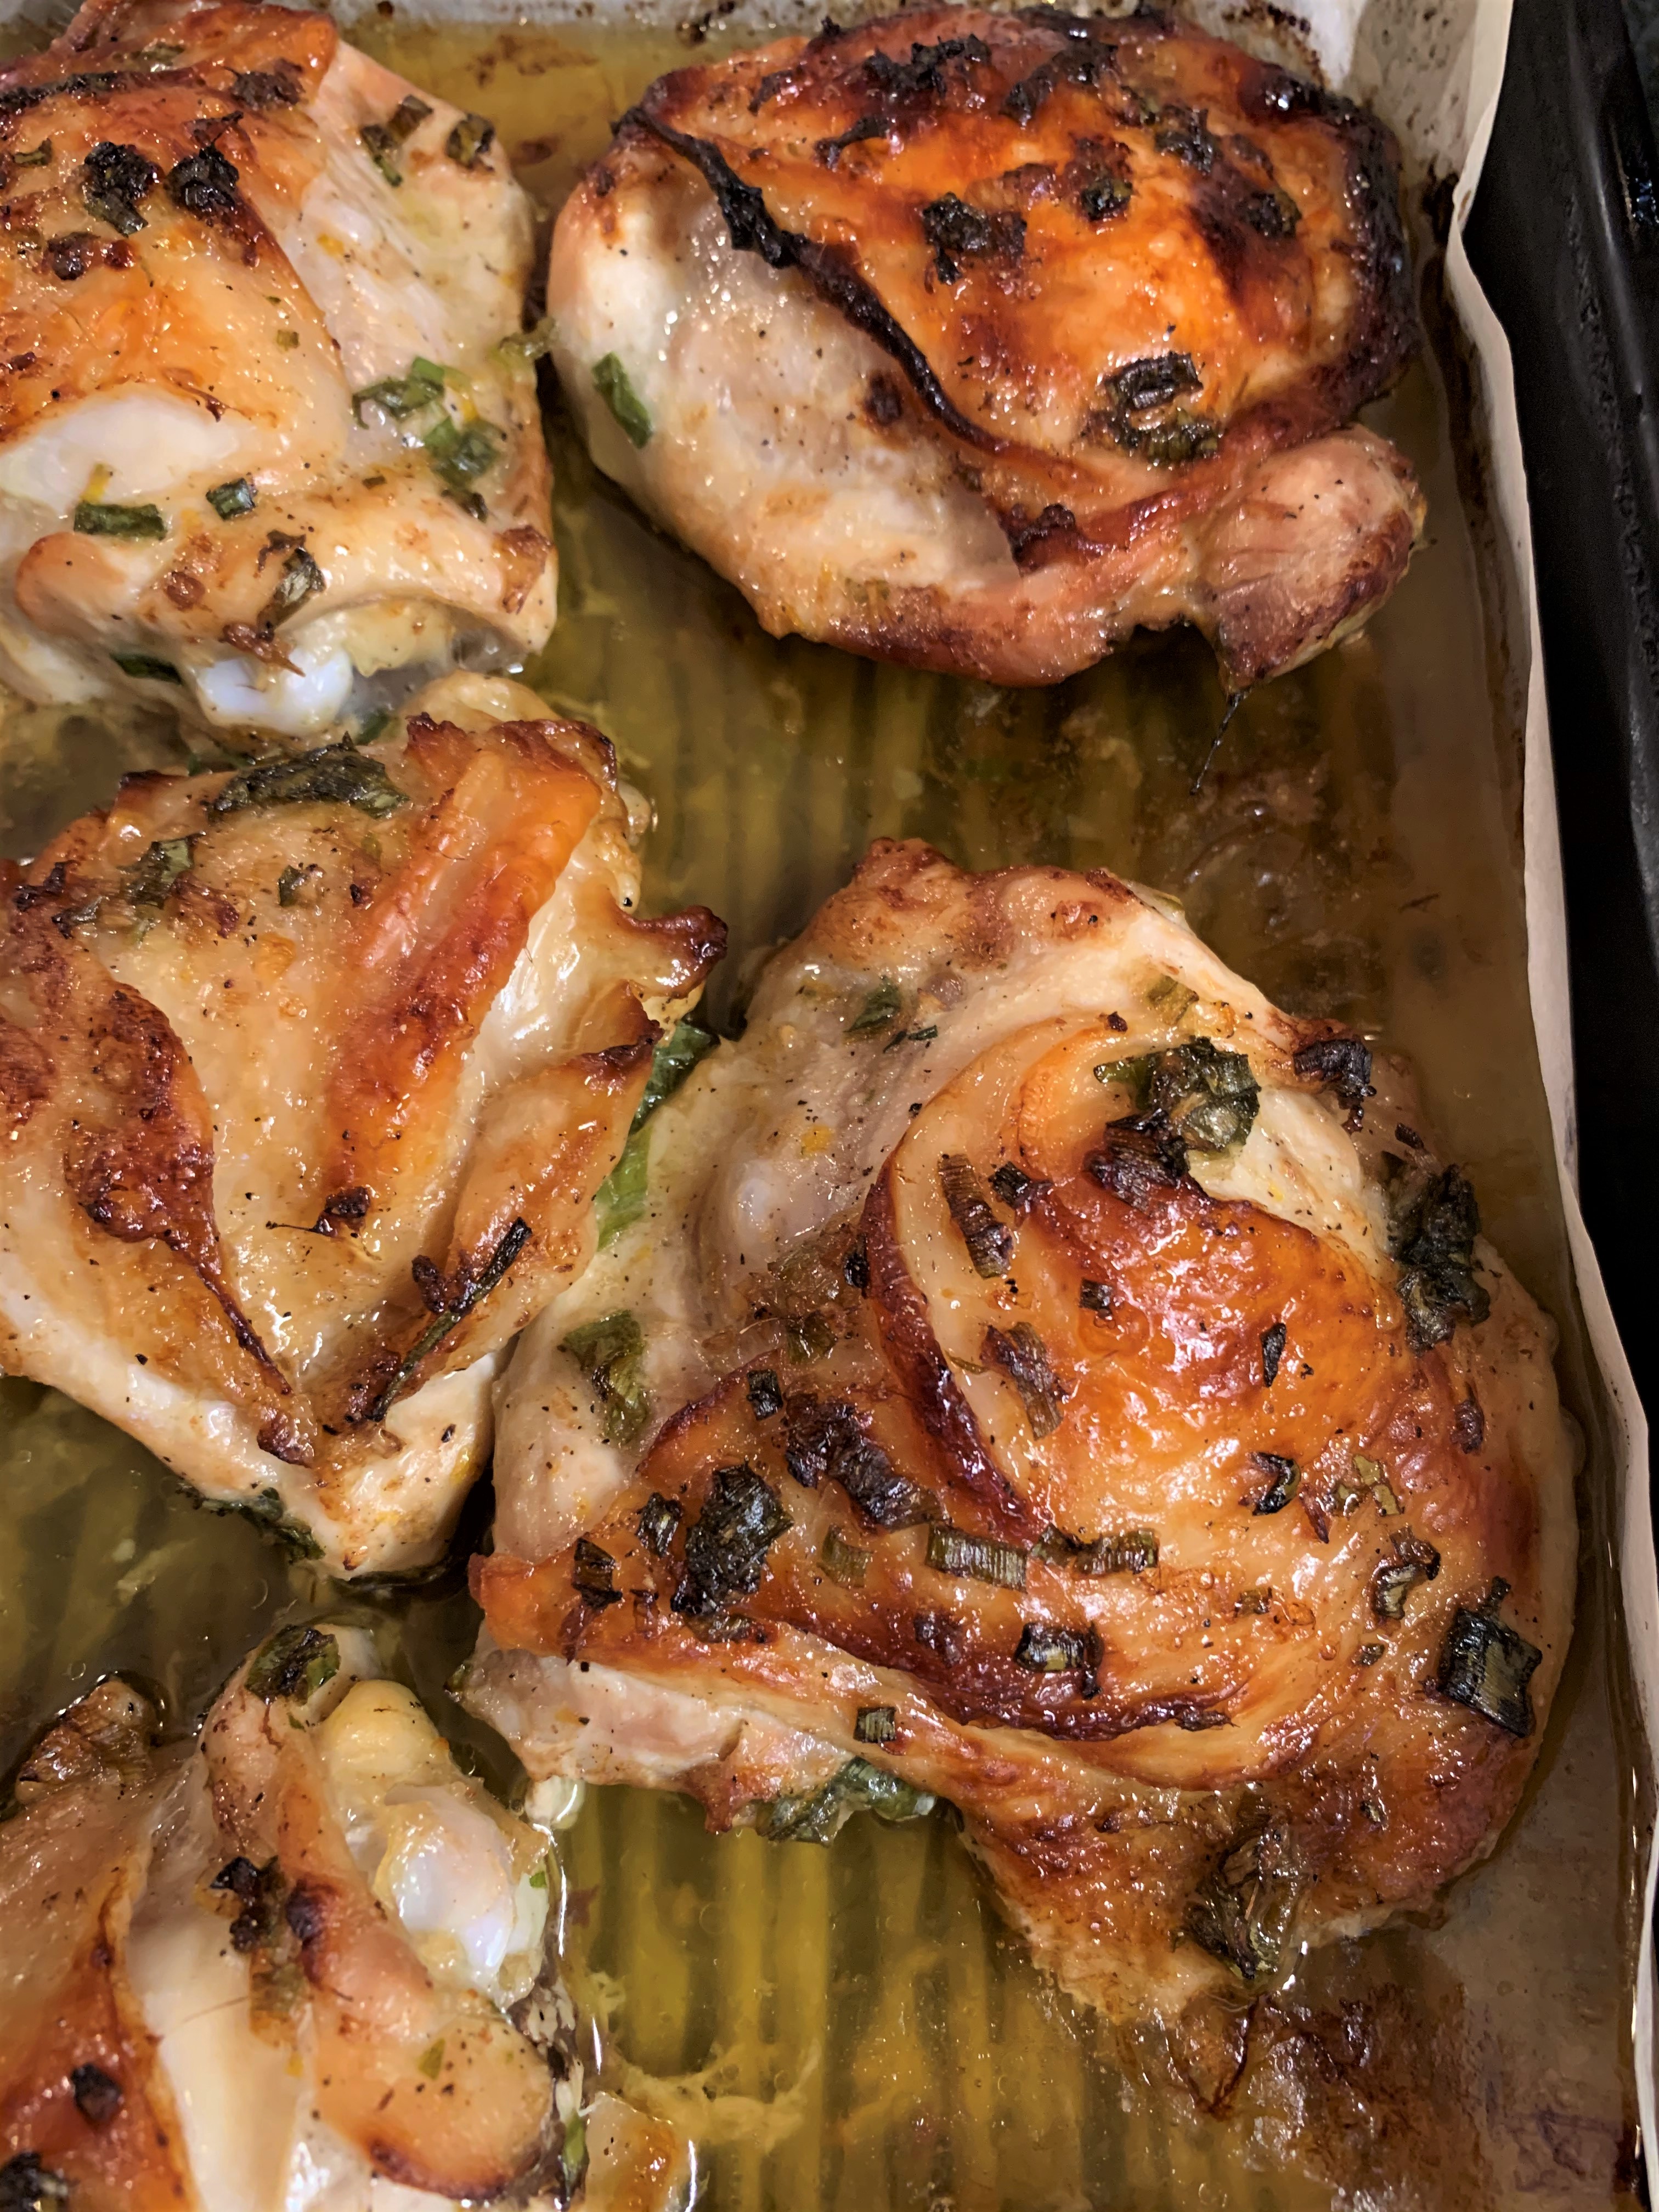
Bring a large pot of water up to a boil. Add the boneless, skinless chicken breasts and cook for 18 minutes or until they are 165° in the center. Remove them from the water, and place them on a plate. Cover the chicken with another plate while they cool and you prepare the rest of the salad ingredients. The chicken is supposed to be still warm when you add it to the salad later.
In a Large salad bowl, place ingredients in this order (see photos).
Lettuce, Tomatoes, Olives, Scallions, Peppers, Shredded Cheese, Crushed Chips, Chicken (Dice it when you are ready to add it. It will still be warm. I don’t like to chop it before hand, because it will dry out and be less juicy.) and Crushed Chips (Crush them right over the salad as you take them out of the bag.) Pour all the dressing over the salad, and toss it really well, coating everything.
Serve!
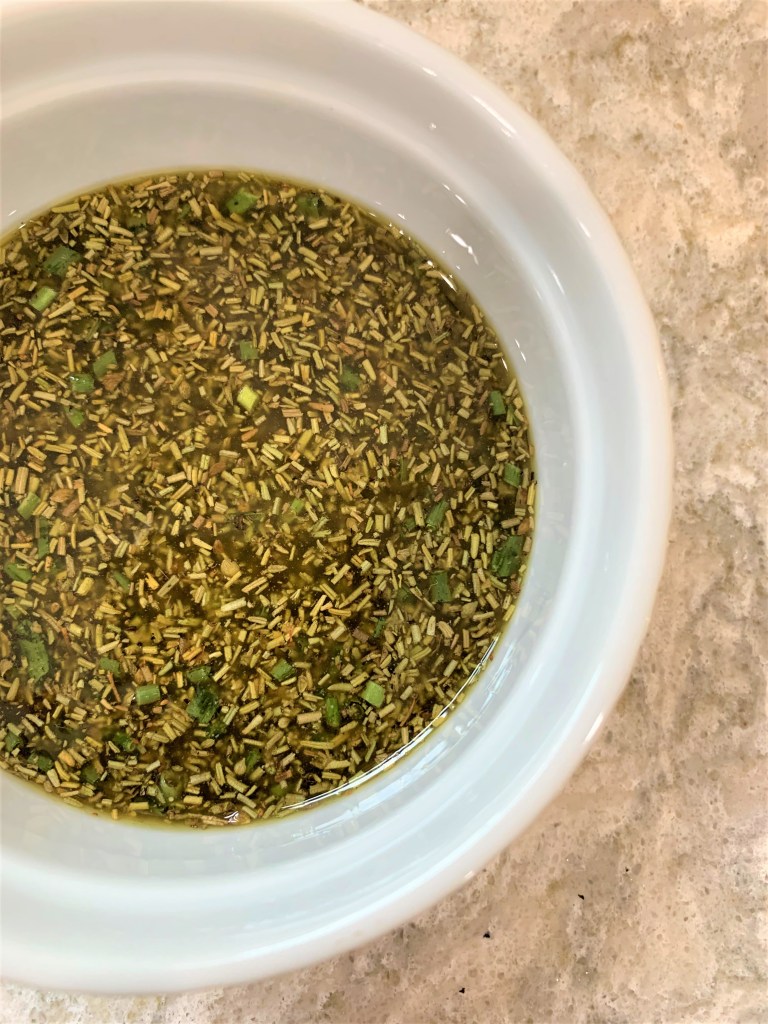
To Make the Creamy Italian Dressing:
Ingredients:
1 Cup of Mayo (I use Primal Kitchen)
1/4 Cup of Scallions
2 Tablespoons of White Vinegar
1 Tablespoon of Honey
1 Tablespoon of Garlic Infused Olive Oil
1/2 Teaspoon of Sea Salt
1/4 Teaspoon of Black Pepper
1/4 Teaspoon of Dried Parsley
1/8 Teaspoon each of dried:
Marjoram
Oregano
Basil
Rosemary
Directions: Puree the dressing ingredients in a blender until smooth. Refrigerate.


Recent Comments