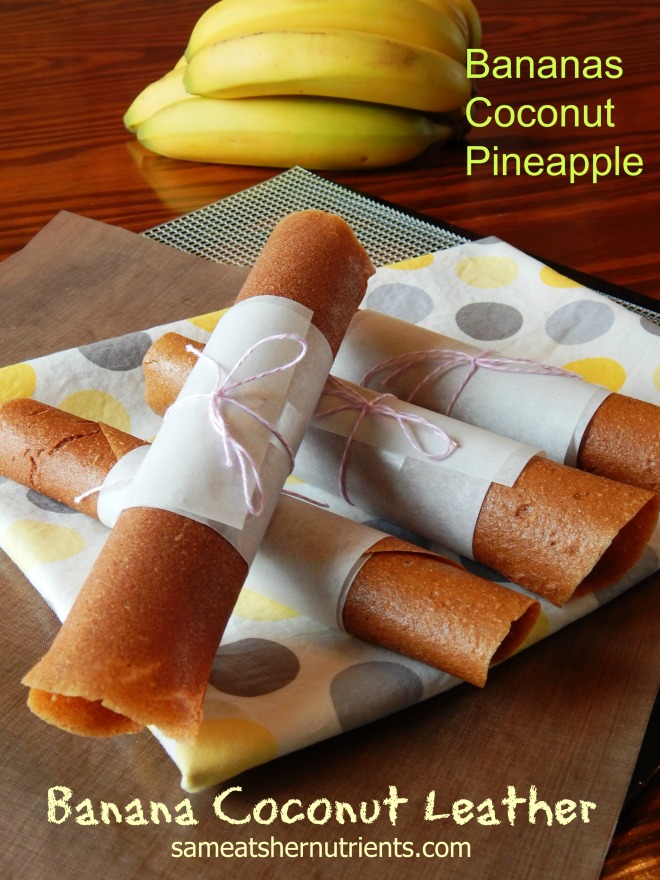
Are you ready for a portable treat that is oh so satisfyingly chewy and good for you? Was that a yea? Then these scrumptious snacks are going to make your day! I promised you some fruit roll ups, and this is the first one with more to come. The first time I made these, they were devoured right away, and I had to guard the last one for myself. They aren’t difficult, but you do have to wait for the dehydrator to do it’s job, so it requires patience……I am working on that in many areas of my life. I love the way they make the room smell like I am baking banana bread while they are dehydrating. It is like natural potpourri, but better because you get to eat it!
Banana Coconut Leather
Directions:
Turn your food dehydrator to 135º degrees. Line six dehydrator trays with parchment or teflon inserts.
Ingredients:
6 Ripe Bananas
1 Cup Chopped Fresh Pineapple
1/2 Cup Unsweetened Shredded Coconut
2 Tablespoons Honey
2 Teaspoons Fresh Lemon Juice
1 Teaspoon Ground Cinnamon
1/2 Teaspoon Himalayan Pink Salt
Add Bananas, Pineapple, Himalayan Pink Salt, Honey, Cinnamon and Lemon Juice to a high speed blender, like this one, and blend until smooth. Add the coconut and blend for 30 seconds. You still want small bits of coconut in it. Pour the batter onto the six trays evenly dispersing.
Now, pick up the tray and tip and swirl in a circular motion to spread the batter evenly. Dehydrate for seven hours, flipping them after six hours. They can go a little longer and be fine too. I have left them for ten hours, they will just be more crunchy instead of chewy. Remove from the dehydrator, cool and roll up with strips of parchment, or you can store them flat. These are a wonderful, yummy, healthy snack! My children’s friends are so envious when they bring them in their lunches! If you like these, stay tuned for more roll up recipes!


Can these be made in the oven?
LikeLike
I haven’t tried fruit leather in the oven. I know there are recipes out there for making it in the oven, but I personally haven’t tested it. 🙂
LikeLike
I am going to try this recipe. I am always looking for ways to encourage my grandson to eat healthier. Thank you.
LikeLiked by 1 person
Yes, me too! I have two one year old grandsons. 🙂
LikeLike
Pingback: Cheesy Kale Chips | Sam Eats Her Nutrients