The air is starting to cool here in preparation for Fall, and that makes me crave popovers! According to James Beard, although they resemble Yorkshire Pudding, they are purely an American creation. I have a lot of English heritage, and grew up eating recipes my Grandmother made from what she called “the old country” (England). So here is a version of a popover that I find to be Fall Comfort Food in my humble opinion. It is a little American, with an Italian Flair and a bit of English whimsy, but mostly they are plain delish! I added some good quality parmigiano reggiano, which is SCD Legal, but if you don’t tolerate dairy, they are equally delicious without it. They are so, so good hot from the oven! They are fun to eat, and I used leftover popovers to pack sandwiches for my daughters lunches the next day. Just split them and fill them for a mini sandwich. So, enjoy a little Fall comfort food and make some popovers!
Italian Bacon Popovers
Italian Bacon Popovers
You can use a popover pan like this, but a muffin pan works just fine! It makes a dozen puffy popovers!
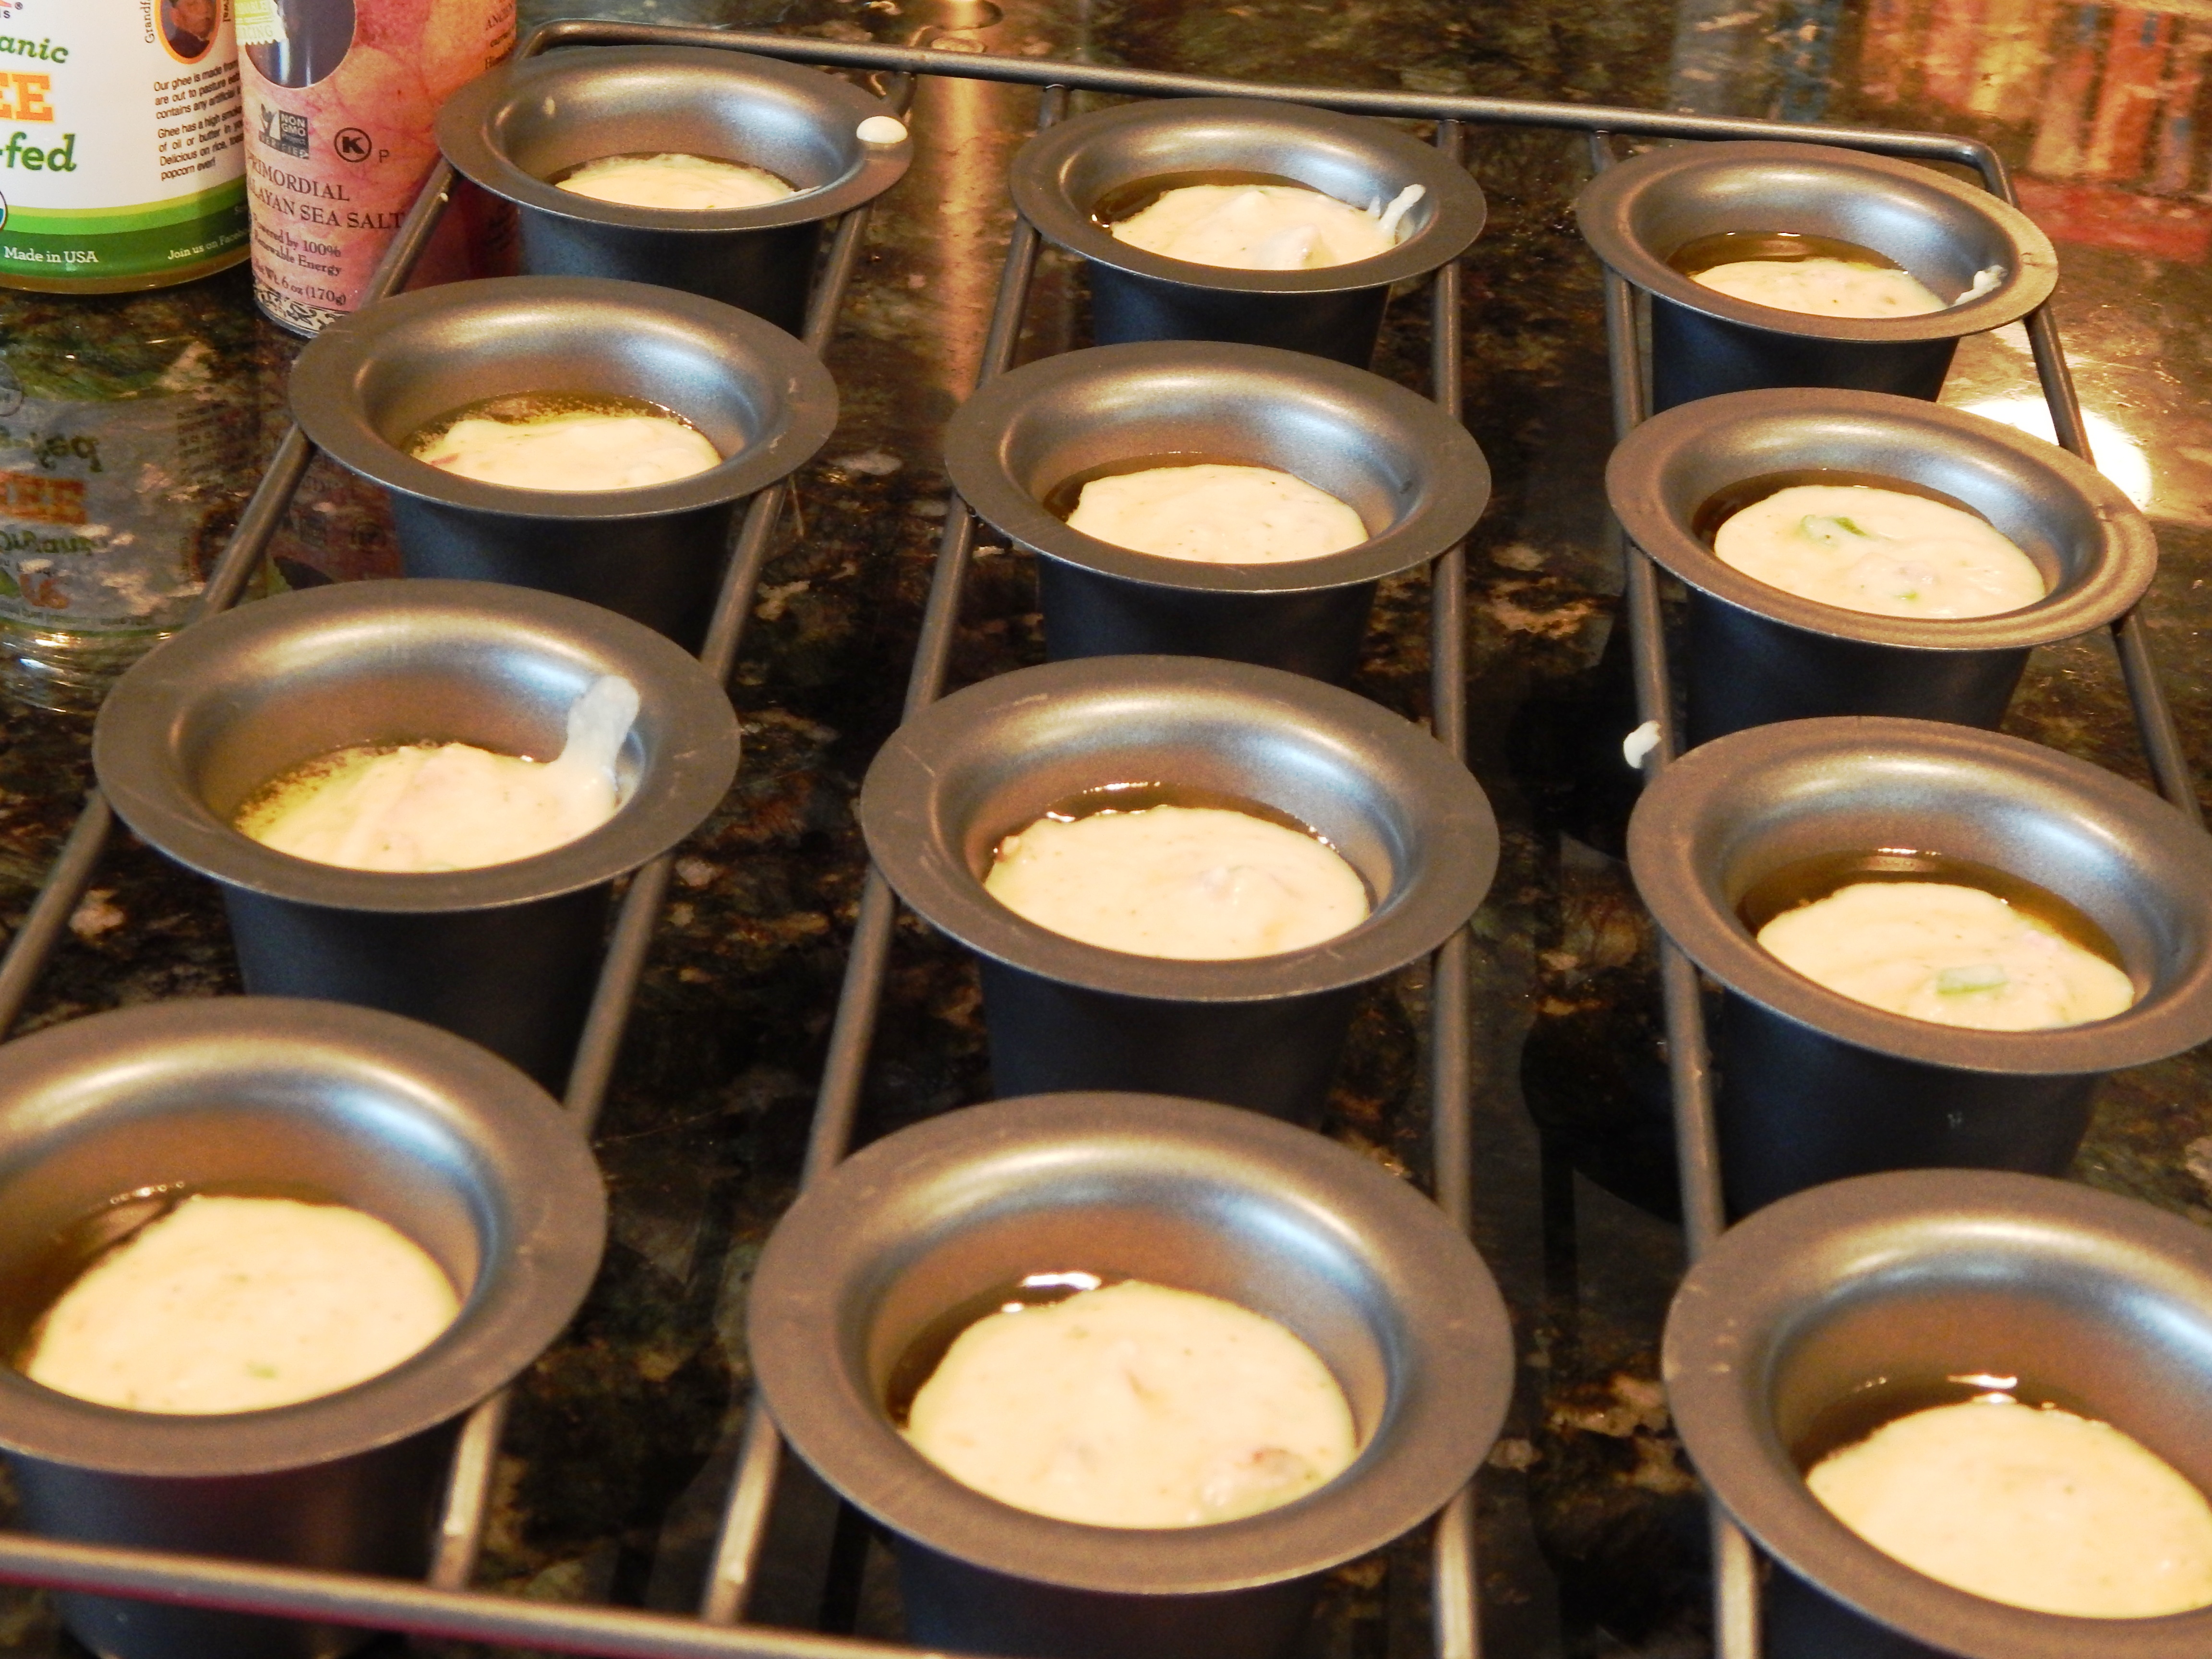
Oven Ready Popovers
Ingredients:
2 Tablespoons Coconut Oil or Ghee, Melted
1/2 Cup Cooked, Sugar Free is Bacon (4 slices) cooked and chopped
8 Large Pastured Eggs
1 Cup Full Fat Coconut Milk
1/2 Cup shredded Parmigiano Reggiano, optional Omit for Dairy Free
1/4 Cup Coconut Flour
1/4 Cup Scallions, green tops only, sliced
1 Teaspoon Italian Seasoning
1 Teaspoon Pink Himalayan Salt
1/2 Teaspoon Black Pepper
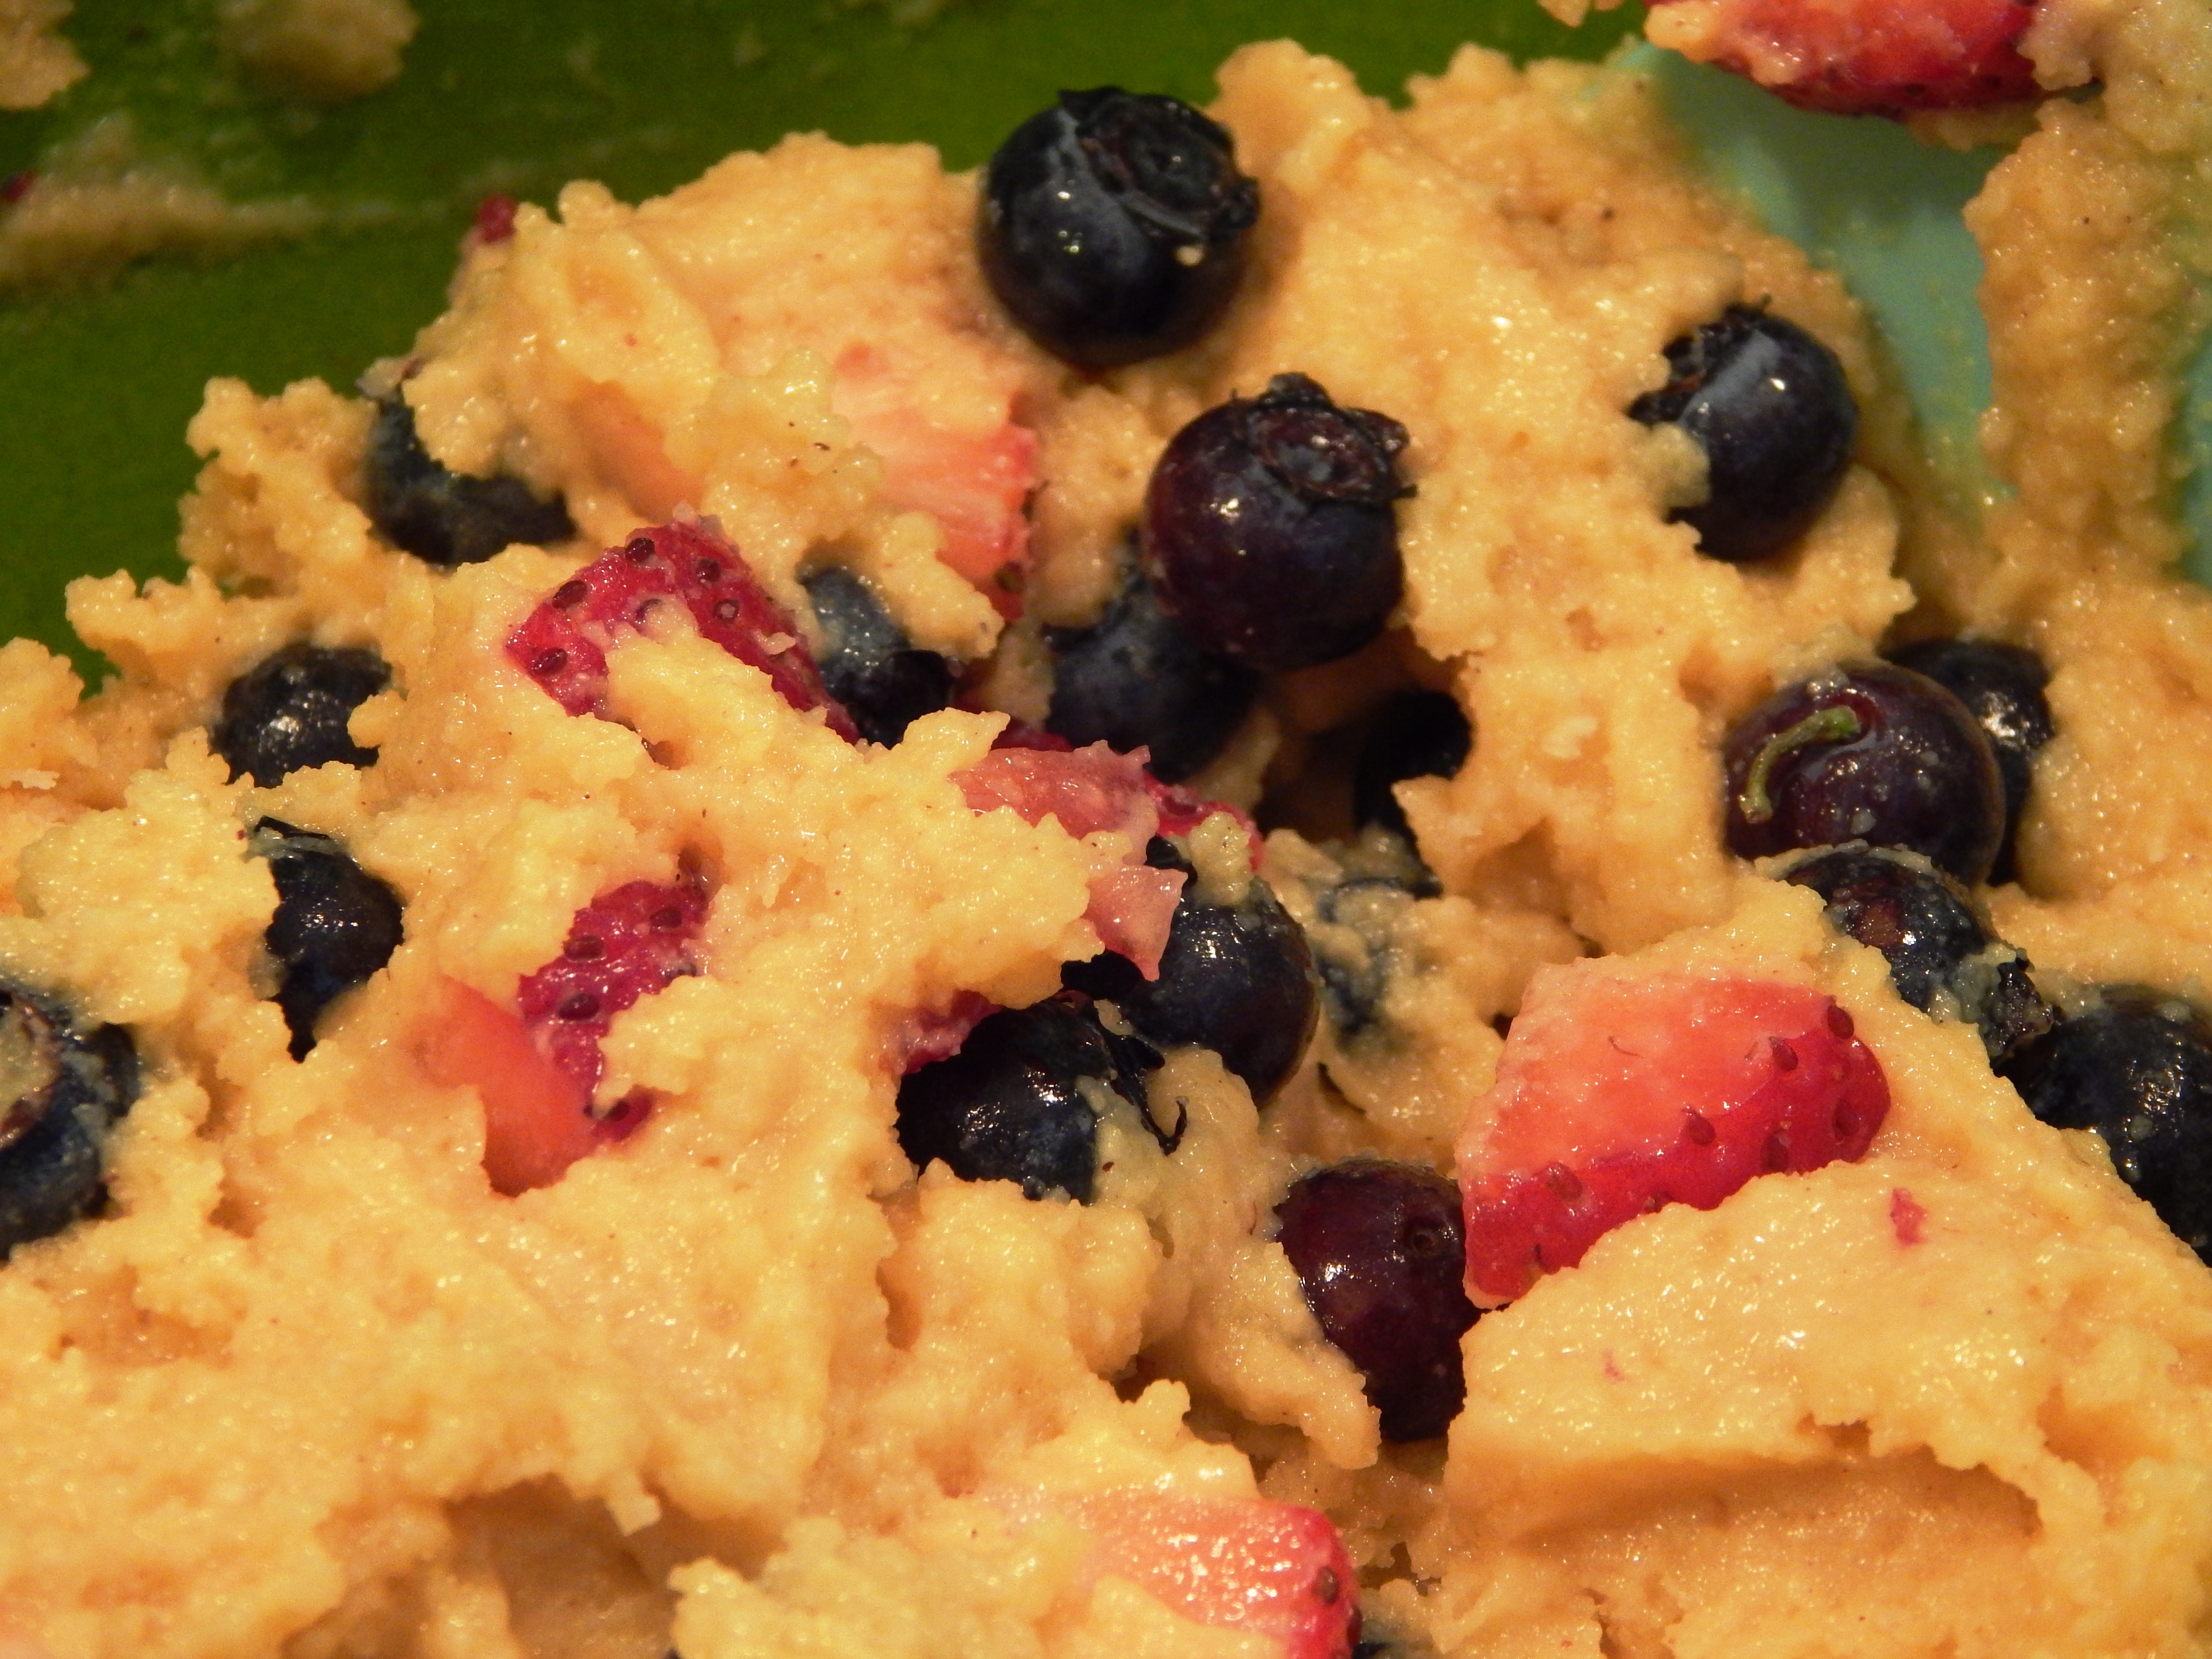
Preheat your oven 400º degrees. Place a half teaspoon of melted coconut oil or ghee in each popover or muffin pan cup and brush it up the sides. Crack eggs into a mixing bowl and whisk together with the coconut milk, whisk in the coconut flour and keep whisking briskly until no lumps, stir in the remaining ingredients, then fill each popover or muffin cup 2/3 full with batter. Don’t overfill, leave room for them to pop up! Your batter will look like this.
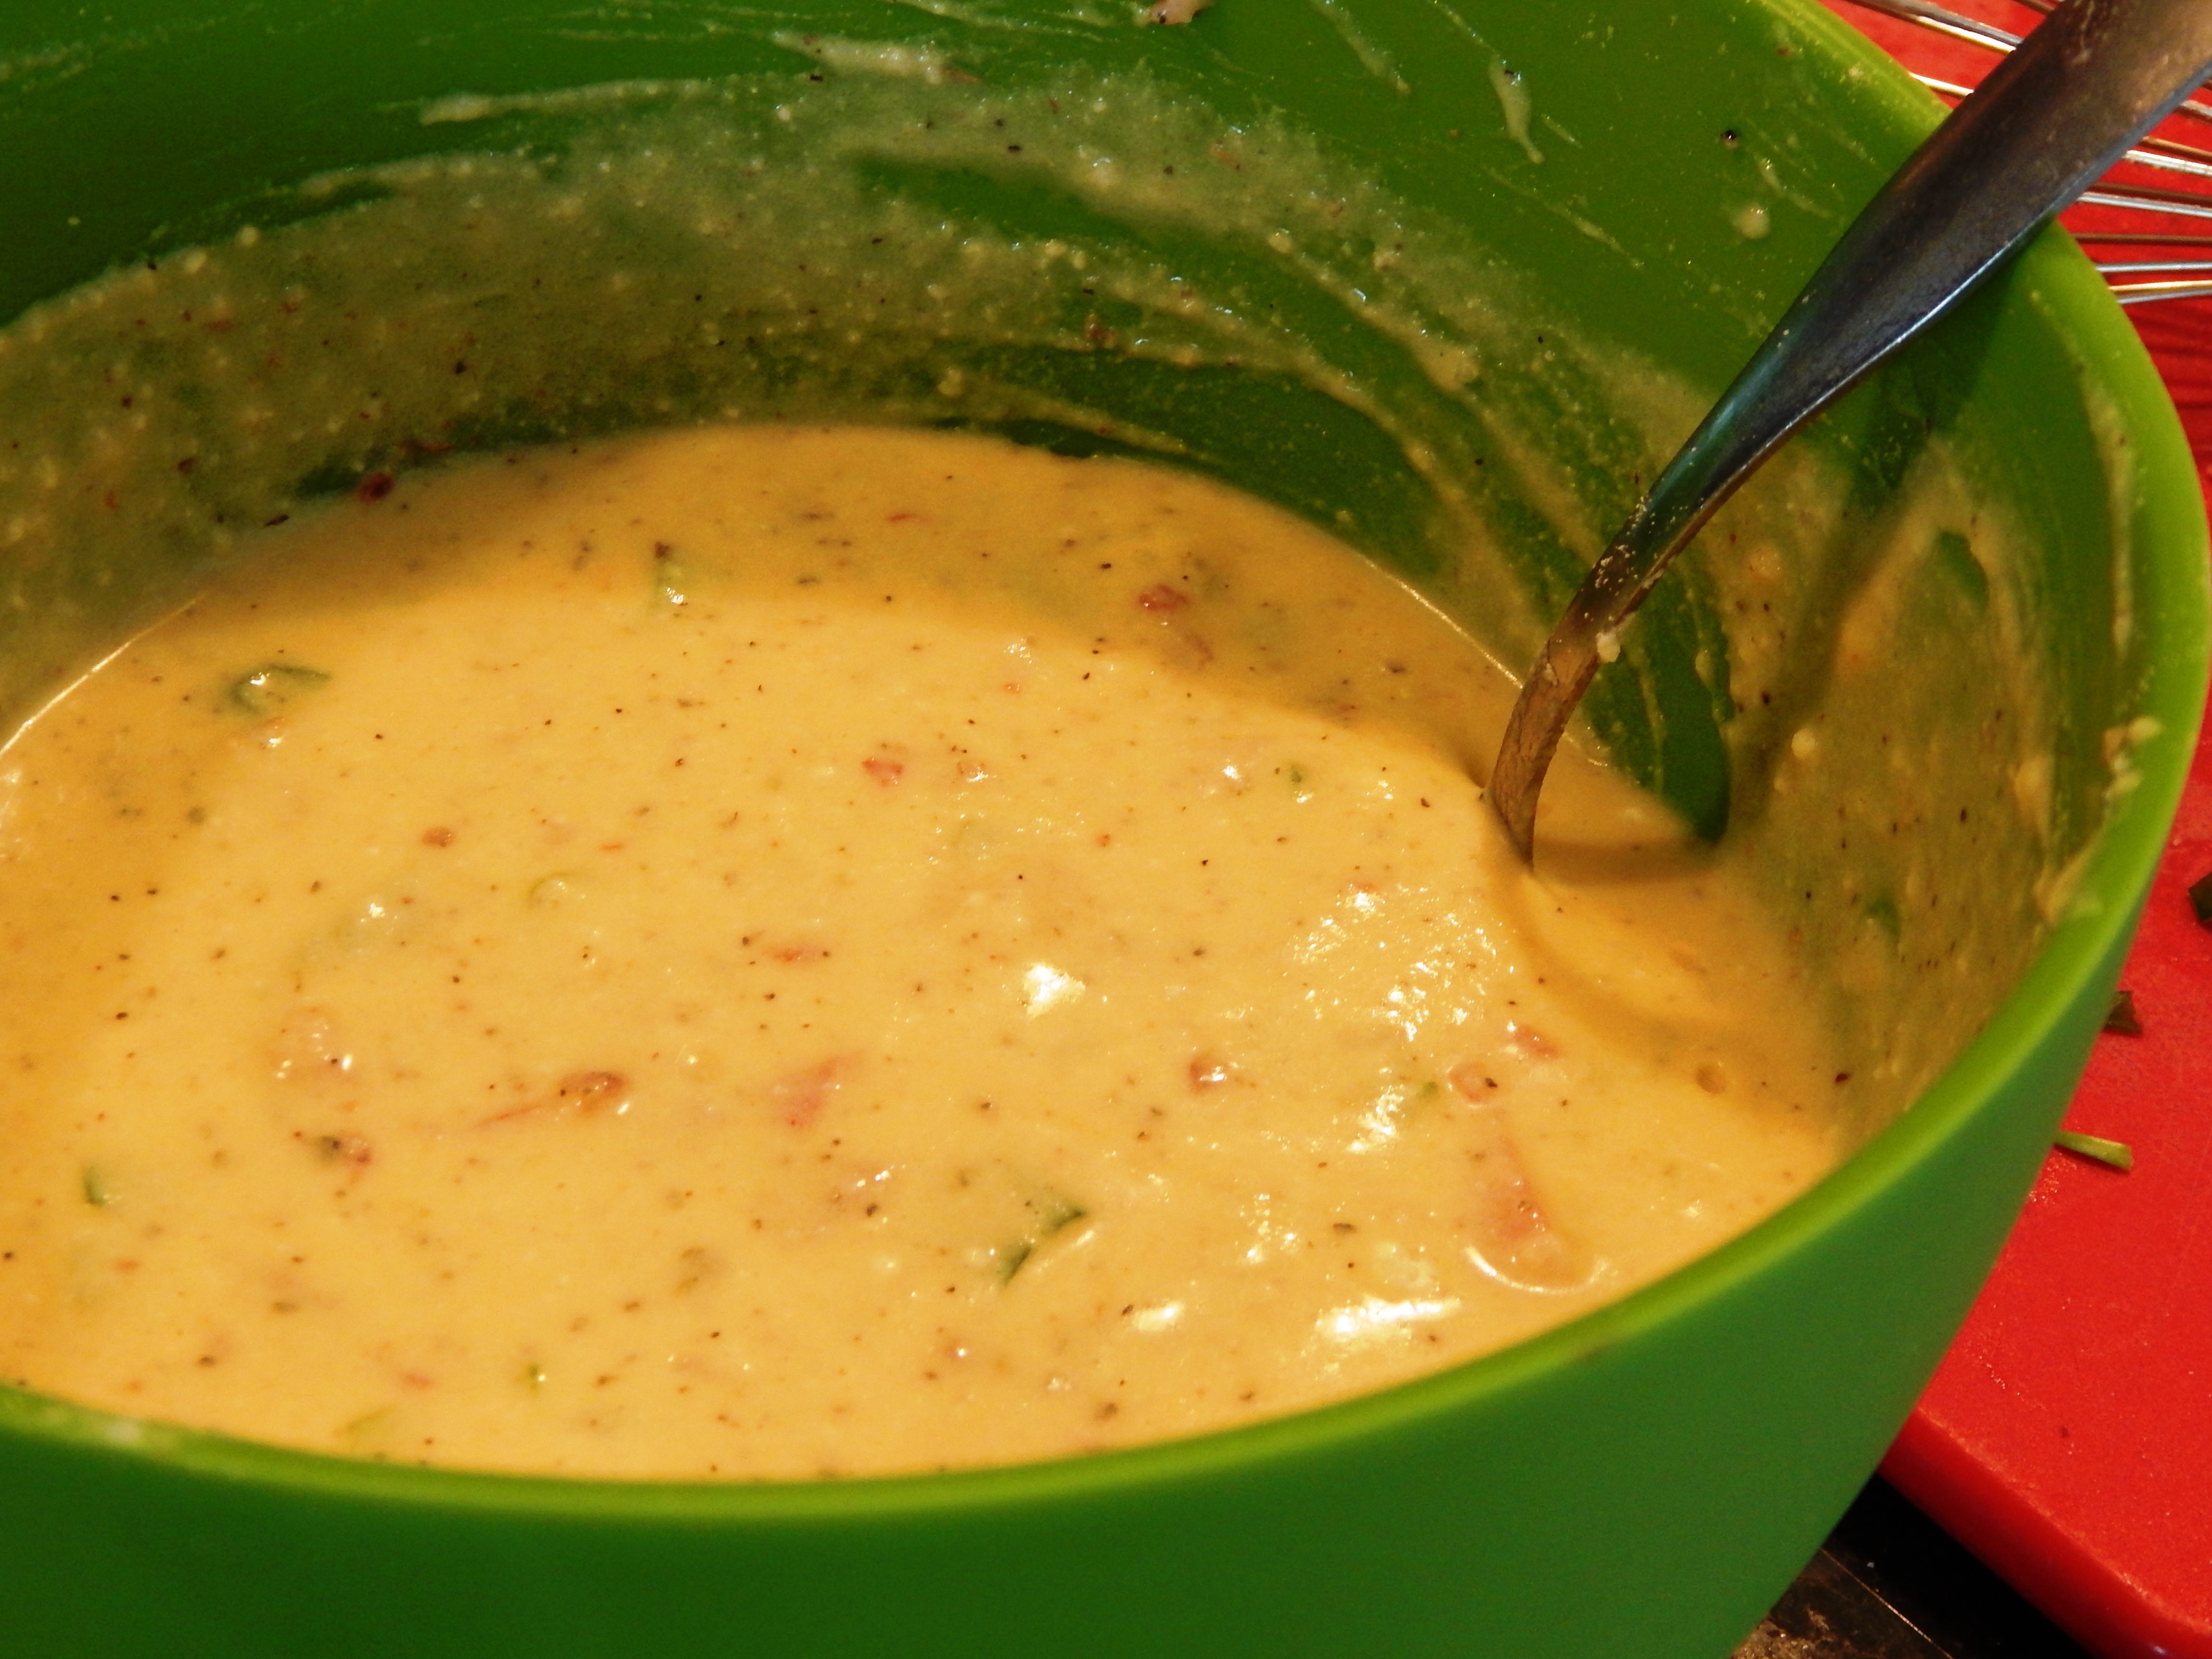
Italian Bacon Popover Batter
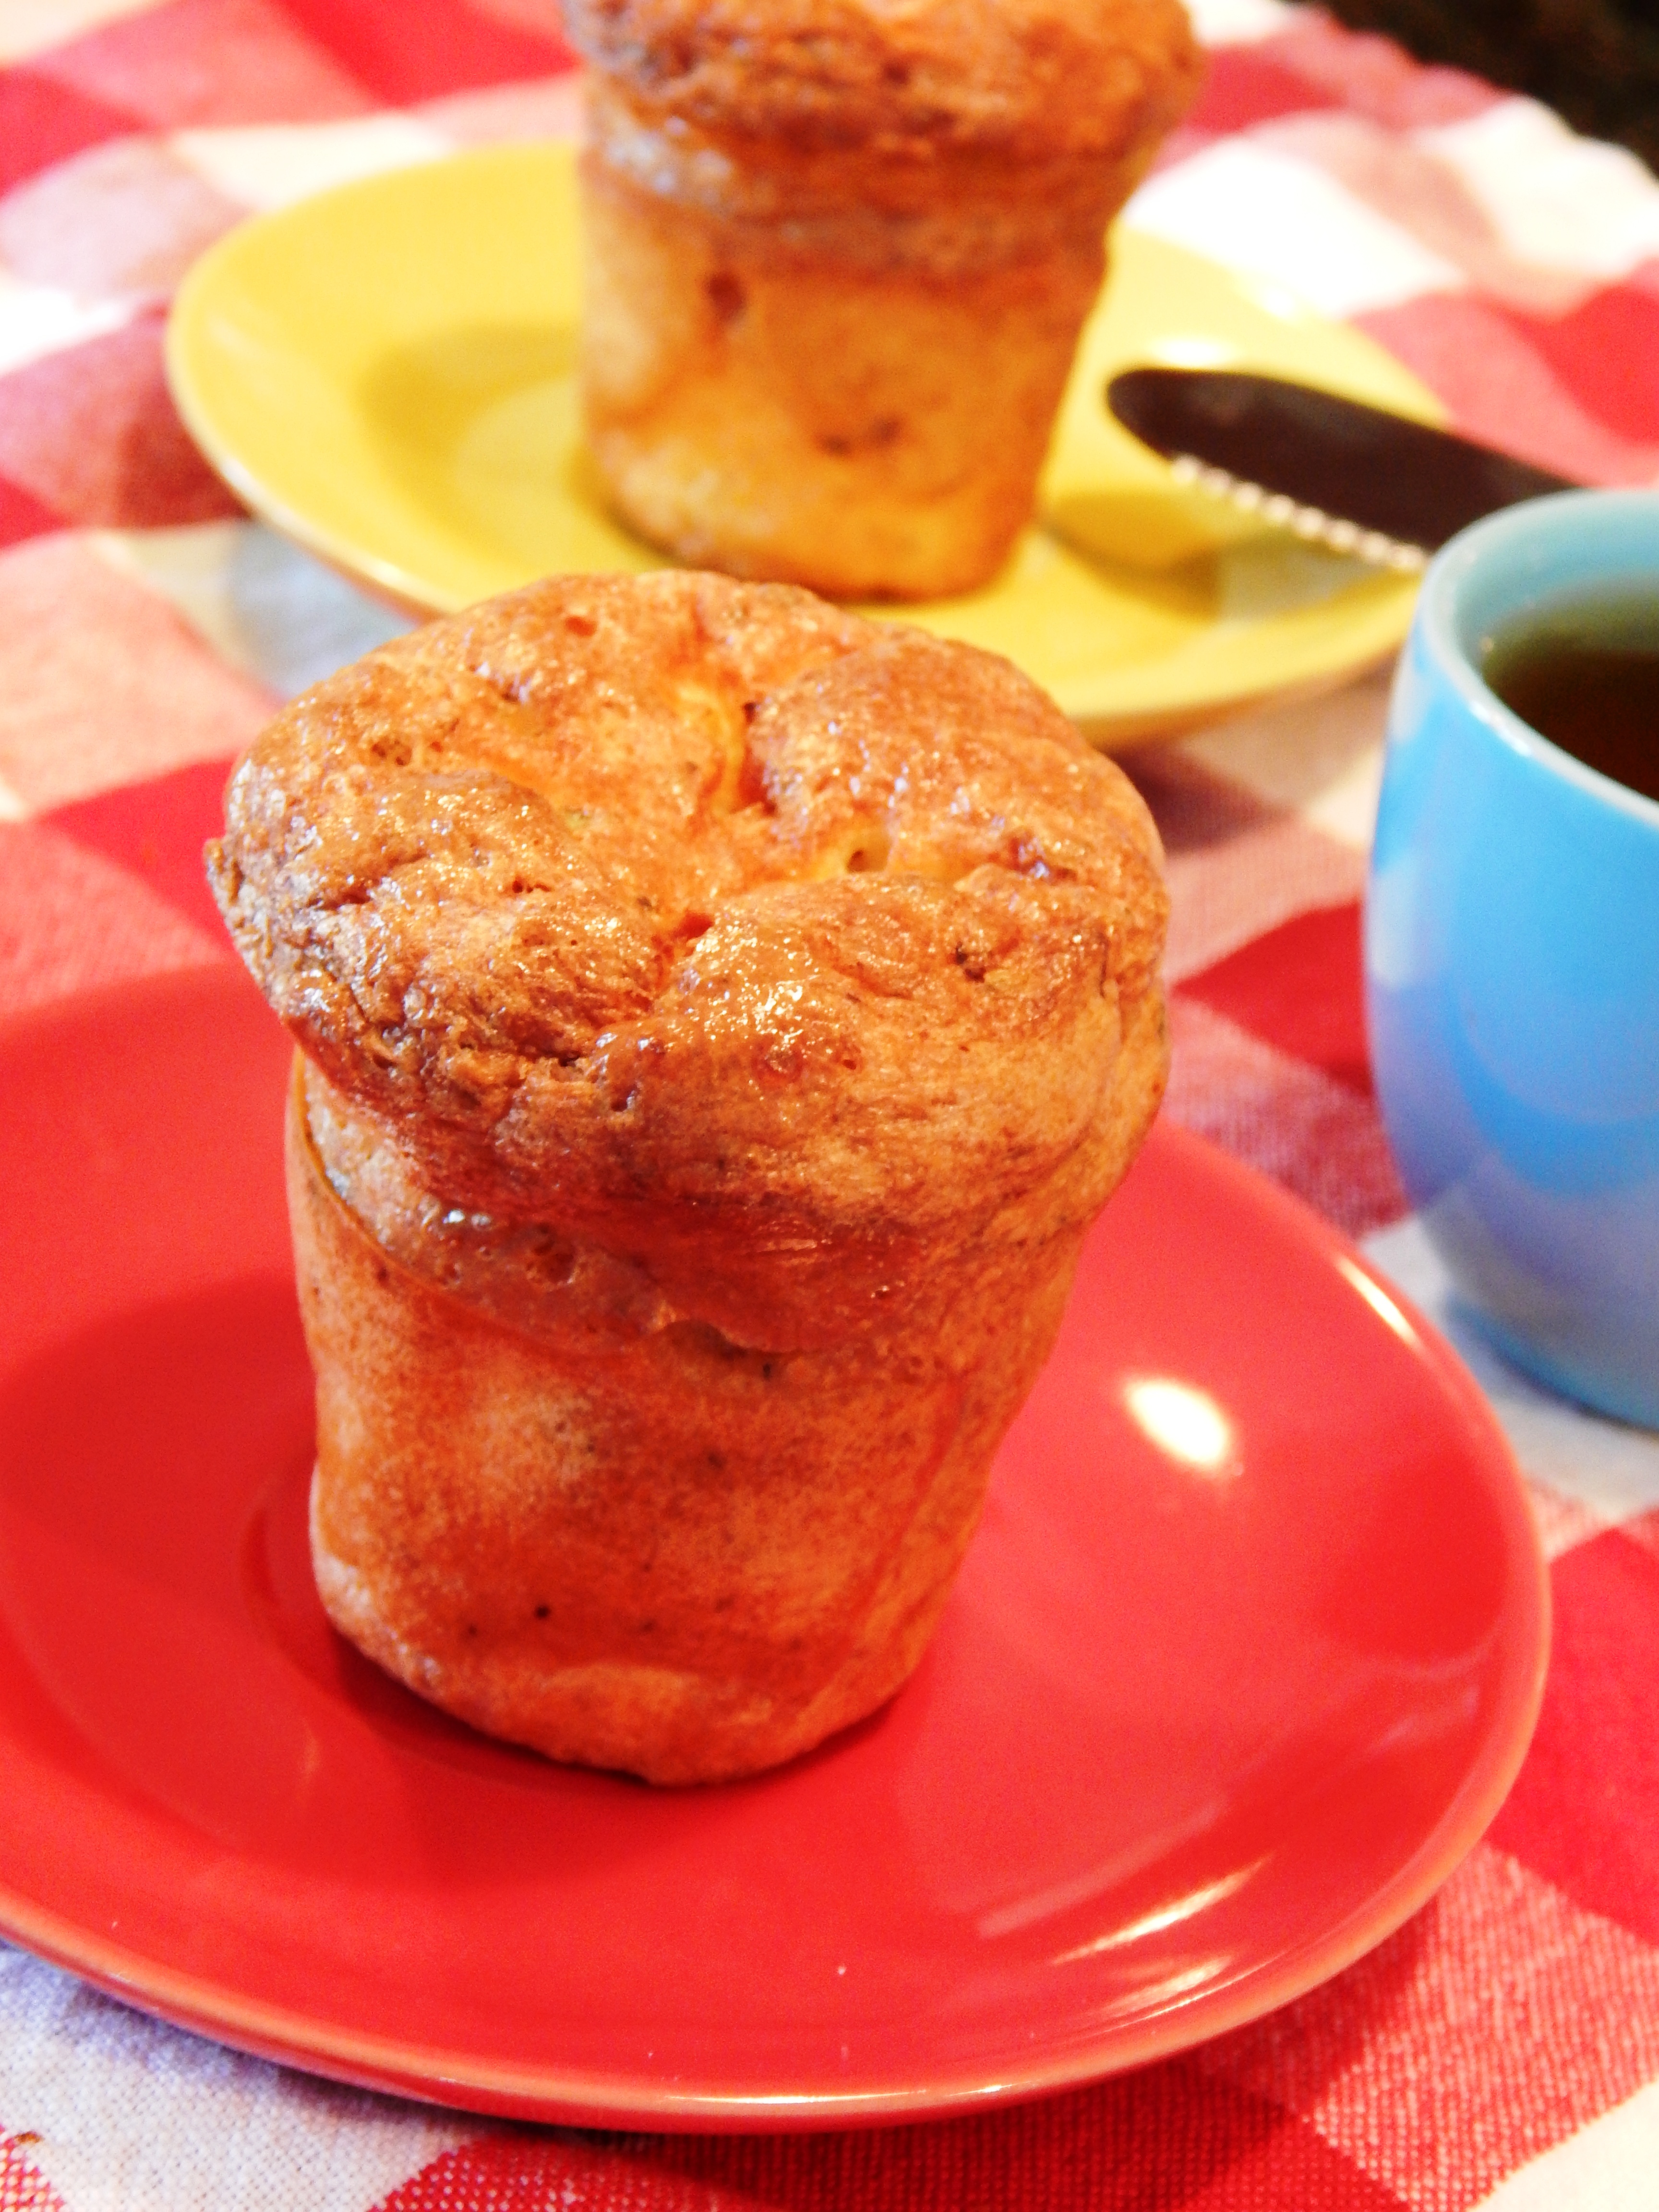
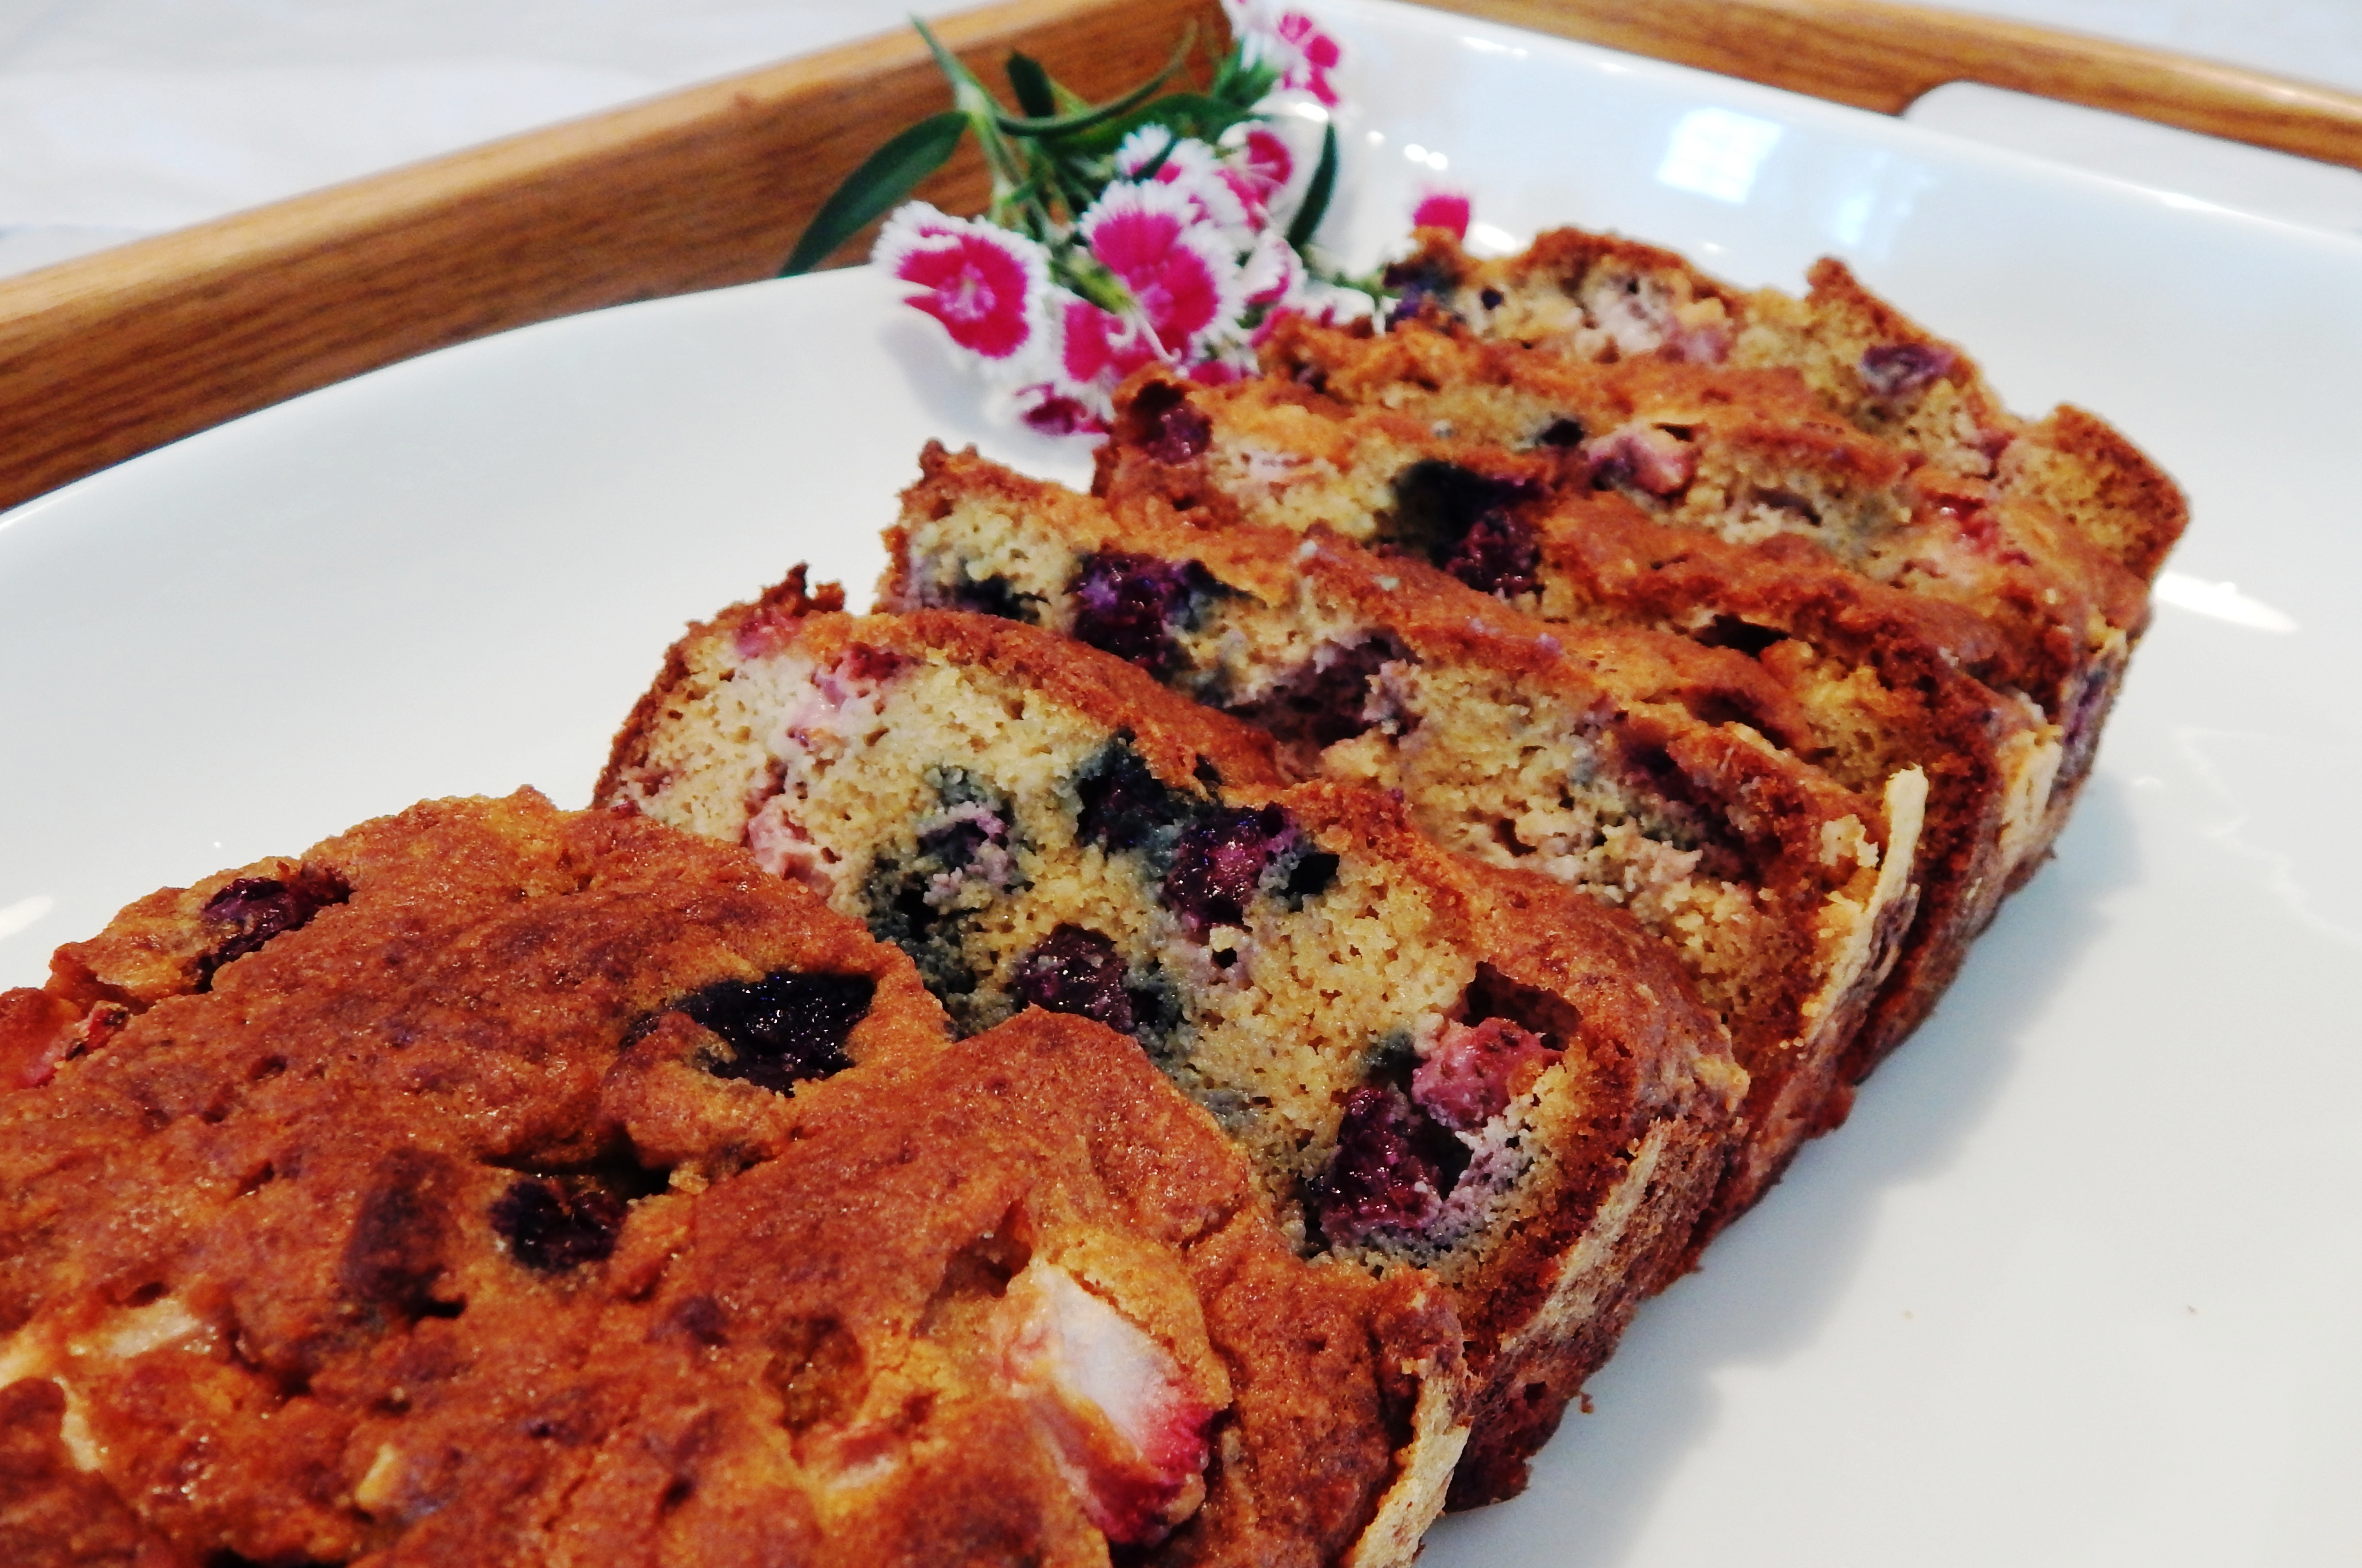
Place the pan in the preheated oven and bake 30 – 35 minutes keeping an eye on them until they are golden brown. Don’t be tempted to open the oven door. Think Souffle! When they are done, remove them from the oven and take them out of the pan while still hot and cool. Eat them warm, or they make a very nice mini-sandwich!
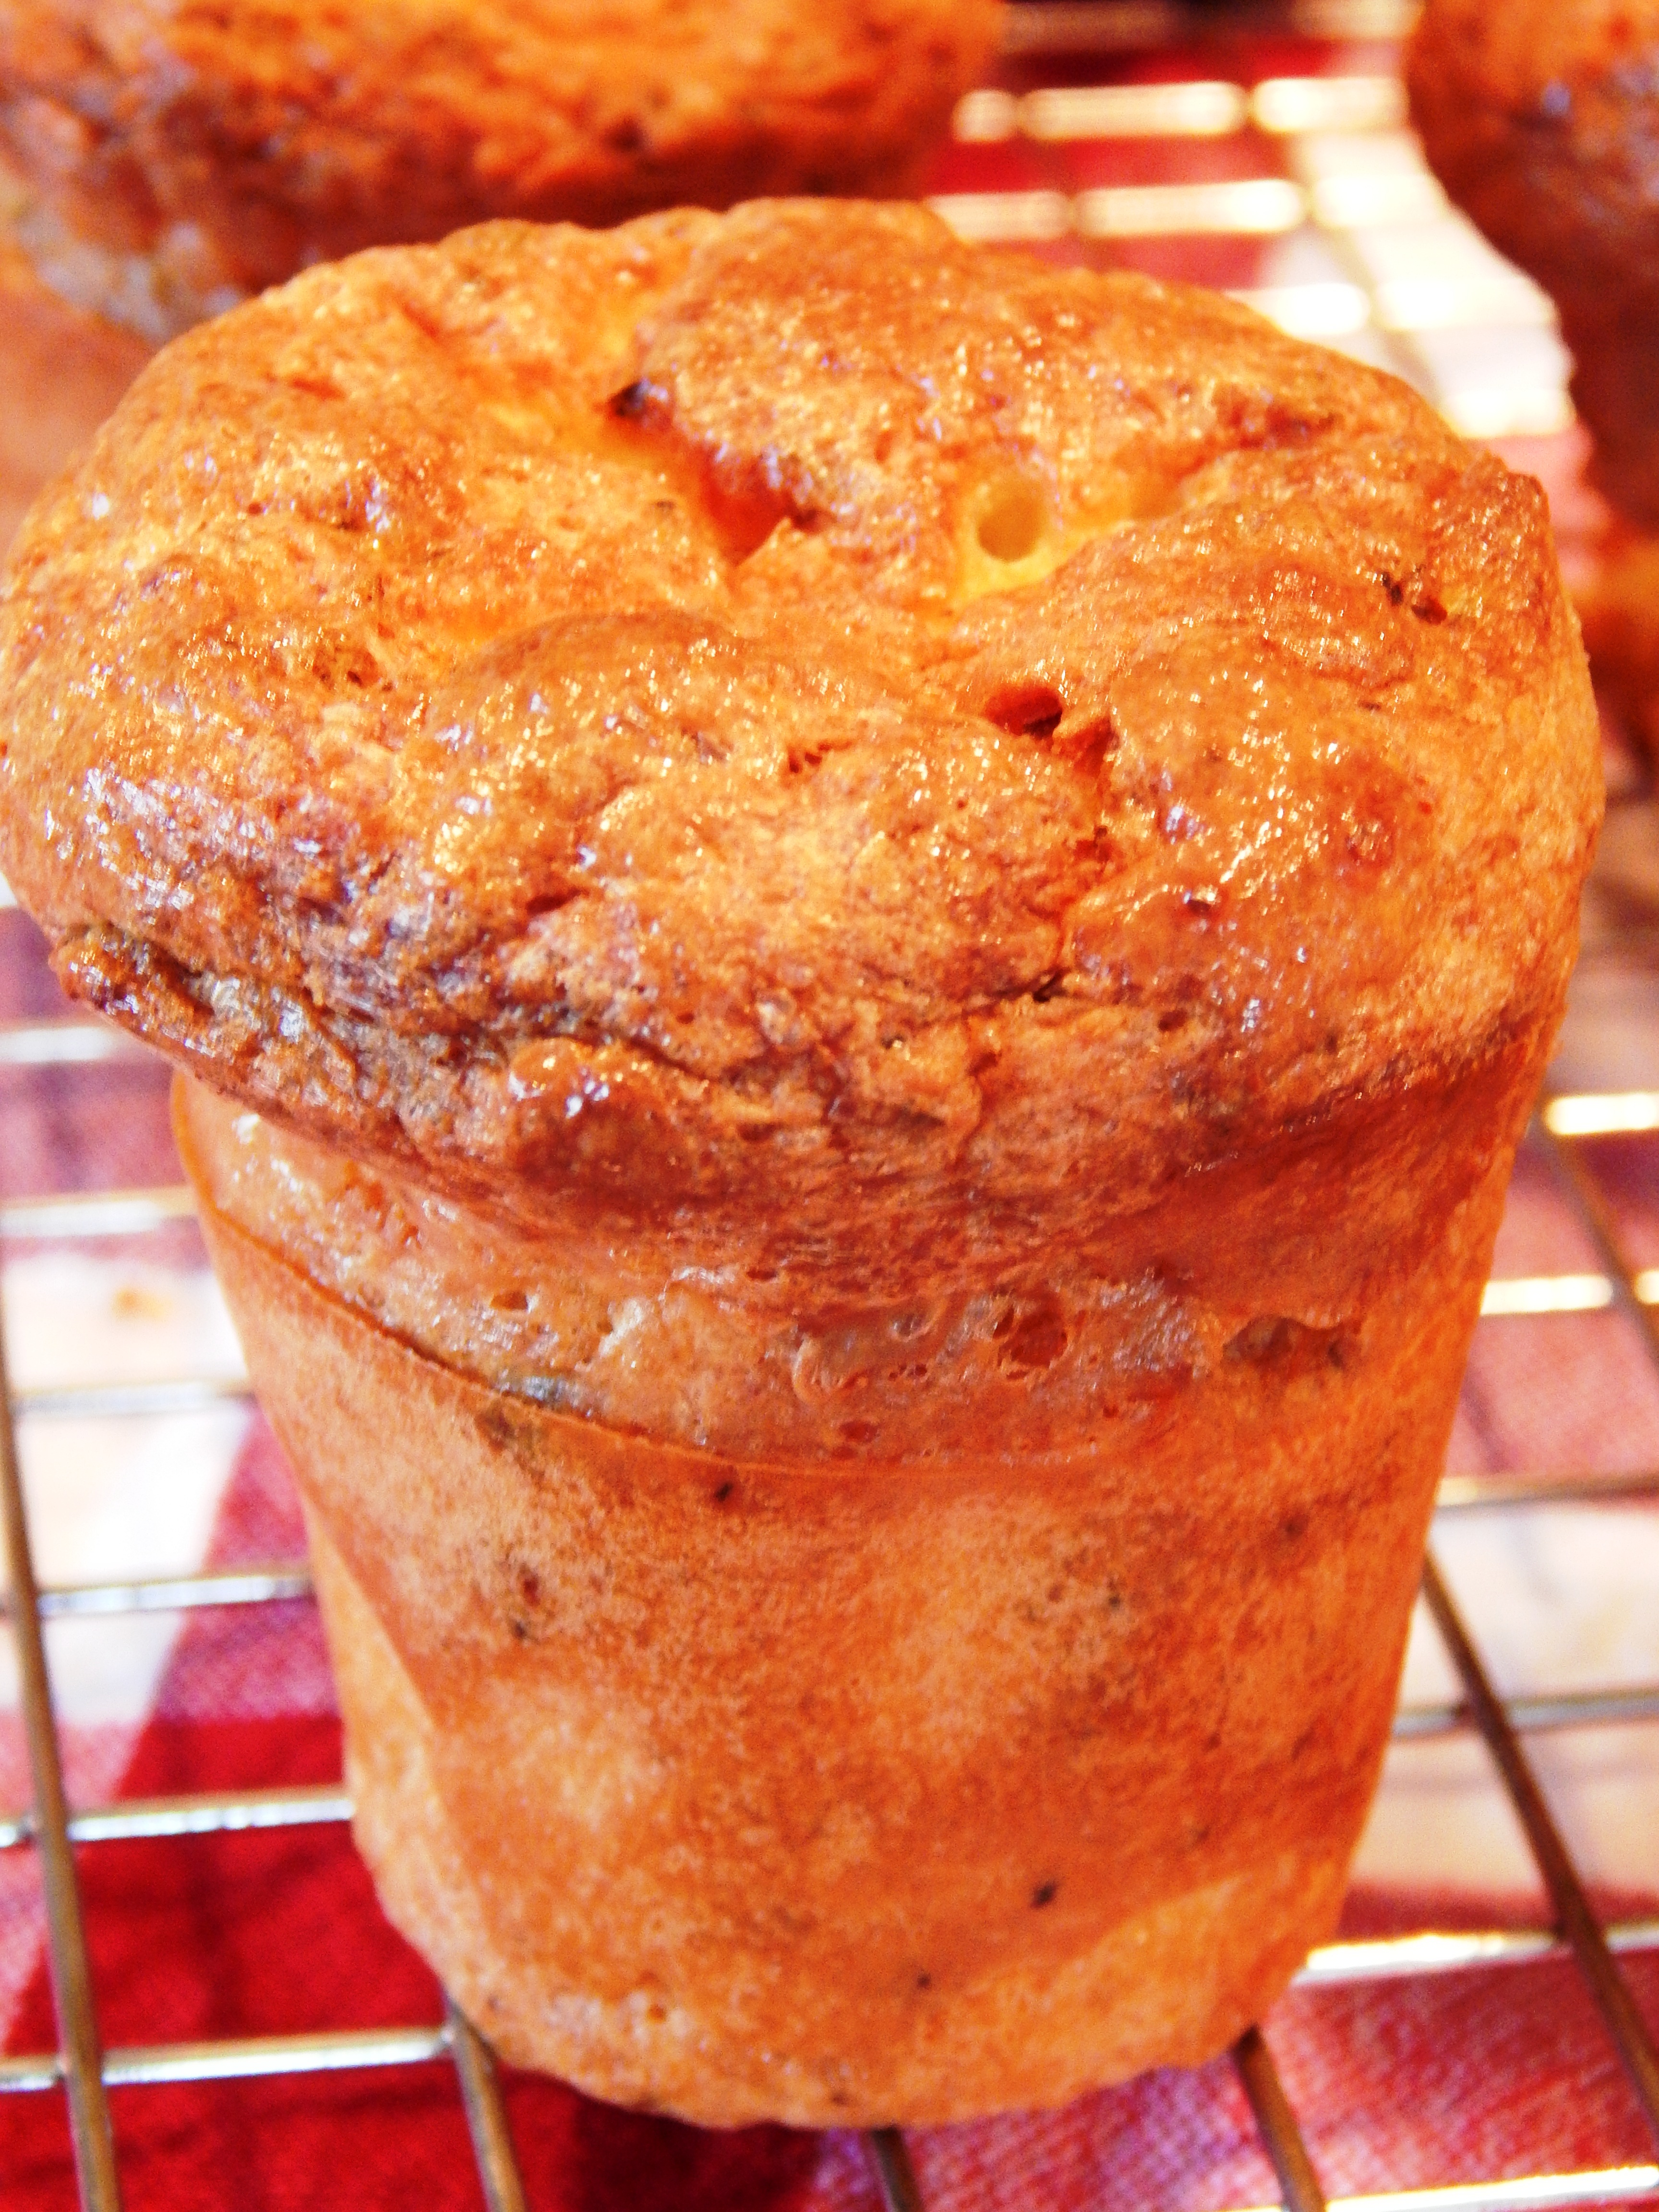
Italian Bacon Popover


Recent Comments