Hello to everyone! I hope your February is going spectacular. We are over the hump of winter and on the downhill slide to spring! It doesn’t matter if it is spring, summer, winter or fall in our house, I am still rushing to make dinner on many days, especially weeknights. It really is satisfying to be able to put something on the table for yourself and others that is super delicious even on the most rushed and busy days.
Ground turkey is truly a lifesaver, and it is so versatile! This is a skillet stove top dish, so there is no need to start the oven, and it comes together in 30 minutes.

When I was growing up, hot pepper jelly was something my mother would spoon over a block of cream cheese and serve with crackers as an appetizer. That is still a delicious way to use it today, and if you like it that way, please let me know.
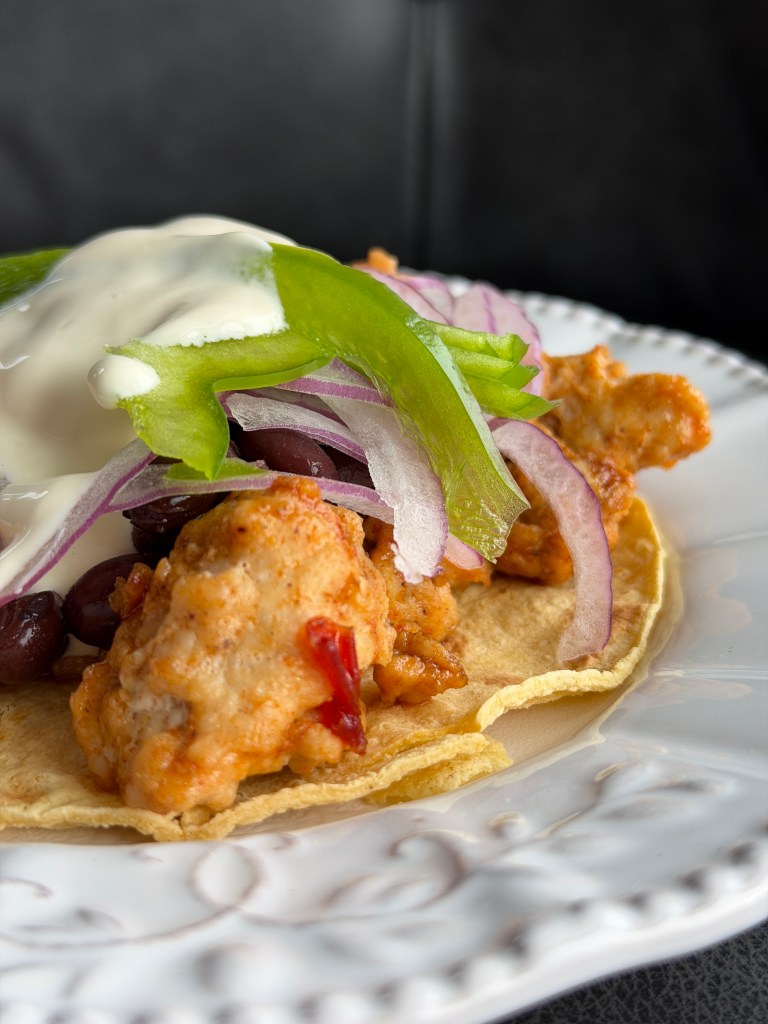
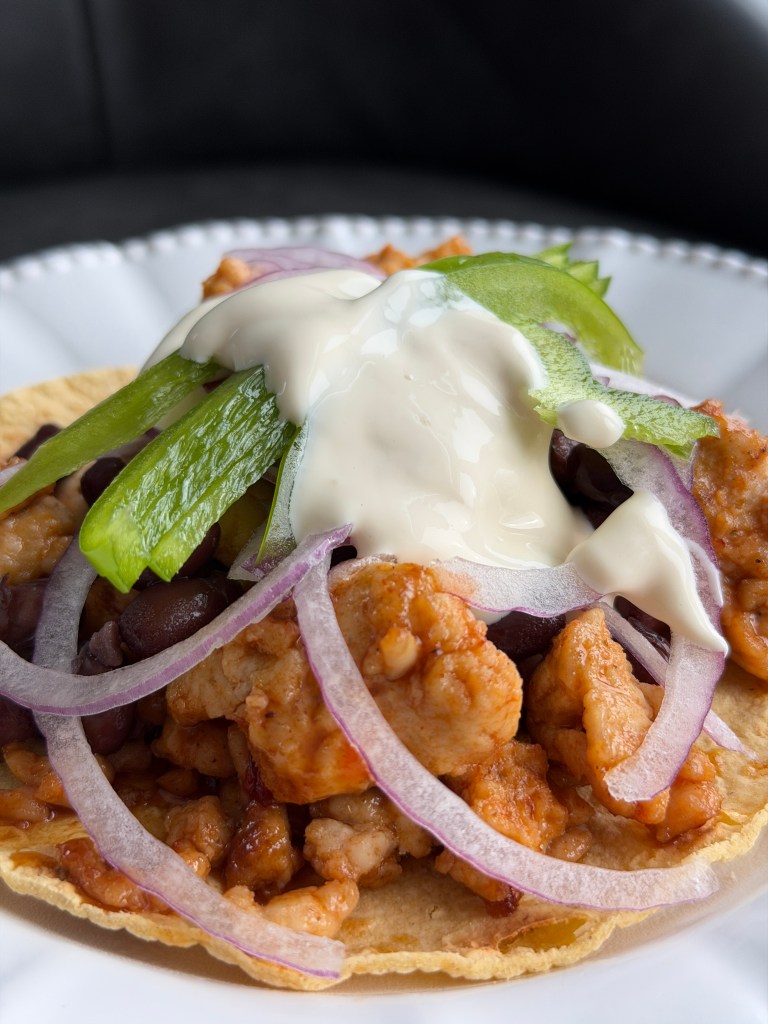
I had a jar of hot pepper jelly in my pantry from the holidays, and I wanted to get creative with it and make something slightly sweet and savory. The versatile thing about tostadas are the toppings and add ins. This is not your basic tostada, and I think it hits all the right spots. What is better than a corn shell for its simple whole grain goodness and minimal ingredient list? A little sweetness, a little savory and a bit of heat. That’s what we are using for this recipe, plus the shell is sturdy enough to hold up to a hearty tostada.
I don’t know about you, but shifting gears a little here, the weather this winter has been bitter cold. I haven’t been able to walk outside as much as I normally like to because of the below zero and single digit temperatures and wind chill. I had a neighbor who also likes to walk tell me about Ice Bug boots for when it is icy outside. Those have been a game changer for me. They have carbide steel bumps on the bottom that literally grip the ice. I will show you here a photo of my husband standing under our town ice tower so you can get an idea of what the weather has been like here in Northern Michigan. That blue sky though!

Meanwhile Ming, my pug, has been staying warm, cozy and pampered. She deserves it too. She is the sweetest pup! She turned 14 years old in October, and we truly give her all the babying she deserves. She is on her new soft heart baby blanket that I got her for Valentines Day. It is super soft, and she took to it immediately. She doesn’t walk as far as she used to, because she is getting up there in her years, but we still take her for short walks.

Speaking of Pampering, this is what I’ve been loving lately to take care of winter skin. Perfectly Posh makes the best natural skincare products that really work. I have been using them for years. The Overnight Success skincare mask has been a lifesaver for my face this winter. The hydration has really made a huge difference for me. I also love their Big Fat Yummy hand cremes. I have sworn by them, and my hands are never dry or chapped anymore. You can find them here on my Posh website: https://perfectlyposh.com/sandrashields Let me know if you have any questions about their products.

Enough chatter, I could go on though. 🙂 Let’s make some easy turkey tostadas! Yummmm, Yummm, Yummy, Yum! You are going to love them!
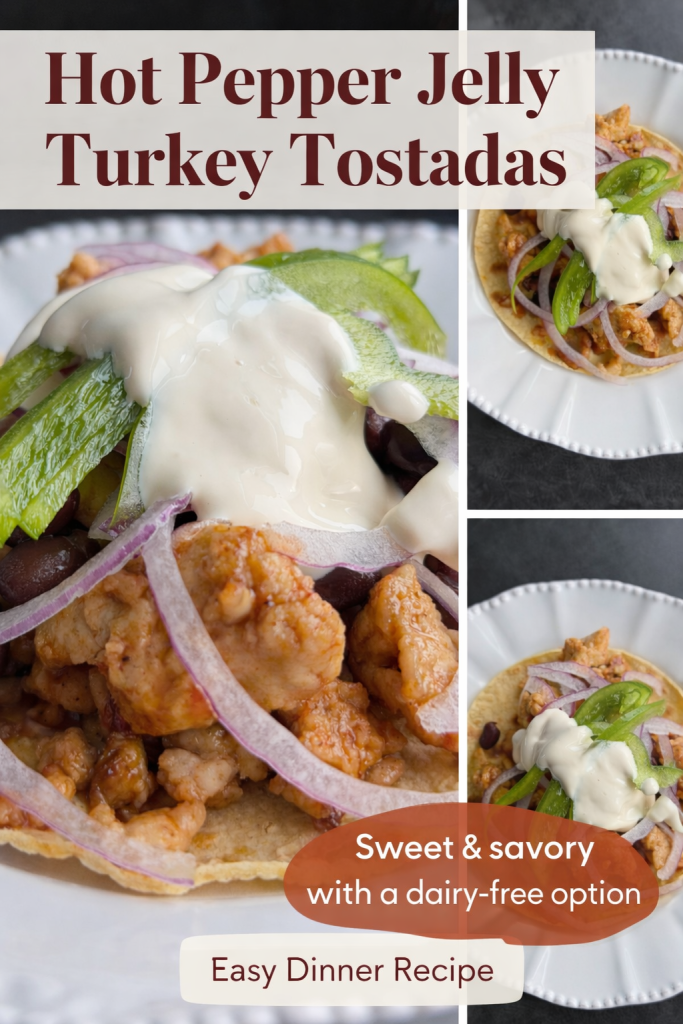
Hot Pepper Jelly Ground Turkey Tostadas (Gluten and Dairy Free)
Yields: 6–8 tostadas (depending on how generously you top them)
Ingredients
Protein:
- 2 lbs ground turkey
Seasonings (added while sautéing the turkey):
- 2 tsp cumin
- 1 tsp paprika
- ½ tsp garlic powder
- ½ tsp salt (or to taste)
- ¼ tsp black pepper
- 1–2 Tbsp garlic oil or olive oil (for sautéing)
The Glaze:
- 1/2 cup hot pepper jelly
The Base:
- 1 can (15 oz) refried black or pinto beans (I use these)
The Shells:
- 6–8 corn tostada shells
Crema:
For a dairy free Crema to top these with – whisk together 1/4 cup of mayo with 2 teaspoons of fresh lime juice and salt to taste.
Toppings:
- Shredded cabbage or lettuce
- Diced tomatoes
- Sliced avocado
- Fresh cilantro
- Optional: diced red peppers, shredded red onion, thinly sliced green pepper, salsa
Acid:
- 1 lime, cut into wedges
Instructions
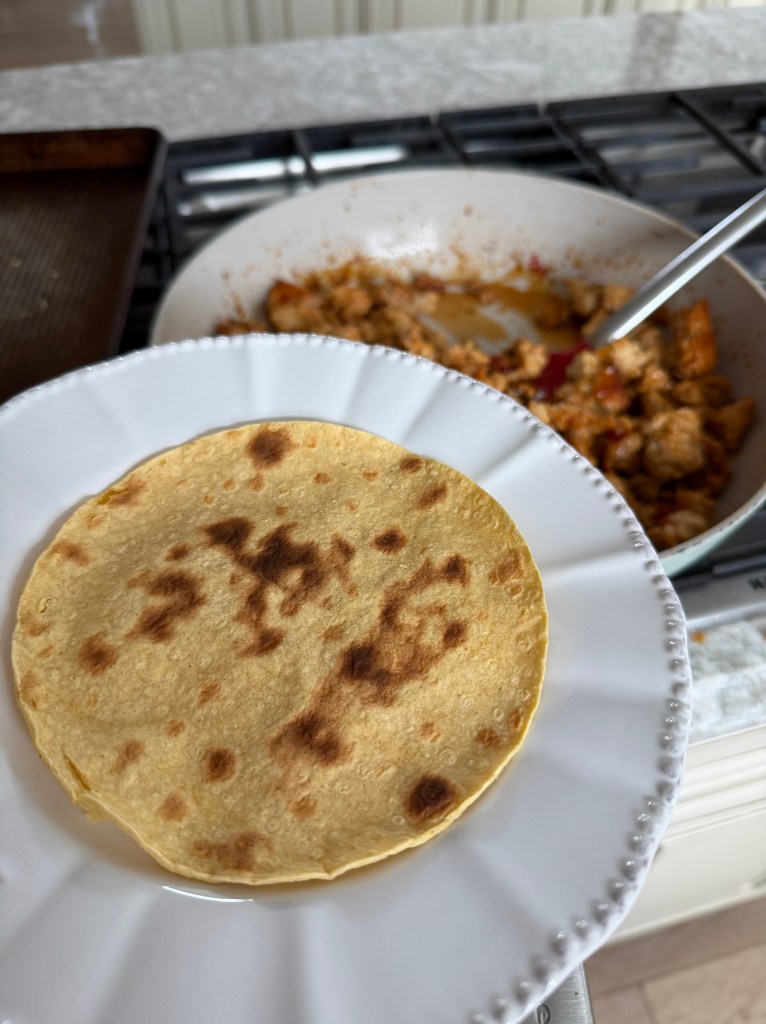
1. Season & Glaze the Turkey
- Heat the garlic oil (or olive oil) in a large skillet over medium-high heat.
- Add the ground turkey and cook until browned and cooked through.
- Sprinkle in the cumin, paprika, garlic powder, salt, and pepper. Stir well to coat the turkey evenly.
- Stir in the hot pepper jelly plus a splash of water or lime juice.
- Cook for 2–3 minutes until the turkey is sticky, glossy, and well glazed.
- Meanwhile toast your corn tortillas in a medium heat skillet on your stove top with a little avocado oil just until golden brown on each side.
- Whisk together your crema ingredients
2. Prepare the Base
- Warm the black beans in a small saucepan. Make sure to rinse and drain them first.
- For extra zing, stir in a teaspoon of olive oil or a squeeze of lime.
3. Assemble
- Spread a generous portion of the pepper-jelly turkey.
- Top with a spoonful of black beans or two.
- Add cabbage/lettuce, peppers, onion tomatoes, and avocado. Pick what you like!
- Finish with cilantro and any other optional toppings you love.
4. Finish
- Serve with lime wedges to squeeze over the top right before eating.
Consider putting this turkey in a savory bowl with rice and toppings! It would be delicious that way too!
Happy eating, and happy February. As always, I love to hear from you.


Recent Comments