
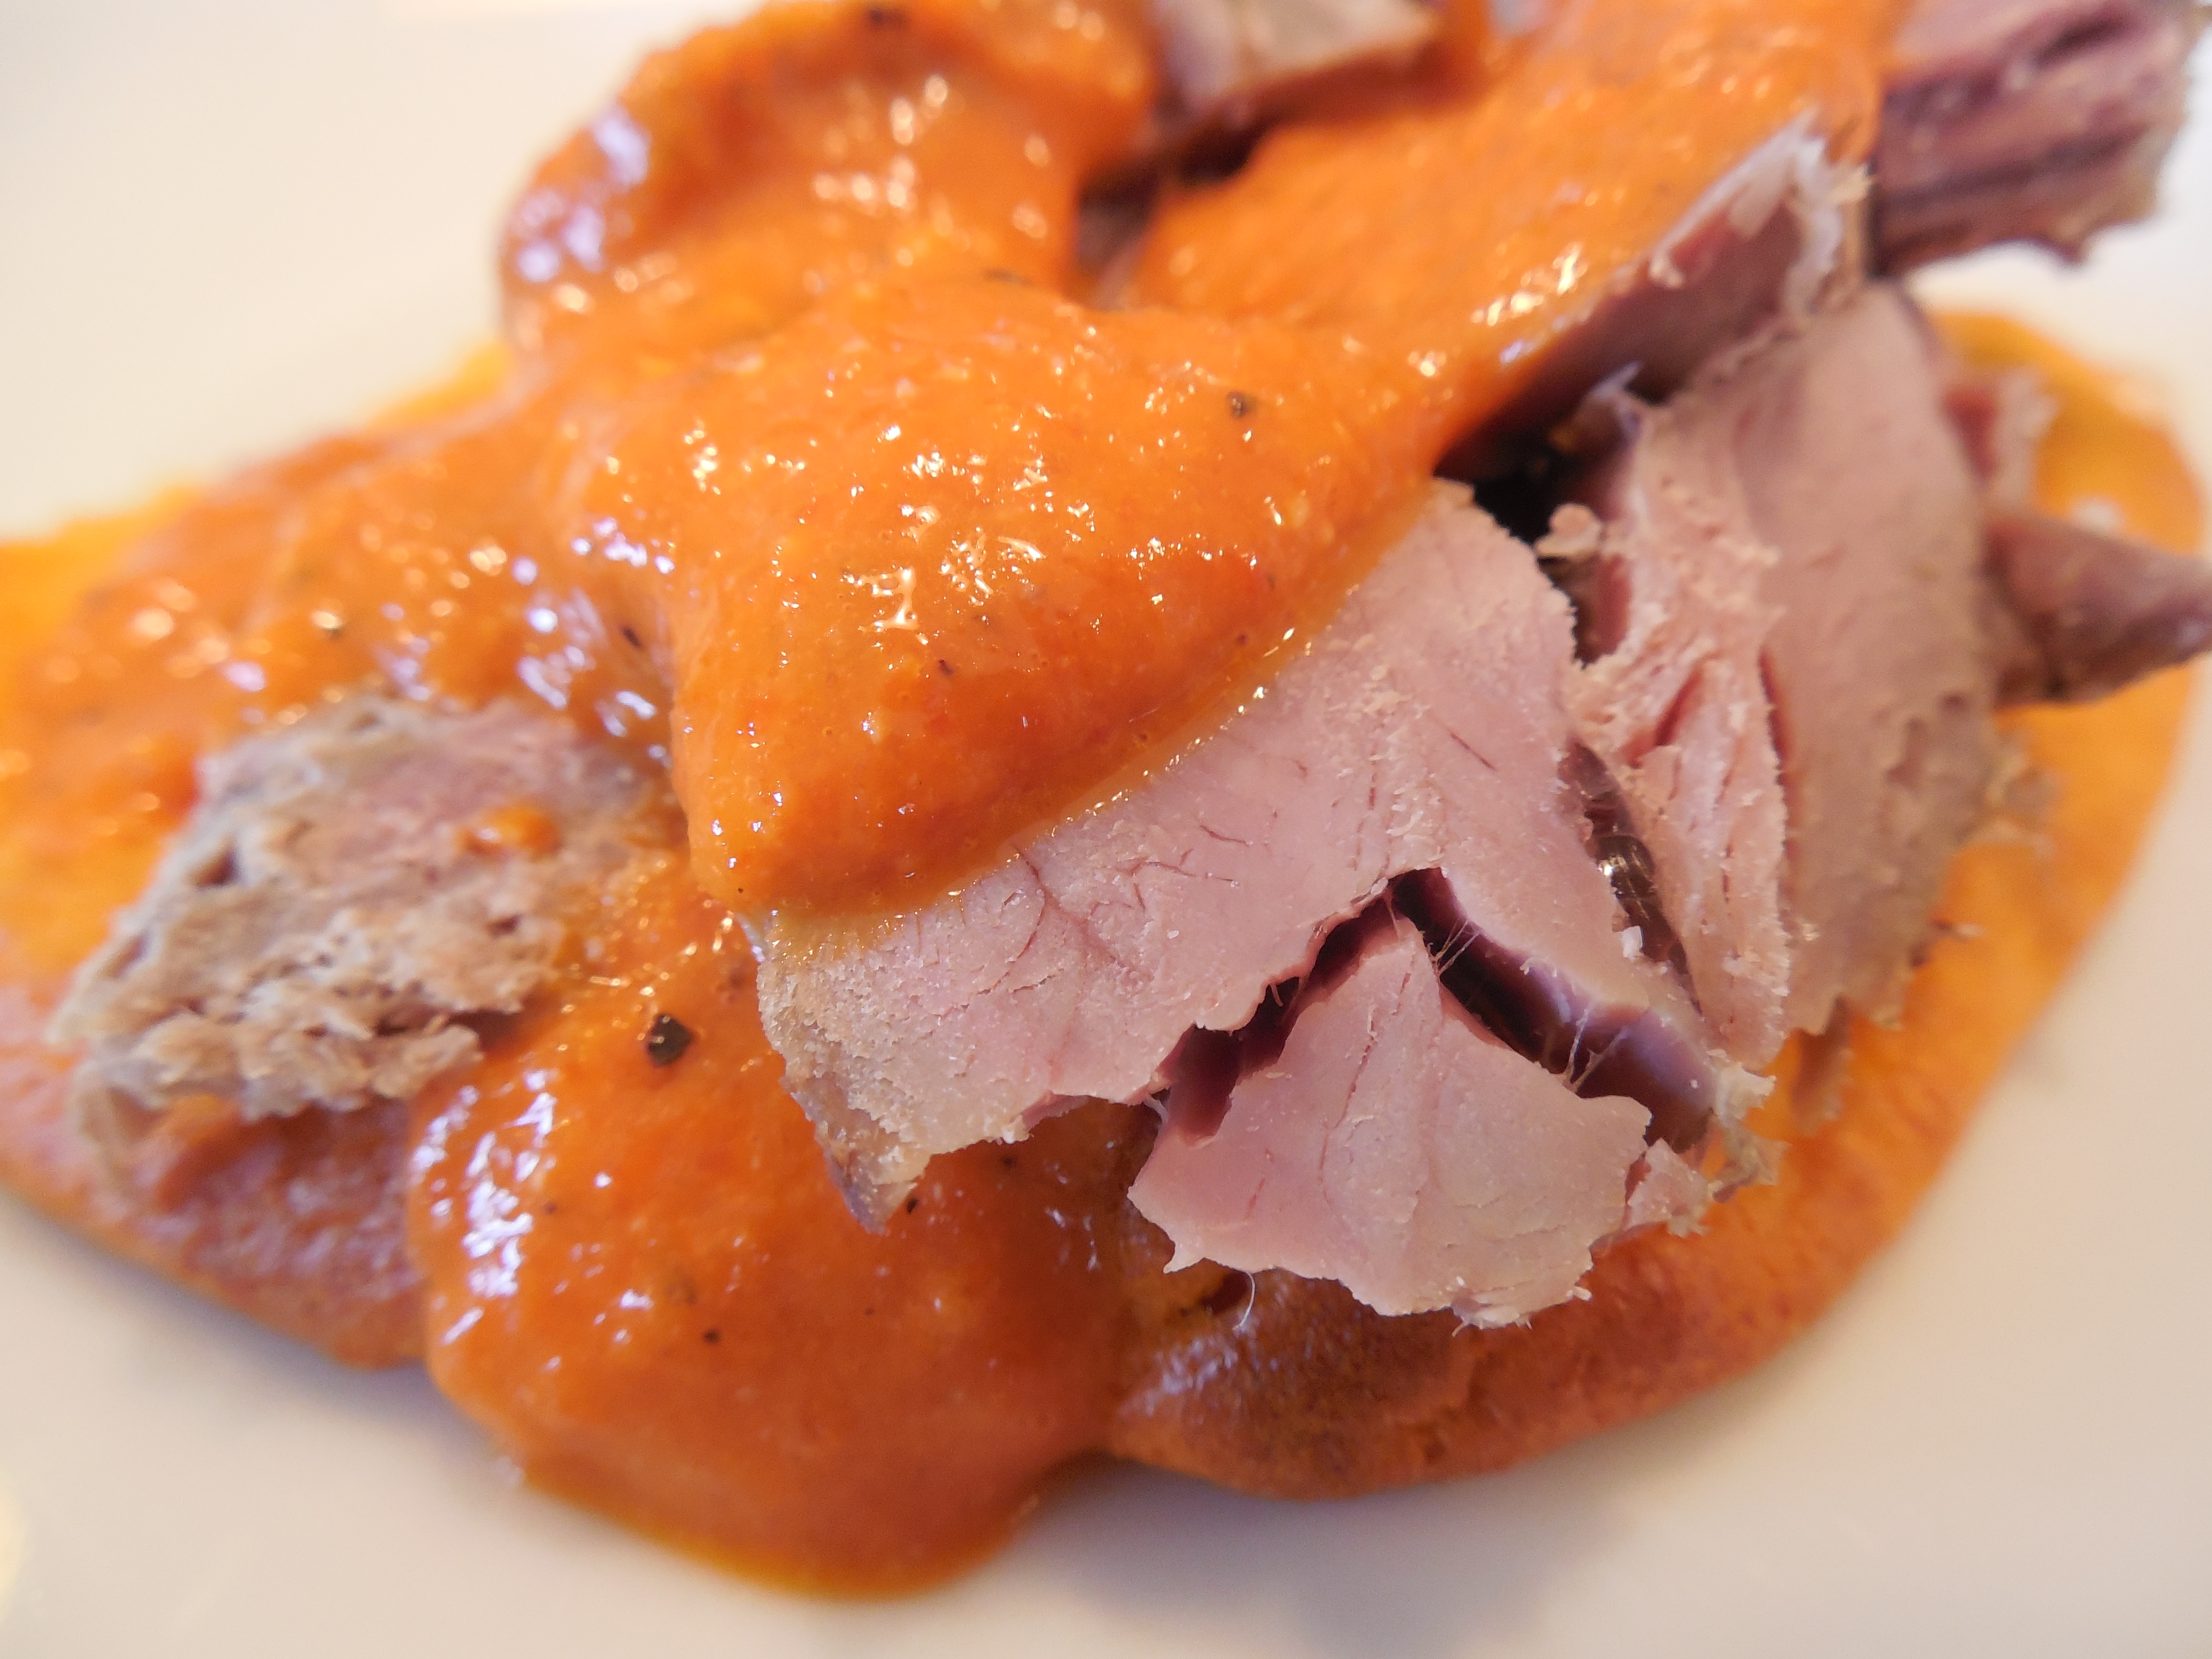
Roasted Eggplant & Red Pepper Tapenade
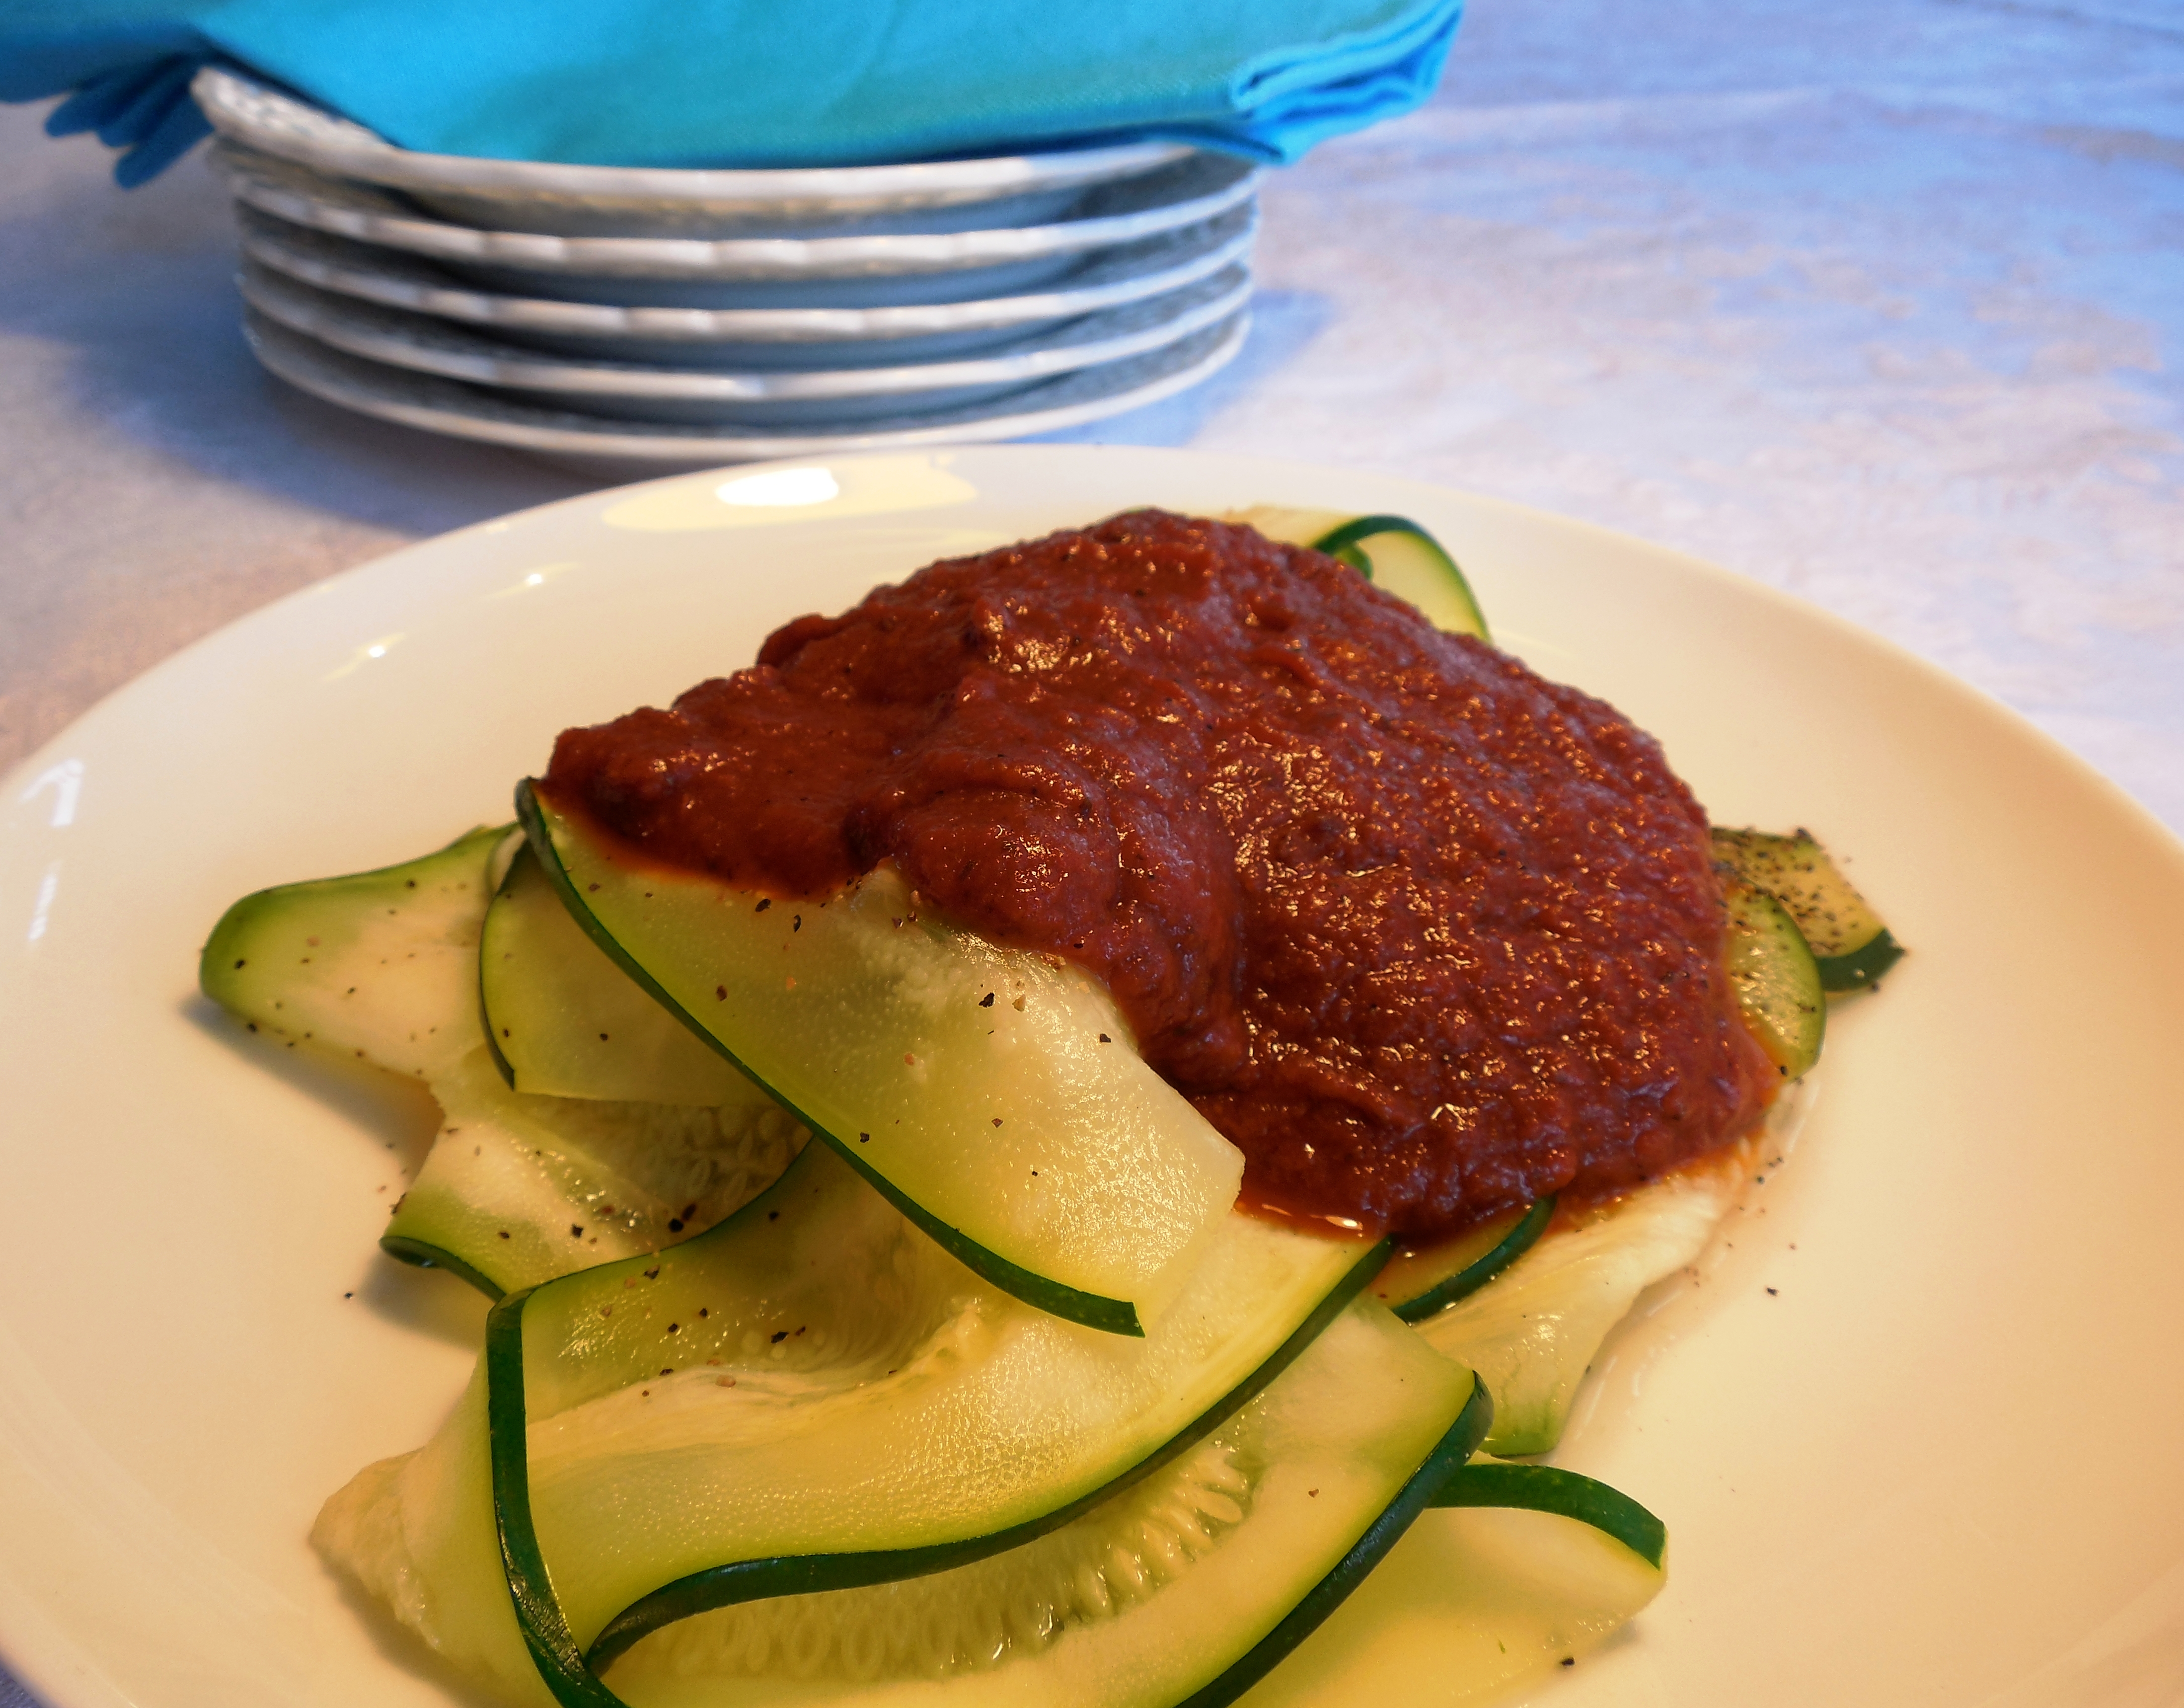
Don’t you love dips and spreads? I do, and it is so nice to know you can make them yourself with great ingredients that feed your body and not only taste awesome, but have nothing but good ingredients. I am also looking for easy and fast! I served this tapenade recently with almond flour crackers. It is good with vegees also, like cucumber rounds, or on top of a salad. The eggplant is peeled before roasting, which makes it easy to digest and pretty when pureed.
Ingredients:
1 Medium Eggplant, peeled and cubed
2 Red Bell Peppers, seeded and diced
3 Green Scallions (green parts only, sliced)
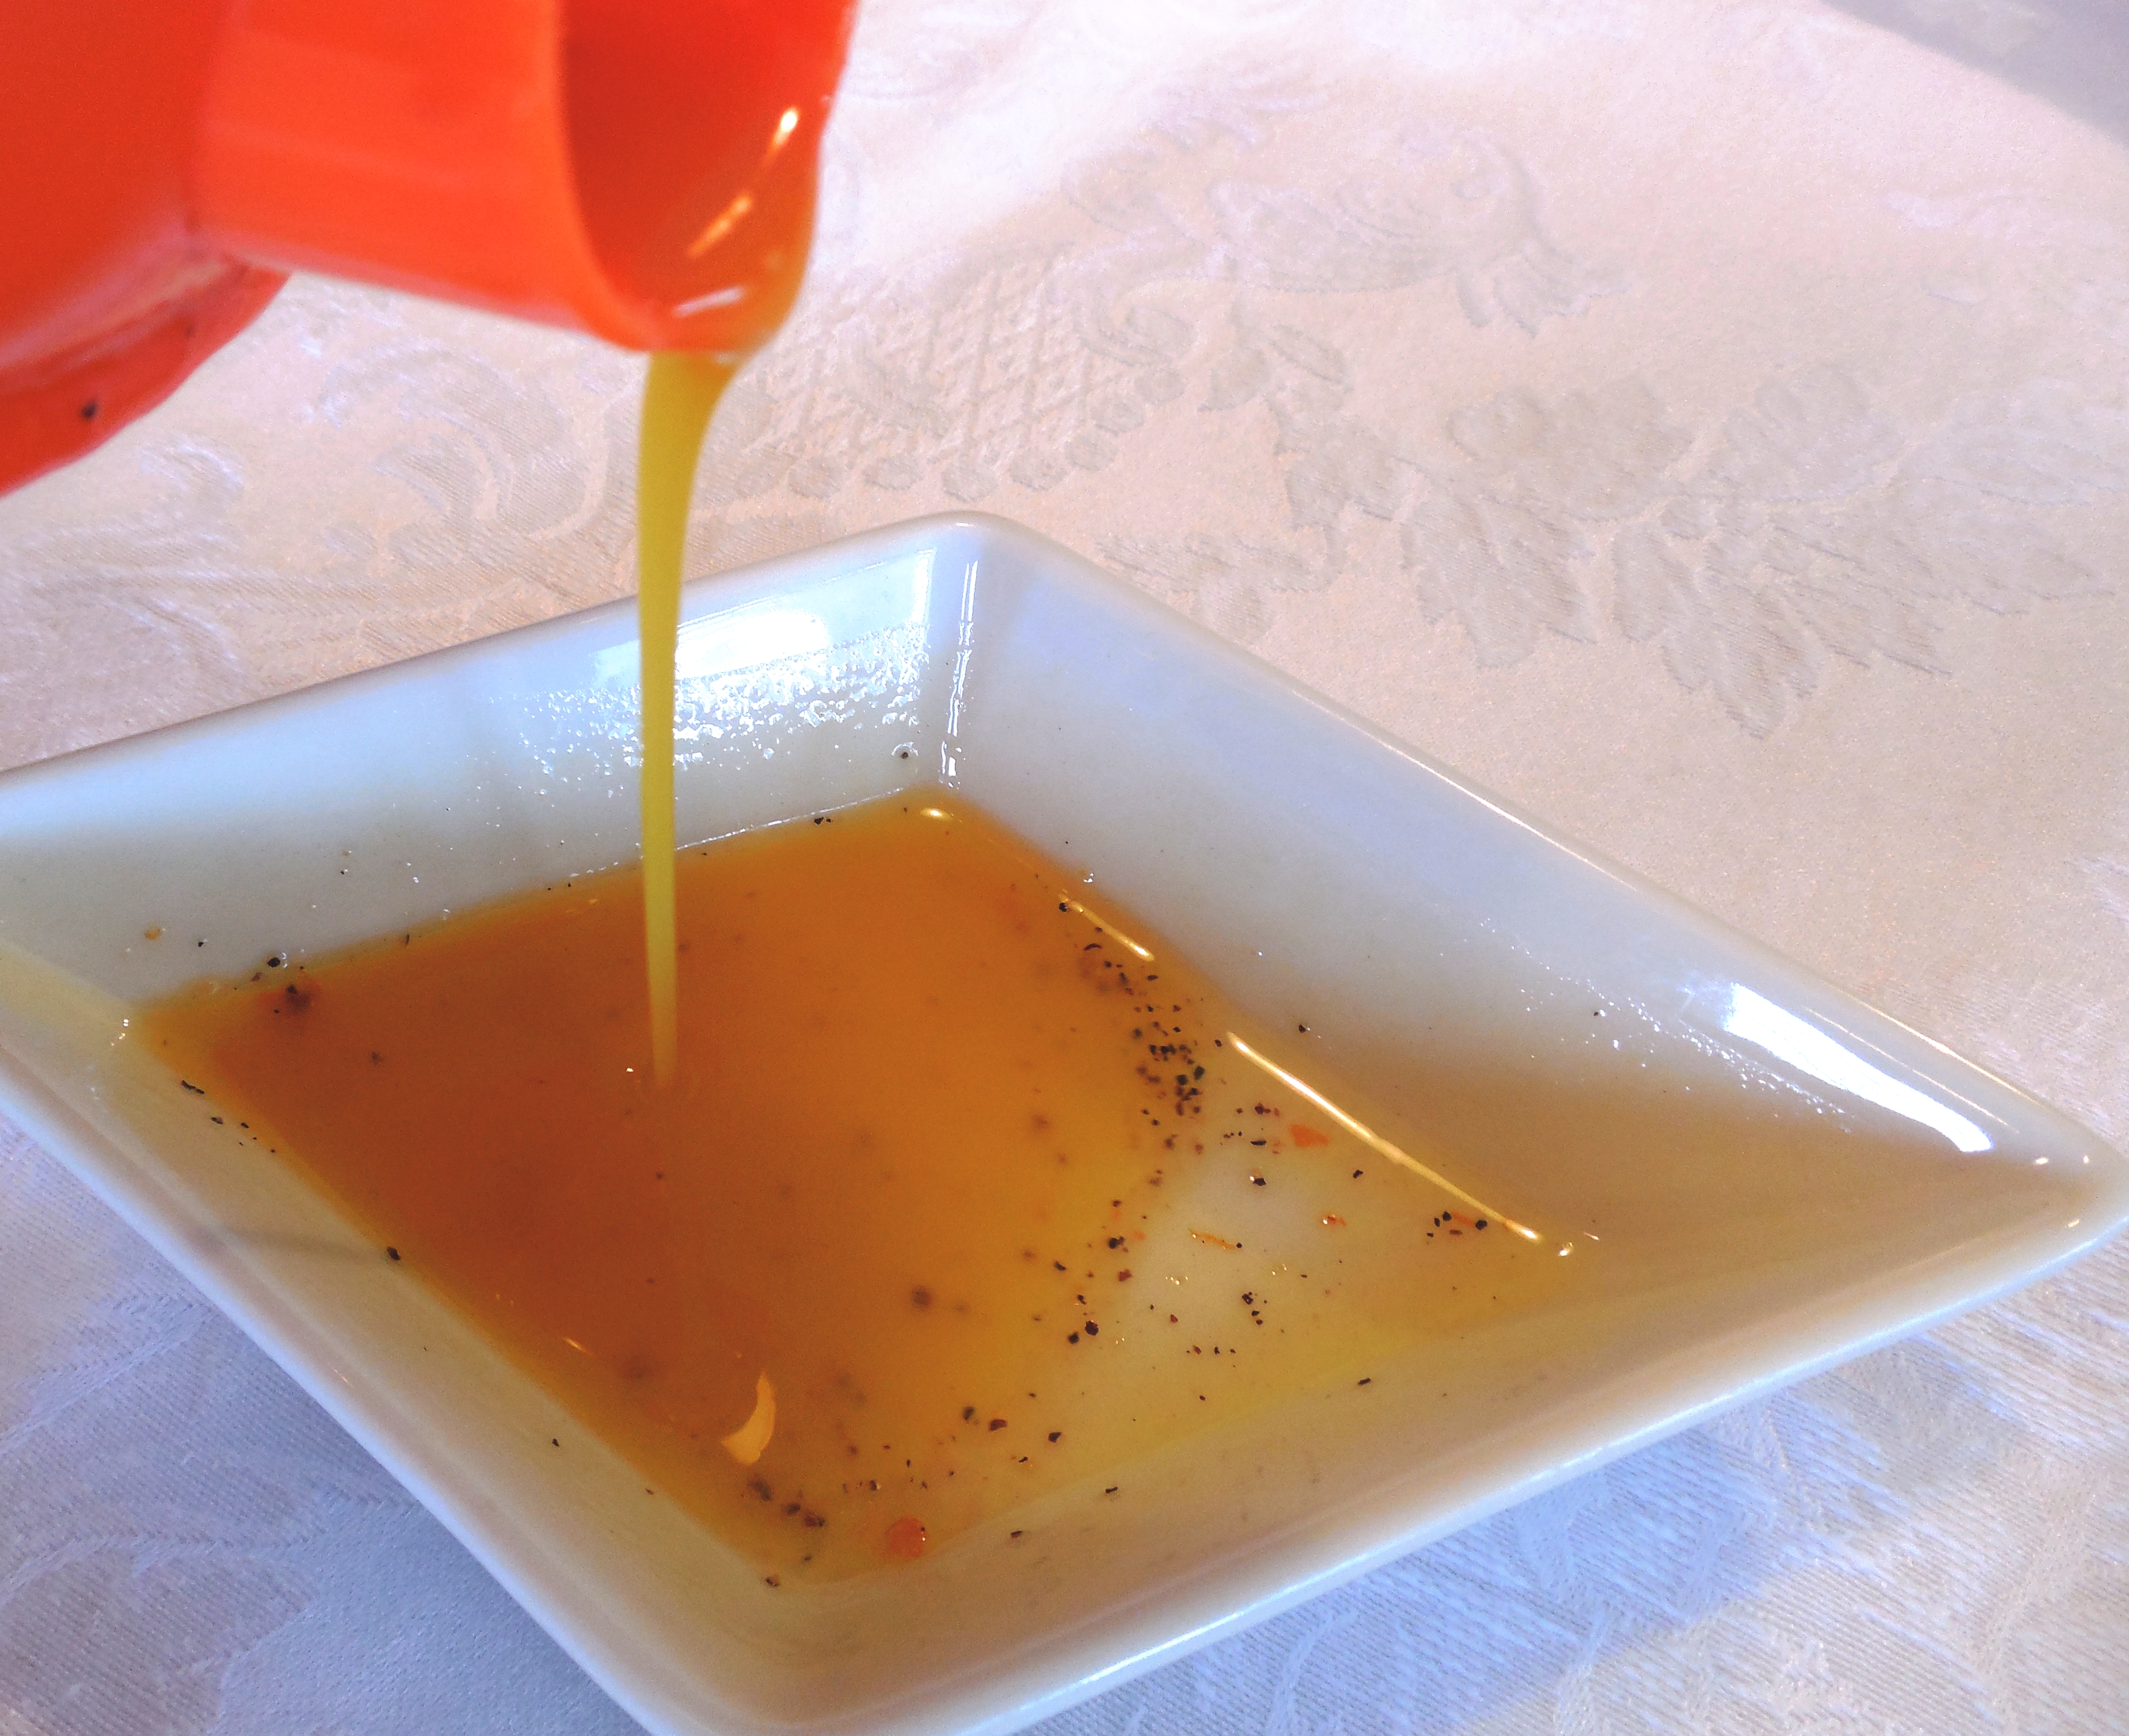
3 Tablespoons Garlic Infused Olive Oil
1/4 Cup Fresh Parsley
2 Tablespoons Fresh Basil
1 teaspoon Himalayan Pink Salt
1/2 teaspoon Black Pepper
1 Tablespoon – 18 year old aged Balsamic Vinegar
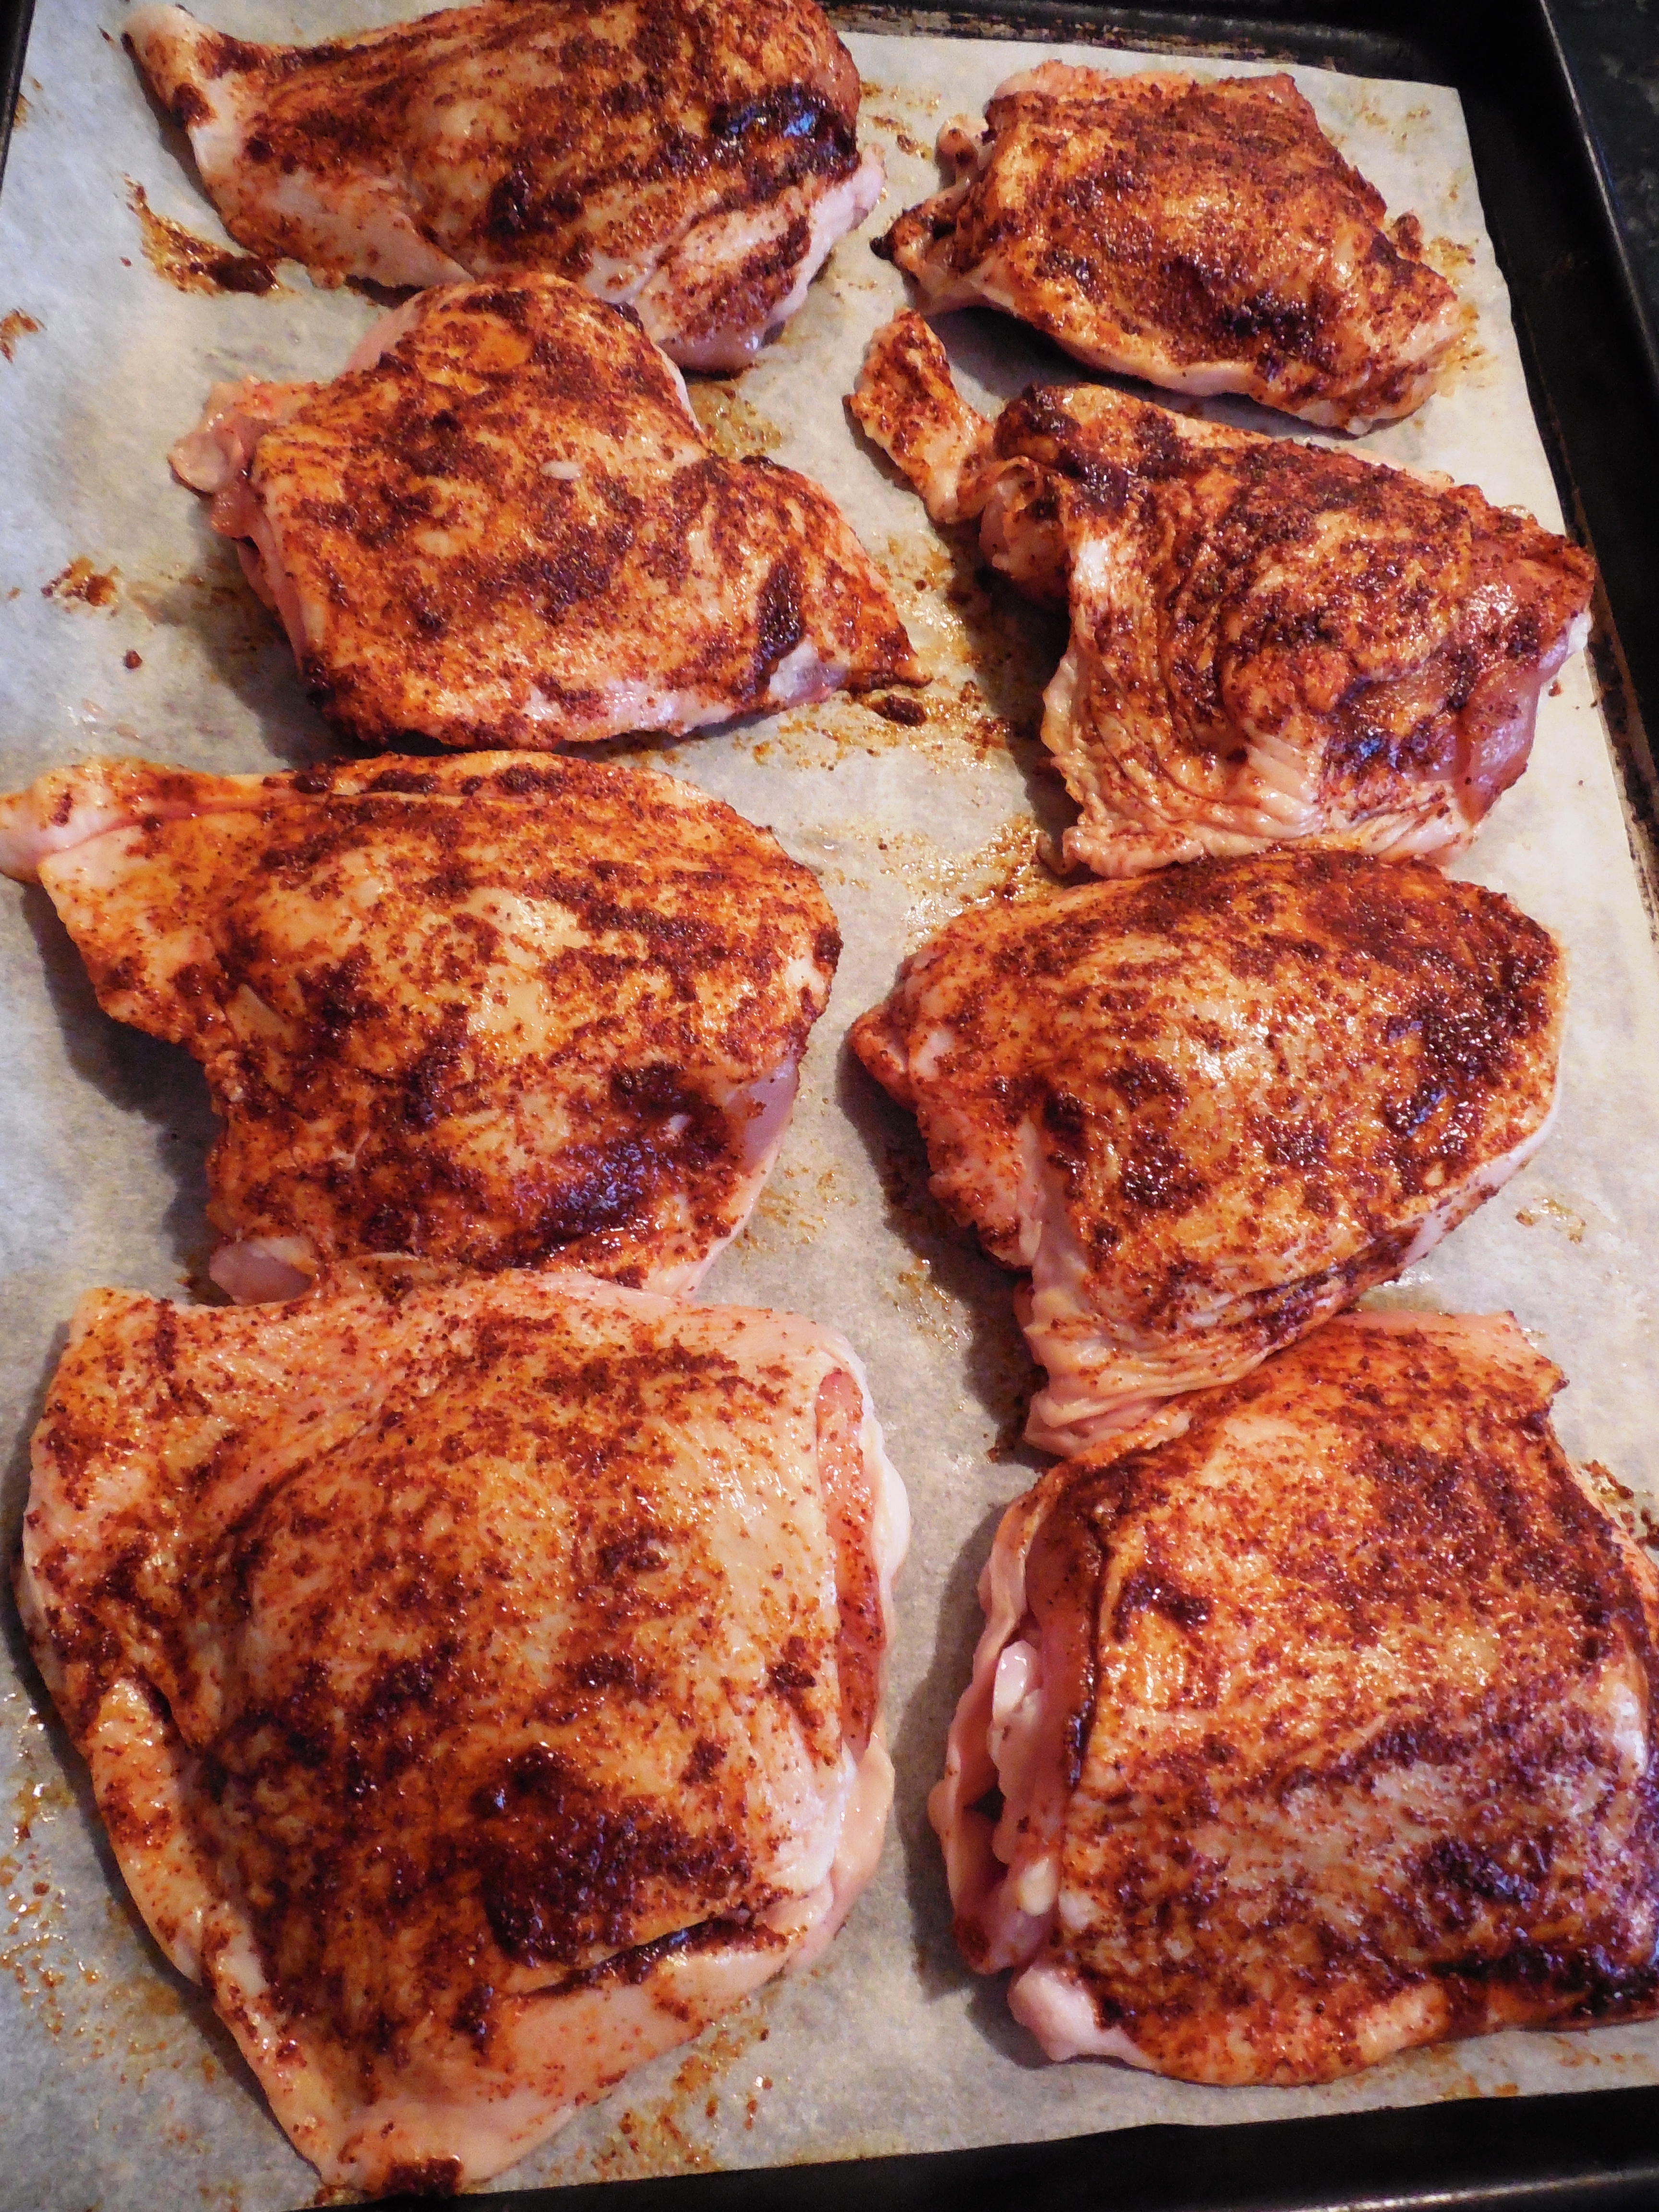
Preheat Oven 400 degrees. Placed cubed eggplant and peppers on a parchment lined baking sheet and drizzle the olive oil over them and add salt and pepper, then toss until coated. Place them in them in the oven and roast for 40 to 45 minutes tossing a few times during cooking until they are starting to brown and very soft. The last 20 minutes of the cooking time, add the chopped green scallions, toss and continue roasting.

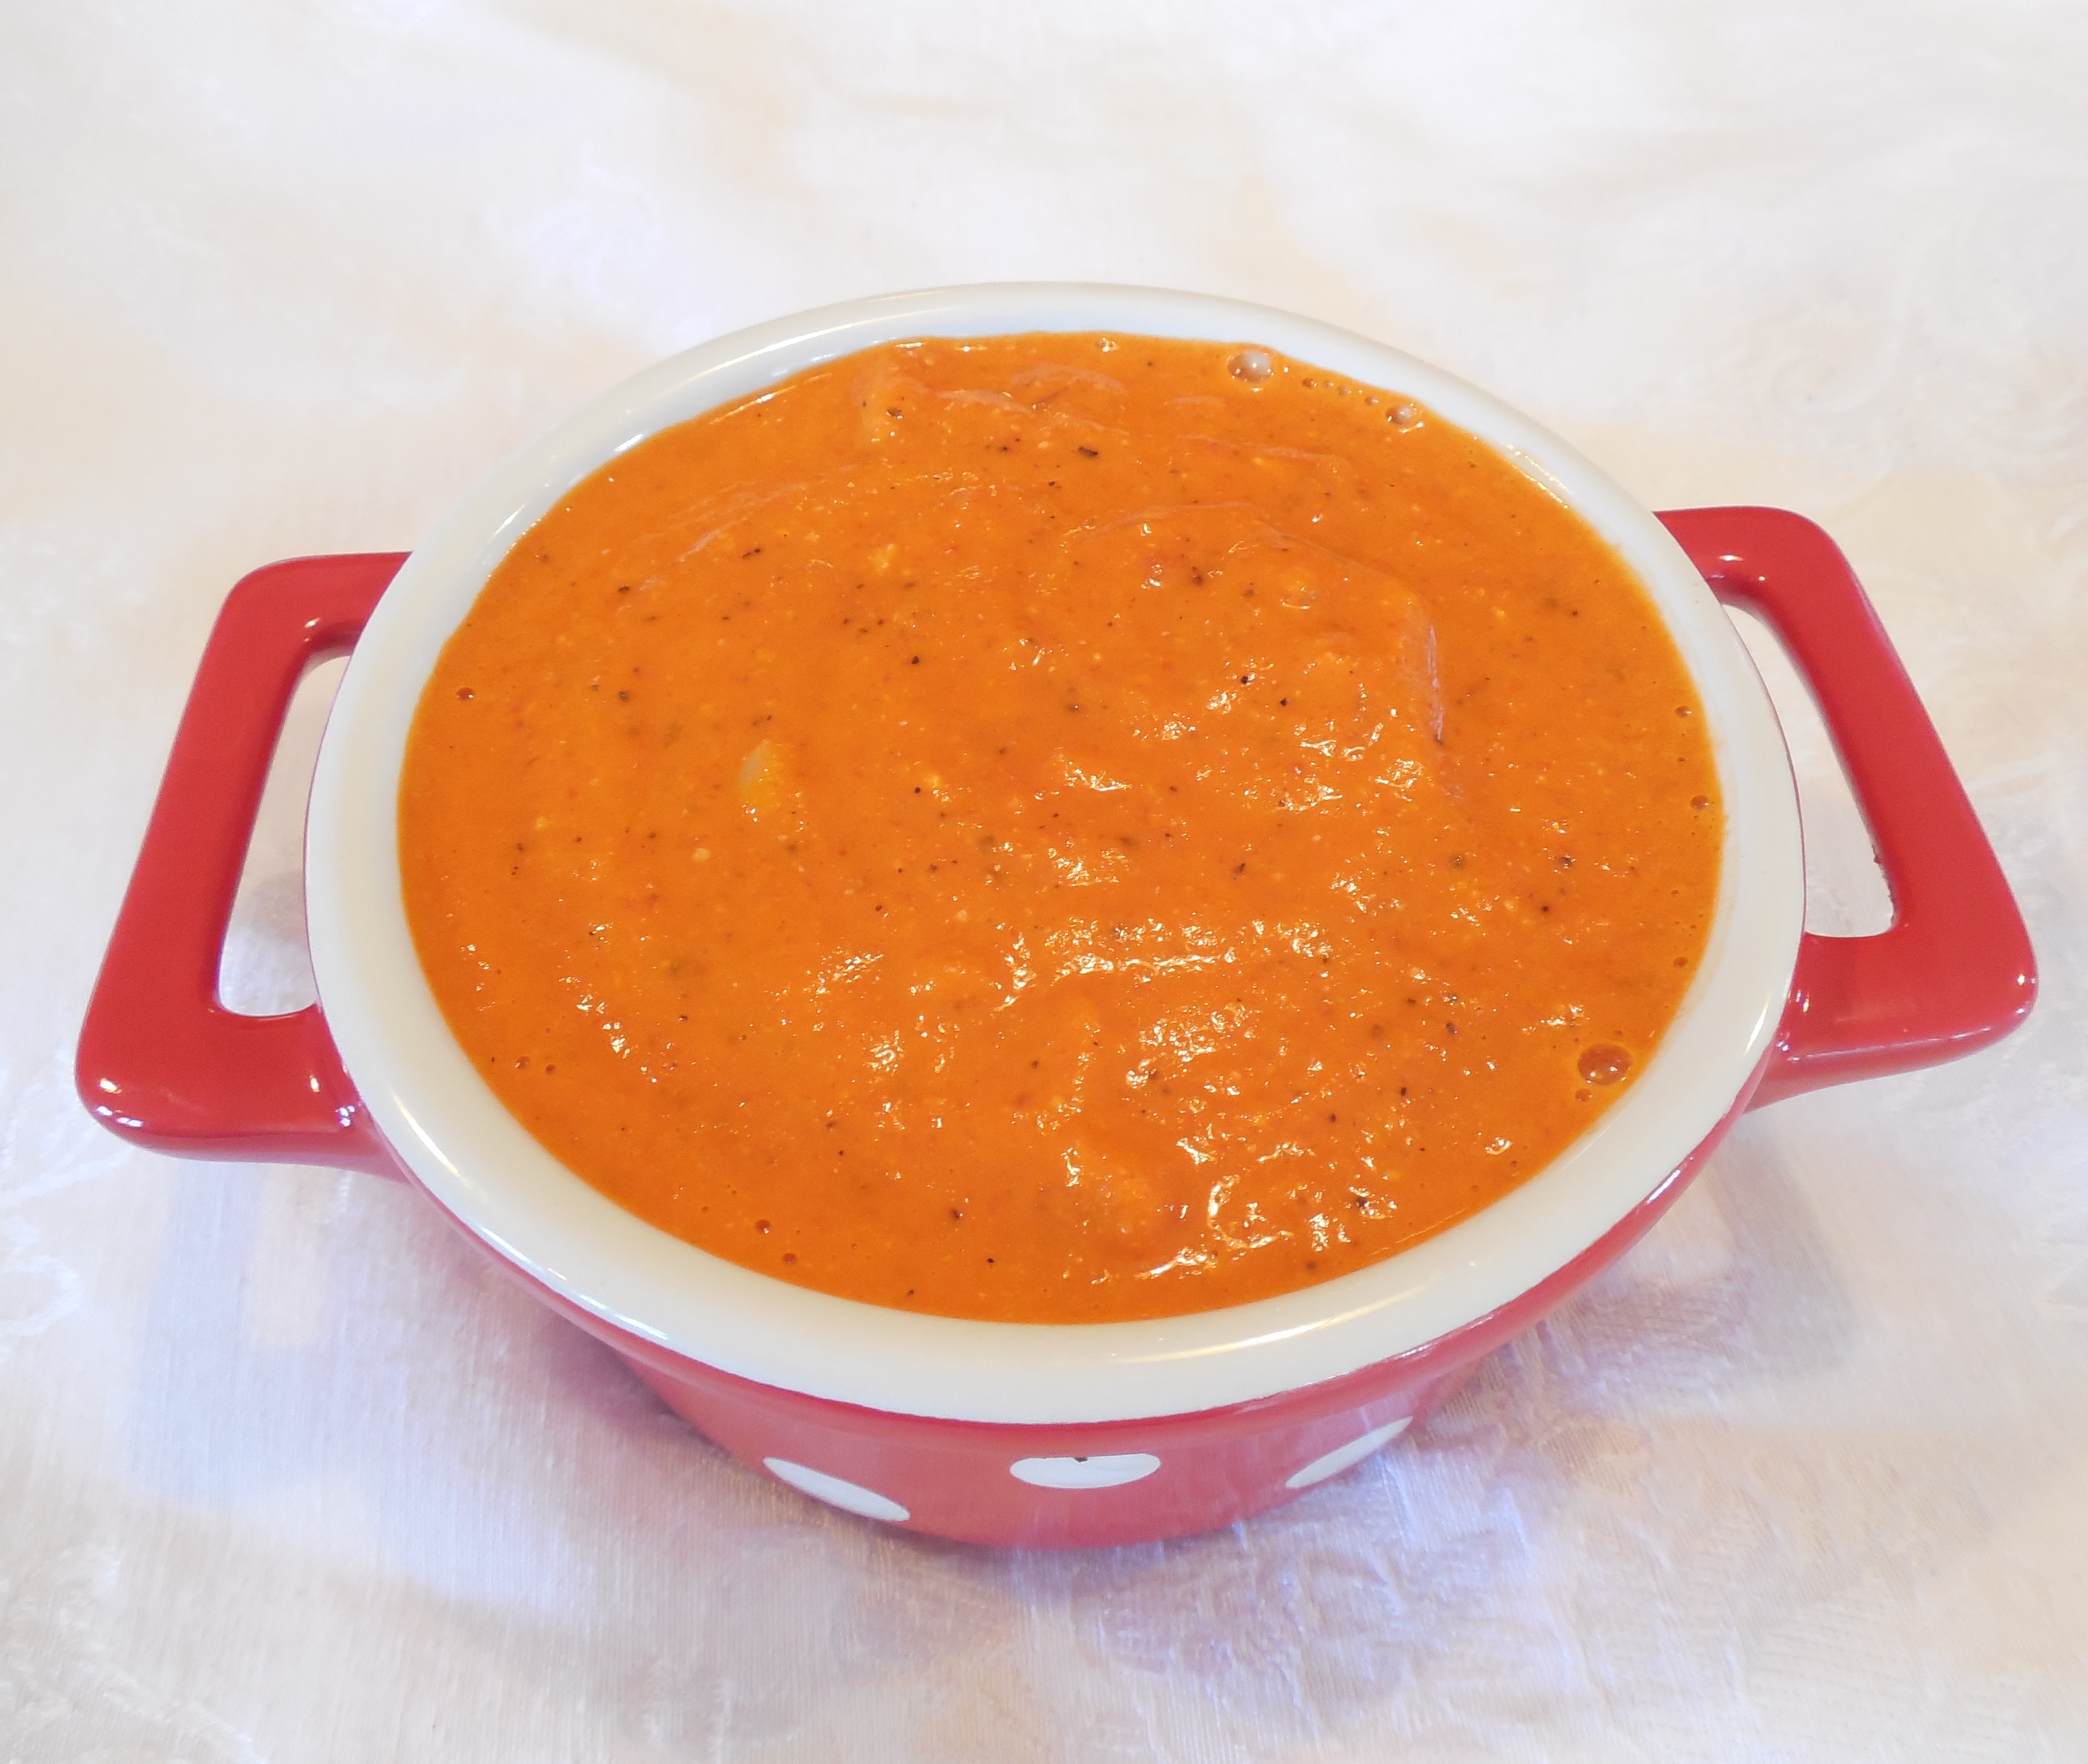
Roasted Eggplant and Red Pepper Tapenade
Remove from the oven. Cool for five minutes. Then, place the roasted vegetables in a food processor with a steel blade and pulse a few times. Add the balsamic, parsley and basil and continue pulsing until blended to your liking. I like just a few bits of vegetables showing and not completely blended. Add additional salt and pepper to taste if needed.
Serve! This keeps in the refrigerator about a week and can be re-warmed or served cold.
Here is the tapenade served as a shrimp canape.

Roasted Eggplant & Red Pepper Tapenade Shrimp Canope
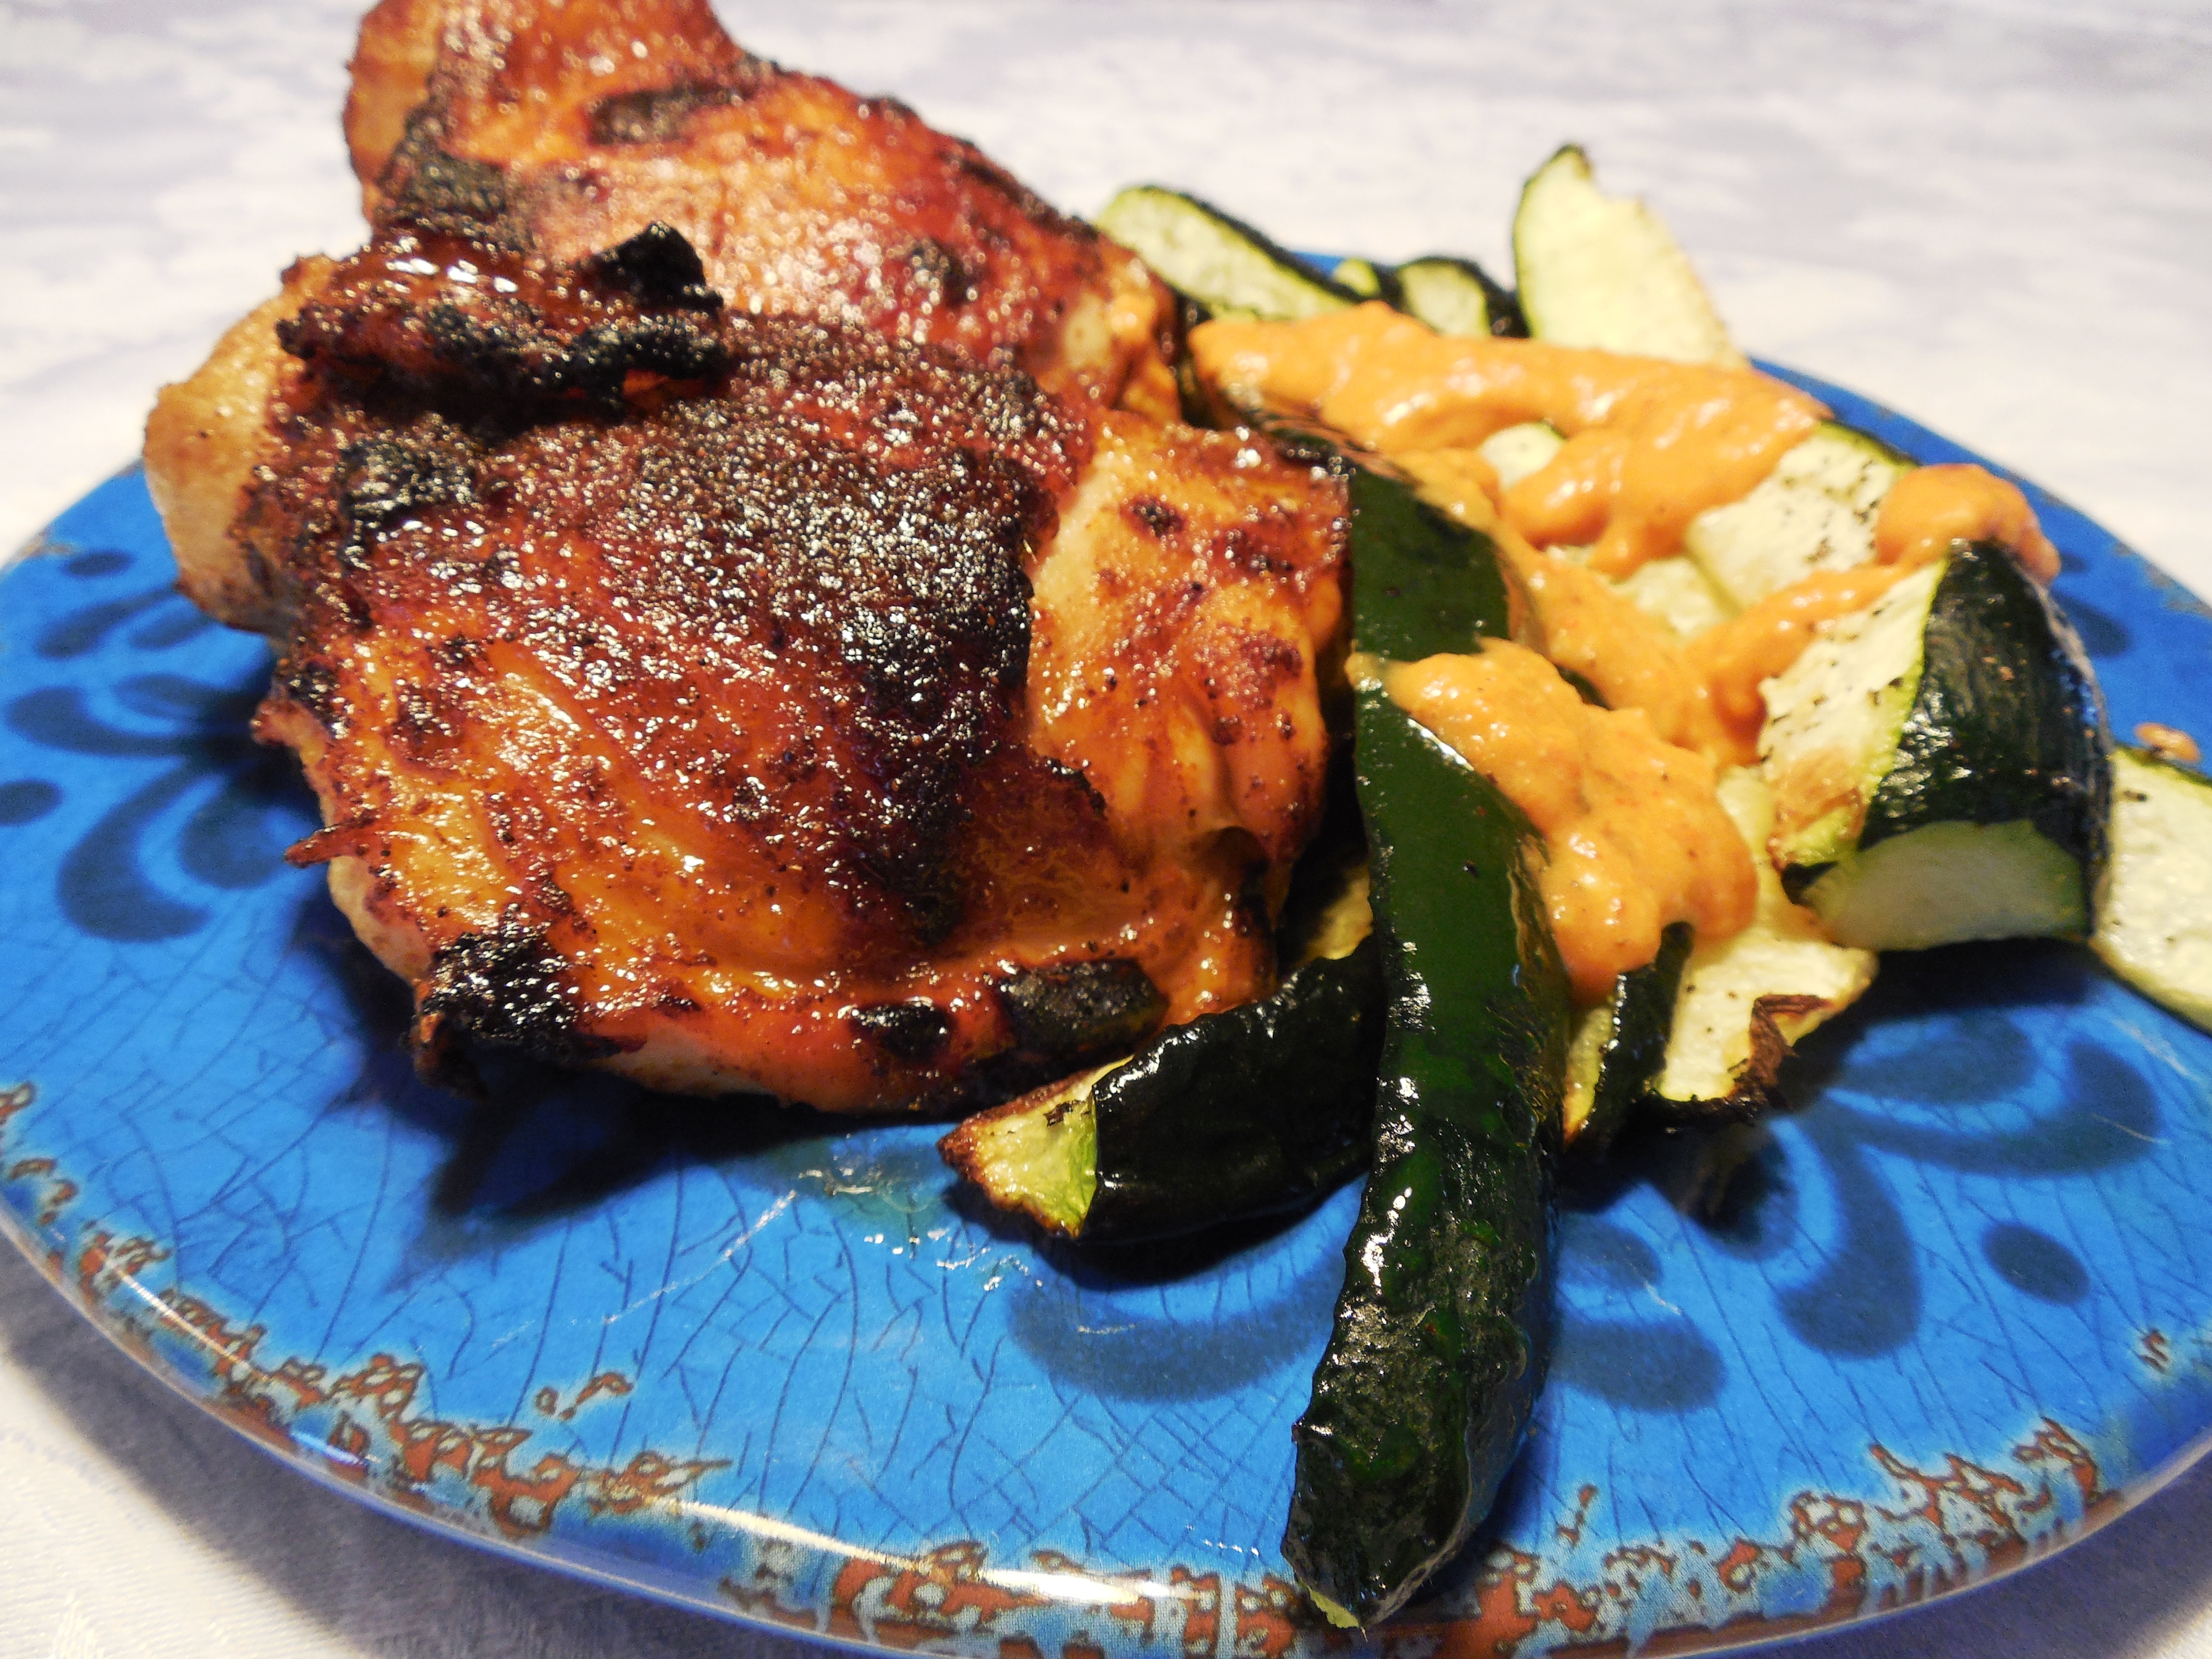
…..and served with crudites! There are so many options for this!
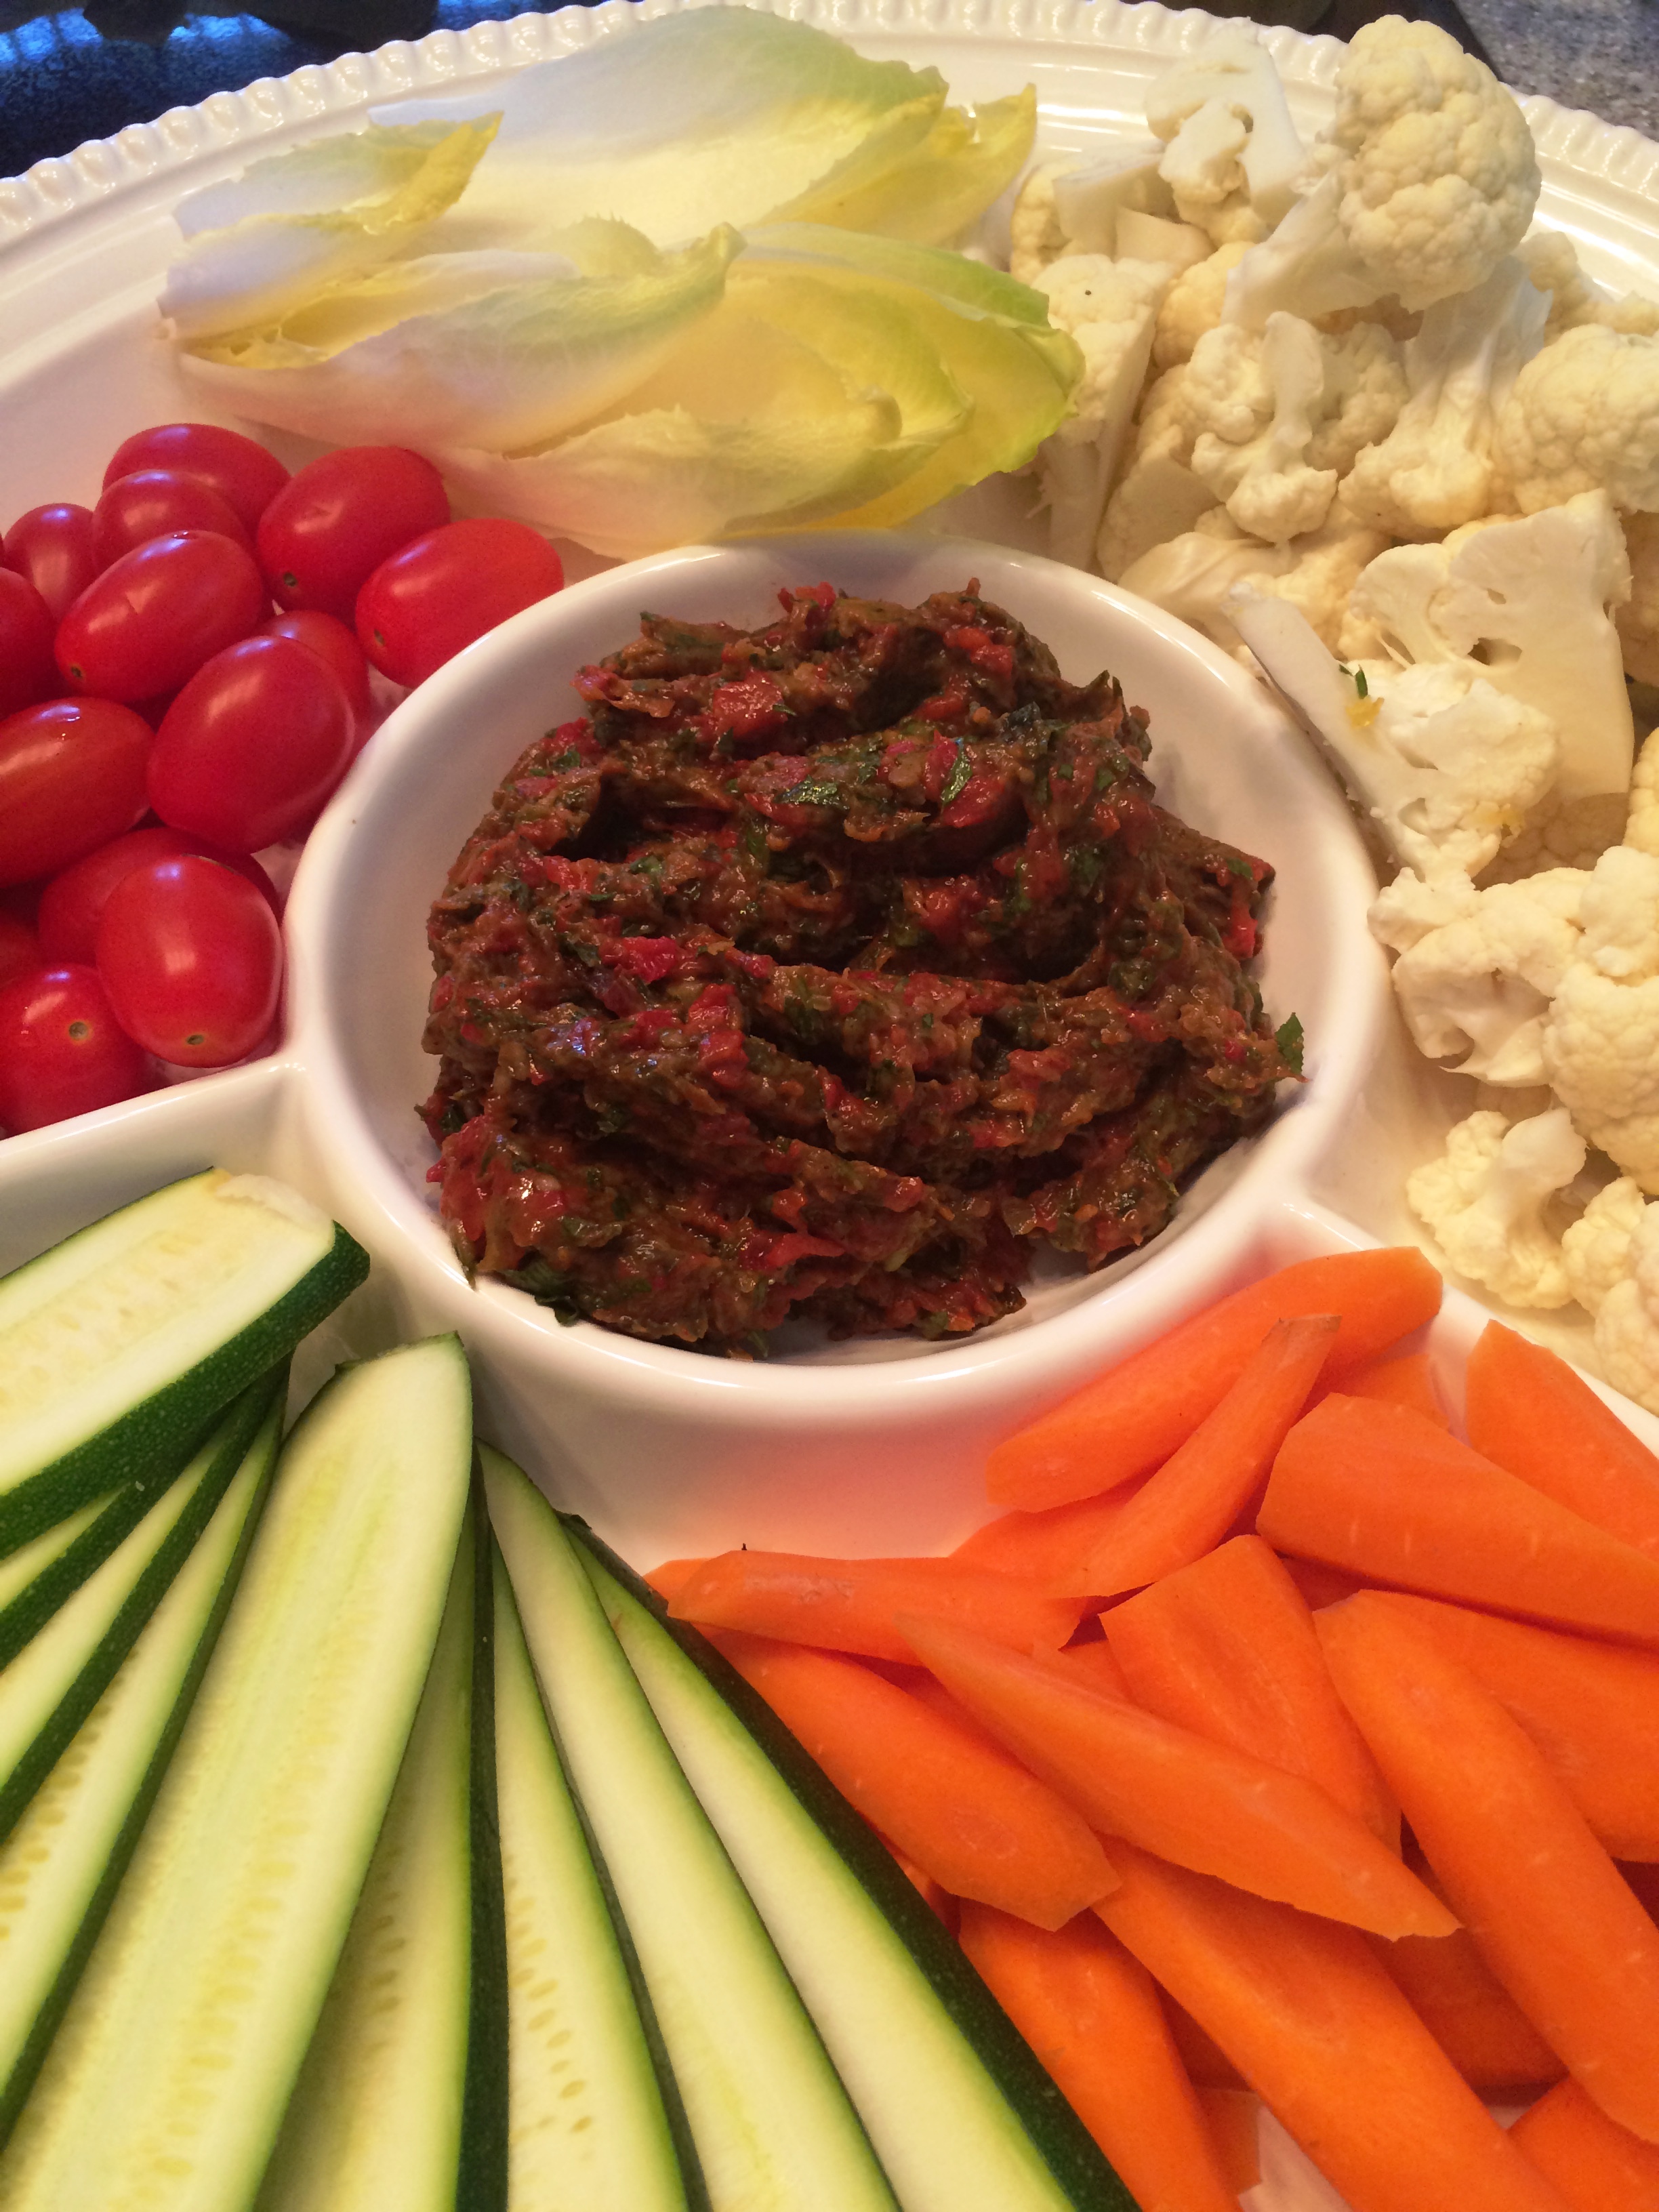
Roasted Eggplant & Red Pepper Tapenade
I love to hear your thoughts!

Eat Your Nutrients!


Recent Comments