
Hello! How are you? I hope you are having a good July. It’s been quite hot here lately in Northern Michigan, and I have been making these little ramekins of goodness that are full of flavor, have a delicious, creamy texture and are nourishing but not over filling or heavy. Since summer can be busy with a lot more outdoor activities, this recipe uses a premade marinara that is convenient whatever time of year. Who am I kidding, life if always busy.
This recipe is naturally gluten free, and I am happy to have expanded the foods I tolerate well to include polenta and aged cheese. This dish has nourishing eggs full of protein, healthy fats and Omega 3. I try to look for local eggs or pastured organic eggs, and I like the ones with the really yellow yolks. The marinara is a good source of lycopene. Cooked tomatoes have a higher amount than fresh. So, that’s a plus, but those fresh tomatoes in summer are really something aren’t they? Rao’s marinara is just about as close as you will get to homemade. I like to keep a couple jars in my pantry at all times to have handy. The aged cheddar is a source of protein and contains very little lactose, so it is easier to digest if you generally don’t tolerate other dairy. It tastes so good, and just an ounce adds so much flavor. Polenta is naturally gluten free and a source of fiber and protein, and it is a wonderful, creamy texture when cooked properly. My dad used to put leftover polenta in a loaf pan and refrigerate it, then slice it the next day, and brown it on the stove in a pan. It was very good leftover like that. I like to cook mine in an instant pot. What a marvelous, time saving invention! The results are successful every time, and I don’t have to watch the pot as it cooks. I find the texture always comes out perfectly. Try this no fail recipe. I use Bob’s Red Mill Polenta.

This is a very versatile dish good for breakfast, lunch or dinner. It is easily reheatable too. My daughter, who is doing a nursing internship this summer, packs it in her lunch. It is one of those easy recipes that you can effortlessly modify to make more of less.
Here is the recipe. You can make the polenta ahead of time and put these together really quickly. Just reheat the polenta before using. You will only use half the batch in the recipe above to make six ramekins, so you can use the rest for another time or purpose.
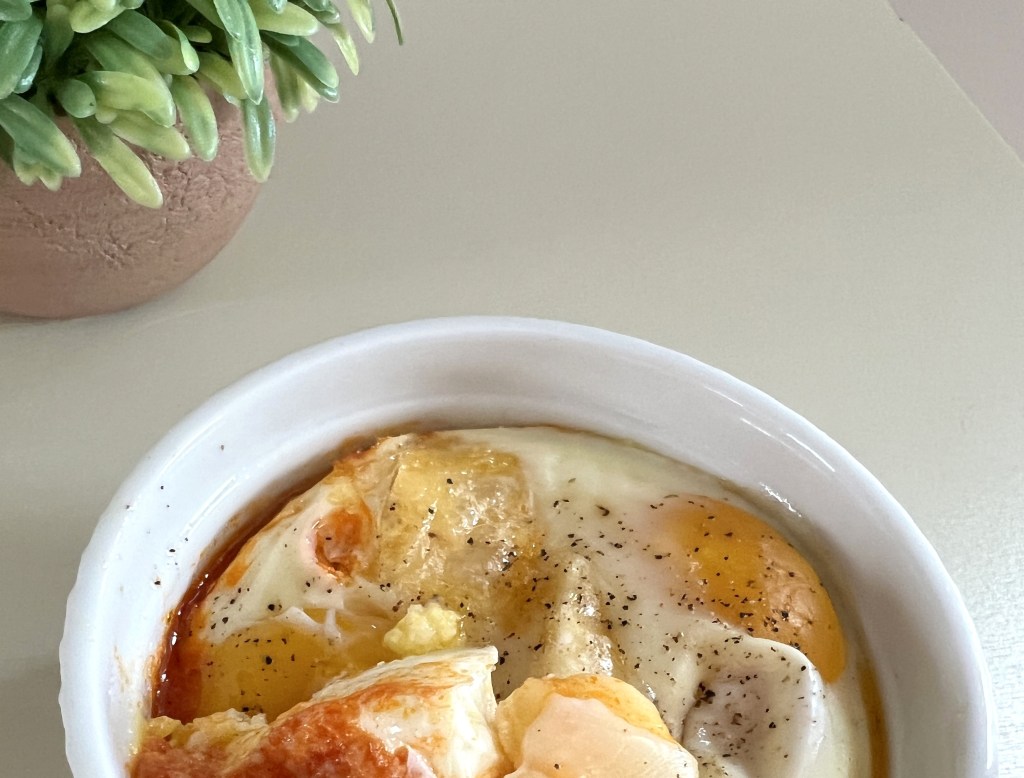
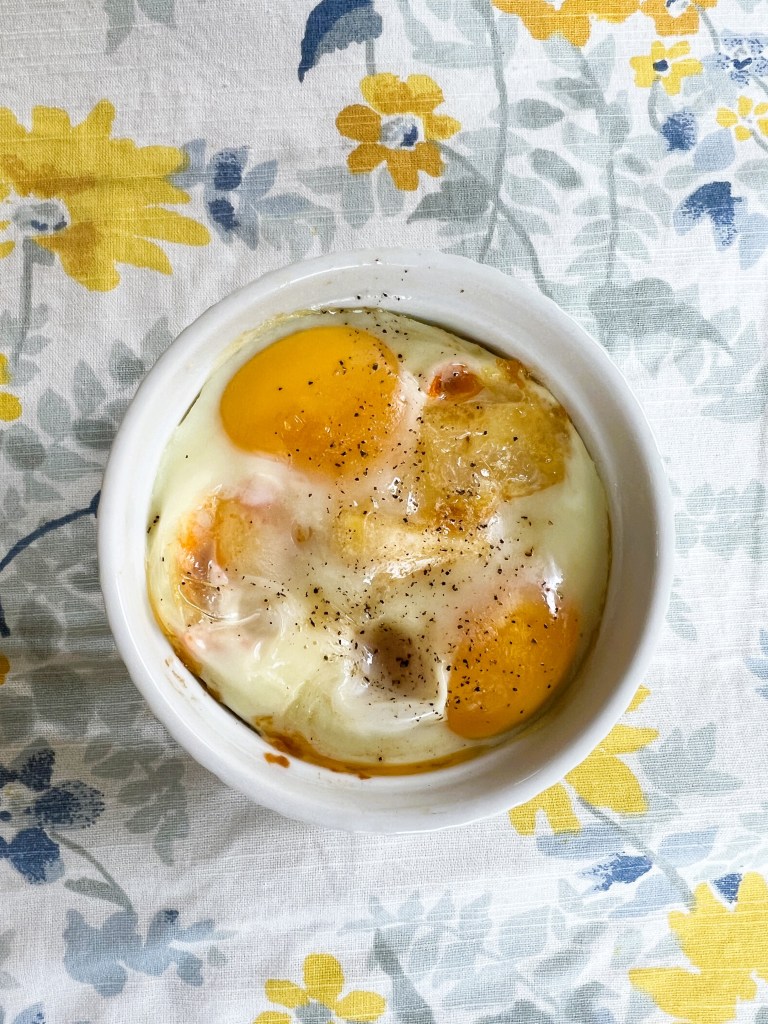
Ramekin Baked Eggs with Polenta, Marinara and Cheese
Preheat your oven to 350 degrees F.
Ingredients:
1 Cup of Cooked Polenta. (See the recipe link above.)
Marinara Sauce (I like Rao’s brand)
6 Ounces of Cubed, Aged Cheddar Cheese
Twelve Quality Eggs
Salt and Pepper to Taste
Directions:
Grease 6 Ramekins by brushing the insides with olive oil.
Place the ramekins on a rimmed baking sheet. Spoon in marinara sauce into the bottom of each ramekin. Add a couple large spoonfuls into each. Add 1/4 Cup of warm polenta on top of the marinara sauce and spread it to the edges of the ramekin. Now add about an ounce of cubed cheddar on top of the polenta evenly. Crack two good quality eggs on top of everything and sprinkle with salt and pepper to taste.
Bake the eggs in your preheated oven for approximately 30 minutes, or until the whites are set and your yolks are how you like them cooked. Remove them from the oven, and cool for about ten minutes before eating.
I always love to hear from you and welcome your comments!


Recent Comments